How to Fix a Grinder Adjustment Ring That Won’t Budge
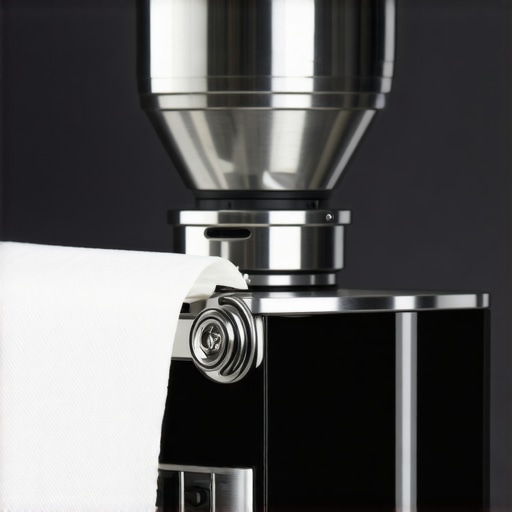
There I was, bleary-eyed at 6:00 AM, clutching my portafilter like a holy relic, only to find my grinder’s adjustment ring had turned into a solid, unyielding piece of stone. It’s a heart-sinking feeling when you realize your morning caffeine fix is held hostage by a piece of metal that refuses to move even a millimeter. I remember the panic well. In my early days, I actually grabbed a pair of heavy-duty pliers—a massive mistake that left permanent teeth marks on my expensive gear. We are definitely not doing that today. Instead, we’re going to get that ring spinning freely again without a trip to the repair shop or a permanent scar on your equipment. Whether you are mastering the art of home espresso or just trying to get through your first brew, a seized adjustment collar is a hurdle we can clear together.
My Morning Battle with a Frozen Grinder
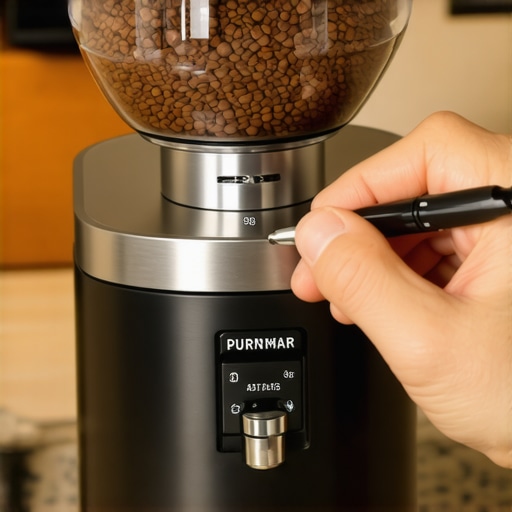
The problem usually starts subtly. You might notice the reason your grinder adjustment ring feels gritty or stuck is often a slow buildup of microscopic coffee dust and rancid oils that act like a low-grade epoxy. I spent twenty minutes sweating over my counter that morning, trying to figure out why my adjustment had suddenly locked up. It wasn’t until I took a deep breath and looked at the threads that I realized I’d been ignoring the warning signs for weeks. If you’ve ever noticed why your coffee beans are sticking to the sides of the hopper, you already know that static and oils are the silent enemies of your setup. Today, I’m going to share the exact steps to safely loosen that ring and keep it moving smoothly for years to come.
Could I Actually Break My Burrs by Forcing This?
That’s the fear, isn’t it? The thought of a high-end piece of barista gear becoming a paperweight because you used too much elbow grease is enough to make anyone hesitant. According to data from the Specialty Coffee Association regarding equipment longevity, mechanical failures often stem from ‘forced operation’ of seized components rather than actual wear and tear. Brute force is rarely the answer in the world of precision grinding. I’ve seen many enthusiasts accidentally cross-thread their collars because they tried to ‘muscle’ a stuck ring back into place. Have you ever found yourself wrestling with your machine before you’ve even had your first sip of caffeine? It’s a frustrating spot to be in, but with a bit of patience and the right technique, we can fix this without needing a toolbox. Before you consider how to select the perfect coffee grinder to replace your ‘broken’ one, let’s try a few tricks to revive the one you have.First things first: power down and unplug. Safety isn’t just a suggestion when you’re poking around metal threads and capacitors. Once the hopper is off and you’ve vacuumed out any loose beans, we need to address the physics of the seize. Often, the metal of the collar and the grinder body have bonded due to temperature changes and oil.
Apply Gentle Heat to Break the Seal
This is my go-to trick. Think of your grinder like a jar of pickles that won’t open. You run it under hot water, right? Since we can’t douse a how to fix a grinder adjustment ring that is stuck in water, we use a hairdryer. I once spent thirty minutes on a friend’s old Mazzer that felt like it was welded shut. I directed the heat toward the outer collar for about five minutes. The goal is to make the outer ring expand slightly more than the inner threads. When I finally gave it a firm twist, it gave way with a satisfying ‘pop’ that sounded like a gunshot in the quiet kitchen. 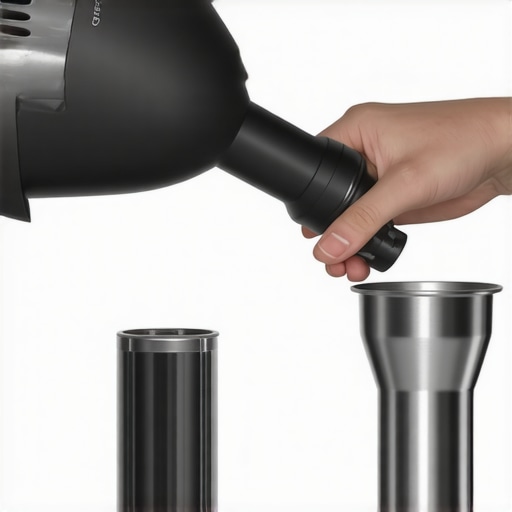
The Safe Way to Apply Pressure
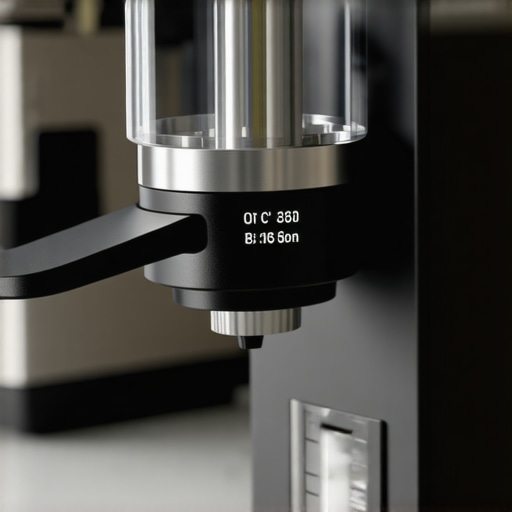
If heat alone doesn’t do it, stop yourself before you reach for the toolbox. Instead of pliers, use a rubber strap wrench. It provides incredible grip without marring the finish of your barista gear. If you don’t have one, a thick rubber band wrapped around the collar can give your hand the traction it needs.
Scrub Those Threads Like Your Morning Coffee Depends on It
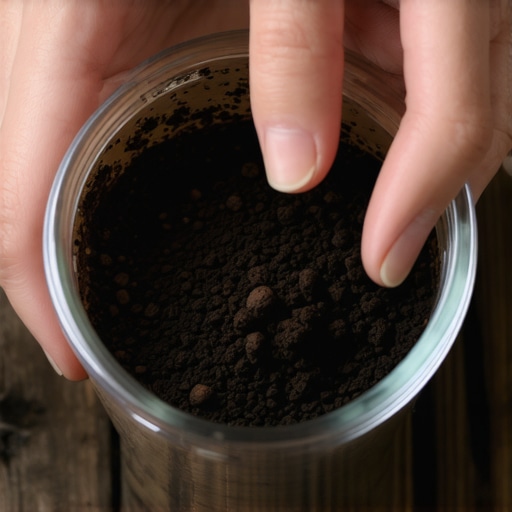
Once you get the ring off, you will likely see a gunk that looks like dark, sticky wax. That is not just dust; it is a mixture of fine particles and oils that have polymerized. This is often the reason your grinder adjustment ring feels gritty or stuck in the first place. Use a stiff nylon brush and some isopropyl alcohol to clean every single groove. I used to skip this part, thinking a quick wipe was enough, until the ring seized again two weeks later. Now, I treat the threads with the same respect I give my top-rated espresso machines for coffee lovers in 2025. If you notice that why your coffee grounds are clumping together is becoming a frequent issue, it might be time for a full deep clean rather than just a surface wipe.
Lubrication is the Final Step
Don’t put it back together dry. Use a tiny amount of food-grade Dow 111 or similar high-viscosity, food-safe lubricant. Just a tiny dab on the threads is enough to keep things moving. This prevents the metal-on-metal friction that leads to cross-threading. If you have been looking into the best way to clean a grinder without taking it apart, remember that for the adjustment ring, physical disassembly is usually the only permanent fix once it is seized. Take your time, do not force the threads when reassembling, and you will be back to pulling shots in no time.But even once you have freed that adjustment ring, there is a deeper layer of maintenance that most enthusiasts get fundamentally wrong. I have seen it in countless forums: the ‘unconventional hack’ of using uncooked rice to clean out coffee oils. It sounds like a cheap, easy win, right? Wrong. In fact, this is the quickest way to turn a functional machine into a expensive paperweight. While many people think they are being clever by avoiding specialized cleaning tablets, they are actually inviting disaster into their motor housing.
Why Your Grinder Hates Your Kitchen Pantry Hacks
The common belief is that rice is abrasive enough to scrub the burrs but soft enough to pass through. However, uncooked rice is significantly harder than coffee beans and contains high levels of moisture-absorbing starch. According to technical bulletins from the engineering team at Baratza, using rice can create a high-torque environment that exceeds the motor’s design limits, potentially snapping a drive gear or burning out the capacitor. When that starch meets the residual oils in your how to select the perfect coffee grinder, it creates a concrete-like paste that can seize your adjustment threads all over again. If you want to know the best way to clean a grinder without taking it apart, stick to dedicated cleaning pellets that are designed to expand and absorb without stressing the mechanical components. 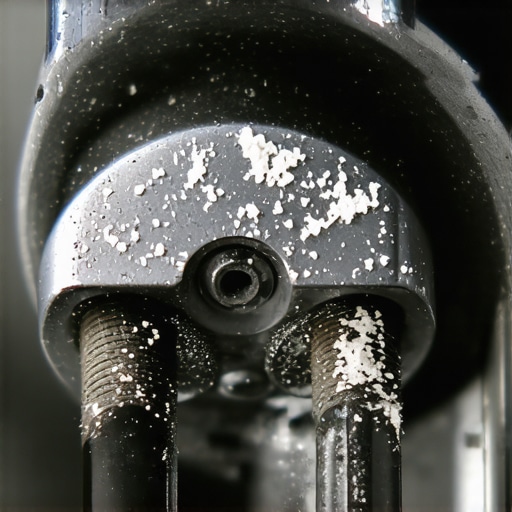
Does Zeroing My Burrs Actually Damage the Metal?
This is the advanced question I get most often from people who have finally mastered their mastering the art of home espresso. We all want that perfect, powdery Turkish grind, but the ‘chirp’—that sound of metal-on-metal when you find the zero point—is a dangerous game. Every time you let those burrs touch while spinning, you are effectively dulling the razor-sharp edges that provide your grind consistency. This is often why your grinder burrs are getting hot during a single dose; the friction from slightly misaligned burrs touching creates heat that cooks your beans before they even hit the basket. Instead of searching for the absolute zero, find your finest usable espresso setting and back off just a hair.
The Invisible Trap of Over-Lubrication
Another ‘oops’ factor I see constantly is the ‘more is better’ approach to food-grade grease. I once thought that coating my adjustment threads in a thick layer of Molykote would make my grinder feel like a luxury car. Instead, it became a magnet for every microscopic coffee particle. Within a week, the ring was more stuck than it had been before I cleaned it. The nuance here is ‘less is more.’ You want a film, not a layer. If you are struggling with consistency, remember that the move for better espresso without buying a new machine is often just mastering these tiny mechanical details. Have you ever fallen into the rice cleaning trap or accidentally ‘chirped’ your burrs into oblivion? Let me know in the comments. If you are still having trouble with your setup, check out how to clear a jammed chute without damaging your grinder for the next steps in your maintenance journey.I have spent a lot of time talking about grinders, but the espresso machine is the heart of your kitchen that needs the most consistent care. I remember the first time I peeked inside my old heat-exchange machine; the heating element looked like it had been dipped in sugar, but it was actually thick, crusty calcium. If you are wondering how to tell if your machine boiler is accumulating lime scale, listen for a high-pitched ‘singing’ or whistling during the heat-up phase. That is the sound of the element struggling to heat through a mineral jacket. To combat this, I have stopped using tap water entirely and switched to a 70/30 water recipe that prevents scale from forming in the first place.
Stop Lime Scale Before It Kills Your Boiler
Scale is the silent killer of top-rated espresso machines for coffee lovers in 2025. Even if you use a filter, minerals eventually find a way to settle. I recommend a full inspection once a quarter. This doesn’t mean taking every bolt apart, but it does mean being proactive. If you have been searching for the best way to descale a boiler without using harsh vinegar, use a dedicated citric-acid-based cleaner. It’s effective and doesn’t leave that lingering salad-dressing scent in your morning latte. 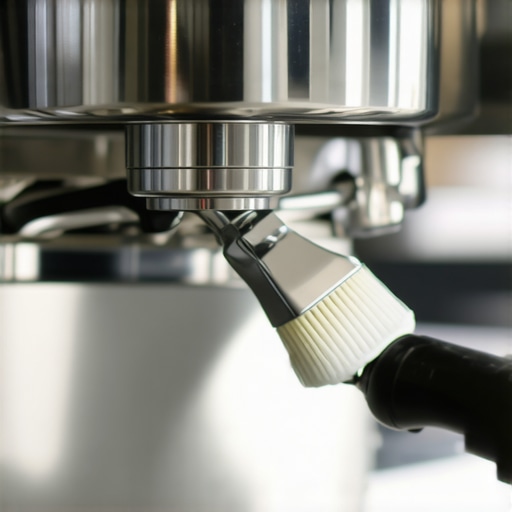
How do I maintain my espresso setup over time?
It is not about one massive clean once a year; it is about the micro-habits you develop. For example, the best way to purge your steam wand without getting burned is to do it immediately after every use with a damp microfiber cloth, no exceptions. I also make it a point to backflush with water daily and use a specialized detergent every two weeks to clear out the oils in the group head. If you have an E61 machine, you need to know how to properly lubricate your e61 group head cam because that detergent strips away the internal grease, eventually making the lever feel crunchy. According to the technical service manuals from La Marzocco, ignoring the group head gasket and shower screen replacement schedule is the leading cause of pressure loss during extraction.
The Tools That Actually Earn Their Counter Space
In terms of specialized gear, I swear by a group head brush with a splash guard and a set of Pallas or similar cleaning picks. These allow you to reach into the crevices of your basket and shower screen without scratching the expensive chrome finish. Looking ahead, I see the industry moving toward ‘smart maintenance’—sensors that actually measure the mineral content and flow rate of your boiler in real-time. Until those become standard, we are the sensors. If you are using milk frothers that transform your coffee experience, don’t forget the steam tip is just as prone to milk stone buildup as the machine. Take ten minutes today to check your boiler for that ‘singing’ sound and commit to a better water recipe to save your machine’s life.
The Hardest Lessons My Seized Grinder Taught Me
After years of wrestling with barista gear, I’ve realized that the most expensive repair is the one caused by simple impatience. When I first started, I assumed that if something didn’t move, I just needed to push harder. That philosophy cost me a set of premium burrs and a very expensive repair bill. My first “lightbulb moment” was discovering that most mechanical issues in espresso are caused by invisible organic buildup, not broken metal. Another lesson? Your water quality dictates your machine’s lifespan more than the brand name on the front. Finally, never underestimate the power of a deep clean; if you find how to fix a grinder that wont turn on after cleaning is your new search query, you’ve likely missed a crucial reassembly step or let debris settle in the wrong place. #IMAGE_PLACEHOLDER_E#
Essentials That Deserve a Spot in Your Coffee Drawer
You don’t need a massive toolbox to keep things running, but you do need the right specific items. I personally trust Dow 111 food-grade lubricant for every gasket and thread; it’s the gold standard for a reason. A dental pick set is also surprisingly useful for removing the old, hardened oils from thread grooves that a brush can’t reach. If you are still exploring the landscape of equipment, take a look at top-rated espresso machines for coffee lovers in 2025 to see how modern designs are making maintenance easier. For those looking to refine their technique without spending thousands, the move for better espresso without buying a new machine is always to prioritize the cleanliness and alignment of your current grinder.
Step Back into the Flow of Your Best Morning Brews
Maintenance can feel like a chore, but it’s actually a form of respect for the craft. When your adjustment ring glides smoothly and your boiler doesn’t “sing” with scale, you can focus entirely on the flavor profile of your beans. Remember that choosing the best barista gear for coffee enthusiasts requires a steady hand and a bit of patience to stay in peak condition. Your equipment is an investment in your daily happiness—treat it well, and it will reward you with the perfect shot every single time. Have you ever faced a ‘locked’ grinder adjustment ring that felt like it was welded shut? Let me know your survival stories in the comments below!