The Reason Your Steam Wand Only Makes Thin, Hot Milk
It is 7:00 AM on a Tuesday. You have just pulled a gorgeous, syrupy shot of espresso, and you are ready to top it with that velvet microfoam you see at the local cafe. You plunge the steam wand into your cold pitcher, wait for the magic, and—*screech*. Instead of thick, glossy foam, you are left with a jug of thin, scalding-hot milk that looks more like dishwater bubbles than a latte. I have been there, standing over my counter in a robe, feeling like my machine was personally mocking me. In my early days, I spent more time cleaning up splattered milk than actually drinking it because I simply could not find the texture. I honestly thought my machine was broken, or maybe I just did not have the right touch. It felt like a total betrayal of my morning ritual.
Stop Chasing Bubbles and Start Stretching Your Milk
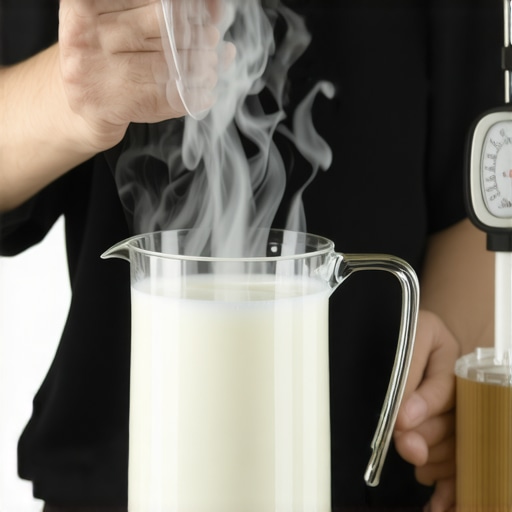
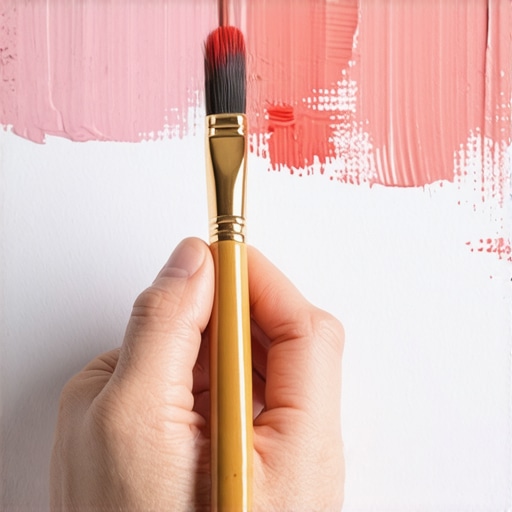
The frustration is real, and it is usually not because you bought the wrong equipment. I used to stare at top-rated espresso machines for coffee lovers in 2025 and think a more expensive boiler was the only solution to my thin milk problem. It is a classic trap. We think more heat equals better foam, but in reality, your technique is likely the culprit behind that watery consistency. When I first started, I made the amateur mistake of keeping the wand too deep in the pitcher, thinking I was heating it ‘from the inside out.’ All I did was boil the milk without ever introducing air. If you do not hear that soft, paper-tearing sound in the first few seconds, you are basically just making a hot, flat mess. We need to focus on the ‘stretch’ and the ‘whirlpool’ to get that paint-like finish. According to research from the Specialty Coffee Association, milk proteins (specifically casein and whey) stabilize air bubbles most effectively when aeration happens while the milk is still cold—typically between 40°F and 100°F. If you wait too long to start stretching, the proteins have already begun to denature, leaving you with nothing but hot, thin liquid.
Is My Machine Just Too Weak for Latte Art?
It is easy to get discouraged and think your entry-level setup is the problem. I used to blame my hardware for every failed pour. One time, I even convinced myself that choosing the best barista gear was the only way out of my microfoam nightmare. While some milk frothers that transform your coffee experience can handle the work for you, a manual steam wand requires a bit of a dance. Even a modest machine can produce silk if you understand that why your milk pitcher position is ruining your texture is usually a matter of centimeters. You might also be dealing with a mechanical hitch, like why your steam wand tips keep getting blocked by milk residue, which kills your steam pressure before you even start. Have you ever felt like your steam wand was actually fighting against you? Drop a comment and tell me what kind of machine you are using—I bet we can find a fix together. Now, let us dive into the mechanics of why that milk is staying so thin despite all that heat.
Master the Two-Phase Steam Routine
The biggest hurdle in mastering the art of home espresso tips for beginners is realizing that steaming isn’t a single action—it’s a two-act play. Think of it like baking bread: first, you let the dough rise (stretching), then you knead it into shape (texturing). If you just heat the milk without focusing on these phases, you are essentially trying to bake a loaf without any yeast. It will always be flat, heavy, and disappointing. You cannot simply turn on the steam and hope for the best; you have to actively manage the air introduction before the milk gets too hot to hold it.
Purge Your Wand to Avoid Watery Milk
Before that wand even touches your milk, you must purge it into the drip tray. If you don’t, you are injecting a healthy dose of condensed water directly into your drink. I remember one frantic Monday when I was so rushed I skipped the purge entirely. The result? A shot of lukewarm water blasted straight into my pitcher, ruining the fat-to-protein ratio and leaving me with a greyish, bubbly mess. This is often why users search for how to fix a steam wand that only blows out weak air—sometimes it is just water blocking the initial pressure. A quick three-second blast ensures you are working with dry, powerful steam from the very first second.
Introduce Air While the Milk is Cold
Aeration, or ‘stretching,’ must happen at the very beginning of the process. You want to lower the pitcher just enough so the tip of the wand is kissing the surface of the liquid. You should hear a distinct sound like paper tearing—tss-tss-tss. If you hear a low roar, the wand is too deep; if you hear a violent splash, the wand is too high. You only want to do this until the side of the pitcher feels like the temperature of your palm (roughly 100°F). After that point, the fats in the milk start to melt, and any air you try to add will result in huge, soap-like bubbles that won’t integrate into the liquid. This is the primary reason how to stop your milk foam from turning into a big bubble is about timing, not just raw steam power.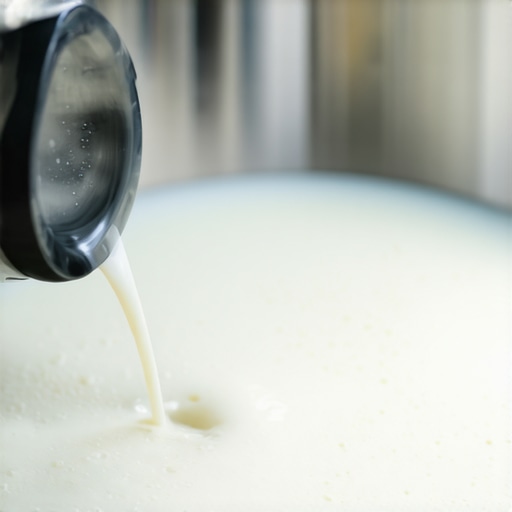
Spin the Milk Into Silky Microfoam
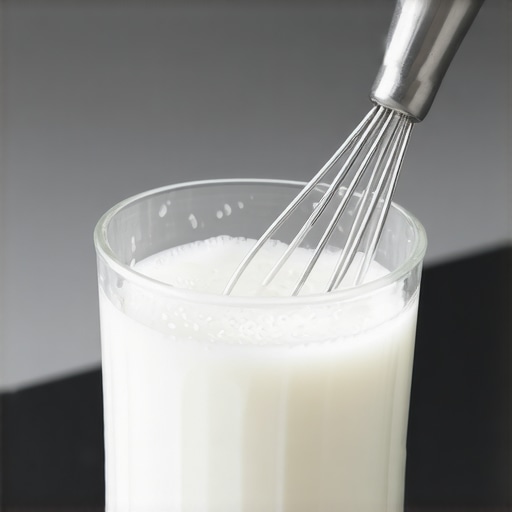
Once you have reached that ‘palm-warm’ stage, it is time to bury the wand tip slightly—just about half an inch—and tilt the pitcher to one side. You are looking for a violent vortex. If the milk is just bouncing up and down, your texture will be uneven and clumpy. You need the milk to spin like a whirlpool to fold those newly created air bubbles deep into the liquid, breaking them down into microscopic spheres. Knowing the trick to getting the perfect swirl in your milk pitcher is what separates a chunky, dry latte from a velvety flat white. If you find your foam is always separating into ‘hot milk’ and ‘foam cap,’ it is likely because why your milk pitcher position is ruining your texture is due to a lack of horizontal movement. Keep that whirlpool going until the pitcher is almost too hot to touch comfortably (around 140°F to 150°F), then shut off the steam immediately while the wand is still submerged.
Stop Obsessing Over High Steam Pressure
Most people think they need a commercial-grade beast to get that glossy finish. In reality, too much pressure can be a curse for home baristas. Everyone says you need 2.0 bars of pressure for ‘real’ foam, but in my experience, a slower, more controlled steam flow works better for those just starting out. When your machine is too powerful, the milk heats up so fast that you only have about three seconds to aerate. This is often why beginners end up with why your espresso machine steam is wet and spluttery rather than consistent. A lower-powered wand gives you more ‘dwell time’ to fix your mistakes and really integrate those bubbles. I spent years thinking my machine was the problem, but I was just being outpaced by my own equipment. When choosing the best barista gear, look for control over raw power every single time.
Why Re-Steaming Your Leftover Milk is a Texture Killer
Here is the ‘Oops’ factor that almost every home barista falls for at least once: trying to save milk by topping off the pitcher and re-steaming. I have been there, trying to be economical, but it is a guaranteed way to ruin your latte. Once milk proteins have been heated to 140°F and cooled, their chemical structure changes. If you try to stretch it a second time, you will get a thin, unstable foam that collapses before you can even finish your pour. Have you ever fallen into this trap? Let me know in the comments. Not only does it taste ‘cooked,’ but it also increases the risk of how to stop your milk frother from burning the bottom of the jug as the already-denatured proteins bake onto the stainless steel. It is better to use the best way to handle large milk pitchers for small drinks by dosing exactly what you need rather than trying to recycle a failed attempt.#IMAGE_PLACE_HOLDER_C#
Does a four-hole steam tip actually make better microfoam?
Advanced enthusiasts often upgrade to four-hole tips, thinking more holes equals better air distribution. However, if your boiler is small, a four-hole tip will drain your steam pressure in seconds, leaving you with lukewarm, watery milk. A study published in the Journal of Dairy Science highlights that the stability of milk foam is highly dependent on the speed of protein adsorption at the air-water interface. If your steam pressure drops mid-stretch because your tip is too ‘fast’ for your boiler, you won’t get the velocity needed to create a proper vortex. This is why I often recommend sticking to a two-hole tip for most home setups. It is about the synergy between your machine’s recovery time and your own dexterity. Just like how to select the perfect coffee grinder for your brew involves matching the burr type to your roast preference, your steam wand setup must match your machine’s thermal capacity. Don’t be swayed by the ‘pro’ label; sometimes less is significantly more when it comes to microfoam.
Keep the Steam Flowing Without Rebuilding Your Machine
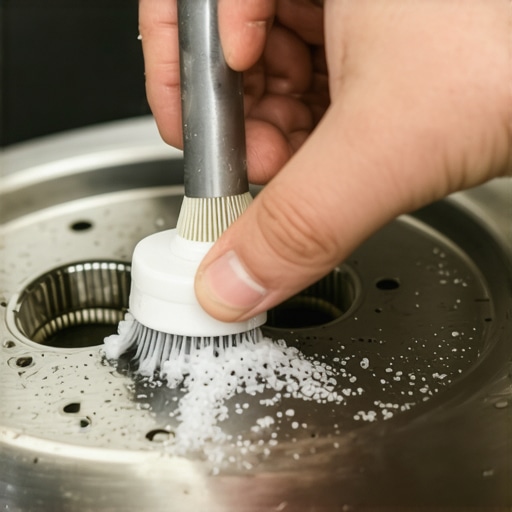
A pristine steam wand is about more than just aesthetics; it is the heart of your microfoam’s success. If you have been struggling with texture despite following every tip, you might need to look inside the gear. I learned this the hard way after three months of wondering why my milk felt ‘heavy’ regardless of my technique. It turns out, learning how to clean the inside of your steam wand pipe is just as vital as the stretch itself. Milk proteins can bake onto the interior of the wand over time, narrowing the airway and creating a turbulent flow that ruins your chance at a silky vortex. I now make it a habit to do a deep soak every weekend. This isn’t just about flavor; it’s about protecting your investment. According to technical service bulletins from La Marzocco, mineral accumulation and organic residue in the solenoid valve are the leading causes of pressure loss in prosumer machines. If you ignore the internals, even top-rated espresso machines for coffee lovers in 2025 will eventually start underperforming. Staying ahead of the gunk means you never have to deal with the heartbreak of a machine that refuses to froth.
The Small Tools That Save My Workflow Daily
Beyond the machine itself, I have a few ‘ride or die’ tools that reside permanently on my counter. You don’t need a massive budget for choosing the best barista gear, but you do need precision. For instance, I never start a session without checking why your group head shower screen is getting clogged so fast. A simple group head brush and a dedicated pipe cleaner have saved me more frustration than any expensive gadget. I specifically use a thin, flexible wire brush for the grinder too. Mastering how to clean your grinders discharge chute with a pipe cleaner ensures that yesterday’s stale, oily grounds don’t end up in today’s sweet morning shot. It is these tiny habits—the ‘micro-maintenance’—that ensure every cup tastes like it was brewed by a professional. 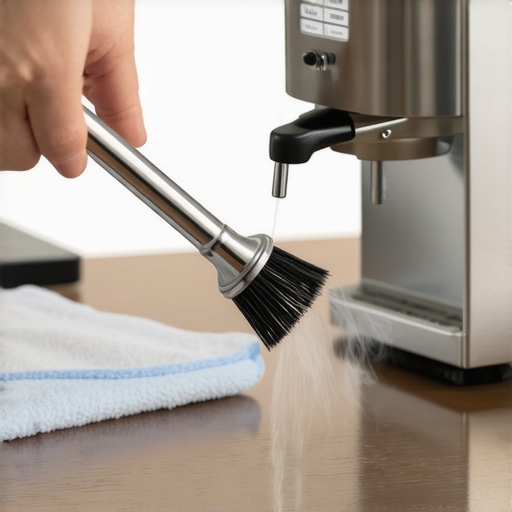
How do I keep my machine from dying a slow death?
Consistency over time requires a proactive approach to your machine’s health. I am a big advocate of the monthly ‘stress test.’ This involves how to check if your portafilter gasket is actually sealed and running a full backflush cycle. If you feel any resistance or hear strange hissing, you are likely catching a problem before it requires a $300 repair bill. I predict that in the next few years, we will see more home machines integrate AI-driven thermal sensors into the steam wand, similar to high-end commercial tech, which will alert you when internal flow is restricted by scale. For now, we have to be our own mechanics. I want you to try this today: unscrew your steam wand tip and soak it in a dedicated milk-system cleaner for twenty minutes. You might be shocked at the improvement in your next latte. Don’t wait until the steam dies to start caring for the wand.
Three Harsh Truths My First Thousand Lattes Taught Me
Getting that perfect, paint-like texture isn’t a matter of luck; it’s a matter of listening to what the milk is telling you. Looking back on my journey with home espresso, there were a few pivotal shifts in my perspective that changed everything. First, I had to stop blaming my equipment. I used to think top-rated espresso machines for coffee lovers in 2025 were the only way to get results, but even the best boiler can’t fix a bad technique. Second, the silence of the vortex is actually where the magic happens. If your pitcher is screaming, you are failing; if it is humming, you are winning. Lastly, I realized that once the milk hits 100°F, your window for adding air is slammed shut. Any air introduced after that point is just a waste of steam.
The Simple Kit That Solved My Texture Woes
You don’t need a professional laboratory to get professional results, but you do need the right essentials. When you are choosing the best barista gear, focus on a pitcher with a sharp spout for better control during the pour. I also highly recommend keeping a dedicated cleaning kit nearby. If you ever find your equipment failing, knowing how to fix a milk frother that wont spin or how to clear a blocked steam tip can save your morning. I personally trust a simple digital thermometer for the first few months until your hand learns the ‘touch’ of 140°F. Additionally, experimenting with different milk frothers that transform your coffee experience can help you understand the physics of foam before you try to master the manual wand.
#IMAGE_PLACEHOLDER_E#
Your Journey to Better Coffee Starts with This One Sip
Steaming milk is one of the most tactile and rewarding parts of the coffee ritual. It takes patience, a few scorched fingers, and probably a few gallons of wasted milk, but the moment you pour that first glossy heart, everything clicks. By mastering the art of home espresso tips for beginners, you are not just making a drink; you are crafting an experience that rivals any high-end cafe. Don’t be afraid to fail today, because every thin latte is just a step toward your next perfect flat white. Have you ever struggled with getting that elusive ‘paper-tearing’ sound just right? Let me know in the comments below!