The One Way to Fix a Clogged Steam Wand Without Chemicals
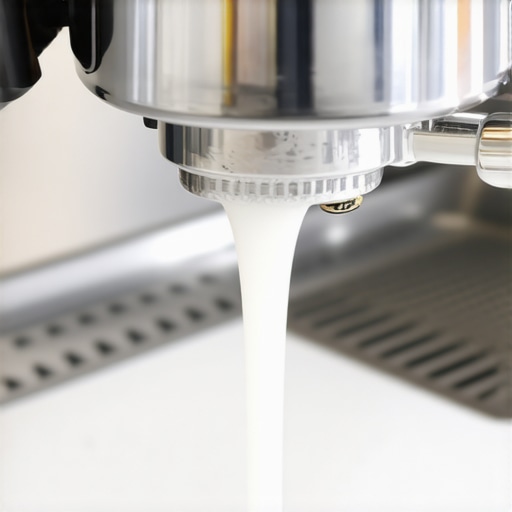
There is a very specific kind of heartbreak that only a home barista knows: the sound of a steam wand that has lost its soul. Last Tuesday, I had my beans perfectly dialed in with my coffee grinder, the shot looked like liquid gold, and I was ready to pour some art. I flipped the steam lever, and instead of a powerful roar, I got a pathetic, high-pitched whistle. It was the dreaded milk-blockage. In my early days, I made the huge mistake of trying to force a sewing needle into the holes, which did nothing but scratch my beautiful chrome and push the gunk deeper into the pipe. Today, I’m going to show you how to skip the expensive descalers and use a simple thermal-shock technique to get your machine back in action.
Stop Poking and Start Steaming
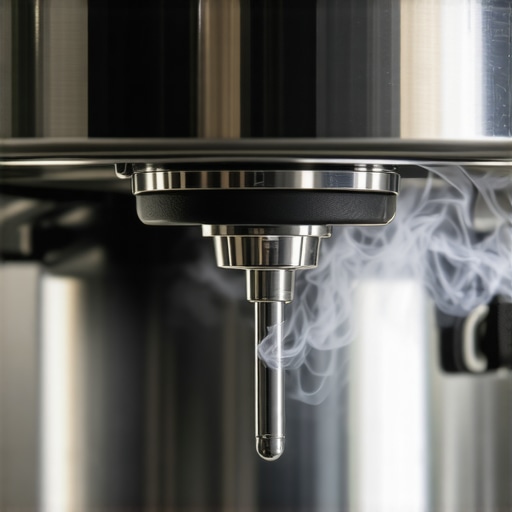
[image] I used to think that when my steam wand only made thin, hot milk, it was a sign of a failing boiler. In reality, it’s almost always a build-up of milk proteins that have basically turned into concrete inside the tip. While many people run to buy heavy-duty cleaners, I’ve found that you can solve 90% of these issues with nothing more than water and a little patience. If you’ve ever noticed why your steam wand tips keep getting blocked, you know that prevention is key, but once it’s stuck, you need a different strategy. According to the Specialty Coffee Association, milk proteins begin to denature and adhere to stainless steel at temperatures as low as 140°F, creating a stubborn film that traps steam. We’re going to use the machine’s own heat to break that bond.
Is it actually safe to skip the professional cleaners?
You might be skeptical that plain water can do the job of a chemical soak, but think of it this way: you’re essentially reverse-engineering the mess. I’ve spent years tinkering with top-rated espresso machines, and the most reliable fix is often the simplest. Have you ever felt like your machine was personally trying to ruin your morning with a weak purge? Let me know if you’re dealing with a stubborn clog right now. Before we dive into the wet-towel method, make sure you know how to properly purge so you don’t end up with a nasty steam burn while we’re working.
The Damp Towel Hack That Actually Works
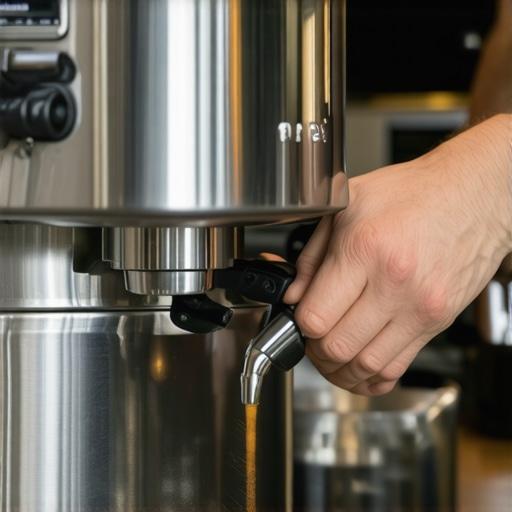
The secret to clearing a stubborn clog isn’t brute force; it is softening the “milk stone” from the outside in using a localized humidity chamber. Grab a clean microfiber cloth and soak it in the hottest water your tap or kettle can provide. Wrap it tightly around the tip of the wand and let it sit for at least five to ten minutes. This creates a miniature sauna for the wand tip, rehydrating those baked-on proteins that have calcified in the heat. I learned this the hard way back in 2019 when I left my machine on all afternoon after making a messy latte. The milk had dried so hard I could not even see the holes, and the wand felt like it was welded shut. I almost called a professional technician, but after two rounds of the “hot wrap,” the blockage finally softened enough to move. Once you have let it soak, you need to know how to clean the inside of your steam wand pipe without accidentally drawing more debris further into the valve assembly. 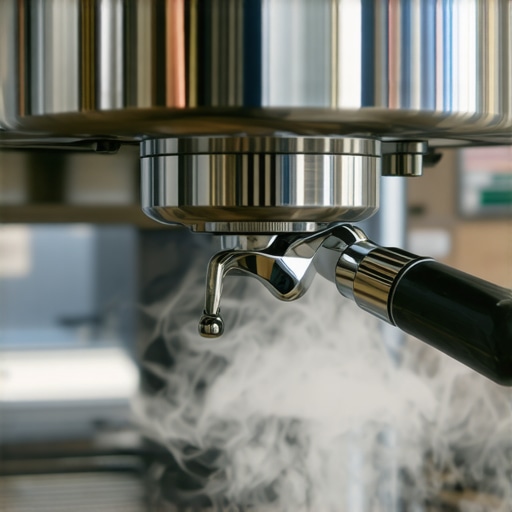
Blast Out the Residue Once and For All
After the soak, remove the towel and open the steam valve fully for just two seconds. You are looking for a satisfying “thwack” sound as the internal pressure ejects the softened milk plug into the drip tray. If you still see an uneven spray or hear a high-pitched whistle, do not reach for the sewing needle yet. You might be dealing with a situation where your steam wand only blows out weak air because the internal threads of the tip are gummed up with old fats. Think of the steam wand like a garden hose with a thumb over the end; if the exit is partially blocked, the internal pressure builds up but the flow becomes turbulent and useless for creating microfoam. If the towel method does not work after three tries, it is time to unscrew the tip entirely and soak it in a cup of hot water and a dedicated milk-cleaner solution.
How Many Holes Does Your Wand Have?
The complexity of the fix often depends on your specific hardware. You might wonder why some steam wands have two holes and others have four, and the answer directly impacts how easily they clog. Four-hole tips provide the incredible vortex power needed for milk frothers that transform your coffee experience, but those smaller apertures catch debris much faster than a single-hole tip. If one hole is clear and the others are blocked, the steam will exit at an awkward angle, making it impossible to learn how to texture milk for a flat white versus a latte because you cannot create a consistent whirlpool. While you are troubleshooting, check your boiler pressure gauge; if it is sitting below 1 bar, no amount of cleaning will fix a lack of power. For those just starting their journey, mastering the art of home espresso tips for beginners includes developing the mandatory muscle memory to purge immediately after every single use to prevent the vacuum effect from drawing milk back up into the steel.
Let’s dig deeper into a nuance that most people miss: just because the outside of your wand is shining doesn’t mean the inside isn’t a disaster zone. Everyone says that a quick wipe-down with a damp cloth is enough, but in my experience, that only addresses the aesthetics. The real problem is the ‘back-siphonage’ effect. When you finish steaming and turn off the valve, a tiny vacuum is created as the hot air inside the wand cools rapidly. If your wand is still submerged in milk for even a split second after the steam stops, it sucks a microscopic amount of milk into the tip. Over months, this creates a rancid layer of milk fat that no amount of external wiping will touch. This is often why your espresso machine steam is wet and spluttery despite having a full boiler.
Why does my steam feel ‘wet’ even when the tip is clear?
If you are noticing heavy water droplets instead of a dry, powerful jet, you might be dealing with condensation pooling in the pipe or a failing gasket that is allowing boiler water to mix with the steam. A study by the Coffee Science Foundation highlights that even microscopic layers of organic residue can significantly alter the thermodynamics of steam delivery, leading to inconsistent foam. When you are choosing the best barista gear for coffee enthusiasts, you have to realize that high-end equipment requires high-end maintenance. Have you ever fallen into this trap of thinking a clean exterior meant a clean machine? Let me know in the comments. 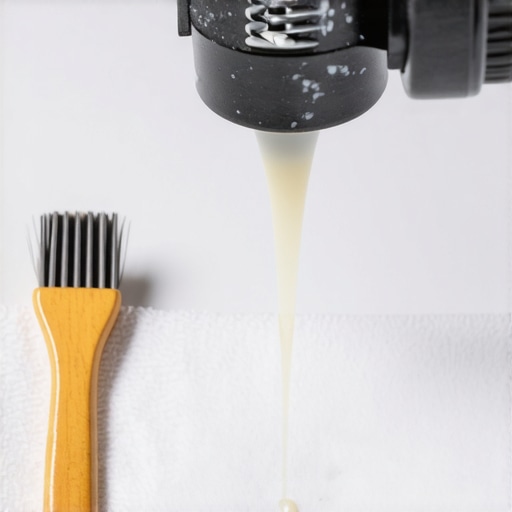
Don’t Kill Your Valve with Over-Tightening
The biggest ‘oops’ factor I see with even the top-rated espresso machines is the ‘gorilla grip’ mistake. When a wand starts to leak or feel weak, users tend to crank the handle shut as hard as they can to ‘stop the bleed.’ This is a fatal error for your machine’s longevity. Doing this compresses the internal Teflon or rubber seals until they deform permanently. Once that happens, you’ll find that the reason your steam wand valve feels gritty is that you have physically ground the seal into the brass threading. Instead of forcing it, you should learn how to fix a leaking steam wand valve pin properly by replacing the consumable O-rings. It’s a ten-minute job that saves you a three-hundred-dollar valve assembly replacement. Stop treating your delicate barista tools like a garden wrench and start treating them like the precision instruments they are. True expertise comes from knowing when to stop applying pressure and when to start applying a screwdriver.
Beyond the steam wand, the real heart of your machine’s longevity lies in the components you cannot see without a screwdriver. I’ve ruined more gaskets than I’d like to admit because I treated maintenance as a when it breaks chore rather than a weekly ritual. If you find why your group head shower screen is getting clogged so fast, you’re likely overdue for a backflush. I personally swear by a specialized group brush with angled bristles; it gets into the gasket track in a way that a standard kitchen sponge never could. While choosing the best barista gear for coffee enthusiasts, don’t overlook the simple tools like a stiff-bristled brush or a dedicated pipe cleaner. I’ve found that knowing how to clean your grinders discharge chute with a pipe cleaner can be the difference between a fresh shot and one that tastes like last month’s dark roast. 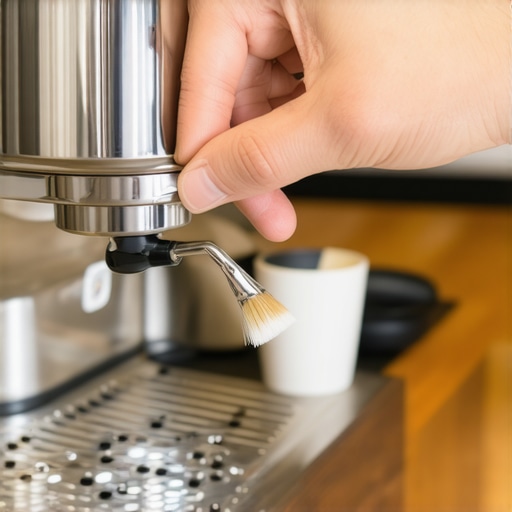
Stop Scale Before It Stops Your Morning Shot
Water is the silent killer of top-rated espresso machines. Even if you use a filtered pitcher, minerals are slowly plating themselves onto your heating element. According to technical guides from the repair experts at Clive Coffee, the number one reason for machine failure is scale-induced blockage in the small copper pathways. I make it a rule to use the easy way to test your machines water hardness at home every time I change my bean supplier or notice a change in my local tap water. If you wait until you have to figure out how to tell if your machine boiler is accumulating lime scale, the damage might already require a full teardown. I recommend using a BWT Bestsave pouch in your reservoir—it’s a set-it-and-forget-it solution that has saved my E61 machine from three potential descaling disasters.
How do I keep my setup running like new for years?
Consistency in maintenance is about rhythm, not intensity. Every morning, I purge my wand. Every Friday, I backflush with water. Every first of the month, I backflush with detergent and perform a mini-service on the group head. This includes learning how to properly lubricate your e61 group head cam with food-safe Molykote 111. Without that grease, the metal-on-metal friction will eventually round off your cam, leading to a spongy lever feel that ruins your tactile feedback during a shot. Your coffee grinder deserves the same love; don’t just dump beans in and hope for the best—clean the burrs every couple of weeks to prevent oil rancidity.
Prepare for the Era of Predictive Espresso Care
Looking toward the future, I predict we are moving away from manual guesswork maintenance. We are already seeing the first wave of IoT-connected machines that monitor flow rates and pressure in real-time, alerting your phone when the pump is struggling or a filter is reaching its saturation point. This kind of tech will make mastering the art of home espresso tips for beginners much less intimidating. Until your machine can talk to you, however, you have to be its voice. My challenge for you this week: pull your shower screen off and look at the back of it. If it’s black with old oils, give it a 20-minute soak in espresso cleaner. You will be shocked at how much clarity returns to your shots.
The Expensive Lessons Only a Dirty Steam Wand Can Teach
It took me three years of frustrating mornings to realize that even the best beans can’t overcome a poorly maintained machine. One of my biggest lightbulb moments was discovering the ‘Purge Paradox’—if you don’t purge immediately, you aren’t just leaving milk on the surface; you are effectively ‘cooking’ a layer of organic film inside the metal every time the boiler cycles. This internal grime is often the secret reason why your espresso shot volume varies even with the same dose, as back-pressure from a partially clogged wand affects the entire system’s equilibrium. I also learned to listen to the vibration of the machine; a subtle change in pitch usually happens right before your espresso pressure drops suddenly during the shot, giving you a chance to stop and clean before a full blockage occurs.
#IMAGE_PLACEHOLDER_E#
The Kit I Use to Keep My Coffee Gear in Showroom Shape
I don’t believe in filling your kitchen with every gadget on the market, but there are a few non-negotiables for anyone serious about their brew. My daily toolkit includes a set of dedicated microfiber towels (one for the wand, one for the machine body), food-safe lubricant for the moving parts, and a high-quality brush for the group head. When you are choosing the best barista gear for coffee enthusiasts, prioritize the tools that make the ‘dirty work’ faster. I always suggest investing in one of the more robust coffee grinders that allows for easy chamber access, because if a tool is hard to clean, you simply won’t do it. These small investments prevent the catastrophic failures that send your machine to the repair shop for weeks.
Your Path to a Lifetime of Perfect Microfoam
Maintaining your equipment is the final, essential stage in the ritual of coffee making. When you treat these top-rated espresso machines with respect, they reward you with decades of consistent, cafe-quality performance. Don’t let a little milk residue stand between you and the perfect pour; mastering the art of home espresso tips for beginners is as much about the hygiene of the wand as it is about the tamping of the puck. If you ever run into a technical snag that a wet towel can’t fix, don’t hesitate to contact us for more specialized advice. Have you ever encountered a milk blockage that felt like it was permanent? Let me know your cleaning horror stories in the comments below!