Why Your Manual Grinder Takes Longer for the Same Beans
I remember the morning I nearly threw my hand grinder out the window. It was a Tuesday. I had the same bag of medium-roast beans I’d been using all week, but suddenly, what usually took forty-five seconds felt like a grueling five-minute arm workout. My forearm was burning, my coffee was late, and I couldn’t for the life of me figure out what had changed. Was it the weather? Was I just weaker today? I felt like a total beginner again, despite having spent years obsessed with coffee.
Your Grinder Isn’t Trying to Spite You
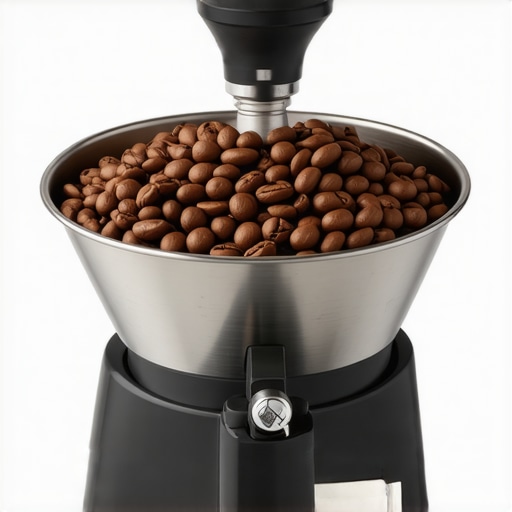
It turns out, that extra physical effort isn’t just in your head. I made the massive mistake early on of thinking that once I set my dial, the experience would be identical until the bag was empty. But coffee is an organic product, and it reacts to everything from humidity to the age of the bean. Today, I want to pull back the curtain on why your manual grinder is suddenly fighting you and show you how to get back to that effortless morning routine. [IMAGE_PLACEHOLDER]
Is manual grinding actually worth the hype?
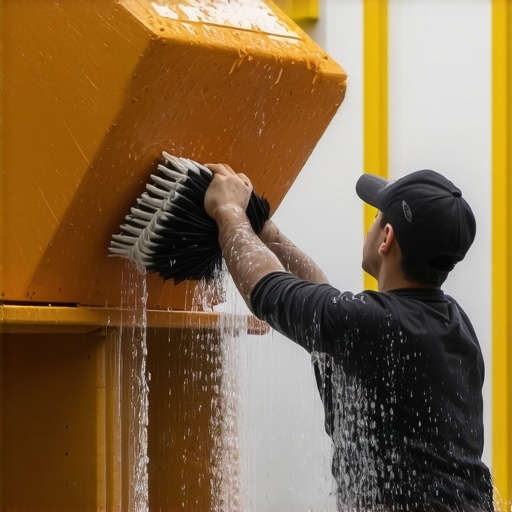
Look, I’ve been there—questioning if I should just buy a bulky electric machine and be done with it. But there is a soul to manual grinding that you can’t replace. The issue usually isn’t the grinder; it’s the variables we ignore. For instance, I used to ignore the fines and oils that would build up inside the mechanism. If you don’t know how to clean your grinders discharge chute with a pipe cleaner, you’re literally fighting through old, compacted dust every time you turn the handle.
Static and Friction are the Hidden Culprits
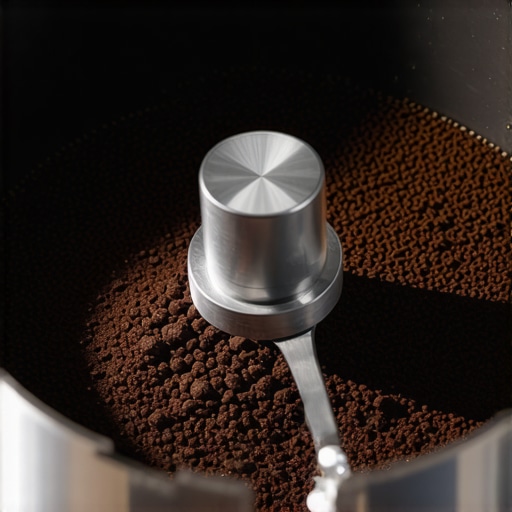
One of the biggest culprits is static. Depending on the humidity in your kitchen, those beans can become incredibly clingy. According to research from materials chemists at the University of Oregon, the moisture content within the beans and the environment significantly impacts the static charge generated during the grinding process. This static causes grounds to clump, creating more resistance against the burrs. I learned the hard way that a simple drop of water could have saved me months of forearm strain. If your workflow feels like a mess, you might need to learn how to stop static from ruining your grinding workflow. Have you ever faced that specific moment where the handle just refuses to budge smoothly even though you haven’t changed your settings?
When Your Burrs Start to Lose Their Edge
Sometimes the problem is purely mechanical. If you’ve been cranking away for months, it’s possible your equipment is simply tired. You should regularly check how to tell if your espresso grinder burrs are dull because worn-down edges don’t cut; they mash the beans. Mashing takes significantly more energy than slicing. I also found that my adjustment ring was slipping mid-grind in the past, which is a common headache. You can usually spot why your grinder adjustment moves while youre grinding if you inspect the locking mechanism for wear and tear. Let’s look at the science of bean density and what else might be slowing you down.
Stop the Static with One Tiny Drop of Water
The quickest way to cut through that annoying resistance is the Ross Droplet Technique (RDT). If you have ever felt like you are grinding through gravel, it is likely because static electricity is causing the beans to clump together before they even hit the burrs. I remember a morning in mid-February when my kitchen was bone-dry; coffee dust was sticking to the walls of the grinder and every turn of the handle felt like a Herculean task. I took the back of a damp spoon, stirred my beans for two seconds, and the resistance vanished. This simple moisture addition reduces the friction that causes clumping. If your setup is constantly messy, you really need to learn how to stop static from ruining your grinding workflow to keep things moving smoothly. 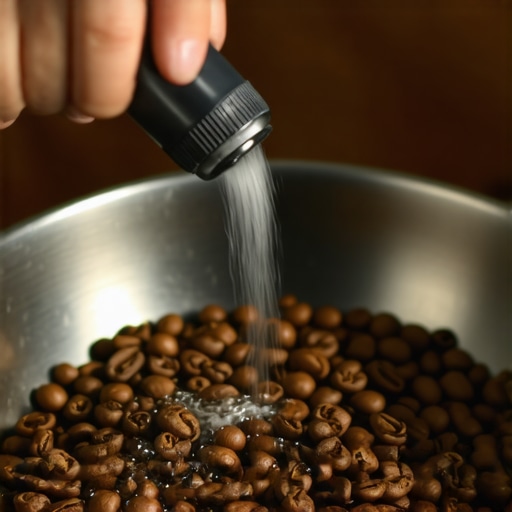
Fix Your Grip to Save Your Forearms
Many people treat a manual grinder like a pepper mill, holding it vertically and using only their wrists. This is a recipe for fatigue. Instead, think of your grinder like a bicycle handle. Tilt the grinder slightly towards your body and use your non-dominant hand to provide a counter-rotation. By moving both hands in opposite directions, you effectively double your speed without increasing the torque required from your forearm. This subtle shift is the move that saves your grinder from unnecessary wear and saves you from a morning workout you didn’t ask for. When you are choosing the best barista gear for coffee enthusiasts, look for grinders with ergonomic silicone grips which make this technique much easier to maintain.
Check Your Burrs for Hidden Wear
If the effort required to grind has steadily increased over months, it is likely that your hardware is failing you. Dull burrs don’t slice; they crush. This crushing action requires significantly more physical force. You should regularly investigate how to tell if your espresso grinder burrs are dull by inspecting the cutting edges for shiny spots or rounded corners. If you have recently upgraded your equipment, remember that new burrs often have ‘burrs’ of their own—tiny metal imperfections—that need to be smoothed out. Learning how to properly season new steel burrs for better consistency will reduce the initial friction and lead to a much smoother turning experience.
Find Your True Zero Point
One of the most frustrating experiences is having your adjustment dial slip or reset. If you are grinding too fine because you don’t know where your starting point is, you are essentially trying to force beans through a microscopic gap. Mastering the trick to finding the true zero point on your grinder ensures that your coarse and medium settings are actually accurate, preventing the ‘clogging’ sensation that happens when the burrs are too close together. I once spent twenty minutes trying to grind a light roast only to realize I was three clicks past zero; my grinder wasn’t broken, I was just trying to do the impossible.I remember the morning I nearly threw my hand grinder out the window. It was a Tuesday. I had the same bag of medium-roast beans I’d been using all week, but suddenly, what usually took forty-five seconds felt like a grueling five-minute arm workout. My forearm was burning, my coffee was late, and I couldn’t for the life of me figure out what had changed. Was it the weather? Was I just weaker today? I felt like a total beginner again, despite having spent years obsessed with coffee.
Your Grinder Isn’t Trying to Spite You
It turns out, that extra physical effort isn’t just in your head. I made the massive mistake early on of thinking that once I set my dial, the experience would be identical until the bag was empty. But coffee is an organic product, and it reacts to everything from humidity to the age of the bean. Today, I want to pull back the curtain on why your manual grinder is suddenly fighting you and show you how to get back to that effortless morning routine. [IMAGE_PLACEHOLDER]
Is manual grinding actually worth the hype?
Look, I’ve been there—questioning if I should just buy a bulky electric machine and be done with it. But there is a soul to manual grinding that you can’t replace. The issue usually isn’t the grinder; it’s the variables we ignore. For instance, I used to ignore the fines and oils that would build up inside the mechanism. If you don’t know how to clean your grinders discharge chute with a pipe cleaner, you’re literally fighting through old, compacted dust every time you turn the handle.
Static and Friction are the Hidden Culprits
One of the biggest culprits is static. Depending on the humidity in your kitchen, those beans can become incredibly clingy. According to research from materials chemists at the University of Oregon, the moisture content within the beans and the environment significantly impacts the static charge generated during the grinding process. This static causes grounds to clump, creating more resistance against the burrs. I learned the hard way that a simple drop of water could have saved me months of forearm strain. If your workflow feels like a mess, you might need to learn how to stop static from ruining your grinding workflow. Have you ever faced that specific moment where the handle just refuses to budge smoothly even though you haven’t changed your settings?
When Your Burrs Start to Lose Their Edge
Sometimes the problem is purely mechanical. If you’ve been cranking away for months, it’s possible your equipment is simply tired. You should regularly check how to tell if your espresso grinder burrs are dull because worn-down edges don’t cut; they mash the beans. Mashing takes significantly more energy than slicing. I also found that my adjustment ring was slipping mid-grind in the past, which is a common headache. You can usually spot why your grinder adjustment moves while youre grinding if you inspect the locking mechanism for wear and tear. Let’s look at the science of bean density and what else might be slowing you down.
Stop the Static with One Tiny Drop of Water
The quickest way to cut through that annoying resistance is the Ross Droplet Technique (RDT). If you have ever felt like you are grinding through gravel, it is likely because static electricity is causing the beans to clump together before they even hit the burrs. I remember a morning in mid-February when my kitchen was bone-dry; coffee dust was sticking to the walls of the grinder and every turn of the handle felt like a Herculean task. I took the back of a damp spoon, stirred my beans for two seconds, and the resistance vanished. This simple moisture addition reduces the friction that causes clumping. If your setup is constantly messy, you really need to learn how to stop static from ruining your grinding workflow to keep things moving smoothly.
Fix Your Grip to Save Your Forearms
Many people treat a manual grinder like a pepper mill, holding it vertically and using only their wrists. This is a recipe for fatigue. Instead, think of your grinder like a bicycle handle. Tilt the grinder slightly towards your body and use your non-dominant hand to provide a counter-rotation. By moving both hands in opposite directions, you effectively double your speed without increasing the torque required from your forearm. This subtle shift is the move that saves your grinder from unnecessary wear and saves you from a morning workout you didn’t ask for. When you are choosing the best barista gear for coffee enthusiasts, look for grinders with ergonomic silicone grips which make this technique much easier to maintain.
Check Your Burrs for Hidden Wear
If the effort required to grind has steadily increased over months, it is likely that your hardware is failing you. Dull burrs don’t slice; they crush. This crushing action requires significantly more physical force. You should regularly investigate how to tell if your espresso grinder burrs are dull by inspecting the cutting edges for shiny spots or rounded corners. If you have recently upgraded your equipment, remember that new burrs often have ‘burrs’ of their own—tiny metal imperfections—that need to be smoothed out. Learning how to properly season new steel burrs for better consistency will reduce the initial friction and lead to a much smoother turning experience.
Find Your True Zero Point
One of the most frustrating experiences is having your adjustment dial slip or reset. If you are grinding too fine because you don’t know where your starting point is, you are essentially trying to force beans through a microscopic gap. Mastering the trick to finding the true zero point on your grinder ensures that your coarse and medium settings are actually accurate, preventing the ‘clogging’ sensation that happens when the burrs are too close together. I once spent twenty minutes trying to grind a light roast only to realize I was three clicks past zero; my grinder wasn’t broken, I was just trying to do the impossible. Beyond the mechanics of the burrs, there is the hidden nuance of the beans themselves. We are often told that dark roasts are the gold standard for espresso, but in my experience, they are a primary cause of mechanical failure. If you have noticed your motor lagging or your hand-grinding getting stickier, you need to understand why your coffee grinder is stalling with dark roast beans. The surface oils act like a thick adhesive, trapping fines and creating a sludge that forces the mechanism to work twice as hard. This is exactly why you should never use oily beans in a super-automatic machine; the internal pathways simply aren’t designed to handle that level of viscosity without constant, deep cleaning.
Stop Obsessing Over the Nine Bar Myth
There is a common belief in the coffee world that 9 bars of pressure is a non-negotiable law. However, sticking to this religiously is a trap for the advanced home barista. A landmark 2020 study by researchers at the University of Portsmouth found that lower pressures around 6 bars combined with a coarser grind can actually produce more consistent, high-quality extractions. When I first tried this, I was shocked at how much clarity I found in my light roasts. If you are struggling with your output, remember that how to select the perfect coffee grinder for your brew involves finding a tool that allows for these subtle, low-pressure adjustments. 
Why does my espresso taste salty even with a perfect grind?
This is a question I get from people who have mastered the basics but still face inconsistent results. Saltiness is almost always a sign of under-extraction, but it can happen even if your grind looks right on paper. If your water temperature is too low or your puck prep is uneven, you’ll end up wondering why your espresso shot tastes salty and how to fix it. Usually, it’s not the grinder’s fault—it’s the thermal stability of your machine. I’ve found that even the weather affects this; learning why your shot extraction time changes every single day is the final hurdle to true consistency.
Steam Wands Are Not Created Equal
Finally, don’t overlook your milk workflow. I see so many people buy a high-end machine and then wonder why some steam wands have two holes and others have four. It isn’t just about speed; it’s about the velocity of the air being injected. A four-hole tip requires much faster movement to create a proper vortex, whereas a two-hole tip is far more forgiving for beginners. Have you ever fallen into this trap? Let me know in the comments.I used to think that a quick rinse of the portafilter was all the cleaning my machine needed. I was wrong. Dead wrong. After six months of ignoring the deeper mechanics, my shots started tasting like burnt rubber and old gym socks. I realized that the invisible buildup of polymerized oils is the silent killer of great coffee. This is exactly why you need to understand the danger of leaving old coffee oils in your portafilter spouts. These oils turn rancid quickly, and no amount of expensive beans can mask that bitterness.
Clean the Gunk You Can’t See
Maintenance isn’t just about the parts you touch every day; it is about the internal components that handle the pressure. If you are using a classic machine, you will eventually notice the lever feeling stiff or ‘crunchy.’ I learned the hard way that ignoring this leads to permanent scoring on the brass components. Learning how to properly lubricate your e61 group head cam with food-grade Molykote 111 is the difference between a machine that lasts five years and one that lasts twenty. It’s a tactile, satisfying bit of DIY work that makes you feel much more connected to the process.
How do I maintain my espresso setup over time?
The secret to long-term success is a tiered schedule: daily purges, weekly backflushes, and monthly deep cleans. One of the most neglected areas is the milk system. If you find your foam is becoming thin or inconsistent, check your hardware. I’ve seen many enthusiasts wonder why your steam wand tips keep getting blocked by milk residue when the solution is a simple dedicated soak in a surfactant-based cleaner. According to the 2024 Coffee Technicians Guild manual, mineral scale and milk protein buildup account for nearly 70% of residential service calls. By staying ahead of these, you aren’t just saving money; you are preserving the flavor profile you worked so hard to dial in. 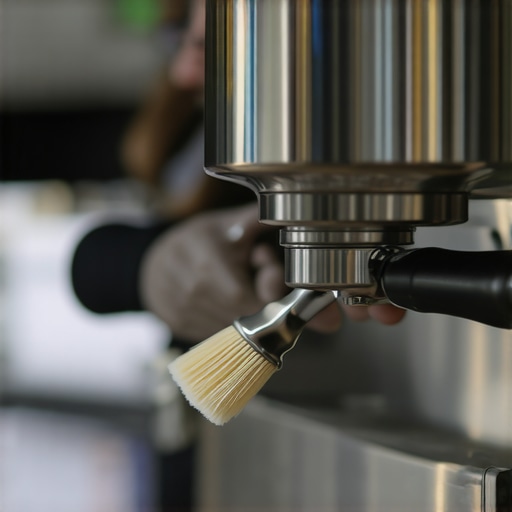
Scaling Up Your Home Coffee Bar
As your obsession grows, your space will likely shrink. I recently had to figure out how to set up a dedicated coffee station in a narrow hallway, and it taught me that workflow efficiency is just as important as the machine itself. We are moving toward a future where ‘smart’ espresso gear will handle most of the cleaning alerts for us, but the physical act of scrubbing the shower screen remains a barista’s rite of passage. If you are looking at the top-rated espresso machines for coffee lovers in 2025, you’ll see more integrated maintenance software, but don’t let that make you lazy. My challenge to you this week: pull your shower screen off and give it a deep soak. You’ll be shocked at what has been hiding behind that stainless steel mesh.
Hard-Won Realities from My Journey Behind the Burrs
Over the years, I have realized that even the most expensive coffee grinders won’t fix a lack of patience. My biggest lightbulb moment came when I stopped trying to force my equipment to behave and started listening to it instead. If the handle feels stiff, something is wrong—don’t just push through it. Secondly, I learned that water quality is the silent partner in every shot; even the most dialed-in burrs can’t save a cup brewed with liquid rock. Finally, I discovered that ‘perfection’ is a moving target. Some days your espresso is flowing out of only one spout despite your best efforts, and that is okay. It is a sign to slow down and check your level, not to give up on the hobby.
The Short List of Tools That Earned a Permanent Spot on My Counter
If you are looking to level up, I highly recommend starting with the right foundations. First, a reliable high-precision scale is non-negotiable—it is the only way to troubleshoot why your morning cup tastes different than yesterday’s. Second, I swear by a simple natural-bristle brush for keeping the chute clean; it is faster and more effective than any vacuum. Third, I always point people toward mastering the art of home espresso tips for beginners because it builds the muscle memory you need before you start buying fancy accessories. [IMAGE_PLACEHOLDER] When you are choosing the best barista gear for coffee enthusiasts, focus on items that feel good in your hand and simplify your workflow rather than adding more steps.
Your Path Toward Better Morning Coffee Starts Now
The beauty of the home espresso journey is that you are never truly finished learning. Whether you are troubleshooting a stubborn manual grinder or researching the top-rated espresso machines for coffee lovers in 2025, every step you take makes you a better barista. Don’t be afraid to make a mess, pull a sour shot, or get a little coffee dust on the counter. Each ‘failure’ is just more data helping you find that elusive, perfect cup. Have you ever felt like your grinder was fighting you more than usual? Let me know in the comments below!