Why Your Machine Needs a Backflush Every Single Week
I will never forget the Tuesday morning my espresso routine turned into a total nightmare. I had just dialed in some beautiful, expensive beans, but the shot that hit my cup tasted like a mix of charcoal and old gym socks. I panicked, thinking my pump was dying or my heating element was shot, but the reality was much simpler—and honestly, a bit gross. I had been so focused on mastering the art of home espresso that I completely neglected the hidden plumbing of my machine. I was a victim of my own laziness, and my taste buds were paying the ultimate price. [image placeholder]
Stop Letting Rancid Oils Hijack Your Morning Brew
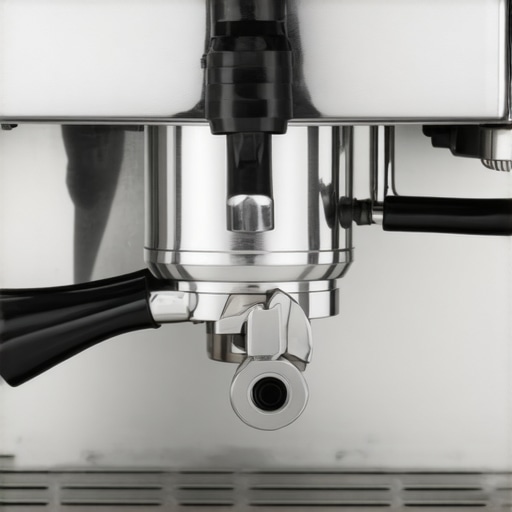
We spend a lot of money on the top-rated espresso machines and high-end beans, yet many of us treat the group head like it is self-cleaning. It isn’t. Every time you pull a shot, coffee oils and tiny particles are forced back up into the three-way solenoid valve. If you leave them there, they do not just stay put; they oxidize and turn rancid. I made the classic rookie mistake of thinking a quick wipe of the shower screen was enough. It was not. Eventually, that buildup gets so thick it can even cause technical glitches, such as why your espresso machine takes longer to heat up recently, because the internals are literally struggling against the gunk. A weekly backflush is your machine’s reset button. It is the difference between a crisp, sweet extraction and a muddy mess that leaves a bitter film on your tongue. Think of it like brushing your teeth—you would not skip that for a month and expect a fresh smile. According to the Specialty Coffee Association (SCA), coffee oils can start to oxidize and negatively affect flavor profiles in as little as 24 hours when exposed to the high heat and air inside a group head. If you are going a month between cleanings, you are essentially brewing through a layer of compost.
Is Backflushing Every Week Actually Worth the Hassle?
I hear the skepticism. It sounds like a chore, or maybe your manual says every 200 shots. Trust me, I used to be in that camp until I saw the black, oily sludge that came out of my portafilter during a deep clean. You do not need fancy barista gear to do it, just a blind basket and some detergent. It takes five minutes, but it saves you hours of frustration later. Have you ever noticed your shots tasting off even when your grind is perfect? That is your machine crying out for a scrub. By keeping a tight schedule, you prevent the danger of leaving old coffee oils to fester where you cannot see them. Today, I am going to walk you through exactly why this routine is non-negotiable if you value your gear and your palate. Does your espresso ever have that weird, metallic aftertaste you just cannot shake? Let me know in the comments—you might be way overdue for a backflush!
Prepare Your Blind Basket and Detergent
To start this process, you need to swap your standard filter for a blind basket—this is just a solid piece of stainless steel that prevents water from flowing through the portafilter. Think of it like putting a cork in a bottle to force the pressure backward. When choosing the best barista gear for coffee enthusiasts, always ensure you have a high-quality detergent like Cafiza. Drop about half a teaspoon into the basket. I remember the first time I did this, I used way too much powder and it actually clogged my discharge line, creating a volcano of white foam in my drip tray. Use just enough to create a concentrated cleaning solution. This small amount is sufficient to break down the stubborn lipids that cause the danger of leaving old coffee oils to ruin your brew profile. 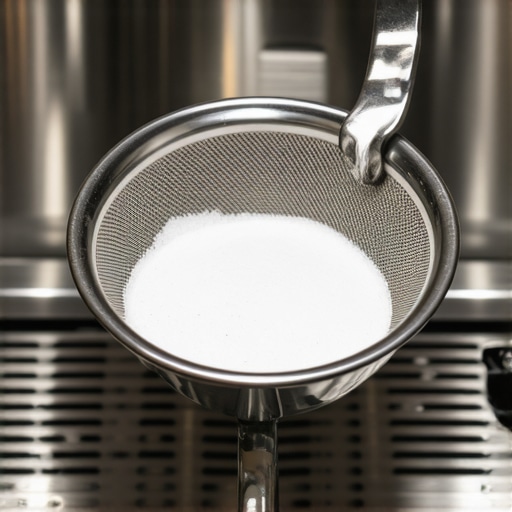
Run the Pressure Pulse Correctively
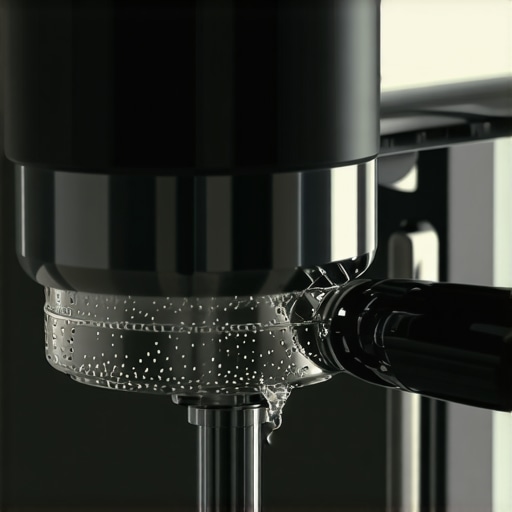
Once your portafilter is locked into the group head, engage the pump. You are going to let the pressure build for about ten seconds. During this time, the machine is like a pressure cooker, forcing the hot detergent water into the three-way solenoid valve where the gunk lives. Switch the pump off and you will hear a ‘whoosh’ as the dirty water is discharged into the drip tray. Repeat this cycle five times. This pulsing action is more effective than one long soak because it uses the mechanical force of the pump to scrub the internals. It is a vital part of mastering the art of home espresso tips for beginners because it ensures your solenoid valve does not seize up over time. If you notice a weak discharge, you should how to check your espresso machines group head flow rate to ensure there isn’t a deeper blockage.
Eliminate the Chemical Aftertaste Forever
The most common mistake people make is stopping as soon as the detergent cycles are done. I once ruined a $25 bag of rare Ethiopian beans because I didn’t rinse enough; my first shot tasted like lemon-scented floor cleaner. After the detergent cycles, remove the portafilter, rinse the basket thoroughly, and put it back in empty. Run another five cycles of ten seconds each with just plain hot water. This clears out the chemical ghost of the detergent. You are essentially flushing the plumbing until the water coming out of the discharge tube is crystal clear. This step ensures you do not end up with a metallic or soapy tang in your next latte.
Restore the Feel of Your Lever Cam
If you own a machine with a manual lever, like an E61 group head, you might notice the lever feels ‘crunchy’ or stiff after a deep clean. This happens because the detergent is so effective it strips away the food-grade lubricant on the internal brass cams. When this happens, the friction can lead to premature wear on your machine’s internals. To fix this, you must learn how to properly lubricate your e61 group head cam using Molykote or a similar food-safe grease. It only takes a tiny dab to bring back that buttery-smooth action you felt when the machine was brand new. Keeping the mechanical parts moving freely is just as important as keeping the water path clean.Now that your group head is pristine, we need to talk about the one piece of equipment that probably causes more headaches than the machine itself: the grinder. Most people think that once they have learned how to select the perfect coffee grinder for your brew, the hard part is over. But there is a massive misconception that finer is always better for espresso. I have seen enthusiasts push their burrs so close together they basically create a waterproof puck. This leads to massive channeling where the water finds one tiny crack and blasts through it, leaving you with a shot that is both sour and bitter at the same time. You are looking for a sandy texture, not talcum powder. 
Why does your shot extraction time change every single day?
It is the ultimate frustration: you did not touch the dial, yet today’s shot is five seconds faster than yesterday’s. This is not a ghost in the machine; it is usually a combination of bean degassing and ambient humidity. According to the Specialty Coffee Association (SCA), roasted coffee is hygroscopic, meaning it absorbs moisture from the air. On a humid morning, your beans might swell slightly, requiring a completely different setting than they did during a dry afternoon. This is why your shot extraction time changes every single day even when you think you have everything locked in. To stay ahead of it, you need to dial in your first shot of every session, rather than trusting the settings from the day before.
Stop Adjusting Your Grinder While the Motor is Off
Here is the oops factor that almost cost me a set of expensive ceramic burrs. Never, ever adjust your grinder to a finer setting while the motor is stationary. When you move the burrs closer together, any coffee beans trapped between them act like tiny rocks, forcing the adjustment mechanism to strain or even snap. This is the move that saves your grinder from unnecessary wear—always have the motor running when you go finer. If you have been doing this wrong for a while, you might want to learn how to tell if your espresso grinder burrs are dull or chipped.
The Myth of the True Zero Point
Everyone talks about the trick to finding the true zero point on your grinder as if it is a holy grail. While it is a helpful reference, do not obsess over it. Your zero will naturally shift as your burrs season and heat up during a busy morning. Real expertise comes from tasting the shot and watching the flow, not staring at the numbers on a plastic dial. Have you ever fallen into the trap of blaming your machine for a bad shot, only to realize your grinder was the real culprit? Let me know in the comments—I have definitely been there!
Don’t Let Your Countertop Turn Into a Chaos Zone
Even after you have mastered the grind, your workflow will still feel clunky if your tools are scattered everywhere. I spent three months hunting for my WDT tool and dosing funnel every morning until I finally learned how to organize your barista tools in a single drawer. It sounds trivial, but shaving thirty seconds off your prep time makes the hobby sustainable for the long haul. You also need to protect your surfaces; I eventually had to learn how to pick a coffee mat that does not absorb odors because spilled milk and old grounds can quickly turn your kitchen into a smelly science experiment. A clean, organized station is the hallmark of a serious home barista. [image placeholder]
Why I Swear by These Niche Barista Tools
When choosing the best barista gear for coffee enthusiasts, do not overlook the importance of water quality. According to the technical documentation from La Marzocco Home, using water with an ideal mineral balance is the single most effective way to prevent catastrophic scale buildup in your boilers. This is why I always recommend the easy way to test your machines water hardness at home before you even think about upgrading your machine. If your water is too hard, you are effectively choking your heating elements with minerals. Additionally, keep an eye on your milk equipment; if your foam quality drops, you should how to clean the tiny air hole in your automatic milk frother to restore that silky microfoam.
How do I maintain my espresso machine’s performance over years of use?
Longevity is built on the little things you do between shots. Beyond the backflushing, you must focus on your grinder’s longevity. If you have recently upgraded your setup, you need to know how to properly season new steel burrs for better consistency. Raw steel burrs often require running several pounds of coffee through them before they produce a uniform particle size. Looking toward the future, I predict we will see more top-rated espresso machines integrating AI-driven maintenance alerts that track mineral buildup in real-time. Until those become standard, staying diligent with manual checks is your best defense against gear failure. If you want to truly simplify your morning, exploring milk frothers that transform your coffee experience can give you a dedicated station for latte art while your espresso machine focuses on the shot. My advanced tip for you today: use a pipe cleaner to deep-clean your grinder’s exit chute. You will be shocked at how much stale coffee is hiding in there, ready to ruin your next bag of premium beans.
Hard-Won Truths from Years Behind the Portafilter
Over the years, I have realized that mastering the art of home espresso is less about having the most expensive machine and more about the relationship you have with your gear. First, never underestimate the power of your own palate; if a shot tastes great, ignore the timer. Second, I learned that a clean machine is a quiet machine; when parts aren’t fighting through scale and oil, the whole experience is more peaceful. Third, don’t get discouraged by a ‘bad’ bag of beans—sometimes they just need a bit more rest. Lastly, if you ever find yourself struggling with a dial that won’t turn, check out how to fix a grinder adjustment ring that won’t budge before you apply too much force and break something expensive.
The Tools That Actually Earned Their Spot on My Counter
My coffee journey changed once I stopped buying every gadget on Instagram and focused on what actually affected the cup. I highly recommend investing in a high-quality water testing kit; knowing your baseline is essential, and there is the easy way to test your machines water hardness at home without needing a degree in chemistry. I also swear by a simple WDT tool for distribution, though if you are on a budget, you can learn the move for better espresso distribution without fancy tools to save some cash. Finally, a dedicated maintenance log has saved me from forgetting my descaling cycles more times than I can count.
Your Journey Toward the Perfect Pour
Espresso is a hobby of millimeters and seconds, but it should never feel like a burden. Every shot is a chance to learn something new about your technique or your beans. By staying on top of your cleaning and understanding the quirks of your grinder, you are already ahead of 90% of home users. If you ever run into issues with the mouthfeel of your coffee, remember the simple way to fix a gritty texture in your espresso to get back on track. Keep experimenting, keep tasting, and most importantly, keep enjoying the process of mastering the art of home espresso tips for beginners and experts alike. What was the most surprising thing you found when you first deep-cleaned your group head? Let’s compare notes in the comments below!