The reason your steam wand is leaking water into your milk
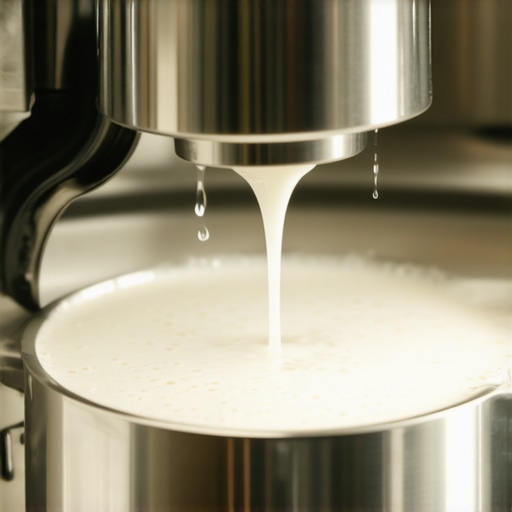
I was standing in my kitchen at 6:30 AM, desperate for that first creamy sip of a latte, when it happened. I dipped the tip of the wand into my cold pitcher, opened the valve, and instead of that beautiful paper tearing sound, I got a pathetic, gurgling splutter. Before I could even react, a stream of hot, clear water shot straight into my expensive organic milk. It’s a gut-punch for any home barista. I used to think my machine was possessed, or worse, that I’d have to shell out hundreds for a repair tech. If you’ve been finding your microfoam looks more like soapy dishwater lately, you aren’t alone. [image_placeholder_1]
Stop Drinking Watered-Down Lattes Today
It’s incredibly frustrating when you’ve mastered your home espresso basics only to have the final step fail you. We are going to get to the bottom of why your steam wand is acting like a leaky faucet and how you can reclaim that velvet texture. Whether you are using one of the top-rated espresso machines for 2025 or a trusty old hand-me-down, the physics remains the same. The goal here is simple: zero water in the pitcher, 100% dry steam.
Is Your Machine Just Too Cheap to Work Right?
I used to blame my gear constantly. Early in my journey, I made the classic mistake of thinking a budget machine just couldn’t produce dry steam. I actually almost threw out a perfectly good unit because I didn’t understand the purge. According to studies on thermodynamic properties of saturated steam, condensation is an inevitability in any metal tube—even in high-end commercial boilers, steam can be wet if the thermal equilibrium isn’t maintained. It’s not necessarily a hardware failure; often, it’s a physics problem we can solve with a simple habit change.
Why Your Steam Wand Is Actually Spitting at You
The most common culprit is actually quite boring: condensation. When your machine sits, the steam inside the wand cools down and turns back into water. If you don’t clear that out, it goes right into your milk. But what if it keeps leaking even after a purge? That’s when we have to look closer at the internal components. I’ve spent way too many hours taking apart valves to realize that sometimes, you just need to fix a leaking steam wand valve pin. It’s a tiny part that causes a massive headache. Have you ever noticed a puddle forming in your milk before you even start the stretch? Understanding why your espresso machine steam is wet and spluttery is the first step toward that silky microfoam on a single boiler machine we all crave.
Bleed the Line Before You Sink the Tip
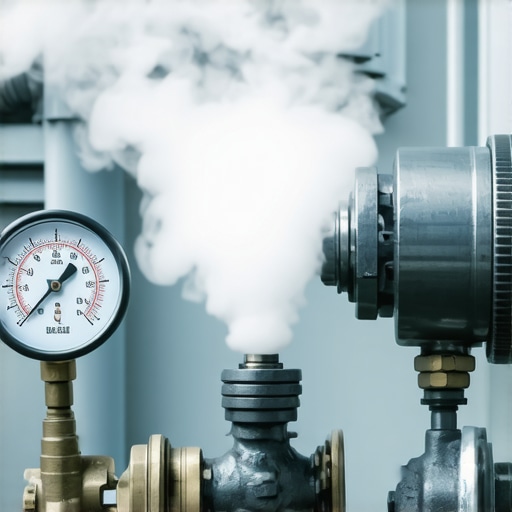
Think of your steam wand like a garden hose left in the sun. The first burst of liquid is never the pressure or temperature you actually want; it is the stagnant leftovers that need to be evicted. To avoid a watered-down mess, you must purge the wand into your drip tray for at least three to five seconds. I remember one frantic Tuesday when I skipped this step to save time before a meeting. The resulting ‘latte’ was a watery, bubbly disaster that tasted more like warm tap water than coffee. By purging until you see a steady, dry jet of steam, you ensure that only gas enters your milk pitcher. This simple habit is often the secret to silky microfoam on a single boiler machine that many beginners overlook. If you notice the flow is still inconsistent, it might be the reason your steam pressure dips when you open the valve, signaling that your boiler hasn’t reached full pressure. 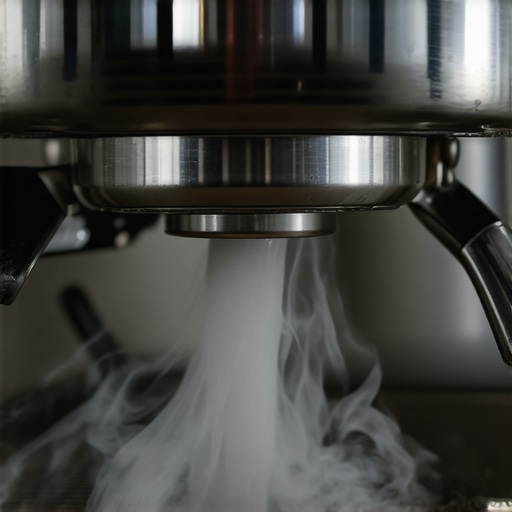
Wait for the Boiler to Find Its Groove
Speed is the enemy of quality when it comes to home espresso. Most machines, especially mid-range ones, have a ‘ready’ light that lies to you. It triggers when the water hits the right temperature, but the metal of the wand and the steam arm is still cold. This temperature delta causes immediate condensation inside the pipe. Give your machine an extra five minutes after the light comes on. This heat-soaking ensures the internal components stay hot enough to keep the steam in its gaseous state. If you find yourself constantly fighting moisture even after a long warm-up, you should investigate why your espresso machine steam is wet and spluttery to see if your thermostat is drifting.
Scrub the Inner Pipe and Tip Holes
A tiny bit of dried milk is a physical barrier that turns a smooth steam flow into a chaotic spray. Even if the outside looks clean, the internal diameter of the wand can narrow over time with milk buildup. Use a dedicated brush or a paperclip to clear the holes in the steam tip. For a deeper fix, you need to know how to clean the inside of your steam wand pipe properly. I once pulled a ‘slug’ of old milk out of a friend’s machine that was causing it to whistle like a kettle. If your wand feels loose while you are scrubbing, you can learn how to tighten a loose steam wand nut without scratching the chrome to keep everything airtight. Often, the one way to fix a clogged steam wand without chemicals is simply a long soak in hot water followed by a high-pressure blast.
Now, let’s dig deeper into the mechanics of why your equipment might be working against you. Most enthusiasts assume that more power is always better, but that is a major trap. In fact, many high-end units have such aggressive steam pressure that they actually make it harder for a beginner to achieve consistency. I see so many people rush to buy the top-rated espresso machines for 2025, only to find themselves frustrated because the steam is too violent for a standard 12oz pitcher. When the pressure is too high, you often end up wondering why your milk frother creates bubbles instead of foam, and the answer is usually that you aren’t giving the proteins enough time to integrate with the air.
The Wet Cloth Trap You Must Avoid
Here is a contrarian view that might surprise you: stop using a soaking wet cloth to wipe your wand. While it’s the standard move in busy cafes, at home, it can actually damage your steam quality. A damp cloth is fine, but a dripping wet one causes a rapid temperature drop on the metal tip. This creates a vacuum effect that can suck milky water back up into the wand and even into the boiler. I once spent a whole weekend wondering why my coffee had a funky aftertaste, only to realize I was creating a bacterial breeding ground inside the pipe. Learning how to stop using a wet cloth on your steam wand is a simple switch that saves your boiler from internal contamination. If you’ve already noticed a drop in performance, you might need to learn how to clean the inside of your steam wand pipe to remove that hidden buildup.
Is 9 Bars of Pressure Actually Too Much for Your Home Setup?
While 9 bars is the industry gold standard for extraction, the steam side of the equation is often overlooked. If your machine is pushing too much wet steam, it doesn’t matter how expensive your grinder is. According to research published in the Journal of Dairy Science, milk protein denaturation happens rapidly at high temperatures; if your steam wand is injecting too much moisture too fast, you lose the window of opportunity to create stable microfoam. This is often the reason your steam pressure dips when you open the valve—the boiler simply cannot maintain the thermal mass required for ‘dry’ steam. When choosing the best barista gear for coffee enthusiasts, look for machines with PID controllers that allow you to fine-tune these temperatures. Without that control, you might find why your espresso shot tastes like cardboard is actually due to temperature instability affecting the entire machine. By focusing on the secret to perfecting your milk texture on a single boiler, you can overcome gear limitations through better technique and timing. Have you ever fallen into the trap of blaming your machine when it was actually a maintenance nuance? Let me know in the comments.
I realized early on that buying the gear is only 20% of the battle; the rest is preventing it from slowly decaying on your countertop. If you want to keep that dry steam and consistent pressure, you have to treat your machine like a high-performance engine. I’ve seen too many beautiful setups end up on eBay for ‘parts only’ simply because the owner ignored a few basic rituals. Beyond the steam wand, the heart of your machine—the group head and the boiler—requires a level of discipline that separates the hobbyist from the true home barista. It starts with the realization that coffee oils are essentially a sticky resin that turns rancid if left to bake under 200-degree heat.
Clean Your Machine Before It Cleans Your Wallet
The most important habit I ever developed was the weekly backflush. If your machine has a three-way solenoid valve, you absolutely need to know why your machine needs a backflush every single week. Using a dedicated detergent like Cafiza isn’t just about flavor; it’s about preventing pressure blockages that can lead to a catastrophic pump failure. I personally use a blind filter basket every Sunday morning while the house is quiet. While you are at it, don’t forget the external parts. I used to leave my portafilter sitting in the group head overnight, but I learned the hard way about the danger of leaving old coffee oils in your portafilter spouts. These oils carbonize and will eventually make even the most expensive single-origin bean taste like a burnt tire.
How can I maintain peak performance for years to come?
Consistency over time comes down to two things: water quality and friction management. First, never ignore your water. According to technical bulletins from La Marzocco, mineral accumulation on heat exchange coils can reduce thermal efficiency by up to 15% in just six months if you are using hard water. This is why your espresso machine takes longer to heat up recently. I recommend the easy way to test your machines water hardness at home before you even pull your first shot of the month. Second, if you have a manual lever or an E61 group, you must how to properly lubricate your E61 group head cam using food-grade Molykote. Without it, the metal-on-metal friction will eventually grind down the internal pins, leading to leaks and a ‘crunchy’ lever feel.
Dull Burrs Are the Silent Killer of Flavor
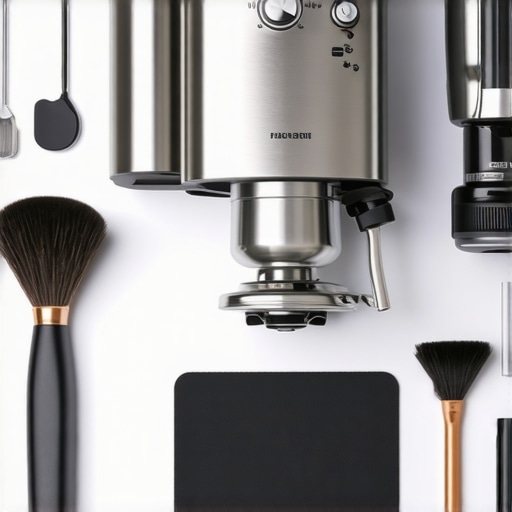
We focus so much on the machine that we often forget choosing the best barista gear for coffee enthusiasts includes a massive commitment to the grinder. Your burrs have a lifespan. Most home-grade steel burrs are rated for about 500-800lbs of coffee. If you’ve been using the same grinder for three years without a change, you need to know how to tell if your espresso grinder burrs are dull. You’ll notice you have to grind finer and finer just to get the same extraction time, which creates more heat and kills the delicate aromatics. When you finally do upgrade, remember how to properly season new steel burrs for better consistency; they actually perform better after the first 5-10lbs of beans have smoothed out the microscopic factory burrs. In the future, I predict we will see more ‘smart’ grinders with built-in sensors that alert you to burr wear before your taste buds even notice the decline.
Finally, look at your workflow tools. A messy station leads to a messy shot. I finally invested in a high-quality surface because I was tired of cleaning up spills; learning how to pick a coffee mat that doesnt absorb odors changed the literal smell of my kitchen. If you are struggling with messy counters, you should how to stop static from ruining your grinding workflow using the RDT (Ross Droplet Technique)—a single spray of water on your beans before grinding. Your challenge for today: Grab a paperclip and clear the holes on your steam wand tip right now. You’d be surprised how much pressure you’ve been losing to a tiny bit of dried milk.
Lessons From a Thousand Failed Flat Whites
After years of trial and error, I realized that the best coffee doesn’t come from the most expensive machine; it comes from the most disciplined owner. I spent far too long thinking my gear was broken when I was simply ignoring the basics of thermal stability. Here are the lightbulb moments that finally fixed my workflow:
- Temperature is a moving target: Just because your boiler says it is ready does not mean the metal components are hot. Heat-soaking is the difference between a sour shot and a sweet one.
- Water is the silent ingredient: If you do not use the easy way to test your machines water hardness at home, you are essentially flying blind while your boiler slowly calcifies.
- Persistence beats perfection: Some days why your shot extraction time changes every single day will remain a mystery, and that is okay. The goal is to narrow the margin of error through ritual and maintenance.
The Gear That Actually Makes a Difference
Building a setup is not about buying everything at once; it is about choosing the right foundation. For anyone looking to level up their current game, these are the resources I constantly return to:
- Maintenance Essentials: Never skip the chemicals. Understanding why your machine needs a backflush every single week is the single best way to protect your investment and maintain flavor clarity.
- The Right Foundation: If you are starting fresh, looking at the top-rated espresso machines for 2025 gives you a benchmark of what modern technology can achieve in terms of thermal consistency.
- Workflow Enhancers: Small things like a specialized surface can save your sanity. I finally figured out how to pick a coffee mat that doesnt absorb odors to keep my station smelling like fresh beans rather than stale spills.
- Advanced Texture: When you are ready to move beyond basic foam, mastering how to texture milk for a flat white versus a latte is where the real artistry begins.
Your Kitchen Is Your Best Training Ground
The path to professional-grade coffee is paved with a few spluttering wands and messy pucks. Do not be discouraged if your first attempt at fixing your steam quality is not perfect. By taking the time to learn mastering the art of home espresso tips for beginners, you are building a skill that provides daily rewards. Great home espresso is a craft, and every time you purge that wand or clean those burrs, you are one step closer to that elusive god shot. Have you ever had a morning where your machine seemed to have a mind of its own? Let me know about your most frustrating or funny barista fails in the comments below.