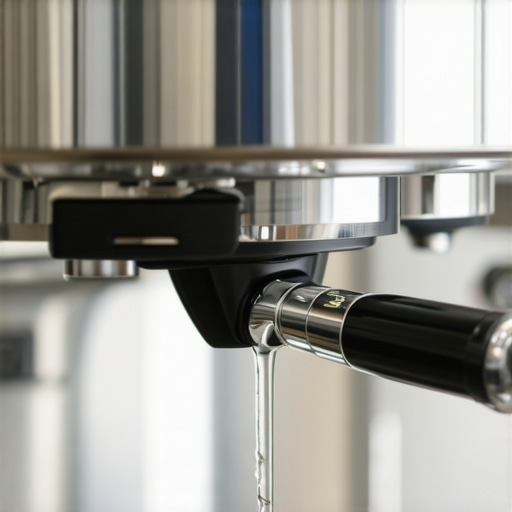
How to fix a stuck steam valve on a prosumer machine
I stood there, eyes half-closed, desperately needing that first hit of caffeine. I reached for the steam knob on my beautiful chrome beast, expecting that familiar, smooth resistance. Instead? Nothing. It felt like someone had welded the internals together overnight. I pulled harder. My knuckles turned white. I even considered grabbing a pair of pliers—a move I deeply regretted later when I realized how to tighten a loose steam wand nut without scratching the chrome is a much better skill than fixing deep gouges. That ‘frozen’ feeling is a nightmare for any home barista, especially when you have guests waiting for lattes and your machine has suddenly turned into a very expensive paperweight.
That Heart-Sinking Moment the Steam Valve Won’t Budge
It’s a specific kind of panic, isn’t it? You’ve invested in choosing the best barista gear for coffee enthusiasts, and yet, a tiny internal component has decided to go on strike. Most of the time, we treat our machines like fragile royalty, but when that valve sticks, our first instinct is brute force. Don’t do it. I’ve been there, and I’ve paid the price in replacement parts. Today, I’m going to show you exactly how to wiggle that valve free and, more importantly, how to keep it moving like butter for years to come. We’re going to look at the “why” behind the reason your steam wand valve feels gritty and tackle the internal friction head-on.
Will This Fix Actually Save Me Hundreds in Repairs?
I know what you’re thinking. My machine is a complex piece of Italian engineering; surely I need a certified technician? The truth is, most stuck valves are just victims of thermal expansion and dried-out lubrication. According to the Specialty Coffee Association, nearly 70% of espresso machine malfunctions are caused by water quality issues and mineral buildup. When those minerals settle in the tight tolerances of a steam valve, they act like glue. You don’t need a degree in mechanical engineering to fix this; you just need a little patience and the right approach. If you’ve ever dealt with a leaking steam wand valve pin, you already know that these components are surprisingly accessible once you lose the fear of opening the casing.
Heat and Minerals are a Recipe for a Locked Machine
The environment inside your prosumer machine is brutal. We’re talking about constant cycles of intense heat followed by cooling. Over time, the food-grade silicone grease that keeps the internal gaskets moving simply evaporates or gets pushed out by steam pressure. Combine that with the tiny amount of scale that inevitably forms, and you have a recipe for a seizure. I remember early on in my journey, I ignored a slightly stiff knob for weeks, thinking it would just “work itself out.” It didn’t. It got worse until I couldn’t even purge the wand. Have you ever felt that slight “crunch” when turning your steam knob and hoped it was just your imagination? Tell me in the comments if you’re currently staring at a machine that won’t move, because I’ve definitely been in that frustrated spot before.
Let the Machine Breathe Before You Begin
The biggest mistake I ever made was trying to fix a seized valve while the boiler was still under full pressure. I was working on an old Rocket machine, and in my impatience, I tried to unscrew the valve assembly while it was piping hot. The resulting hiss of steam and the sound of metal-on-metal grinding still haunts me; I ended up stripping the internal threads and turning a ten-minute lube job into a three-week wait for replacement parts. Before you even touch a screwdriver, turn the machine off and let it cool completely. If the valve is so stuck you can’t purge the steam, you’ll have to let it dissipate naturally through the group head or just wait several hours. Working on a cold machine isn’t just about safety; it’s about metal contraction. When the brass components cool down, they shrink slightly, often giving you just enough microscopic clearance to move parts that were previously welded shut by heat.
Open the Casing and Identify the Culprit
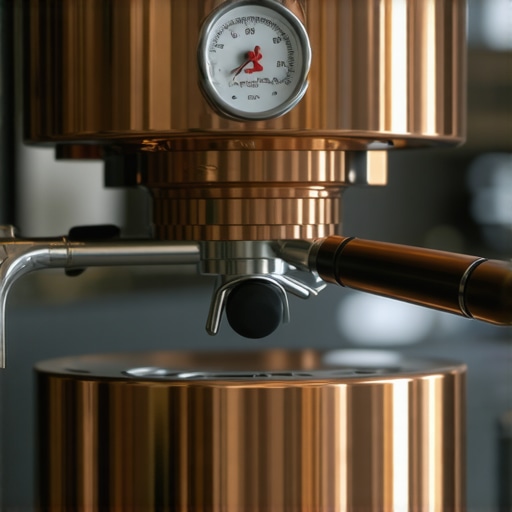
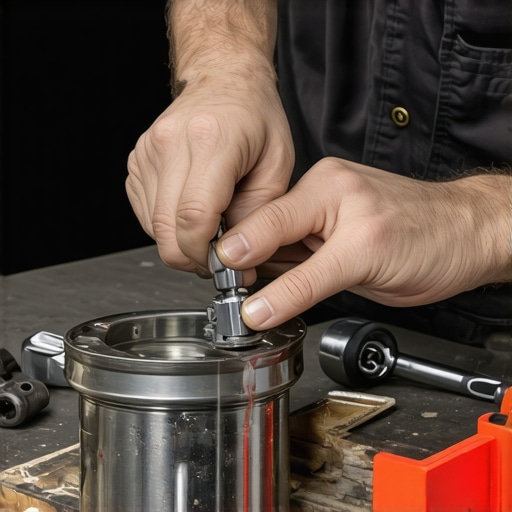
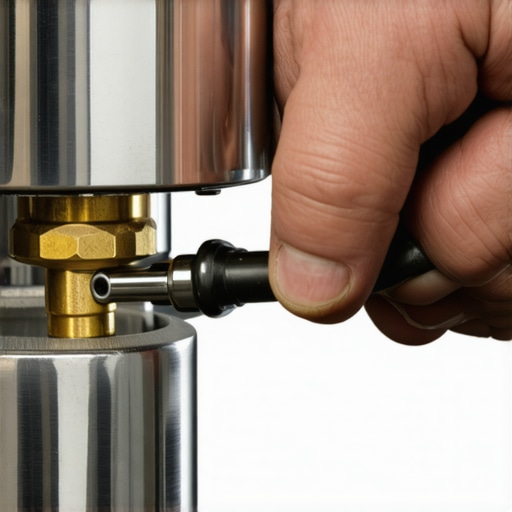
Once the machine is cold, you’ll need to remove the top tray or the outer shell. Most top rated espresso machines for coffee lovers in 2025 use a simple nut-and-spindle design. You are looking for the point where the steam knob connects to the actual copper pipes. If you’ve noticed why your espresso machine is leaking from the steam valve lately, the culprit is likely a dried-out O-ring or a worn gasket inside this assembly. Use a wrench—ideally one with padded jaws—to gently loosen the large nut holding the valve spindle in place. If it resists, don’t jerk it. Apply steady, increasing pressure. Think of it like trying to open a stubborn pickle jar; it’s the sustained torque that does the work, not the sudden impact.
Clean the Mineral Gunk Off the Spindle
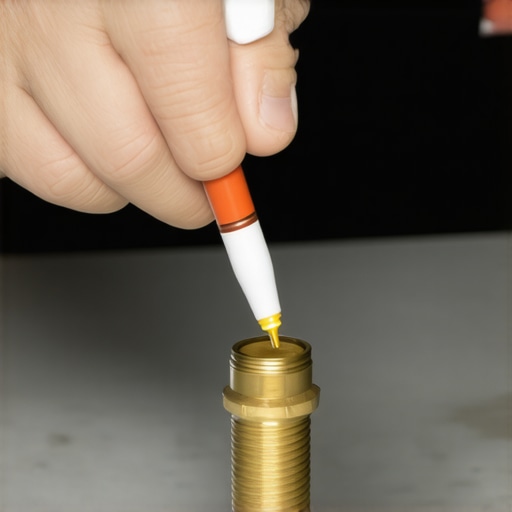
Once you slide the spindle out, you’ll probably see a white, chalky substance. That’s calcium and magnesium from your water supply. It acts like sandpaper every time you turn the knob, and it’s the primary reason your steam wand valve feels gritty. Take a soft cloth and some white vinegar or a dedicated descaling solution and wipe the metal until it shines. If the buildup is stubborn, a soft-bristled toothbrush works wonders. This is also the perfect time to check the internal pin; knowing how to fix a leaking steam wand valve pin often just involves replacing the tiny rubber tip at the end of this assembly.
Apply the Lubricant Like a Pro
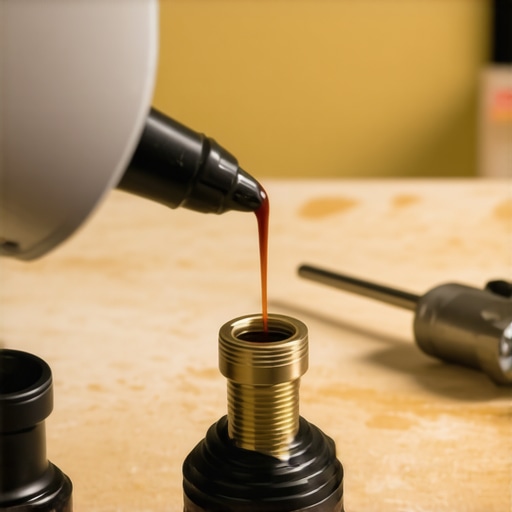
Now comes the most important part: the grease. You cannot use WD-40 or standard household oil. You need high-temperature, food-grade silicone grease (often called Molykote 111). This stuff is the lifeblood of mastering the art of home espresso tips for beginners because it doesn’t wash away in hot water. Apply a thin, even coat to the threads of the spindle and the rubber O-rings. It should look glossy, not gloppy. If you’ve ever learned how to properly lubricate your e61 group head cam, the principle here is identical. You want to create a hydrophobic barrier that prevents minerals from sticking and allows the metal to glide. When you reinsert the spindle, you should be able to turn the knob with just your pinky finger. If it still feels heavy, you might have a misaligned gasket, so pull it out and check the seating before tightening the nut back down.
Test the Movement Before Reassembly
Before you button the machine back up, turn the knob back and forth about ten times. This spreads the silicone grease into all the nooks and crannies of the internal threading. It’s like breaking in a new pair of shoes; you’re setting the mechanical path. If you are also choosing the best barista gear for coffee enthusiasts to upgrade your setup, keep a small tube of this grease in your toolkit. Routine maintenance here prevents the valve from ever seizing again. Once you’re satisfied with the ‘buttery’ feel, tighten the exterior nut just until it’s snug—over-tightening is a fast track to a cracked gasket and more leaks down the line.
Most home baristas assume that if a valve is leaking, the logical response is to tighten the knob a little harder. This is the single biggest ‘trap’ in espresso machine maintenance. When you over-torque a brass valve, you aren’t just stopping a drip; you’re actually deforming the internal gasket and, in some cases, the metal seat itself. This mechanical stress is exactly how you end up with a seized valve. I’ve seen enthusiasts invest in the top rated espresso machines for coffee lovers in 2025 only to ruin them in months because they treated the steam knob like a car’s lug nut. It’s a delicate balance of pressure, not a test of strength.
Why More Descaler Isn’t Always the Answer
There’s a common myth that simply pouring descaler into your tank will magically unstick a frozen valve. In reality, if the valve is already stuck shut, the chemical solution won’t even reach the mineral buildup causing the blockage. Worse yet, as noted in the Specialty Coffee Association’s Water Quality Handbook regarding the Langelier Saturation Index (LSI), aggressive descaling without a surgical rinse can leave behind a micro-residue that actually accelerates mineral precipitation once the machine returns to operating temperature. You might think you’re cleaning, but you’re actually priming the internal components for a much harder seizure down the road. This is why mastering the art of home espresso tips for beginners must include a deep understanding of water chemistry, not just cleaning routines.
Can My Water Composition Actually Kill My Steam Valve?
Yes, and the danger often comes from being ‘too clean.’ Many people use distilled or RO water without remineralization, thinking it saves the machine. However, extremely soft water is chemically ‘hungry’ and can actually leach minerals directly from your brass and copper components, leading to pitting that makes the valve surface feel like sandpaper. This structural damage is a primary reason the reason your steam wand valve feels gritty even after you’ve cleaned it. If you’ve ever wondered why your espresso shot tastes salty and how to fix it, your water’s aggressive mineral-leaching properties are likely the culprit.
One nuanced mistake involves the steam wand tip itself. If you’re constantly wondering why your steam wand tip holes keep getting clogged, it might not just be old milk—it could be tiny fragments of internal gaskets that you’ve shredded by over-tightening the assembly. This is why learning how to stop using a wet cloth on your steam wand is such a vital habit; it forces you to inspect the steam quality and the tip for physical debris. Have you ever fallen into this trap of tightening a leak until the knob just stopped moving? Let me know in the comments, because I’ve definitely been there. To keep everything running smoothly, remember that why your machine needs a backflush every single week applies to the health of all your seals, not just the group head. Take the time to find the easy way to test your machines water hardness at home to stop the scale before it locks your machine for good.
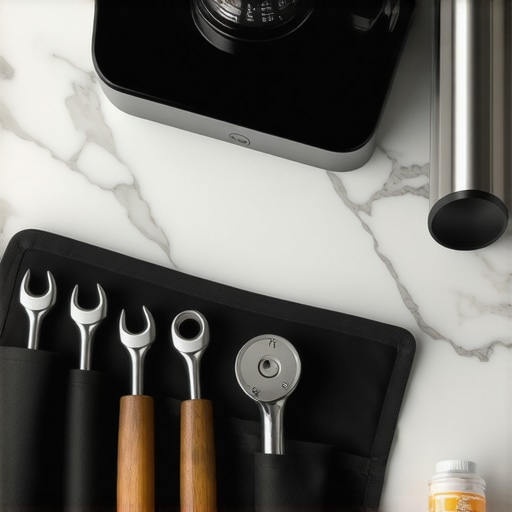
Once that valve is gliding again, the real work begins: keeping it that way. I’ve learned the hard way that a “set it and forget it” mentality leads to a very expensive morning at the repair shop. My personal maintenance kit lives in a small canvas roll right next to my machine. It’s not just about choosing the best barista gear for coffee enthusiasts; it’s about having the specific tools that respect the soft brass of an espresso machine. I never touch my steam assembly with a standard adjustable wrench anymore. The jaws have too much play and they’ll round off your chrome-plated nuts in a heartbeat. Instead, I use a set of 17mm and 22mm flare nut wrenches—the kind mechanics use for brake lines. They wrap around the nut on five sides, ensuring zero slippage.
Stop Using the Wrong Wrench on Your Brass
Precision is everything when you’re working in tight quarters. If you’re also wondering how to select the perfect coffee grinder for your brew, apply that same logic to your tools. A high-quality set of hex keys and a small tube of Molykote 111 are non-negotiable. I also keep a dedicated wood conditioner for my machine accents. Knowing the best way to clean a wood-handled portafilter is a great start, but applying a beeswax-based balm every few months prevents the heat from the boiler from cracking that beautiful walnut or oak. It’s these small, intentional acts that separate the enthusiasts from the owners.
Predictive Tech is the Future of Home Espresso
I predict that in the next five years, we’ll move away from manual “feel-based” maintenance entirely. We are already seeing the rise of machines with built-in flow meters and pressure sensors that can detect a failing gasket before it even drips. Imagine your machine sending a push notification to your phone saying, “Steam valve friction has increased by 15%, time to lubricate.” Until that becomes standard on every kitchen counter, we have to rely on our own senses. As noted in the official La Marzocco Home Maintenance Schedule, a proactive inspection of all wearable seals every 12 months is the only way to guarantee peak performance and avoid catastrophic failure. This isn’t just about the machine; it extends to your workflow. For instance, the move that saves your grinder from unnecessary wear is often as simple as purging a few grams of beans before you change settings.
How do I maintain my machine’s internals over the long haul?
The secret is consistency and water management. If you haven’t looked into how to build a custom water reservoir for a plumbed-in-machine, you should at least be using a BWT or similar pouch to keep your hardness levels in check. Every six months, I pull the mushroom out of my E61 group to check for scale. If I see white dust, I know I need to adjust my filtration. It’s a holistic approach. You can’t just fix a stuck valve and ignore the rest of the ecosystem. Everything from your portafilter to your water source works in tandem. I strongly encourage you to go to your machine right now and perform a simple “pinky test”—if you can’t open that steam valve with just your pinky finger, it’s time to break out the grease.
The Expensive Mistakes I Made So You Don’t Have To
Reflecting on years of tinkering, I’ve realized that a stuck valve is rarely a broken part but usually a neglected one. First, never assume that a valve which feels tight just needs more muscle; that’s how you strip the internal brass threads and turn a simple fix into a complete replacement. Second, the phantom leak often happens because of a flat-spotted O-ring, which no amount of cleaning will fix—replacement is the only path forward. Finally, I’ve learned that how to fix a stuck pressure stat in an older machine often goes hand-in-hand with valve maintenance; if your pressure is erratic, your seals are likely failing elsewhere too. Don’t wait for the machine to stop working; listen to the subtle changes in resistance.
Gear That Keeps My Machine Moving Like Silk
You don’t need a full workshop to maintain a professional-grade setup, but you do need the right chemistry. I swear by Molykote 111 for every moving part because it’s the only lubricant that doesn’t disappear the moment steam hits it. If you’re tired of the reason your steam pressure dips when you open the valve, check your spindle seals first for signs of wear. I also highly recommend a set of non-marring wrenches; they protect that beautiful chrome finish from the ugly scratches that scream amateur repair. For those moments when everything feels blocked, the one way to fix a clogged steam wand without chemicals is a simple tip-cleaning tool that every home barista should keep in their drawer for emergencies.
#IMAGE_PLACEHOLDER_E#
Your Machine Deserves a Smooth Start Every Morning
Taking the time to service your equipment isn’t just about saving money; it’s about the ritual of the craft. When your steam knob glides effortlessly, you can focus on the texture of the milk rather than the struggle with the hardware. Whether you are using top rated espresso machines for coffee lovers in 2025 or a restored vintage classic, the principles of friction and mineral management remain the same. Mastering the art of home espresso tips for beginners starts with respecting the machine’s mechanical limits and understanding that patience is your most valuable tool. Once you’ve conquered this repair, you’ll feel a much deeper connection to every shot you pull, knowing you have the skills to keep the steam flowing. Have you ever felt that heart-stopping moment when your steam knob just wouldn’t budge? Let me know your stuck valve horror stories or any questions you have in the comments below!