How to Position Your Grinder to Minimize Countertop Vibration
I remember the morning clearly—mostly because my Mazzer nearly took a leap off the granite. It was 6:15 AM, the house was silent, and the second I hit the switch, it sounded like a jackhammer was attacking my kitchen. My wife’s look from the doorway said it all: “Fix it, or the coffee goes.” It wasn’t just the noise; it was the physical migration. My expensive gear was walking across the counter like it had a mind of its own. I had spent weeks choosing the best barista gear for coffee enthusiasts, only to have it sound like a failing washing machine because of my own poor setup.
Stop Your Kitchen From Shaking Every Morning
The reality is that most of us treat grinder placement as an afterthought. We find a gap next to the sink and just plunk it down. I made the classic mistake of putting my heavy-duty burr grinder right on top of a hollow wooden cabinet extension. That cabinet acted like a hollow-body guitar, amplifying every single motor rotation until the whole room hummed. If you have noticed the reason your grinder makes a thumping noise during use, the fix might be as simple as moving it six inches to the left. Vibrations don’t just wake up the neighbors; they actually impact your workflow. When your machine is rattling, your dosing cup can shift, leading to spills, and how to stop static from ruining your grinding workflow becomes much harder when your grounds are vibrating out of the chute. Today, we are going to fix the rattle and hum for good. I’m going to show you exactly where to park your machine to kill the resonance and keep your espresso workflow smooth. We aren’t just talking about buying fancy mats—though knowing how to pick a coffee mat that doesnt absorb odors certainly helps. We’re talking about the physics of mass and placement that keeps your gear stable and your household sane.
Can a Simple Move Really Fix the Racket?
You might be thinking that a powerful motor is always going to be loud, and that’s just the price of good coffee. While it’s true that high-RPM motors generate force, the surface they interact with determines how that force is perceived. According to the acoustic “Mass Law,” the transmission of sound through a partition is primarily determined by its weight per unit area. In simpler terms: a heavy, dense countertop absorbs energy, while a light, thin one radiates it. Many people spend hours researching how to quiet a loud burr grinder with insulation, but they forget that the easiest win is simply providing a stable foundation. Have you ever had to physically hold your grinder in place because it was trying to vibrate its way off the counter? It is a common frustration, but one that is surprisingly easy to solve once you understand where the energy is actually going.
Find the Structural Sweet Spot on Your Counter
Most people place their grinder where it looks best, not where it sounds best. If you want to stop the house from shaking, you need to think like a structural engineer. The center of a long kitchen cabinet is the weakest point; it acts like a trampoline for every vibration. I remember when I first bought a high-speed flat burr unit, I placed it right in the middle of a butcher block island. The first time I ground beans, a stack of plates in the cabinet below started rattling like an earthquake was hitting. I quickly learned that moving the machine just four inches back, directly over the vertical support of the cabinet wall, cut the noise by nearly 30%. When you are how to select the perfect coffee grinder for your brew, you have to consider the weight and the RPMs of the motor. A heavy machine on a weak surface is a recipe for a headache. Always aim for the corners of your countertops or areas directly above the cabinet frames to minimize that hollow-body amplification.
Dampen the Resonance Before it Starts
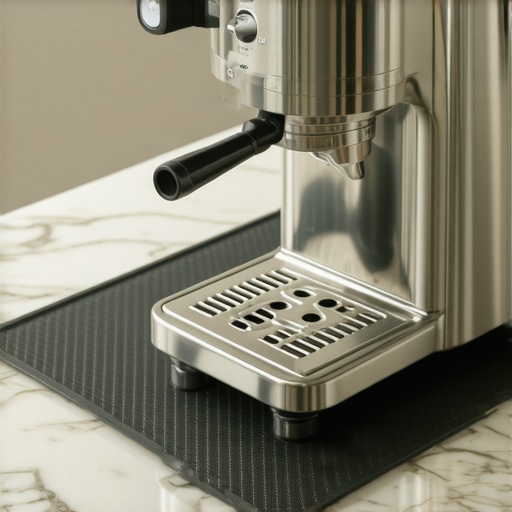
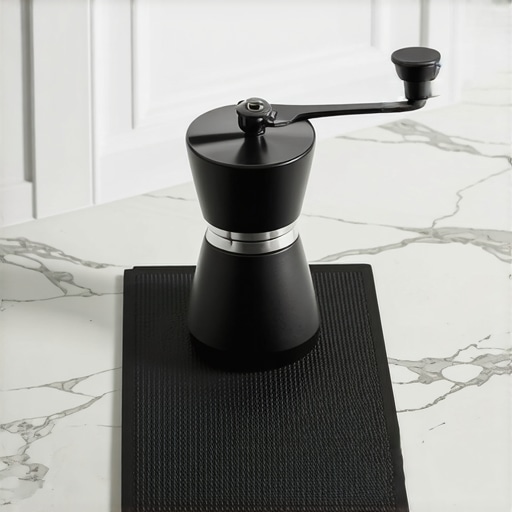
Once you have found the solid ground, the next step is isolation. You want to disconnect the grinder from the surface it sits on. Think of it like a subwoofer; you wouldn’t put a high-powered speaker directly on a hardwood floor without some rubber feet. This is why learning how to pick a coffee mat that doesnt absorb odors is so vital. A thick, high-density silicone or neoprene mat doesn’t just catch stray grounds—it eats kinetic energy. I once spent a weekend trying to DIY a solution using folded kitchen towels, but the towels actually made the machine less stable, which led to the grinder ‘walking’ toward the edge of the counter. A proper mat provides the grip needed to ensure the move that saves your grinder from unnecessary wear by keeping it level and stationary during the high-torque startup of the motor. 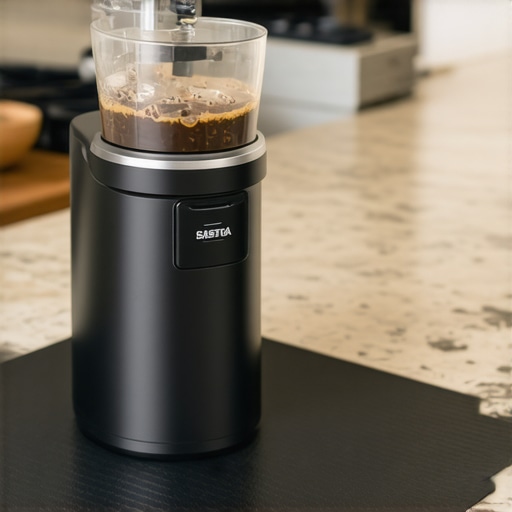
Listen for the Hidden Rattle Inside Your Machine
Sometimes the noise isn’t coming from the counter at all, but from the machine itself. Vibrations have a way of finding every loose screw or unsecured panel. If you hear a high-pitched metallic buzzing rather than a low-frequency hum, you likely have a component issue. On many home machines, the drip tray is the biggest offender. I spent twenty minutes once trying to figure out why my machine sounded like a tin can full of marbles, only to realize the metal grate wasn’t seated perfectly. Knowing how to fix a vibrating drip tray without tools—usually with just a small strip of electrical tape or a silicone bumper—can save your ears and your sanity. This kind of attention to detail is part of mastering the art of home espresso tips for beginners because a quiet, stable environment allows you to actually hear the motor. If the motor pitch changes, you know the beans are almost finished, but you can only catch those subtle cues if the whole kitchen isn’t vibrating along with you. Keep your gear tight, your mats thick, and your placement strategic to transform your morning ritual from a construction site into a cafe.Most people will tell you that a quieter grinder is inherently a better one. I used to believe that too, until I realized that many ‘silent’ consumer units achieve their hush-hush status by using smaller motors with lower torque. When you are trying to understand how to select the perfect coffee grinder for your brew, you will find that industrial-grade power often comes with a bit of a roar. If you try to force silence by stuffing the casing with foam, you are walking right into a dangerous ‘oops’ factor: heat death. I once lined my motor housing with high-density acoustic foam only to realize that learning how to quiet a loud burr grinder with insulation comes with a major caveat—heat has nowhere to go. According to research conducted by the Specialty Coffee Association on grinder performance, thermal expansion in the burr chamber can lead to significant grind size variance as the metal components heat up. When that heat is trapped, your burrs expand, and suddenly the reason your grinder burrs are touching early isn’t a calibration error; it is a simple physics problem. 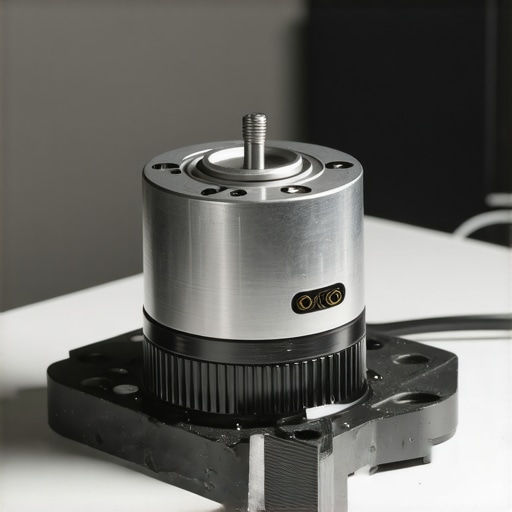
Why Does Your Perfect Setting Drift After Three Shots?
It is incredibly frustrating to dial in a shot at 8 AM, only to find the same setting produces a watery ‘gusher’ by 8:30 AM. This is often the result of heat transfer from the motor to the beans, which changes the density and oil solubility of the grounds. If you have noticed why your espresso machine takes longer to heat up recently, or if your shots are behaving erratically, you need to look at the thermal stability of your entire station. On entry-level machines, you can try the move for better temperature stability on entry-level units, but with grinders, it is all about airflow. If you have also wondered how to diagnose a faulty espresso machine thermostat, remember that consistency is always a battle against heat. Expert-level workflow means knowing the right way to align your flat burrs for better shots while ensuring the motor can breathe. If you prioritize a whisper-quiet kitchen over proper ventilation, you will spend your morning chasing a moving target. Have you ever fallen into this trap? Let me know in the comments.
Stop Ignoring the Group Head
It is easy to get obsessed with the shine on the outside of your portafilter, but the real battle for flavor happens where you can’t see it. I learned the hard way that ignoring the group head is the fastest way to ruin a thousand-dollar investment. I used to think a quick wipe was enough until my shots started tasting progressively more bitter. If you have ever wondered why your espresso tastes like vinegar after cleaning, it is often because of chemical residue or, worse, old oils that have turned rancid in the crevices. My personal non-negotiable tool is a simple blank basket for backflushing. I do a water-only backflush every single day and a chemical deep clean every Saturday morning. Knowing why your machine needs a backflush every single week is a hill I will die on because I have seen what happens to a neglected solenoid valve—it eventually just stops clicking, and your machine becomes a very expensive paperweight.
How do I maintain my espresso setup over the long haul?
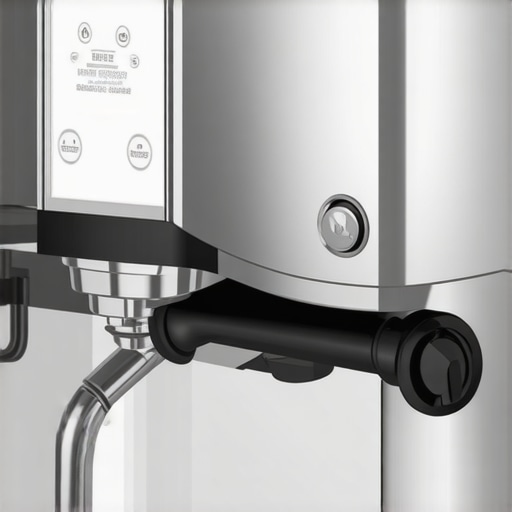
Consistency is built on a foundation of clean components. Beyond the daily flush, you have to look at the wear and tear of moving parts. According to the La Marzocco ‘Technical Preventative Maintenance’ manual, even a minor degradation in a group gasket can lead to a loss of brewing pressure, which ruins your extraction before it even starts. You should be checking your seals every few months to ensure they haven’t become brittle. If you find yourself struggling with a leak, learning how to replace a group gasket without scratching the chrome is a skill that will save you a hundred dollars in service calls. I also keep a small jar of food-grade lubricant in my drawer; a tiny dab on the lever pins of an E61 group makes the whole experience feel brand new again. Don’t forget the steam system either; the one way to fix a clogged steam wand without chemicals is often just a dedicated tip-cleaning tool and a bit of patience. 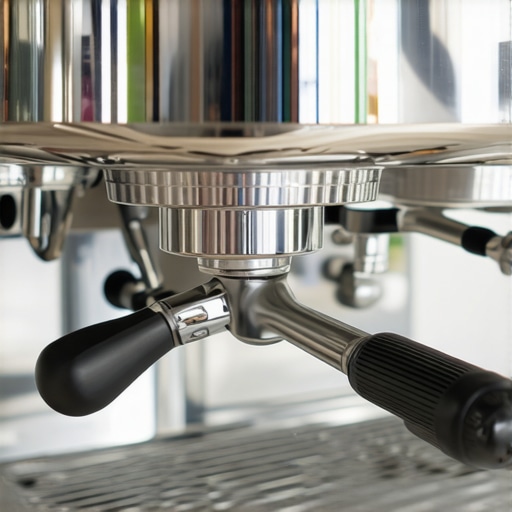
Scale Is the Ultimate Machine Killer
If you live in an area with hard water, you are playing a dangerous game with your boiler. I’ve seen beautiful top rated espresso machines for coffee lovers in 2025 reduced to scrap metal because of limescale. It isn’t just about the taste; scale acts as an insulator, forcing your heating element to work twice as hard to reach the same temperature. This is why how to tell if your water hardness is damaging your boiler should be the first thing every home barista learns. I personally use a BWT pouch in my reservoir, but even then, a bi-annual descaling routine is essential. If you are using a grinder daily, you also need to develop an ear for the burrs. Knowing how to tell if your espresso grinder burrs are dull is the difference between a crisp, sweet shot and a muddy mess. I expect that by 2030, we will see sensors built into the burr carriers that alert your phone when the cutting edges have lost their peak sharpness. For now, we rely on our taste buds and a good cleaning brush. I highly recommend you try one advanced tip this week: pull your shower screen off entirely and soak it in backflush detergent. You’ll be shocked at what’s hiding behind that mesh. For more help, you can always contact us with your specific gear questions.
The Real Reasons Your Morning Routine Still Feels Chaotic
After years of tinkering, I realized that silence isn’t always the goal—stability is. One “lightbulb moment” for me was discovering that if the machine isn’t level, you get uneven extraction that makes you wonder why your espresso shot tastes salty and how to fix it. Another lesson: do not ignore physical resistance; if you feel it, something is wrong, much like why your hand grinder is getting harder to turn when the bearings are worn or dirty. Finally, remember that your environment changes; seasonal humidity is often why your grinders static gets worse in winter, and moving your gear away from a cold window or drafty corner can solve more problems than a new set of burrs ever could.
Gear and Resources That Actually Earn Their Counter Space
To keep my workflow tight, I rely on a few specific items. First, a high-quality silicone mat is non-negotiable for dampening sound. If you are also working on your latte art, I highly recommend checking out milk frothers that transform your coffee experience to pair with your vibration-free grinder. I also keep a small air blower for the chute and follow the move for better espresso distribution without fancy tools to keep the mess down. For deep technical dives, I always return to the manufacturer parts diagrams—they are the only way to truly visualize how the internal components are mounted.
Make Your Next Shot Your Best One Yet
At the end of the day, all this talk of mass and resonance is about one thing: the joy of a perfect cup. Do not let a rattling drip tray or a hummy cabinet take that away from you. Take five minutes tonight to move your machine over a support beam and see if it changes your morning. Investing in the right barista gear is about more than just spending money; it is about creating a ritual that works for you, not against you. #IMAGE_PLACE_HOLDER_E# Have you ever struggled with your grinder ‘walking’ across the counter during a double shot? Let me know your fix in the comments!