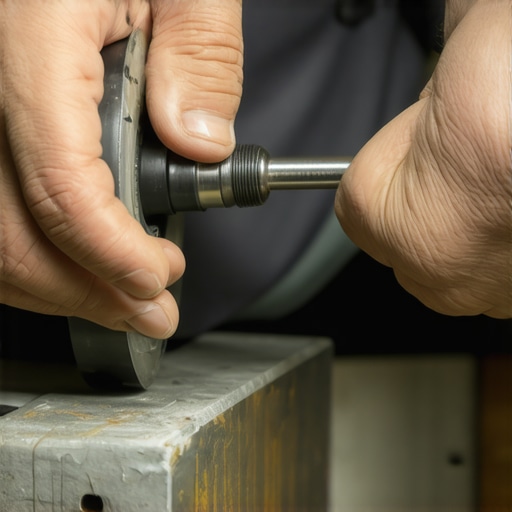
The Trick to Keeping Your Grinder Adjustment Dial from Wandering
I stood there at 6:15 AM, bleary-eyed and desperate for caffeine, watching my espresso shot turn into a blond, watery mess in less than ten seconds. Just yesterday, I had dialed this bag of beans in to a perfect 1:2 ratio, but today? Today, the grinder had other plans. I looked down and saw it: the adjustment collar had physically rotated during the grind. It was a slow, agonizing creep toward coarseness that I hadn’t noticed until the damage was done. If you have ever felt the soul-crushing defeat of wasting twenty grams of specialty beans because your gear literally couldn’t hold its own weight, you are in the right place. We are going to stop that wandering dial once and for all.
Why Your Dial Keeps Creeping Toward Coarse
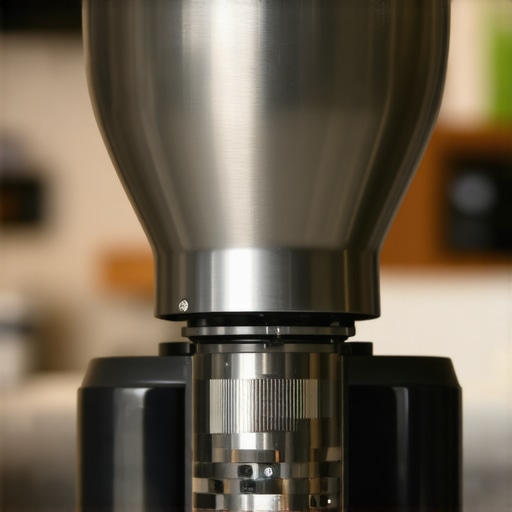
The vibration of a powerful motor is a fickle thing. When you are choosing the best coffee grinder, you focus on burr size and motor wattage, but we rarely talk about the friction of the threads. My first real espresso grinder was a beautiful piece of machinery, but it had a loose adjustment ring that moved if you even looked at it wrong. I tried everything to fix it, including a truly shameful afternoon where I used duct tape to hold the collar in place. It looked terrible, left a sticky residue, and didn’t even work because the heat from the motor softened the adhesive. The reality is that mechanical creep is a common issue in high-torque appliances. According to engineering principles documented by the Fastener Training Institute, vibration is the leading cause of unintentional loosening in threaded components. When your grinder is working through dense beans, it creates a resonance that can overcome the static friction holding your dial in place. This is especially true if you have been trying to season your new grinder burrs and running the motor for extended periods.
Do I really need a more expensive machine to fix this?
You might be tempted to think your gear is just low-quality, but I have seen this happen on four-figure commercial units just as often as entry-level home machines. Before you go out and buy top-tier barista gear to replace what you have, realize that this is usually a friction problem, not a quality problem. Have you ever noticed your settings shifting mid-grind, or do you find that it only happens after a few consecutive shots? Understanding the timing of the ‘creep’ is the first step toward the solution. Today, I’m sharing the exact low-tech, high-impact fixes I’ve used to keep my settings locked in, from simple O-ring swaps to the ‘plumber’s trick’ that saved my morning routine. We are going to ensure that once you find the true zero point on your grinder, it actually stays there.
Strip Away the Coffee Oils That Lube Your Threads
The most overlooked reason for a drifting adjustment collar is actually cleanliness. Over months of use, microscopic particles of coffee oils and fine dust find their way into the threads of your adjustment mechanism. Think of these oils as a high-end lubricant; they are great for engines, but terrible for a dial that needs to stay static. If you have been learning mastering the art of home espresso tips for beginners, you know that consistency is everything. When those threads get slick, the motor’s vibration acts like a rhythmic hammer, slowly tapping the collar into a more open, coarse position. I spent an hour last month deep-cleaning a friend’s machine that was drifting nearly two settings per shot. We used a dry toothbrush and a tiny amount of food-safe degreaser to strip the threads bare. Once the metal was clean and dry, the natural friction of the threads was restored, and the drift vanished instantly.
The Plumber’s Secret for a Locked-In Dial
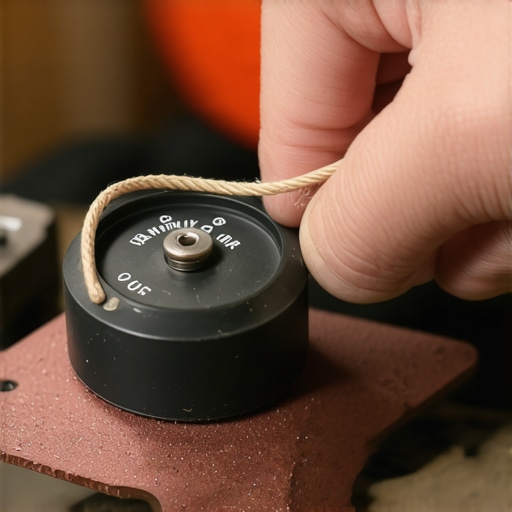
If cleaning doesn’t work, you need to increase the mechanical resistance. This is where the ‘plumber’s trick’ comes in. Go to any hardware store and buy a roll of PTFE (Teflon) tape. It’s a thin, non-adhesive white tape used to seal pipe threads. Wrap a single, thin layer around the male threads of your grinder’s adjustment assembly. This tape fills the tiny gaps between the threads—gaps that exist even in top-rated espresso machines for coffee lovers in 2025 setups—and creates a snug, dampened fit. It’s like adding a shock absorber to your dial. 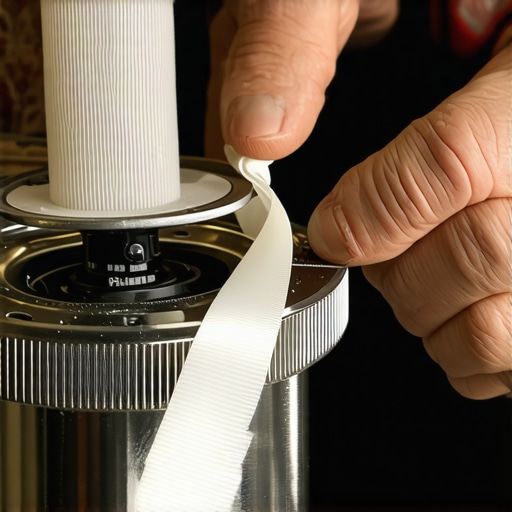
Upgrade the Tension with a Better O-Ring
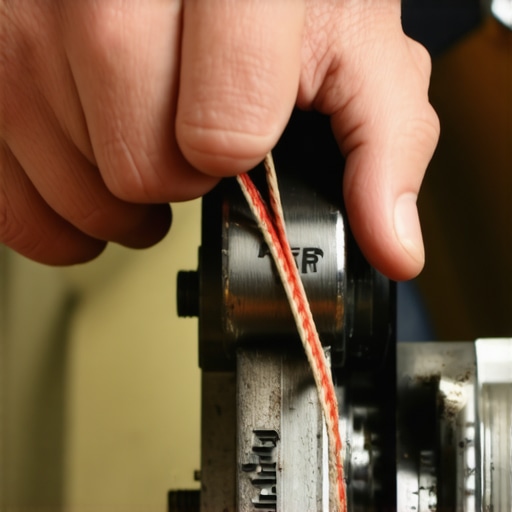
Many grinders rely on a rubber O-ring to provide the tension that holds the dial in place. Over time, heat from the motor causes these rings to flatten or lose their elasticity. If your dial feels ‘mushy’ or moves too easily when you turn it, your O-ring is likely shot. Replacing it with a slightly thicker silicone version can provide the grip you need. This is the move that saves your grinder from unnecessary wear because it prevents you from having to over-tighten other components to compensate for the slack. I once tried to ‘fix’ this by using a standard rubber band I found in a junk drawer. It worked for three shots until the friction heat melted the rubber into the threads, creating a sticky nightmare that took two hours to scrape out. Stick to high-temp silicone rings.
Stop the Shake Before It Moves Your Settings
Sometimes the problem isn’t the grinder’s internal grip, but the surface it sits on. If your counter is hollow or your grinder is slightly off-balance, the vibrations are amplified. You should learn how to position your grinder to minimize countertop vibration by using a thick rubber bar mat. This absorbs the resonance that travels from the motor, through the chassis, and straight into the adjustment collar. If you still hear a high-pitched hum, it might be why your grinder screeches only when grinding fine, which indicates that the vibration is hitting a frequency that specifically encourages the dial to move. Keeping the machine level and dampened is the final line of defense against the slow crawl toward a watery shot.But even with a rock-solid dial, you might still find your shots swinging wildly from sour to bitter without touching the adjustment collar. This is where we move from basic maintenance into the true physics of extraction. Everyone tells you that ‘freshness is king,’ but the biggest trap in home espresso is actually using beans that are too fresh. If you are pulling shots from a bag roasted yesterday, the trapped CO2 creates erratic resistance, making your dial feel like it’s drifting when it’s actually just your beans degassing in real-time. Let’s dig deeper into the nuances that the manuals never mention.
Stop Obsessing Over Tamping Pressure
One of the most persistent myths in the coffee world is that you need to be a heavyweight champion to tamp your coffee correctly. I see beginners trying to put 40 or 50 pounds of pressure on the puck, thinking it will fix a fast-running shot. In reality, once the air is squeezed out of the coffee bed—which happens at about 15 pounds of force—the coffee is as compressed as it’s going to get. Pushing harder doesn’t slow the shot down; it just increases the risk of an uneven puck. A study published in the journal Matter by computational chemist Christopher Hendon suggests that extraction consistency is far more dependent on particle size distribution than the sheer force of the tamp. If your shots are inconsistent, the problem is likely your distribution, not your muscles. Instead of pushing harder, focus on better espresso distribution without fancy tools to ensure the water flows evenly through the entire bed.
Why Your Hopper is Sabotaging Your Consistency
Have you ever noticed that the first few shots of a new bag taste great, but the tail end of the bag runs significantly faster? Most people blame the beans drying out, but the ‘Oops’ factor here is actually head pressure. When your hopper is full, the weight of the beans pushes the ones at the bottom into the burrs with more force. As the hopper empties, that downward pressure disappears, and the burrs take longer to grab the beans, leading to a different grind profile. This is exactly why your shots taste different on a full hopper compared to a nearly empty one. To combat this, I always suggest keeping at least 100 grams of beans in the hopper or switching to a single-dosing workflow. 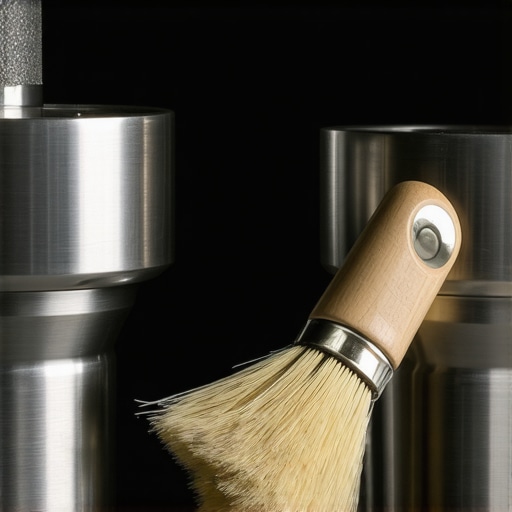
Are Your Burrs Actually Dull or Just Caked in Fines?
Before you drop $200 on a new set of titanium-coated burrs, you need to check if you are just dealing with extreme buildup. Over time, ‘fines’ (microscopic coffee dust) and oils create a cement-like layer in the grooves of your burrs. This makes the burrs act like they are dull, even if the metal is still sharp. You should learn how to tell if your espresso grinder burrs are dull by performing a ‘touch test’ after a deep clean. If you still see a lack of clarity in your cup, it might be a matter of alignment. Learning the right way to align your flat burrs for better shots can often provide a bigger quality jump than buying an entirely new machine. Don’t forget that why the first shot of the day is always a throwaway usually comes down to the stale grounds trapped in the chute, not the quality of the burrs themselves. Have you ever fallen into the trap of blaming your gear when it just needed a deep clean? Let me know in the comments. Lastly, remember that mechanical care extends to your machine too; for instance, why your portafilter handle should never be tightened too far is a lesson usually learned only after a gasket failure. Treat the threads with respect, and they will return the favor.Once you’ve mastered the grind, the real battle begins: the war against entropy. If you aren’t careful, the very oils that give your espresso its body will turn into a rancid varnish inside your machine. I learned this the hard way when I realized why your machine needs a backflush every single week—it isn’t just a suggestion, it’s a survival tactic for your solenoid valve. I personally use a dedicated group head brush after every session because if you let those grounds bake onto the shower screen, you’re basically seasoning your next coffee with charcoal. 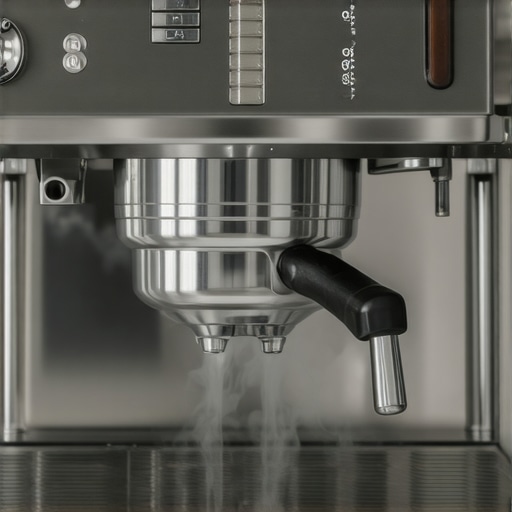
Stop the Gunk Before It Ruins Your Morning
I’ve developed what I call the best routine for a weekend deep clean, and it’s surprisingly therapeutic. It starts with the grinder. You don’t need to strip the machine every Sunday, but knowing how to clean the grinder chute without taking it apart saves you from that first-shot bitterness we all dread. I use a small vacuum and a flexible pipe cleaner to ensure no stale ‘fines’ are lurking in the corners. This attention to detail is what separates a hobbyist from a home barista.
How can I maintain my gear for the long haul?
Maintenance isn’t just about cleaning; it’s about monitoring your inputs. The most silent killer of top-rated espresso machines for coffee lovers in 2025 is actually your tap water. Research published in the Journal of Agricultural and Food Chemistry by Christopher Hendon and colleagues demonstrates that the specific balance of magnesium and calcium ions in your water determines which flavor molecules are ‘pulled’ from the coffee cell walls. Beyond flavor, you need to know how to tell if your water hardness is damaging your boiler. Scale is an insulator; it makes your heating element work twice as hard for half the result, eventually leading to a costly burnout. I always use a specialized filter tailored for espresso to keep my boiler pristine.
Tools That Actually Earn Their Spot on My Counter
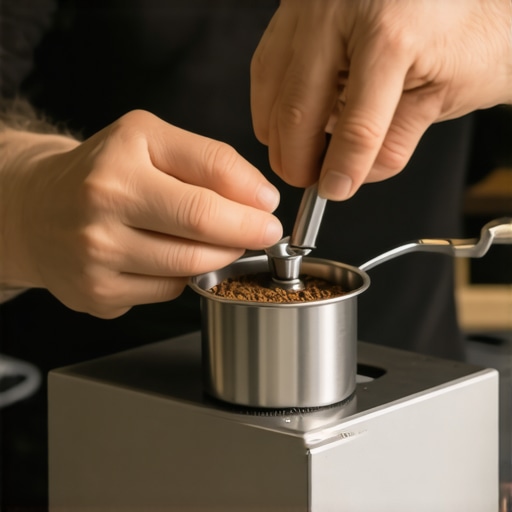
You don’t need a thousand gadgets, but a few ‘pro-level’ tools are non-negotiable. For instance, even the best milk frothers that transform your coffee experience won’t save a shot that was poorly distributed. I swear by the WDT (Weiss Distribution Technique) tool. Using ultra-thin needles to declump the bed before tamping has reduced my ‘spritzers’ to zero. Looking ahead, I predict the next five years will bring us ‘Smart Burrs’—grinders equipped with optical sensors that analyze particle size in real-time and adjust for temperature drift automatically. Until that future arrives, we have to rely on our own consistency. Try the WDT technique with a set of 0.3mm needles this week; it’s the single cheapest way to stop channeling in its tracks and finally see what your beans are capable of.
The Hard Truth About My Morning Workflow Failures
Over the years, I have realized that the most frustrating shots weren’t caused by a bad machine, but by environmental factors I was ignoring. For instance, I spent weeks chasing a ‘drifting’ dial only to find out that why your grinders static gets worse in winter was the actual culprit behind my inconsistent dosing. If the coffee isn’t making it into the basket evenly, the grind setting doesn’t matter. Another major shift in my routine happened when I learned how to stop using a wet cloth on your steam wand; it sounds minor, but keeping your gear hygienic prevents the buildup that leads to mechanical failure and off-flavors. Lastly, always verify your measurements; why your coffee scale is giving you inconsistent readings is often due to low batteries or uneven surfaces, which can trick you into thinking your grinder is the problem when it is actually just a weighing error.
Upgrade Your Workflow with These Targeted Recommendations
If you are ready to stop fighting your equipment and start mastering it, focus on these three essentials. First, a set of high-temperature silicone O-rings is the cheapest ‘mod’ you can do to stabilize a wandering adjustment collar. Second, for those mornings when you want a break from the manual labor of a lever machine, look into milk frothers that transform your coffee experience without the steep learning curve. Finally, I highly recommend a dedicated digital log to track your grind settings against the roast date of your beans—this data is more valuable than any expensive gadget because it allows you to predict ‘drift’ before it happens. #IMAGE_PLACEHOLDER_E#
Take the First Step Toward Your Best Shot Yet
Espresso is a game of patience and incremental improvements. You don’t need the most expensive barista gear on the market to pull a god-shot; you just need a machine that stays where you put it and a routine that respects the physics of the bean. Don’t be afraid to take your grinder apart and learn its inner workings—that’s where the real confidence comes from. Have you ever had your grinder dial move mid-grind or felt like you were losing the battle against your equipment? Let me know in the comments below!