Why Your Automatic Milk Frother Makes Too Many Big Bubbles
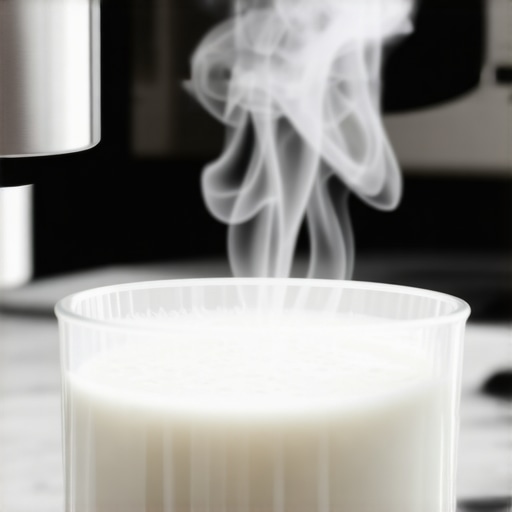
I stood there, bleary-eyed, watching my cappuccino transform into a bubble bath. It was my third attempt that morning, and every single time, my automatic frother produced these massive, translucent bubbles that looked more like laundry day than a specialty coffee shop. I felt defeated. I had the top-rated espresso machines for coffee lovers in 2025 on my wishlist, but I could not even get a simple standalone frother to behave. It felt like a personal failure, a sign that maybe I just was not meant for the prosumer life. But after a lot of wasted gallons and some late-night deep dives into food science, I realized the machine was not necessarily the enemy. It was my technique—or lack thereof. If you have been struggling with a drink that looks like soap suds, I am here to tell you it is a fixable problem.
Stop settling for soapy bubbles in your morning latte
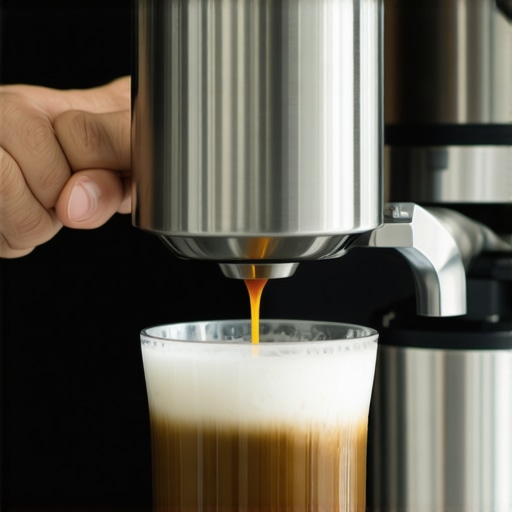
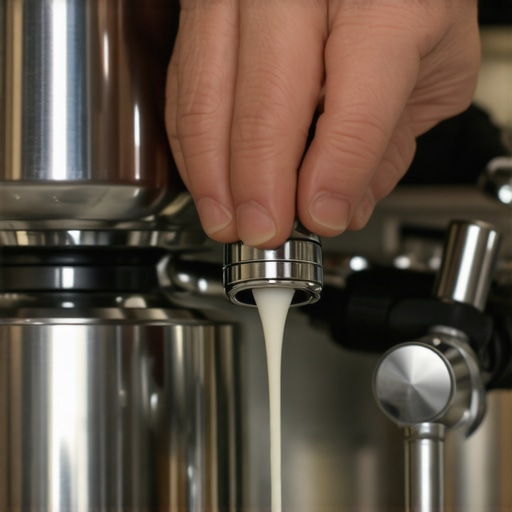
The problem with automatic frothers is that they are often black boxes. You press a button, things spin, and you hope for the best. When why your milk frother creates bubbles instead of foam becomes a daily mystery, it usually boils down to three culprits: temperature, protein, and physics. I made the classic mistake early on of using milk that had been sitting on the counter for ten minutes while I dialed in my beans. Big mistake. Warm milk does not hold air the same way ice-cold milk does. The physics of air incorporation requires the milk to be cold enough to allow the proteins to stretch and wrap around the air bubbles before the heat sets them in place. Many milk frothers that transform your coffee experience are designed to work within a specific temperature window, and starting even five degrees too warm can ruin the texture.
Is it actually possible to get cafe-quality foam from a button-press machine?
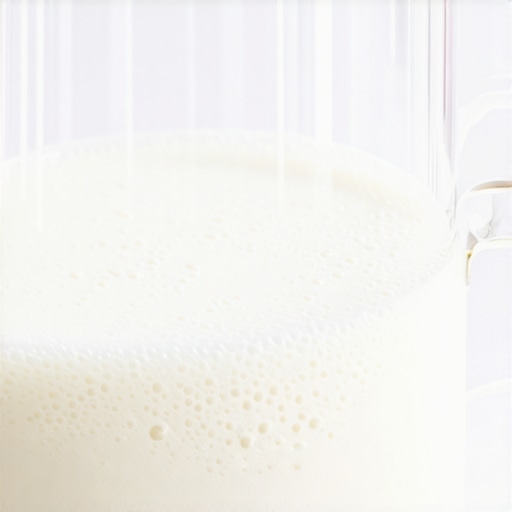
Most skeptics will tell you that you need a manual steam wand and years of barista training to get true microfoam. I used to be one of them. However, the science of milk tells a different story. If you have ever tried the move for better microfoam with soy milk, you know that plant-based options have their own set of rules, but the goal remains the same: small, uniform bubbles. For cow’s milk, the fat content acts as a stabilizer, but it is the proteins (whey and casein) that actually build the bubble walls. According to the Specialty Coffee Association, milk proteins begin to denature and lose their ability to trap air effectively once they pass 160°F. If your frother is running too hot or your milk started too warm, those proteins cannot grip the air, leading to those giant, unstable bubbles that pop instantly. Have you ever poured a beautiful-looking pitcher only to have it turn into a dry, bubbly mess the second it hit the coffee? It is a heartbreaker. We are going to fix that today by looking at the small adjustments that turn bubbles into silk. I will even show you how to clean an automatic milk frother without taking it apart, because dried milk residue on the whisk is the number one secret killer of great foam. Trust me, I spent months ignoring that tiny crusty bit on the spindle, and my lattes suffered for it.
Grab your milk straight from the coldest part of the fridge
It is tempting to grab whatever carton is in the fridge door, but if you want that glossy sheen, you need to be picky about temperature. I once tried using milk that was only two days from its expiration date. Even though it smelled fine, the proteins had already started breaking down. The result was a sad, watery mess that looked more like a bubble bath than a latte. For the best results, use the coldest milk possible. I actually keep my milk at the very back of the fridge where it is just a hair above freezing. This gives the whisk more time to work the air into the liquid before it hits that critical 160°F mark where foam starts to degrade. Using the trick for steaming cold milk faster is not just about speed; it is about extending the window for air incorporation. If your milk starts at 45°F instead of 35°F, you have lost nearly 10% of your texture-building time. Many people mastering the art of home espresso tips for beginners forget that the prep starts before the machine even turns on.
Keep your whisk spinning freely to avoid the soap-sud effect
I remember one Tuesday morning where I was in such a rush I did not bother checking the whisk of my frother. I just dumped the milk in and pressed go. A minute later, I had a cup full of sea foam—huge, jagged bubbles that collapsed the moment they touched my espresso. I realized then that a tiny speck of dried milk from the day before was disrupting the vortex. Since then, I have learned how to clean an automatic milk frother without taking it apart to ensure the whisk spins with zero friction. If that little magnetic ring cannot spin at its intended RPM, it will gulp air in uneven chunks rather than folding it in. This is why choosing the best barista gear for coffee enthusiasts often involves looking for machines with easy-to-remove, high-quality whisk assemblies.
Tap and swirl like your latte art depends on it
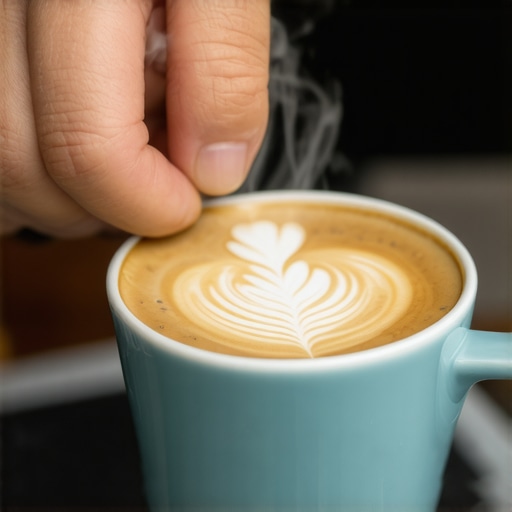
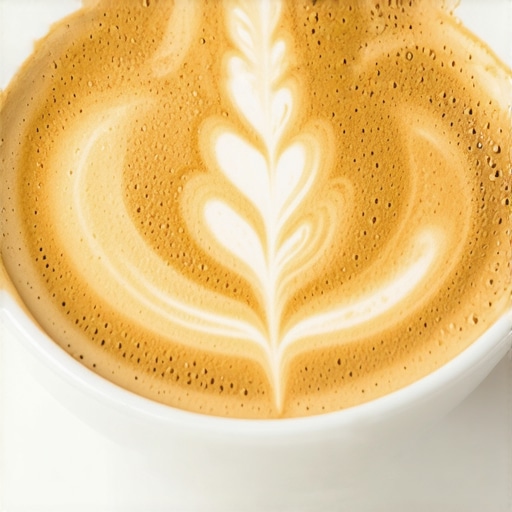
Even the best automatic machines will leave a few large surface bubbles. This is where the physics of the pour comes in. Once the cycle finishes, do not let the milk sit. If it sits for even thirty seconds, the foam will separate from the liquid, leading to a dry cap and a watery pour. Immediately take the pitcher or frothing container and give it one firm, vertical tap on the counter. This pop of force breaks the surface tension of the larger, unstable bubbles. Follow this with a vigorous circular swirl. You are looking for a surface that looks like wet white paint. If you find the texture is still too thick, learning how to stop your milk foam from being too dry will help you adjust the air intake. When you swirl, you are effectively re-incorporating the microfoam back into the milk, creating a homogenous mixture that flows smoothly into your cup. I have found that this physical step is the difference between a drink that looks homemade and one that looks like it came from a high-end cafe. If you are struggling with the final look, why your latte art always ends up at the edge of the cup often comes down to this lack of proper integration before the pour.It is easy to get caught up in the ‘gear acquisition syndrome’ that often plagues the home espresso community. You see a shiny new leveler or a gravity-defying WDT tool and think it is the silver bullet for your channeling woes. But here is the hard truth: I have seen $3,000 setups produce bitter, hollow shots because of a single overlooked variable. For instance, many people swear by those spinning distribution tools to level the bed. In reality, why your distribution tool might be ruining your extraction is a topic worth studying. These tools often compress only the top layer of the coffee while leaving the bottom loose, creating a false sense of a level bed that water will inevitably find a path through. If you are seeing pinholes in your puck, stop reaching for the leveler and start looking at your puck density.
The shiny gear trap that ruins your extraction
The common mantra to ‘just grind finer’ is another trap. While it is true that most entry-level enthusiasts grind too coarse, there is a point of diminishing returns. When you hit the wall of the error of grinding too fine for a pressurized basket, you are not just slowing down the shot; you are creating micro-channels that ruin the flavor profile. Even with top-rated espresso machines for coffee lovers in 2025, a grinder that is not properly aligned will produce a bimodal distribution of particles that makes consistent extraction impossible. I once spent a whole Saturday trying to figure out the reason your double ristretto tastes like vinegar, only to realize my burrs were slightly out of alignment, causing an uneven flow that favored certain parts of the puck.
Is your high-end grinder actually holding onto yesterday’s beans?
One of the biggest ‘oops’ factors in home espresso is retention. You can buy the most expensive flat burr grinder on the market, but if it has three grams of stale coffee trapped in the chute, your first shot will always be off. A study by the Coffee Excellence Center highlighted that even small amounts of stale grounds can significantly alter the TDS (Total Dissolved Solids) and acidity of your next shot. This is exactly why the first shot of the day is always a throwaway in many professional settings. If you do not want to waste coffee, you need to learn how to stop your grinder from retaining coffee without a bellows or simply get comfortable with a quick purge.
Don’t let a wet tamper ruin your morning ritual
I also want to warn you about a mistake I see far too often: the wet tamper catastrophe. It sounds minor, but the problem with using a wet tamper on dry grounds is that it causes the coffee to stick to the base, pulling up a portion of the puck and creating a perfect path for channeling. Always use the best way to dry your portafilter quickly before you even think about dosing. Have you ever fallen into this trap where you thought your gear was broken, but it was just a tiny maintenance oversight? Let me know in the comments. Finally, do not ignore the environment. In the winter, you might notice your shots getting wilder. This is not your machine failing; it is physics. Understanding why your grinder’s static gets worse in winter can save you from a mess of chaff and inconsistent dosing. Real expertise comes from knowing these small, invisible nuances that choosing the best barista gear for coffee enthusiasts does not always mention on the box. It is about the relationship between the bean, the machine, and the atmosphere.
Keep the scale at bay before it kills your boiler
It is easy to focus on the brew, but the real work happens when the machine is off. I have learned the hard way that how to tell if your water hardness is damaging your boiler is the most important skill you can have as a home barista. Even the top-rated espresso machines for coffee lovers in 2025 are essentially expensive metal boxes if they are choked by calcium. I used to be lazy about my water, until I opened a boiler and saw what looked like a cave of stalactites. According to the La Marzocco Water Specification Guide, keeping your water hardness within 3 to 5 grains (50 to 85 ppm) is the gold standard for preventing catastrophic scale buildup while maintaining the flavor profile. If you are not testing your water, you are playing a dangerous game with your investment. This is also why you should never leave water in your reservoir overnight; standing water is a magnet for bacterial growth and mineral concentration that can throw off your shots the next morning.
Alignment matters more than the brand name
We often think a higher price tag on a grinder guarantees better coffee, but I have found that the right way to align your flat burrs for better shots is what actually separates the pros from the amateurs. A misaligned grinder creates a wide spectrum of particle sizes, leading to a shot that is simultaneously sour and bitter. When you get a new piece of gear, don’t just start grinding. You need to understand the best way to season new grinder burrs fast to ensure they settle into their optimal performance window. This technical debt—skipping the alignment and seasoning—is why so many people get frustrated with expensive equipment that doesn’t seem to perform better than their old entry-level setup.
How can I keep my setup running like new for years?
Long-term reliability is not about luck; it is about the mundane tasks. You need to understand why your machine needs a backflush every single week with a proper detergent to remove the rancid coffee oils that accumulate behind the shower screen. If you ignore this, those oils will bake onto the metal and taint every single shot you pull. Similarly, pay attention to the small seals. The reason your portafilter gasket is getting brittle is often just age and heat, but if you do not replace it, you will deal with leaks that can short out your electronics. I recommend a quarterly ‘check-up’ where you inspect the group head, gaskets, and reservoir tubes.
The future of precision at home
As we move forward, the trend in choosing the best barista gear for coffee enthusiasts is shifting toward data-driven extraction. I predict we will see more machines with built-in flow profiling and integrated water quality sensors that alert you before scale even starts to form. For now, we have to do the manual work. Go check your reservoir right now—if you see a film or if that water has been sitting there for days, dump it and start fresh with the best routine for a weekend-deep clean. Your taste buds, and your wallet, will thank you.
Hard Truths from My Years Behind the Counter
Looking back at my journey, there were a few lightbulb moments that completely shifted how I approach coffee. First, gear is just a tool, not a talent. You can own the top-rated espresso machines for coffee lovers in 2025, but if you do not respect the physics of the bean, the machine will not save you. Second, I learned that silence is the enemy of a clean machine; if you are not hearing the pump work properly or if you skip your best routine for a weekend-deep clean, you are just drinking the ghosts of last month’s stale oils. Finally, I realized that mastering the art of home espresso tips for beginners is actually about mastering patience. Every bad shot is just data for your next perfect one.
Building Your Dream Coffee Station Piece by Piece
If you are looking to upgrade, do not buy everything at once. Start with a solid foundation. I always recommend learning how to select the perfect coffee grinder for your brew before you even think about a new machine. A great grinder makes cheap beans taste good, while a bad grinder makes expensive beans taste like ash. For those who prioritize milk texture, finding milk frothers that transform your coffee experience can bridge the gap between a home latte and a cafe latte. And please, do not ignore your measurements; if you find why your coffee scale is giving you inconsistent readings, fix it immediately. Precision is the difference between luck and skill.
#IMAGE_PLACEHOLDER_E#
Your Best Cup is Closer Than You Think
At the end of the day, coffee is a ritual meant to bring joy, not stress. It is easy to get lost in the specs and the technical jargon, but the goal is always that first, perfect sip. When you invest in choosing the best barista gear for coffee enthusiasts, you are not just buying equipment—you are buying the potential for a better morning. Don’t be afraid to fail, to spill some milk, or to pull a shot that tastes like vinegar. It is all part of the craft. What is the one thing that always seems to go wrong during your morning coffee ritual? Let me know in the comments below!