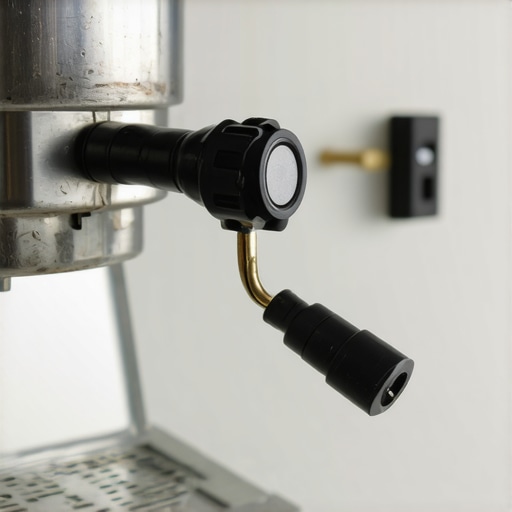
The Real Reason Your Espresso Machine Is Tripping the Breaker
It was exactly 6:14 AM on a Tuesday. I know because the microwave clock went dark the second I hit the power toggle on my machine. There I was, standing in my kitchen with a portafilter full of freshly ground beans and a dead high-end espresso machine. No lights. No heat. No caffeine. My first instinct was to panic and assume the boiler had exploded, but the reality was much more common: I’d tripped the GFCI for the third time that week. If you have ever stood in your pajamas, staring at a silent kitchen while praying to the espresso gods, you know exactly how soul-crushing this moment is. Have you found yourself flipping the breaker back on and hoping for the best?
The Hidden Battle Between Your Boiler and Your Fuse Box
Most of us don’t realize that our favorite barista gear can pull as much power as a heavy-duty space heater. When you engage that heating element, you are asking for a massive surge of current to flow through your wires. In my early days, I made the mistake of using distilled water in my boiler, which I eventually learned can lead to erratic sensor behavior and overheating in certain prosumer units. However, if your machine is killing the power instantly, you are likely dealing with a ground fault. This happens when electricity finds an unintended path to the ground, often because of a failing component. According to the electrical safety experts at the National Fire Protection Association (NFPA), high-wattage appliances like espresso machines are particularly prone to these faults when heating elements crack due to thermal stress. If your espresso machine trips the circuit breaker every time it reaches temp, you are likely looking at a compromised heating element that has finally given up the ghost.
Could a Tiny Leak Really Shut Down My Whole Morning?
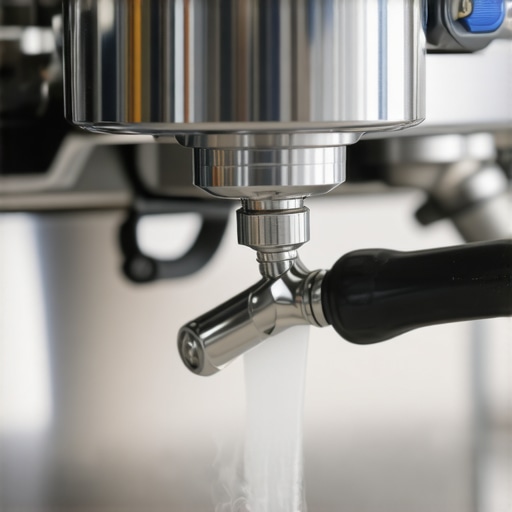
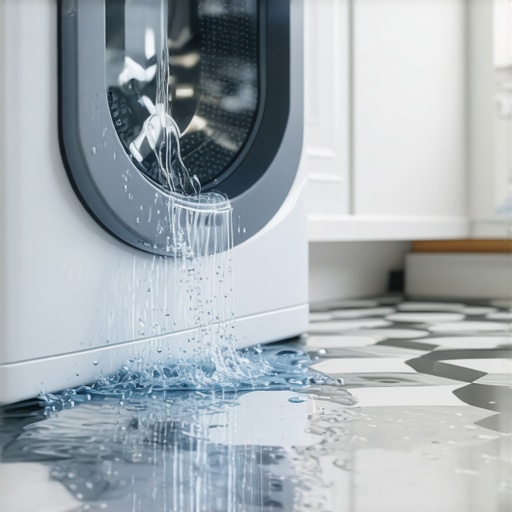
You might be skeptical that a few stray drops of water could cause such a massive headache. I used to be the same way until I ignored a machine that was leaking from the bottom for a month. That moisture eventually turned into a fine mist inside the casing, coating the delicate electrical terminals in a conductive layer. Before you assume the worst and start shopping for a replacement, it is vital to diagnose a faulty espresso machine thermostat or check for loose copper fittings. These machines are built to last, but they require us to be proactive about their internal health. We are going to stop the guesswork and figure out exactly why your machine is acting like a disgruntled electrician so you can get back to your morning ritual.
First Step: Cut the Power and Look for Leaks
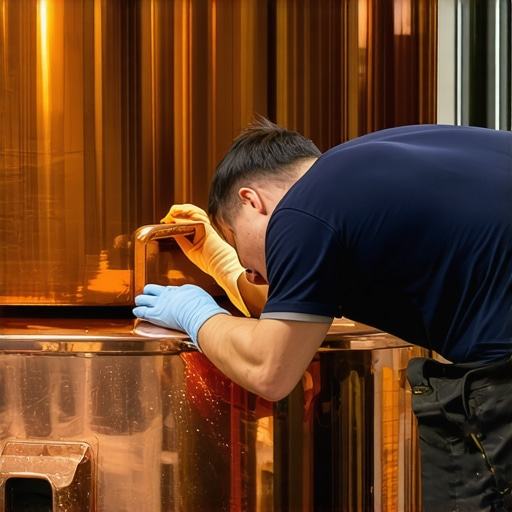
Safety is the only priority when you are dealing with a machine that is literally fighting your home’s electrical grid. Before you even think about grabbing a screwdriver, unplug the unit. Once it is isolated, your first job is to hunt for moisture. Open the top panel and look for ‘telltale’ signs: white crusty mineral deposits around fittings or actual pooling on the floor of the chassis. Even if you have spent years mastering the art of home espresso tips for beginners, an internal leak is a mechanical failure that overrides skill. If you find water, you likely have a loose nut or a perished O-ring. I remember once spending forty minutes convinced my pump had died because I heard a weird noise, but it turned out a tiny pinhole leak was spraying a fine mist directly onto the power switch. Addressing the source of the water is often enough to stop the tripping, but you must ensure the components are bone-dry before testing.
How to Isolate the Short Circuit Manually
If the machine is dry but the breaker still flips the moment you turn it on, we need to find out which ‘organ’ is failing. Most barista gear consists of a few high-draw items: the heating element, the pump, and the solenoids. The heating element is the usual suspect because it sits in water and expands/contracts constantly. To test this, you can (with the machine unplugged) carefully remove the spade connectors from the heating element terminals. Wrap the ends of the wires in electrical tape so they don’t touch anything, then plug the machine back in. If the machine stays on and doesn’t trip the breaker, you have confirmed that the heating element has an internal short and needs to be replaced. 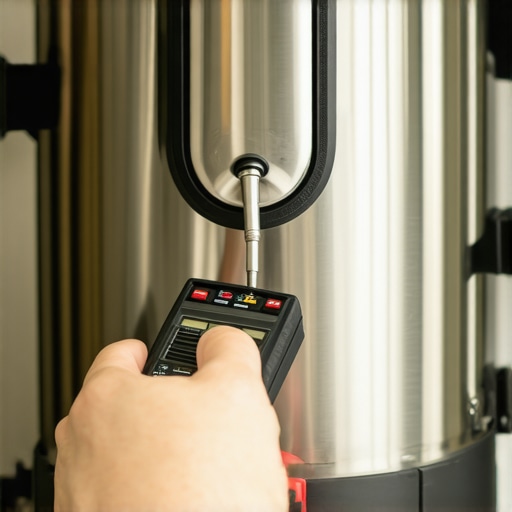
Identify Issues Beyond the Heating Element
If the breaker still trips with the heating element disconnected, move to the pump. Sometimes the reason your pump makes a clicking sound or causes a surge is due to a seized motor drawing too many amps. Use the same isolation method: unplug the pump and see if the fuse stays intact. This process of elimination is how professionals avoid ‘parts-cannon’ repairs where they replace everything and hope for the best.
The Hairdryer Trick for Damp Internals
Sometimes, your machine isn’t broken; it is just ‘sweating.’ In high-humidity environments or after a messy descaling session, steam can condense on the control board. In my second year of coffee obsession, I accidentally spilled half a pitcher of water down the vent of my machine. The breaker tripped instantly. Instead of panicking and buying a new unit from the top rated espresso machines for coffee lovers in 2025 list, I used a hairdryer on a cool setting to blow air through the internals for twenty minutes. This evaporated the microscopic bridge of water that was connecting the live circuit to the ground. If you have been struggling because your espresso machine is leaking from the bottom, fixing the leak is only half the battle—you must also eliminate the residual moisture that has migrated into the electrical housing. Be patient; rushing this step is how you fry a Motherboard.Despite what every glossy marketing brochure tells you, buying high-end equipment doesn’t insulate you from these electrical gremlins. In fact, a common myth among enthusiasts is that using pure water will keep their machine in showroom condition forever. However, the mistake of using distilled water in your boiler is one of the fastest ways to confuse your machine’s sensors. Most prosumer units rely on the conductivity of minerals in the water to tell the CPU when the boiler is full. Without those minerals, the sensor fails to ‘see’ the water, leading to a dry-fire scenario where the heating element glows red-hot and eventually cracks, causing exactly the kind of short circuit we have been discussing. This is the ultimate ‘oops’ factor: trying to be too clean can actually destroy your internals.
Is Your Distribution Tool Secretly Ruining Your Extraction?
While we are looking at internal failures, we have to talk about how we treat our barista gear on the outside. You might think a fancy needle tool is the key to God-shots, but why your wdt tool is actually causing more channeling often comes down to over-manipulation. When you over-stir, you create ‘fines migration’ where the smallest particles settle at the bottom of the basket, creating a clogged layer that forces the pump to work harder. This increased resistance raises the internal pressure and temperature, putting unnecessary stress on the high-voltage components. According to a study by the Specialty Coffee Association (SCA) on water chemistry and equipment longevity, even minor deviations in water mineral content—combined with high-pressure stress—can accelerate the degradation of copper heating elements by up to 40% over two years.
Why Distilled Water Is a Stealth Killer for Your Boiler
It is a hard pill to swallow, but ‘perfect’ water is often the enemy of electrical stability. Beyond the sensor issues, ultra-pure water is ‘hungry’ and will actively leach metals from your boiler and heating element to reach a chemical equilibrium. This microscopic pitting eventually leads to a pinhole breach in the element’s outer casing. Once that happens, water meets the magnesium oxide insulation inside, and boom—your GFCI trips. If you are worried about your machine’s long-term health, it is better to learn how to tell if your water hardness is damaging your boiler rather than stripping every mineral away. 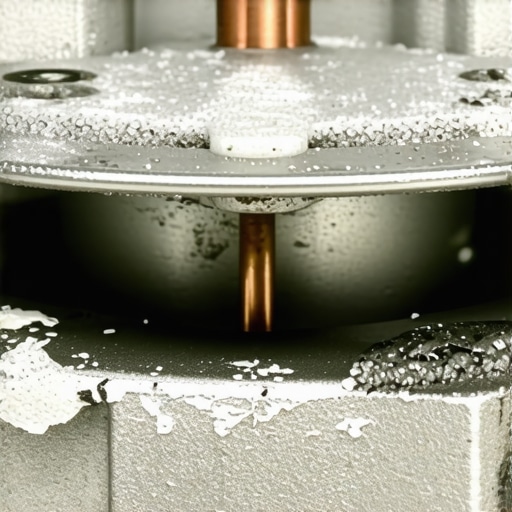
Stop Overtightening Your Gear Before It Breaks
Another trap I see advanced users fall into is the ‘more is better’ philosophy with maintenance. For instance, why your portafilter handle should never be tightened too far is a lesson usually learned after the group gasket splits and sprays water directly onto the power switch. We often think we are creating a better seal, but we are just accelerating the mechanical wear on the machine’s frame. If you have noticed that the reason your commercial grinder keeps tripping the breaker isn’t obvious, check the power cord for fraying near the base; constant vibration can rub the insulation raw against the metal chassis. Have you ever fallen into this trap of over-maintaining your gear only to have it backfire? Let me know in the comments below.If you want to keep your morning ritual from turning into an electrical nightmare, you need a proactive toolkit. For my grinder, I don’t just rely on the hopper looking clean. I use a small, high-powered handheld vacuum—specifically the ones meant for electronics—to suck out the fines from the discharge chute every Sunday. This is the only way how to stop your grinder from retaining coffee without a bellows, preventing those old, rancid oils from tainting your fresh roast. I also keep a set of digital calipers handy. Why? Because the right way to align your flat burrs for better shots involves checking the ‘parallelism’ of the burr faces. Even a 10-micron deviation can be the difference between a syrupy God-shot and a muddy mess. In fact, La Marzocco’s technical service manuals specify that for their Linea series, the group head dispersion screen must be perfectly flat within a hair’s breadth to ensure even saturation.
Give Your Grinder the Spa Day it Deserves
If you’ve spent months researching how to select the perfect coffee grinder for your brew, don’t let it die a slow death from dust. I personally use a toothpick to clear the threads on my adjustment collar. It sounds obsessive, but if those threads get jammed with coffee dust, you’ll find the trick to keeping your grinder adjustment dial from wandering is actually just keeping it clean. Every six months, I’ll take the extra step to swap your grinder burrs without losing your settings, ensuring the cutting edges are still sharp. 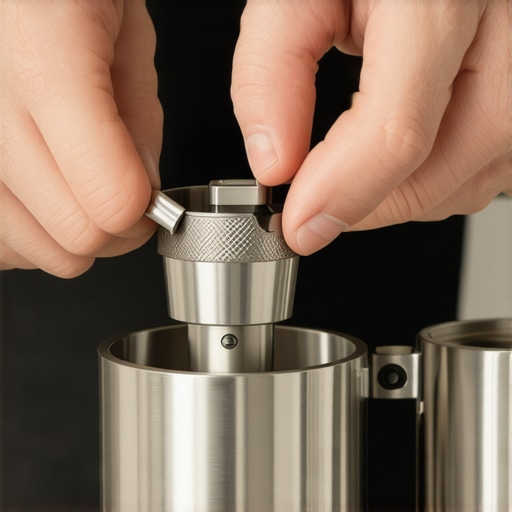
How do I maintain my espresso setup without losing my mind?
The key is to break it down into manageable chunks rather than one giant overhaul. I follow the best routine for a weekend deep clean, which includes backflushing with detergent and scrubbing the group head. If you are using a machine with a lot of chrome, you need to know how to replace a group gasket without scratching the chrome because a leaky gasket is usually the first domino to fall in an electrical short. Don’t forget your accessories either; even how to clean an automatic milk frother without taking it apart becomes a vital skill when you realize that dried milk buildup can cause the thermal cut-off to trigger early.
Smart Sensors and the Future of Coffee Tech
Looking ahead, I predict we are going to see more machines integrating ‘predictive maintenance’ sensors. We already have apps that track shot counts, but the next generation of top rated espresso machines for coffee lovers in 2025 will likely include internal moisture sensors that can shut down the power before the GFCI trips. This ‘smart’ integration will take the guesswork out of home repairs. Until then, we have to rely on our own eyes and ears. My challenge for you this week: Take five minutes to pull the shower screen off your machine and give it a soak. You will be shocked at how much cleaner your shots taste. If you’ve been putting off your mastering the art of home espresso tips for beginners, starting with clean gear is the most important ‘pro’ tip I can give you.
Avoid the Traps That Fried My Circuit Board
After years of tinkering with boilers and pumps, I have realized that most electrical failures are completely preventable. One of the biggest ‘lightbulb moments’ for me was discovering the truth about using distilled water in your machine; it seems like a great idea for cleanliness, but it actually causes sensors to malfunction and can lead to dangerous dry-firing. I also learned the hard way that the reason your portafilter gasket is getting brittle is often due to leaving the machine on for 24 hours a day, which cooks the internal seals and leads to those tiny, circuit-tripping leaks. Lastly, remember that your machine is a living ecosystem; if you ignore a small hiss of steam today, you will likely be resetting your breaker tomorrow morning.
My Personal Arsenal for a Stress Free Brew
You do not need a degree in electrical engineering to keep your setup running, but you do need the right resources. When I am helping friends troubleshoot, I always point them toward choosing the best barista gear for coffee enthusiasts that prioritizes ease of maintenance over flashy features. For those looking to upgrade their precision, learning how to select the perfect coffee grinder for your brew is the single best investment you can make for shot consistency. I personally rely on a simple set of metric hex keys and a high-quality multimeter—these tools have saved me thousands in repair fees and kept my favorite top rated espresso machines for coffee lovers in 2025 in peak condition.
Take Command of Your Morning Ritual
Don’t let a tripped breaker or a mysterious leak intimidate you into giving up on your coffee journey. These machines are robust, and with a little bit of patience, you can solve almost any issue that comes your way. By mastering the art of home espresso tips for beginners, you transition from being a simple operator to a true home barista who understands the soul of their equipment. The path to the perfect shot is paved with a few blown fuses, but the reward of a flawless, syrupy extraction is worth every second of troubleshooting. Have you ever had a machine failure that felt like the end of the world only to find out it was a simple fix? Let me know in the comments below!