How to Remove a Stuck Basket From Your Portafilter
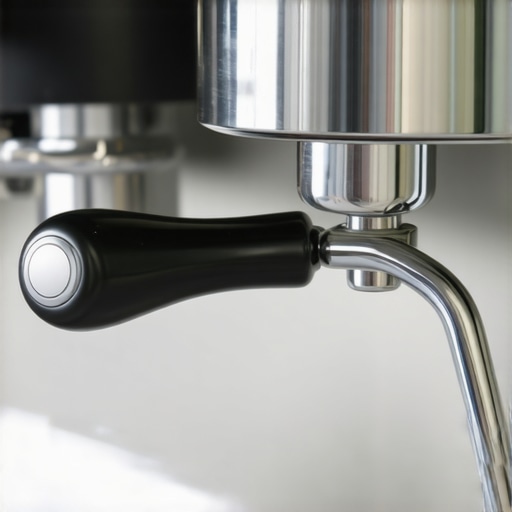
I stood there, kitchen light flickering, staring at my portafilter like it was an unsolvable puzzle. I had just treated myself to some [top-tier barista gear](https://espressotechguide.com/choosing-the-best-barista-gear-for-coffee-enthusiasts) and wanted to swap my basket, but the old one was locked in tight. My thumb was raw from pushing. I eventually grabbed a butter knife—a move I still regret because of the deep gouge I left in the chrome. We’ve all been there, haven’t we? That moment where a simple cleaning task turns into a test of physical strength and patience. Today, I’m going to show you exactly how to pop that stubborn basket out using physics instead of brute force. We will save your gear, your manicure, and your sanity.
Will prying this thing actually ruin my portafilter?
It is the fear that stops most of us. You spent good money on your setup, and the last thing you want is a wobbly handle or a scratched rim. When I started, I thought [how to fix a portafilter that keeps popping out](https://espressotechguide.com/how-to-fix-a-portafilter-that-keeps-popping-out) was my biggest worry, but the real danger is using the wrong leverage and bending the spring tension. If you’re gentle and use the right pivot point, your equipment will be perfectly fine. Trust me, I learned the hard way by using metal-on-metal prying techniques that I should have known better than to try.
Why Your Basket is Acting Like It’s Glued in Place
It isn’t just bad luck; it’s usually a combination of dried coffee oils and thermal expansion. According to data from The Engineering ToolBox, the coefficient of friction between stainless steel surfaces increases significantly when organic residues—like coffee oils—are present, effectively acting as a low-grade adhesive. If you’ve been [tightening your portafilter handle too far](https://espressotechguide.com/why-your-portafilter-handle-should-never-be-tightened-too-far), you might even be subtly deforming the retaining spring over time. Those old espresso shots leave behind a sticky ‘varnish’ that cements the basket to the walls of the portafilter head. It’s a common headache when you’re [mastering the art of home espresso](https://espressotechguide.com/mastering-the-art-of-home-espresso-tips-for-beginners), but it’s easily preventable once you know the secret of the ‘blank’ disc or a dedicated removal tool. Have you ever been so frustrated with a piece of gear that you almost threw it across the room? Tell me your ‘stuck equipment’ horror stories—I need to know I’m not the only one who has fought a piece of stainless steel and lost. Before you reach for the pliers, let’s look at the gentle methods that actually work.
Pop the Basket Without Scuffing the Chrome
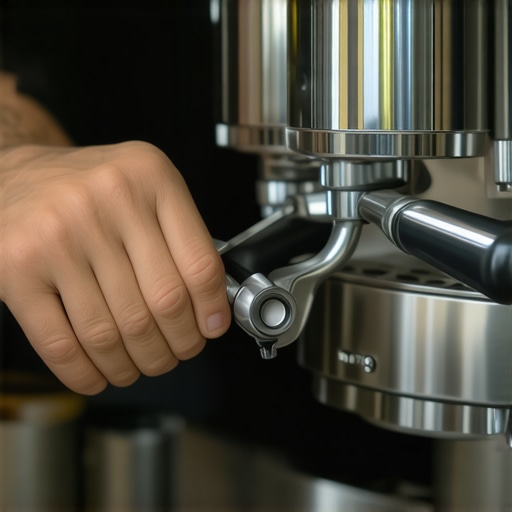
The most effective way to remove a basket isn’t by pulling upward with your fingernails; it is about horizontal leverage. Think of it like a seesaw. If you have a spare basket or even the edge of your blind filter, you can slide the rim of the loose tool under the lip of the stuck one. Use the edge of the portafilter body as your fulcrum and gently press down on the handle end of your tool. I remember the first time I saw a pro do this—it looked like magic. Before that, I was the guy with the butter knife or the screwdriver. I actually have a deep scratch on my first high-end machine because I thought metal-on-metal prying was the only way. It wasn’t just an eyesore; it made learning how to replace a group gasket without scratching the chrome much more difficult later because the sealing surface was no longer perfectly flush. By using another basket as a lever, you distribute the force across a wider surface area, preventing those nasty gouges in the soft brass or chrome.
The Blind Filter Pressure Trick
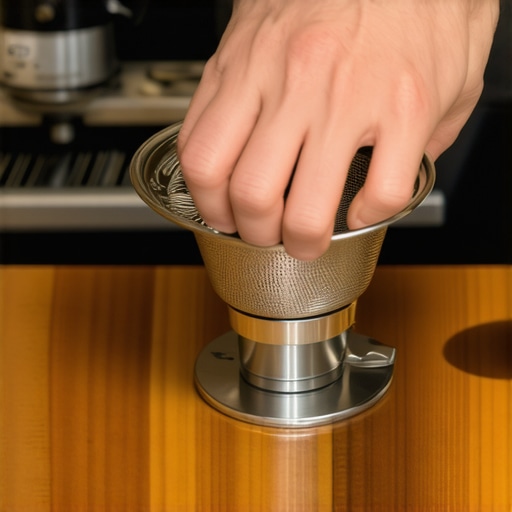
If the spare basket method doesn’t give you enough bite, you can use the blind filter—the same solid disc you use when why your machine needs a backflush every single week—to create a wider surface area for prying. This is especially helpful if your why your bottomless portafilter is making a huge mess and you need to pull the basket to check if the internal tension spring has slipped. The key is to find the gap where the spring ends. Most portafilters have a small notch or a slightly wider space in the retaining clip. Aim your lever there. By focusing the pressure on the weakest point of the spring’s tension, the basket will pop up with a satisfying click instead of a grinding screech. I’ve found that using the blind filter provides a more stable grip than a standard perforated basket, especially when your hands are slightly damp from the sink.
Dissolve the Coffee Glue With Heat
Sometimes the basket is literally bonded to the metal by polymerized oils. It’s like trying to pull apart two pieces of tape that have been sitting in the sun. If your gear feels cold and the basket won’t budge, run it under hot water for sixty seconds. The metal of the portafilter head will expand slightly faster than the thin stainless steel of the basket. This subtle difference in thermal expansion, combined with softening the oils, usually breaks the seal. It is the same logic behind the benefit of pre-warming your portafilter head; everything fits better and moves smoother when it is at operating temperature. I once struggled with a Gaggia portafilter for twenty minutes before realizing it was just stone-cold. A quick blast of steam from the wand, and the basket practically fell out on its own.
Stop the Stick Before It Starts
Once you finally get that basket out, don’t just put it back in. Look at the gunk inside the rim. That brown film is the enemy of a smooth workflow. This is the perfect time to evaluate your overall choosing the best barista gear for coffee enthusiasts maintenance schedule. If the spring inside the head is bent or caked in carbon, your basket will either be too loose or impossible to remove. Use a stiff brush—the kind you would use to how to clean the grinder chute without taking it apart—to scrub the inner rim of the portafilter. A quick wipe with hot, soapy water will ensure that the next time you need to swap baskets, it is a three-second task rather than a ten-minute workout. I started doing this every Sunday, and I haven’t had to reach for a prying tool in over two years.
It is easy to think that once you have invested in top-rated espresso machines for coffee lovers in 2025, the hardware will do the heavy lifting for you. But even the best machine cannot save a shot if you are falling for the distribution tool trap. Many home baristas believe that a perfectly flat surface equals a perfect extraction. In reality, why your distribution tool might be ruining your extraction is one of the most common issues I see. If you set the depth too deep, you compress the top layer before the rest of the puck is even touched, leading to hidden channeling that you cannot see from the top. I wasted months trying to figure out why your espresso puck is always soupy at the end before realizing my expensive leveler was actually creating an uneven density gradient that no amount of prying could fix. 
Does more tamping pressure actually lead to better espresso?
This is the question that keeps coffee enthusiasts up at night. The common myth is that the harder you press, the more resistance you create. However, research from the Coffee Science Foundation has demonstrated that once you hit the point of maximum puck density—usually around 25-30 pounds of force—any extra pressure is essentially wasted energy. The water will not know the difference. Instead of focusing on raw strength, look for the move for more consistent puck compression. If your tamping is slanted because you are trying to push too hard, you will end up with a lopsided extraction. This is particularly true if you are still using the cheap components that came in the box; why your plastic tamper is making your espresso sour usually comes down to its inability to provide a level, edge-to-edge seal. Another trap is obsessing over the portafilter while ignoring the source. You can have the most expensive basket in the world, but if your grinder is not performing, the basket will keep getting stuck with fines and oils. I always tell people that before they buy a new handle, they need to learn how to select the perfect coffee grinder for your brew. Finding the sweet spot requires the trick to finding the true zero point on your grinder to ensure your particle size is consistent enough to flow through the basket without clogging those tiny precision-laser-cut holes. Have you ever fallen into this trap where you bought a fancy tool only to realize it did not fix the underlying problem? Let me know in the comments below—I have spent thousands on gadgets that were just band-aids for poor technique.
Maintenance isn’t just a chore; it’s the difference between a machine that lasts five years and one that becomes a family heirloom. If you have already invested in top-rated espresso machines for coffee lovers in 2025, you cannot afford to be lazy with the internal plumbing. I learned this when my first prosumer machine started making a horrific screeching noise. It turned out to be a simple lack of lubrication on the E61 lever, but it sounded like a thousand-dollar repair. Now, I follow a strict protocol. It starts with the grinder. Most people don’t realize that the move that saves your grinder from unnecessary wear is as simple as making sure the motor is spinning before you adjust to a finer setting. This prevents the burrs from seizing on a stray bean fragment, a common cause of blown fuses and stripped gears.
Don’t Let Old Coffee Oils Turn Into Concrete
Remember that ‘glued’ basket we talked about? That is just the symptom. The real disease is neglecting your group head. According to Mahlkönig’s technical documentation, organic coffee oils begin to polymerize and go rancid within 48 hours of exposure to oxygen and heat. If you aren’t performing a water-only backflush daily, you are literally brewing through a layer of old, bitter varnish. This is exactly why your machine needs a backflush every single week with a dedicated detergent. I personally use Cafiza, but the brand matters less than the consistency. If you let that gunk build up, you will eventually face the reason your drip tray is filling up faster than normal—a clogged three-way solenoid valve that can no longer seal properly. It is a messy, annoying fix that takes an entire afternoon to resolve.
How do I maintain my home espresso setup over time?
The secret is a tiered approach: daily, weekly, and quarterly. Daily, you wipe the wand and purge the group. Weekly, you backflush and clean the grinder chute. Quarterly, you look at the ‘big’ stuff. This includes checking your water chemistry. I used to think I was being smart by using distilled water to avoid scale, but the truth about using distilled water in your machine is that it can actually leach minerals directly out of your copper boiler, leading to pinhole leaks. You need a specific mineral balance for both taste and equipment safety. If you aren’t sure where you stand, how to tell if your water hardness is damaging your boiler usually involves a simple titration test kit from a local aquarium shop. It’s five dollars that could save you a five-hundred-dollar boiler replacement.
The Future of Home Barista Maintenance
I predict we are moving toward ‘smart’ maintenance alerts where sensors in the machine will detect flow restriction before you even notice a change in the shot. We are already seeing this in high-end commercial gear, and it will trickle down to our kitchens soon. Until then, you have to be the sensor. If you hear the reason your pump makes a clicking sound, don’t ignore it. It’s usually a sign of cavitation or a failing capacitor. Catching these things early is the difference between a quick part swap and a total system failure. I highly recommend you take ten minutes this weekend to perform the best routine for a weekend deep clean. Pull your shower screen, soak your baskets, and vacuum out your grinder. Your palate—and your wallet—will thank you. Go ahead and pull that shower screen today; you might be shocked at what has been hiding behind it.
Hard Lessons I Learned Fighting My Espresso Gear
Brute force is almost always the wrong answer when it comes to precision equipment. If you are breaking a sweat trying to separate two pieces of metal, you are likely doing more damage than good. Leverage and heat are your best friends because they work with the properties of the stainless steel rather than against them. A stuck basket is usually a loud warning sign from your machine. It means coffee oils are building up in places they should not be, often because the why your machine needs a backflush every single week routine has slipped. I also learned that cheap makeshift tools cause expensive problems. I once used a flat-head screwdriver to pry a basket and realized that how to replace a group gasket without scratching the chrome becomes an impossible task once you have deeply marred the sealing surface. Professional gear requires professional patience.
The Toolkit Every Barista Needs in Their Drawer
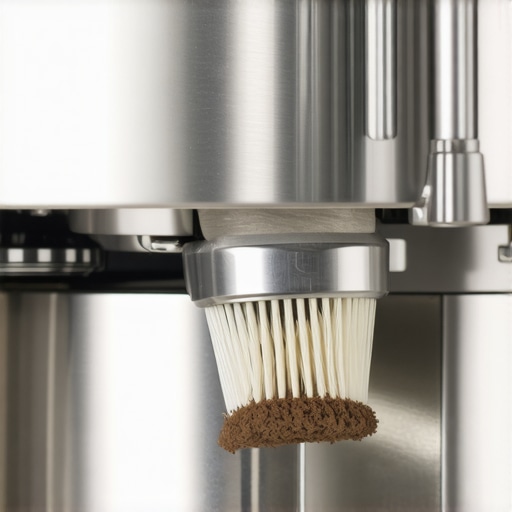
Maintaining a high-end setup does not require a workshop full of tools, but it does require the right ones. First, a blind filter is non-negotiable. It is not just for cleaning; it is the perfect lever for the removal trick we discussed. It is perhaps the most versatile piece of choosing the best barista gear for coffee enthusiasts you can own. Second, keep a jar of specialized espresso detergent like Cafiza or Puly Caff nearby. These are designed to dissolve the polymerized oils that act like glue. Finally, invest in a stiff-bristled group brush. Using it daily to clear the rim of your portafilter will ensure you never have to fight a stuck basket again, which is a key part of mastering the art of home espresso tips for beginners.
Keep Your Gear Pristine and Your Coffee Better
Taking care of your equipment is not just about avoiding frustration; it is about respecting the craft. When your gear is clean and functioning smoothly, you can focus on the variables that actually matter—like the roast profile or the grind size. Whether you are using entry-level tools or top-rated espresso machines for coffee lovers in 2025, the principles of maintenance remain the same. Don’t be afraid to take things apart and see how they work. The more you understand the physics of your barista gear, the better your shots will taste and the longer your machine will last. Have you ever accidentally scratched your machine or bent a basket trying to fix a simple problem? Let me know your worst maintenance fails in the comments below!