How to Stop Your Grinder from Overheating During Busy Mornings
I was standing in my kitchen last Tuesday, halfway through making the third latte for my caffeine-hungry houseguests, when I noticed something terrifying. My grinder didn’t just sound different—it smelled like a hair dryer on its last legs. I touched the casing, and it was hot enough to be uncomfortable. That was the moment I realized I’d been treating my home setup like a high-volume commercial cafe, and my gear was screaming for mercy. If you’ve ever felt that heat radiating off your hopper or noticed your shots getting more bitter as the morning goes on, you aren’t crazy. Your grinder is sweating, and we need to fix that. Today, I’m sharing the hard-earned lessons I learned after nearly burning out a motor so you can keep your morning routine smooth and your equipment alive.
Stop Cooking Your Beans Before the Water Hits
When the motor in your grinder works too hard, it generates friction and heat that transfers directly to the burrs. This isn’t just a mechanical concern; it is a flavor disaster. Excessive heat causes the volatile oils in your beans to oxidize and effectively cook before they even touch the water, which is a major reason why your fourth shot often tastes like burnt rubber compared to the first. I used to think the answer was simply how to select the perfect coffee grinder for your brew, but the real secret is managing the thermal load of the one you already own. According to research by the Specialty Coffee Association, consistent temperature is as critical for the dry coffee particles as it is for the brewing water. [IMAGE_PLACEHOLDER]
Can a Hot Grinder Really Kill My Espresso Flavor?
The short answer is yes, and it happens faster than you think. Early in my journey, I made the classic mistake of purging massive amounts of coffee without letting the burrs rest, thinking I was being professional and efficient. In reality, I was building up a thermal debt that my machine couldn’t pay back. You might already know why the first shot of the day is always a throwaway due to temperature instability, but by the time you are grinding for the whole family, the problem flips—everything is way too hot. Learning the move that saves your grinder from unnecessary wear is about more than just longevity; it is about making sure that last cup of the morning tastes just as sweet as the first. Have you ever felt your grinder casing getting uncomfortably warm during a busy morning? It is a common hurdle, but one we can definitely overcome with a few simple workflow shifts.
Give Your Burrs a Breather Between Rounds
Think of your grinder motor like a sprinter, not a marathon runner. When you engage those burrs, they are chewing through dense, roasted seeds at thousands of revolutions per minute. This creates immense friction. To keep your shots consistent, you need to implement a 1:2 work-to-rest ratio. If it takes you 20 seconds to grind a double dose, wait at least 40 seconds before hitting the button again. I learned this the hard way last Christmas when I tried to power through twelve lattes for my extended family. By the eighth drink, the grinder wasn’t just warm; it was radiating a metallic heat that made the coffee taste like a burnt tire. I ended up having to wrap a cold towel around the casing just to finish the round. This simple pause prevents the internal components from expanding, which is often the reason your grinder burrs are touching early and causing inconsistent particle sizes.
Keep Your Workspace Airy and Cool
Your grinder needs room to breathe. Tucking a high-performance burr grinder into a tight, unventilated corner or right next to your steaming espresso machine boiler is a recipe for heat soak. Most home units rely on passive cooling, meaning they need ambient air to whisk away the heat from the motor. When you are planning your setup, look at how to position your grinder to minimize countertop vibration while also ensuring there is at least three inches of clearance on all sides. I once had my grinder wedged between my machine and a heavy toaster oven, and the heat transfer was so aggressive that the beans in the hopper were literally sweating oil before I even started the motor. Moving it to the end of the counter dropped my internal temp by nearly ten degrees. 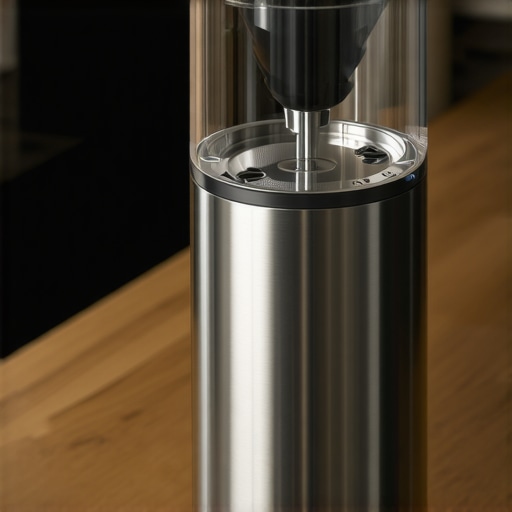
Don’t Let a Hot Hopper Ruin Your Roast
One of the most overlooked sources of heat is the hopper itself. If your motor is running hot, that heat rises, warming the beans waiting in the wings. This is a primary factor in why your shots taste different on a full hopper compared to single dosing. When beans get warm, they become more brittle and release oils prematurely, which leads to a messy extraction and a clogged chute. If you know you are going to be brewing several back-to-back drinks, consider single dosing—only putting in exactly what you need for that shot—to keep the rest of your stash cool and protected. This also helps you monitor the condition of your equipment, as you’ll notice immediately if the beans feel unnaturally warm to the touch. If you suspect the heat has already done damage, it is worth learning how to tell if your espresso grinder burrs are dull, as dull burrs create significantly more friction and heat than sharp ones. Making the move that saves your grinder from unnecessary wear is all about being proactive rather than waiting for the motor to seize up mid-morning.I used to think that the more heavy, chrome-plated tools I had on my counter, the better my espresso would be. It’s a common trap: we assume that if a tool costs a fortune and looks professional, it must be solving a problem. But here is the contrarian truth I’ve learned after thousands of shots: those heavy spinning distribution tools are often just a cosmetic fix. Everyone says you need them to level the bed, but in my experience, they often create a false sense of security. They level the top few millimeters of coffee perfectly while leaving the density underneath completely uneven. If you are struggling with inconsistent flow, check why your distribution tool might be ruining your extraction before you blame your beans. Sometimes, the move for better espresso distribution without fancy tools—like a simple WDT needle—is much more effective because it addresses the whole coffee bed, not just the surface. 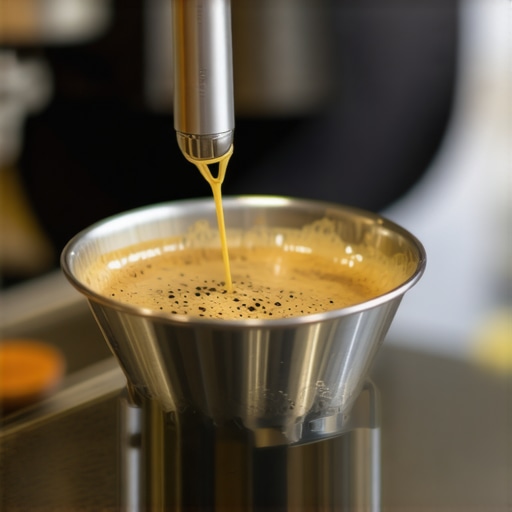
Is Your Puck Prep Hiding Deeper Channeling Issues?
When you use a leveler, you’re essentially grooming the surface to look pretty, but you aren’t fixing the clumps inside. Expert coffee consultant Scott Rao has often pointed out that uneven puck density is the primary driver of channeling. When the water hits that ‘groomed’ surface, it finds the paths of least resistance underneath, leading to those frustrating spurts. This is especially true if you are already dealing with why your bottomless portafilter is making a huge mess. If you want a real solution, focus on vertical consistency rather than horizontal aesthetics.
The Distilled Water Trap That Kills Machines
One of the most dangerous ‘pro’ tips I see circulating is the idea that you should use 100% distilled or reverse osmosis water to prevent scale. While it’s true that you won’t get scale, the mistake of using distilled water in your boiler is that it’s actually corrosive. Pure water wants to pull minerals out of whatever it touches—which means your expensive copper boiler and brass fittings. Plus, most machine sensors require minerals to detect water levels; without them, your machine might think it’s dry and keep heating, leading to a burnt-out element. If you’ve been doing this, you might notice why your machines water temperature fluctuates every few minutes as the sensors struggle to read the pure water. Instead, use a balanced mineral recipe to protect your gear and your flavor. Have you ever fallen into the ‘over-accessorizing’ trap or tried a ‘hack’ that ended up hurting your machine? Let me know in the comments, and let’s troubleshoot it together.Beyond the chemistry of your water, the physical components of your espresso setup are in a constant state of wear. If you have ever ignored a tiny drip from your group head, you are essentially inviting a future mechanical failure that could have been avoided with a five-dollar part. I used to wait until my machine was actively spraying water everywhere before I would act, but that is a rookie mistake. Proactive maintenance is what separates a setup that lasts two years from one that lasts twenty. When you are choosing the best barista gear for coffee enthusiasts, you have to think about the serviceability of those parts. Learning how to replace a group gasket without scratching the chrome is a foundational skill that keeps your seal tight and your pressure where it needs to be.
Keep Your Gaskets Soft and Your Coffee Clean
The most common point of failure on any machine is the group gasket. Over time, the heat from the boiler bakes the rubber until it becomes as hard as plastic. If you find yourself having to crank the portafilter handle further and further to the right just to get a seal, you are already overdue. I make it a habit to swap mine every six months, regardless of how they look. While you are in there, you need to be religious about your cleaning schedule. Understanding why your machine needs a backflush every single week is critical for removing the rancid coffee oils that build up behind the shower screen. These oils don’t just ruin the flavor of your next shot; they can eventually clog the solenoid valve, leading to a much more expensive repair bill. 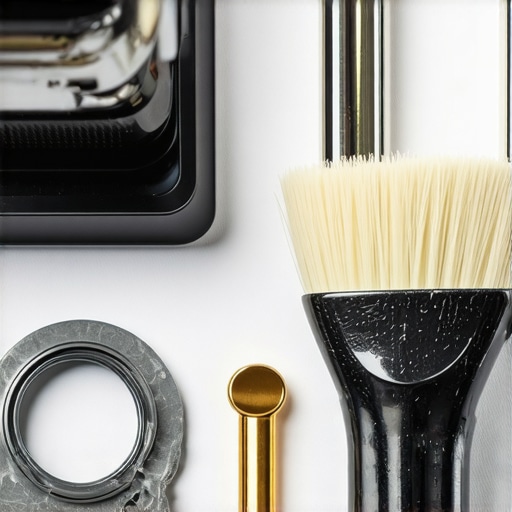
How do I maintain my home espresso machine over years?
Maintenance is about consistency and the right tools. I personally swear by a dedicated maintenance kit that includes a stiff group brush, a blind basket, and high-quality detergent. For those using high-end prosumer equipment, the La Marzocco GS3 Technical Manual specifically highlights the importance of checking the vacuum breaker and safety valves every quarter to prevent internal moisture from damaging the electronics. This technical rigor might seem excessive for a home kitchen, but it is exactly what prevents a middle-of-the-night circuit trip. You also cannot neglect the grinder; finding the mess free way to clean a conical burr grinder will keep your particle distribution consistent and prevent the motor from straining against old, compacted grounds.
Stop Guessing Your Yield with a Real Scale
If you are still eyeballing your shots, you are leaving your results to chance. Even the best machine in the world can’t compensate for a varying dose or yield. I use a high-precision scale for every single shot because even a half-gram difference can be the gap between a balanced espresso and a sour mess. However, you need to keep an eye on why your coffee scale is giving you inconsistent readings, which is often caused by heat from the drip tray affecting the load cell. As we look toward the future, I predict we will see more machines with built-in, vibration-isolated scales that talk directly to the grinder. For now, take the time to learn how to calibrate your machines volumetric settings so you can repeat your success every single morning without the guesswork. Before you pull your next shot, I challenge you to try the trick to finding the true zero point on your grinder—it is the best way to ensure you are operating within the optimal range for your specific burr set.
What I Finally Realized After Nearly Killing My Motor
Looking back at that smoky morning in my kitchen, I’ve come to realize that the most expensive equipment in the world won’t save you from poor workflow habits. My biggest lightbulb moment was realizing that home equipment, even the high-end stuff, isn’t designed for a 100% duty cycle. I learned the hard way that silence is golden—if your grinder is screaming, it is probably because it’s clogged with oils from months of neglect. Finding the best routine for a weekend deep clean wasn’t just about hygiene; it was about saving my motor from an early grave. I also discovered that ‘perfect’ is the enemy of ‘good’ when it comes to puck prep; stop obsessing over how the surface looks and start worrying about how the water feels as it moves through the coffee. Consistency isn’t found in a new gadget, but in the rhythm you establish with the tools you already have.
A Few Tools That Actually Earned a Spot on My Counter
If you are looking to upgrade, don’t just buy what looks shiny on Instagram. I highly recommend starting with top-rated espresso machines for coffee lovers in 2025 that prioritize thermal stability over flashy features. Beyond the machine, your maintenance kit is your most valuable asset. I never go a week without checking my reservoir, as learning how to stop your water tank from growing algae is a lesson you only want to learn once. When choosing the best barista gear for coffee enthusiasts, focus on items that solve specific workflow pain points, like how to stop static from ruining your grinding workflow. These small logistical fixes do more for your daily happiness than any chrome-plated distribution tool ever could.
The Future of Your Morning Routine Is in the Smallest Details
Your journey with home espresso is going to be a series of small adjustments that eventually lead to that ‘god shot’ we all chase. Don’t be discouraged when a shot runs fast or a motor gets a bit warm; these are just your machine’s ways of communicating its limits to you. By respecting the thermal load of your grinder and keeping a rigorous cleaning schedule, you are ensuring that your investment in high-quality barista gear pays off for years to come. The best part of this hobby isn’t the equipment itself, but the mastery you develop over the process. Every time you fix a leak or dial in a new bean, you are becoming a better barista. Have you ever noticed your grinder getting uncomfortably hot after a few back-to-back shots, or did a specific smell finally tip you off that it was time for a rest? Let me know your close calls in the comments below!