The Simple Fix for a Portafilter That Leaks from the Top
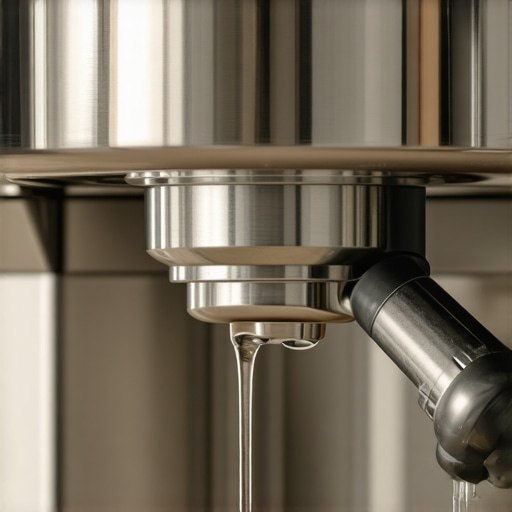
I still remember the Tuesday morning my espresso machine decided to turn into a miniature geyser. I’d just dialed in a beautiful roast, my coffee grinder was singing, and I was seconds away from a perfect latte. Then, it happened. A hiss, a sizzle, and suddenly hot water was weeping—no, pouring—out from the top of the portafilter, soaking my scales and ruining my morning vibe. I thought my expensive setup was toast. I even started looking at top-rated espresso machines for coffee lovers in 2025 because I was convinced I needed a total replacement. But here is the truth: it was a simple five-dollar fix I’d been ignoring for months. It wasn’t the machine’s fault; it was mine. Today, I’m going to show you how to stop that leak for good so you can get back to mastering the art of home espresso without the soggy mess.
Stop the Scalding Water Spraying Your Kitchen
When I first started out, I made the classic rookie mistake of cranking the portafilter handle as hard as I could to stop the drips. I thought brute force was the answer. Spoilers: it isn’t. In fact, that’s exactly why your group head gasket is leaking after just one month. You’re just crushing the seal until it loses all its bounce. It took me a long time to realize that the leak wasn’t a mechanical failure of the pump or some deep internal crack. It was just a tired piece of rubber that had seen better days. According to technical bulletins from the Specialty Coffee Association, high-temperature environments over 90 degrees Celsius cause standard EPDM rubber seals to undergo ‘thermal set,’ which permanently deforms the material and kills your hydraulic pressure. It’s a scientific fact, yet we always blame the machine first. Have you ever faced this specific problem where your machine suddenly sprays your favorite shirt right before you head out the door? It’s enough to make you want to switch back to instant coffee.
Can a Simple Rubber Ring Really Solve the Problem?
You might be skeptical that something so small could cause such a massive headache. I certainly was. I spent an embarrassing amount of time trying to fix a wobbly portafilter gasket in 30 seconds by just poking at it with a flathead screwdriver. It didn’t work. The reality is that the ‘top leak’ is almost always a gasket issue or a buildup of old, charred grounds that haven’t been scrubbed away from the rim. If you don’t keep that area pristine, you’re basically inviting a blowout. We aren’t just talking about a few annoying drops; we’re talking about lost pressure that ruins your crema and makes your milk frothers work twice as hard to save a mediocre, watery shot. Before you go out and dump a paycheck on new barista gear, let’s look at the simple maintenance step that saved my sanity and my kitchen counter. It’s easier than you think, and you don’t need a degree in engineering to pull it off.
Scrub Away the Grit Before You Buy New Parts
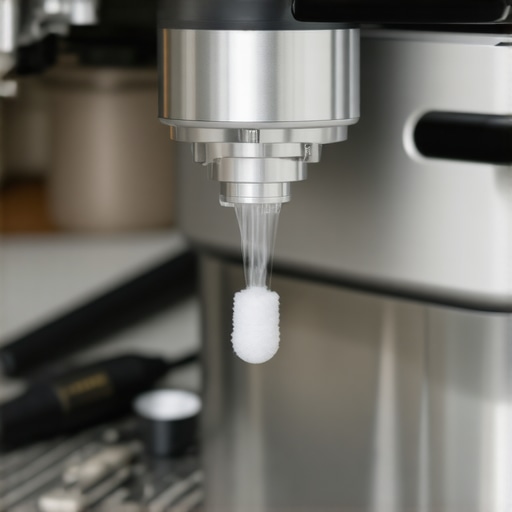
First, we need to address the ‘gunk’ factor. Most of the time, that annoying spray isn’t just a failed seal; it is a tiny wall of dried coffee grounds acting like a wedge between the portafilter and the gasket. I used to think a quick wipe with a damp towel was enough, but I was wrong. You need to use the flashlight move for finding hidden channeling paths to look up inside that group head. If there is a crusty layer of old espresso on the rim, no gasket in the world will create a vacuum seal. I once spent forty minutes diagnosing a ‘leak’ that turned out to be a single charred coffee bean stuck in the groove. It felt like trying to close a door with a pebble in the hinge; no matter how hard I pushed, it just wouldn’t shut. Use a dedicated group head brush or a clean, stiff toothbrush to clear the tracks. This simple step often provides a better seal than any expensive barista gear upgrades you might be considering. 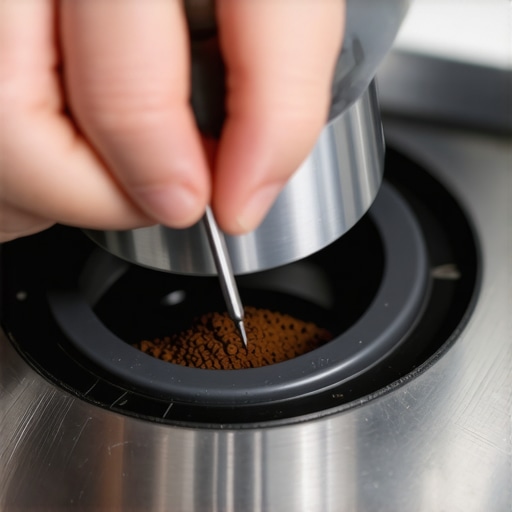
Pop Out the Old Seal Without Scratching the Metal
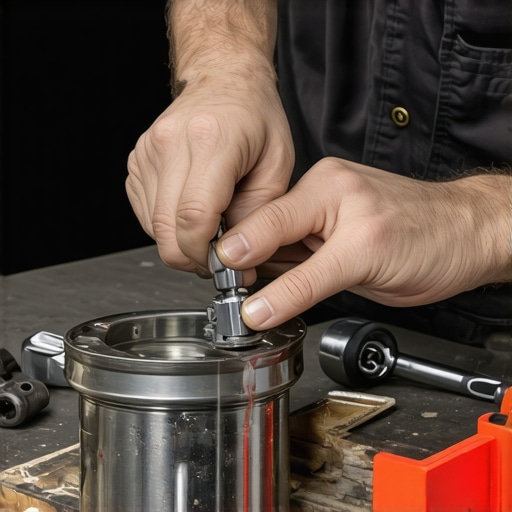
When you finally decide to pull the old gasket out, please, for the love of your machine, don’t use a sharp kitchen knife. I once tried to pry mine out with a serrated steak knife because I was impatient. I ended up with a nasty gouge on the brass group head that caused a permanent micro-leak. Instead, use a blunt pick or even the back end of a teaspoon. If you have made the dish soap mistake that ruined your group head seal, the rubber might feel sticky or crumbly, making it a bit messier to remove. Think of the gasket like a car tire—if it is bald, brittle, or cracked, it loses its ability to grip. You might even find that the rubber has become so hard it snaps like a twig. That is the ‘thermal set’ I mentioned earlier. Once it is out, wipe the internal channel one more time to ensure the new ring has a pristine surface to sit against.
Seat Your New Gasket for a Watertight Lock
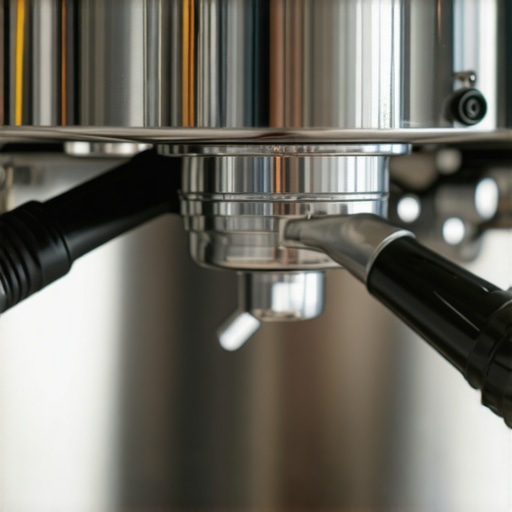
Once the area is clean, it’s time to install the fresh ring. Most gaskets have a flat side and a beveled (rounded) side. If you put it in upside down, you will immediately notice why your portafilter handle is stuck at the 5 o-clock position and won’t lock in far enough to build pressure. Typically, the flat side faces up into the machine. Push it in with your fingers first to get it started, then use your portafilter—without the basket—to press it firmly and evenly into place. This ensures the gasket is level and won’t cause why your espresso machine is leaking steam from the top during your next extraction. If the fit feels too tight, a tiny drop of food-grade lubricant can help, but usually, a clean surface is all you need. If you’re still struggling with a loose fit after replacement, you might need to look into how to fix a wobbly portafilter gasket in 30 seconds by adding a thin paper shim. This process turns your machine from a leaky mess back into the precision tool it was meant to be, ensuring every bit of pressure goes through the puck and not onto your counter.
Stop Chasing the Highest Pressure for Better Flavor
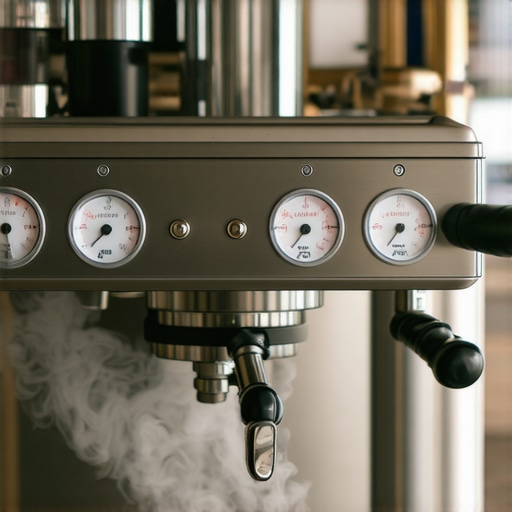
Now that you’ve addressed the physical leaks, it is time to dismantle the biggest myth in the home barista world: the idea that more pressure always equals better coffee. I used to think that if 9 bars was good, 11 bars must be professional. I was wrong. Most top-rated espresso machines for coffee lovers in 2025 come out of the box with the pressure set far too high, often to compensate for poor puck preparation. In my experience, higher pressure actually compresses the coffee puck so much that it causes micro-channeling, leading to that sharp, salty sourness we all hate. You can actually perform the simple way to measure your pump pressure without a gauge to see where you stand. Real expertise starts when you realize that backing off to 6 or 7 bars can often yield a much sweeter, more balanced cup, especially with light roasts.
Why Your Super-Fresh Beans Are Actually Ruining Your Shot
We are constantly told that freshness is king. While stale beans are a tragedy, using beans that were roasted yesterday is a recipe for frustration. When beans are too fresh, they are packed with CO2. According to research from Barista Hustle on the physics of degassing, this trapped gas creates a ‘turbulent barrier’ that prevents water from evenly saturating the grounds. This is how to tell if your coffee beans are too fresh for espresso: if your shot looks like it’s mostly blonde foam that quickly dissipates into nothing, your beans haven’t rested long enough. I usually wait at least 7 to 10 days before even letting them touch my coffee grinder. If you rush it, you’ll find yourself constantly tweaking your settings because the extraction profile changes every hour as the gas escapes. 
Is Your Water Chemistry Killing Your Boiler From the Inside Out?
Many advanced users focus on the PID temperature or the burr geometry of their barista gear, but they completely ignore the chemistry of the water they’re pouring in. There is a dangerous ‘trap’ here: using distilled or reverse osmosis water because you think ‘pure’ is better. Without minerals, water is ‘hungry’ and will literally leach metal from your machine’s copper or brass internals. Conversely, water that is too hard will scale up your solenoid valves in weeks. You need to learn how to tell if your water is too soft for brewing to protect your investment. I’ve seen thousand-dollar machines turned into paperweights because the owner thought bottled ‘spring’ water was a safe bet. It’s a nuance that separates the casual drinkers from the true enthusiasts. Even your milk frothers can suffer if the steam wand is drawing from a boiler caked in calcium. Another often overlooked factor is how the heat from your motor can affect your dose; why your grinder burrs are getting hot during a single dose is a question of consistency that can make or break your morning routine. Have you ever fallen into this trap of over-complicating the gear while ignoring the basics like water and resting time? Let me know in the comments, and let’s troubleshoot your setup together so you can get back to mastering the art of home espresso properly.
Save Your Steam Wand with a Two-Second Swipe
I’ve seen some truly horrifying steam wands in my time—crusty, white layers of calcified milk that look more like a science experiment than a coffee tool. It’s not just gross; it’s a performance killer. This is exactly the 2-minute habit that prevents clogged steam wands and keeps your texture silky. Every time I finish stretching my milk, I purge for a full second and wipe immediately with a dedicated microfiber cloth. If you let that milk bake on, you’re eventually going to have to deal with why your steam tip holes keep clogging every single day. I personally keep a spray bottle of water nearby just to keep the cloth damp; it makes the milk slide right off without any scrubbing.
Stop Using Rice to Clean Your Expensive Burrs
Please, I’m begging you, ignore the old wives’ tale about running white rice through your coffee grinder. Rice is far harder than coffee beans and can actually dull your steel or ceramic burrs over time. Instead, I use a vacuum and a small brush once a week. It’s the best way to clean a grinder without taking it apart and keeps your flavors from turning rancid. When old oils sit in the nooks and crannies of your grinder, they oxidize, which is often the hidden reason the reason your espresso tastes like vinegar even when your shot looks perfect. According to the La Marzocco Home preventative maintenance guide, ignoring the internal cleanliness of your grinder and group head can lead to a 15% drop in thermal stability over just six months. 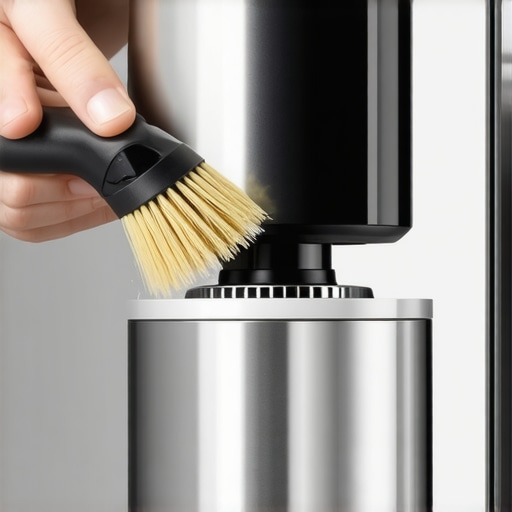
How can I make my espresso setup last a lifetime?
The secret isn’t in buying the most expensive barista gear; it’s in the water and the seals. You should be backflushing with water every single day and using a detergent once a week. If you notice why your espresso machine takes longer to heat up lately, you likely have scale building up on the heating element. I check my ‘mushroom’ valve every six months to see why your e61 mushroom is covered in white crust. If it’s clean, my water chemistry is on point. If it’s crusty, it’s time to rethink my filtration before a total boiler failure occurs.
Precision and Automation are the Future
Looking ahead, I predict the ‘manual’ espresso world is going to merge even more with high-tech automation. We are already seeing top-rated espresso machines for coffee lovers in 2025 that use AI to adjust grind size in real-time based on flow rate. While I love the tactile feel of mastering the art of home espresso by hand, the consistency offered by smart scales and pressure-profiling apps is undeniable. I recommend you start by adding a simple smart scale to your routine today; it is the single most effective way to stop guessing and start brewing like a professional. Check your current flow rate tonight—if it’s surging or dripping weirdly, it might be time to fix the annoying drip after your espresso shot stops and get your precision back on track.
The Brutal Truth I Learned After Wrecking My First Boiler
I used to think that every problem could be solved by buying more expensive toys. The reality is that the best coffee comes from the smallest, most intentional adjustments. For instance, I spent weeks wondering why your espresso shot is blonde from the very start, only to realize I was simply using the wrong water temperature for a light roast. I also discovered that you can save a failing shot by using the ice water hack for stopping a bitter extraction if you notice the flow becoming too dark and oily too quickly. My biggest lightbulb moment? Stop fighting the machine and start listening to the physics of the puck. If you find yourself frustrated, remember that even a small change in how you level your basket can fix why your espresso shot is coming out of only one spout. Patience is your most important tool.
Gear That Actually Earned a Permanent Spot on My Counter
If you are looking to build a setup that lasts a lifetime, skip the gimmicks and focus on the essentials. I always tell beginners that their first investment should be a high-quality coffee grinder because consistency is the absolute foundation of flavor. For those ready to upgrade their main unit, the top-rated espresso machines for coffee lovers in 2025 offer incredible thermal stability that makes dialing in much easier. And do not overlook the tactile side; premium milk frothers or steam wands make the difference between a simple morning drink and a true cafe-quality latte. I also highly recommend the SCA Barista Manual and James Hoffmann’s The World Atlas of Coffee for anyone who wants to dive deeper into the chemistry of the bean.
Trust the Journey Toward the Perfect Shot
There will be mornings when the beans do not cooperate and the pressure gauge refuses to budge. Do not let it discourage you. Each failed shot is just a data point on your path to mastering the art of home espresso. Your machine is a complex tool that needs care, and once you provide that maintenance, it will reward you with the best cup of your life. Have you ever dealt with a machine that started ‘sneezing’ or why your espresso shot is spraying the back of your cup? Let me know in the comments how you fixed it!