How to Tell if Your Coffee Beans Are Too Fresh for Espresso
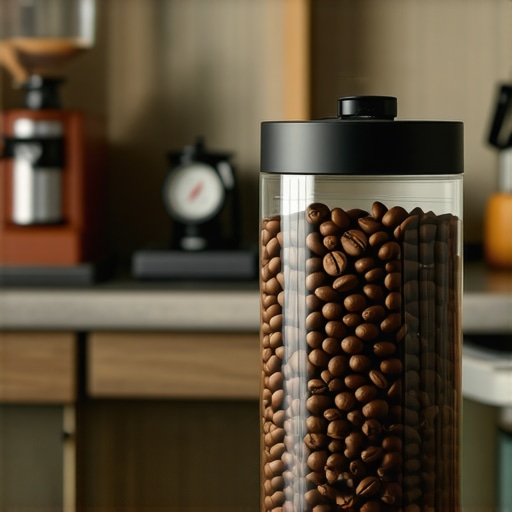
Picture this: I’m standing in my kitchen, eagerly grinding fresh beans, ready to brew that perfect shot. But something feels off. The espresso tastes harsh, almost sour, and I can’t quite put my finger on why. It was a lightbulb moment—my beans were way too fresh. Freshly roasted beans are vibrant, lively, but too fresh can throw off your entire espresso experience. For years, I struggled with inconsistent shots, and it wasn’t until I understood how to tell if beans are too fresh that everything changed.
Why Fresh Beans Can Sabotage Your Espresso
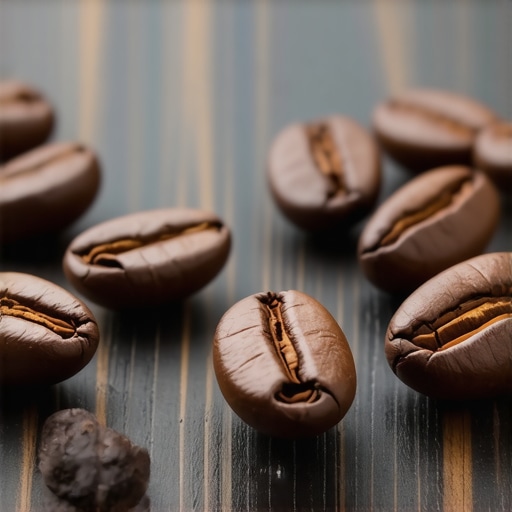
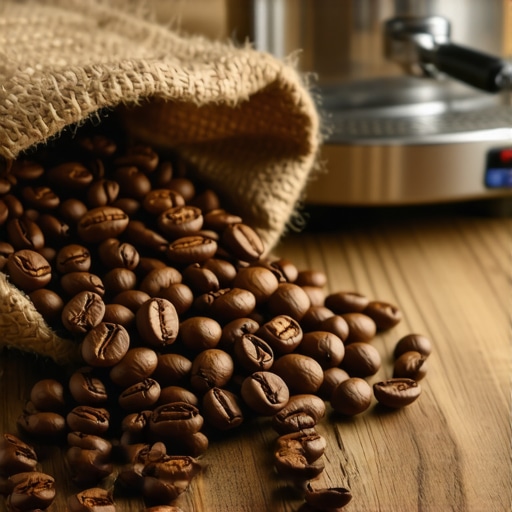
Freshly roasted coffee beans are bursting with flavor, oils, and aromas. But in the first few days after roasting, these oils and gases are volatile—they’re eager to escape. If you brew too soon, the shot can be overly acidic, thin, or even sour. I learned this the hard way early on—my initial attempts at brewing often resulted in a puck that looked promising but delivered a disappointing, bleach-like taste instead of rich, caramel notes. It turns out, timing is everything. Coffee experts agree that beans need a bit of time to degas, ensuring a balanced extraction and optimal flavor.
Based on my experience, I promise we’ll cover **exactly how to tell if your coffee beans are too fresh for that ideal espresso shot**. Whether you’re new to home brewing or a seasoned enthusiast, recognizing the signs can save you a lot of frustration and wasted beans. Plus, I’ll share some insider tips to avoid common mistakes—like rushing the process or relying solely on smell—that might be tripping you up.
Ask Yourself: Is Fumbling With Super-Fresh Beans Ruining Your Espresso?
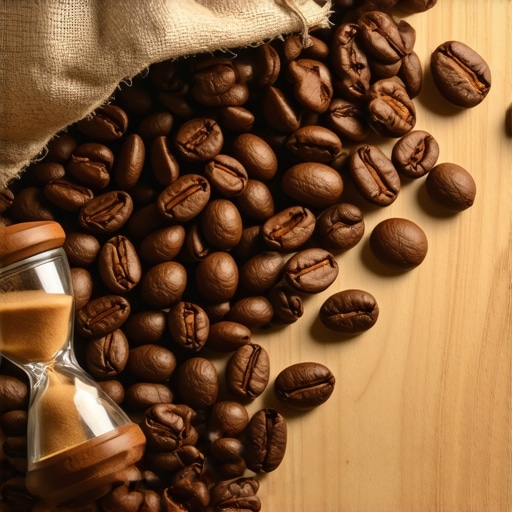
Early on, I made the mistake of assuming that fresh roasted beans always equate to better flavor. Big mistake. I’d toss them into my grinder immediately after buying, expecting extraordinary shots every time. Instead, I learned that beans need to rest, typically 2 to 7 days after roasting, to allow the excess gases to escape. This knowledge changed my game and can do the same for you. According to coffee scientist Kyle G. Stewart, freshly roasted beans release carbon dioxide for up to two weeks—something that can interfere with proper extraction and result in subpar espresso (source: Espresso Tech Guide).
So, before you invest in more gear or attempt complicated brewing techniques, ask yourself: Are my beans fresh enough to trick me into disappointment? If so, don’t worry—we’re about to dive into all the signs that tell you when beans are too fresh and how to handle them for perfect espresso every time. Ready to take the guesswork out of your coffee routine? Let’s get started.
Set the Stage for Success Before You Grind
Start with fresh, rested beans that have had 2 to 7 days to degas. Use a reliable digital scale to weigh your beans—aim for about 18-20 grams for a double shot. Prepare your equipment by warming your espresso machine and preheating the portafilter to maintain consistent temperature, which is vital for extracting those complex flavors.
Choosing and Using the Right Grinder for Precision
Select a Quality Burr Grinder
Invest in a good coffee grinder with flat or conical burrs. Consistency in grind size is key; uneven grounds lead to channeling and weak extraction. For home use, a grinder with step adjustments allows you to dial in the perfect grind size—coarser for French press, fine for espresso.
Grind Just Before Brewing
Grind your beans immediately before pulling your shot to maximize aroma and flavor. Fine, uniform grounds ensure optimal extraction. Micro-adjust the grind size; if your shots are too fast, make it finer. If they’re slow or bitter, coarsen the grind slightly.
Perfecting Dose and Distribution
Use a scoop or scale to dose accurately. Distribute the coffee evenly in the portafilter, avoiding clumps, to prevent uneven extraction. A gentle tap or a distribution tool can help achieve a flat coffee bed, which is crucial for consistent water flow.
Tamping for Uniform Resistance
Apply firm, even pressure—about 30 pounds of force—using a calibrated tamper. Keep the tamper level to ensure the coffee surface is flat. Proper tamping prevents channeling, which shortens extraction and skews flavor. Practice makes perfect; I once spent a messy afternoon adjusting my tamping pressure until I got that perfect crisp creak.
Pulling Shots with Control and Precision
Start your extraction and watch the pressure gauge. Aim for about 9 bars. If your machine has a pressure gauge, learn to interpret its readings—peaks and dips can indicate tamping issues or channeling. Use a timer: a well-extracted shot usually takes 25-30 seconds. If it’s too fast, adjust your grind finer or tamp harder. Too slow? Coarsen the grind or tamp with less force.
Temperature and Water Quality Matter
Ensure your machine heats adequately—check your heat-up time. Use filtered water to prevent mineral build-up and improve taste. Hard water can cause scale in your boiler, affecting temperature stability and shot quality. Regular descaling keeps your machine performing at its best.
Experiment and Record Your Results
Keep a shot journal: note grind size, tamp pressure, dose, and extraction time. Record tasting notes to identify what yields your preferred flavor profiles. Consistency in technique is essential for improving with each shot, much like a home barista refining their skills through trial, error, and observation.
By applying these concrete steps—careful bean selection, precision grinding, proper dosing, tamping, and controlling extraction parameters—you’ll see your espresso quality elevate significantly. Remember, mastery comes from deliberate practice and refining your process over time.
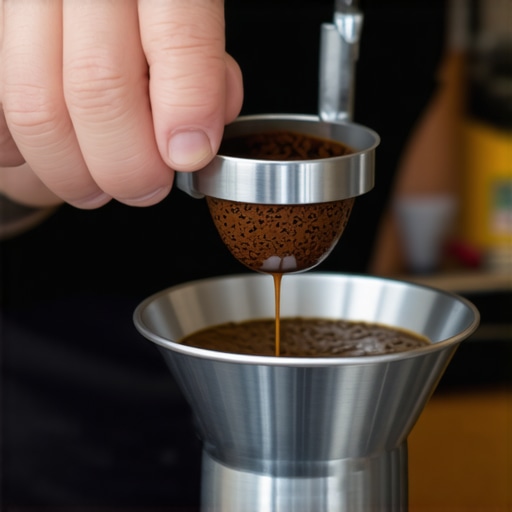 When it comes to mastering the art of home espresso or choosing the right barista equipment, misconceptions abound. Everyone seems to believe that having the latest grinder or a shiny espresso machine guarantees perfect results, but in reality, several nuances can sabotage your brewing experience. One common myth is that more expensive gear always produces better coffee, yet without proper technique and understanding, even high-end machines can underperform. For instance, many assume that dialing in grind size alone will solve extraction issues, but ignoring other factors like water quality or tamping consistency can lead to subpar shots.
A crucial advanced mistake that often trips up enthusiasts is neglecting the impact of micro-timing adjustments. Small changes in brew temperature or pressure can significantly alter flavor profiles, yet many overlook these delicate variables. According to expert Scott Callender from the Specialty Coffee Association, precision in these areas can elevate your espresso from good to exceptional—if you know where to look.
Moreover, a hidden trap lies in the use of milk frothers. While they seem simple, many users rely solely on their texture without understanding the importance of steaming technique or milk temperature control. Improper steaming can cause overly dry or overly airy foam, undermining latte art and mouthfeel. A study published in the Journal of Food Science highlights how temperature control during milk steaming influences not only texture but also microstructure, affecting overall taste experience.
Have you ever fallen into this trap? Let me know in the comments.
Advanced tip: Don’t rely solely on visual cues like foam height or slow-movement threads. Instead, invest in a good thermometer to monitor milk temperature precisely—around 140°F to 150°F is ideal for microfoam without risking scalding. Consistency here is key, and small improvements can make a measurable difference in your coffee’s richness and silky texture.
Finally, for those upgrading their equipment, choosing the right espresso machine requires more than just specs. Focus on classic features like boiler size, pressure stability, and ease of access for maintenance. Sometimes, less flashy models with robust build quality outperform pricier, feature-packed counterparts due to better longevity and stability, as discussed in my starter guide. Remember, mastering these subtle details can transform your daily brew from a routine into a ritual of excellence. Keep honing your craft, and don’t overlook the significance of these often-missed nuances.
Investing in Quality Tools and Maintaining Them Properly
One of the most overlooked aspects of home barista mastery is the maintenance of your coffee equipment. Even the most advanced espresso machine or grinder can fall into disrepair without regular care. Personally, I rely on a few key tools to keep my setup running smoothly and ensure each shot is as perfect as the first.
Why a Good Cleaning Regimen Matters
Consistency starts with cleanliness. My daily routine includes a quick but thorough backflush of my espresso machine using a specialized cleaning detergent, such as cleaning brushes and detergent. This prevents buildup that can cause pressure inconsistencies or off-flavor profiles. I also routinely descale my machine following the manufacturer’s guidelines, which typically involves using descaling agents and running water through the system to remove mineral deposits—critical for long-term health of the boiler and heat exchange components.
Essential Tools That Keep My Workflow Smooth
Beyond cleaning, I swear by a precision grinder calibration kit. Regularly, I check burr alignment and sharpness to preempt uneven grind sizes—an issue that directly impacts shot consistency. Additionally, a digital thermometer helps me monitor milk steaming temperature, ensuring microfoam quality stays within the ideal range of 140°F to 150°F, as discussed in various expert sources.
Anticipating Wear and Planning Upkeep
For long-term results, I schedule bi-annual maintenance including gasket replacements and boiler checks, referencing insights from expert on espresso machine health. A well-maintained setup not only improves flavor consistency but also extends the lifespan of my gear, saving money and frustration over time.
Scaling Your Home Barista Setup Thoughtfully
As my collection of tools grew, I realized that organizing and upgrading equipment methodically was key. I adopted a modular storage system, using labeled containers for brushes, cleaning agents, calibration tools, and spare parts, inspired by best practices in barista workspace organization. This approach reduces downtime and helps me remain focused during busy mornings.
Looking ahead, the trend in coffee gear points toward smarter, self-diagnosing machinery equipped with IoT sensors that can alert you to needed maintenance instantly. Staying ahead of this curve is a good idea for serious enthusiasts.
How do I maintain my gear over time? The answer lies in proactive care.
Developing a maintenance routine—cleaning, calibration, and timely replacements—ensures your investment pays off with consistent quality. One tip I highly suggest trying is setting weekly reminders to inspect critical parts and using a quick flush method to keep your group head pristine. By integrating these habits, you’ll preserve your gear’s performance and enjoy faultless brews for years to come.
If you want to explore comprehensive maintenance practices, check out my starter guide for new enthusiasts. Remember, keeping your tools in top shape is just as crucial as understanding brewing techniques—both lead to that perfect cup every time.
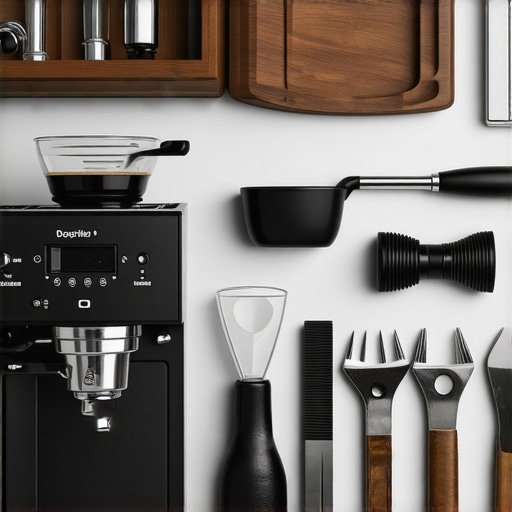
Imagine a clean, well-organized barista workspace, tools gleaming and ready for action—your secret weapon for flawless coffee.
Over the journey of perfecting my home espresso routine, I’ve uncovered many subtle truths—lessons that transformed my coffee from average to exceptional. If you’re seeking to deepen your understanding and take your brewing skills to the next level, these insights might just be the game-changer you need.
What I Wish I Knew About Grinder Calibration and Its Hidden Power
Early on, I underestimated how critical precise grinder calibration was. I thought dialing in the grind size was enough, but inconsistency in burr alignment and calibration led to unpredictable shots. A tiny misalignment can cause uneven extraction, resulting in sour or bitter flavors. Regularly checking and calibrating your grinder ensures you’re consistently delivering the right grind size, which is foundational for great espresso. Don’t overlook this small but mighty step—your taste buds will thank you.
Trust me, mastering grinder calibration is like tuning a musical instrument; it makes all the difference when trying to perfect your shot. For detailed guidance, check out this resource that demystifies the calibration process for home baristas.
My Revelation: Water Quality Is the Unsung Hero of Coffee Taste
I used to focus solely on beans and grind settings, but neglected water quality until I faced inconsistent results. Hard water deposits built up in my boiler, causing temperature fluctuations and off-flavors. Once I started using filtered water with the right mineral balance, my espresso’s aroma and clarity skyrocketed. This realization taught me an invaluable lesson: even the best beans can’t shine through if your water isn’t up to par. Investing in a good water filtration system isn’t just about maintenance; it’s about unlocking the full potential of your coffee.
Learn more about optimizing water for espresso in this article. Your taste buds will thank you.
Why Routine Maintenance Transforms Your Barista Experience
I’d always thought cleaning was tedious and secondary. That was until I skipped a deep clean and faced a clogged steam wand or inconsistent pressure. Now, I see regular maintenance as an essential ritual—cleaning group heads, descaling, replacing worn gaskets—these small acts preserve your machine’s health and ensure every shot hits the mark. Maintaining your gear is an investment that deeply enhances flavor consistency and prolongs its lifespan.
For practical tips, I recommend following a simple maintenance routine tailored for home espresso machines.
My Favorite Tools That Elevate the Home Barista Game
Over time, I’ve accumulated tools that make brewing more precise and enjoyable. A calibrated tamper with a pressure gauge, a high-quality milk thermometer, and a reliable grinder calibration kit have become my staples. They’re not just accessories—they’re foundational to achieving consistency in every shot. These tools help decode the nuances that often go unnoticed, bringing clarity and confidence to each brewing session.
Explore this selection of essential equipment designed for serious home baristas eager to refine their craft.
In the end, perfecting a home espresso isn’t about chasing trends or buying expensive gear alone. It’s about understanding and respecting each component, from beans to water to maintenance. Embrace these lessons, and your coffee journey will evolve into a gratifying pursuit of excellence. Happy brewing!