How to Clean the Screen on Your Automatic Milk Frother
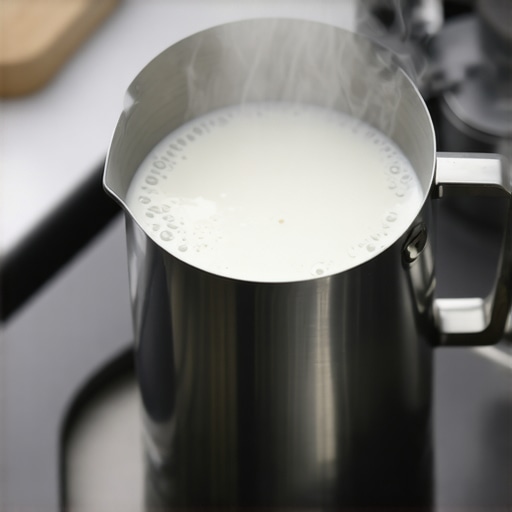
There I was, standing in my kitchen at 6:30 AM, desperate for that first silky sip of a latte. I pressed the button on my automatic frother, expecting magic, but all I got was a sad, spluttering sound and a thin layer of lukewarm bubbles. When I peeked inside, the mesh screen looked like it had been through a war zone—caked in a yellowish, crusty film that refused to budge. It was honestly a bit stomach-turning. We spend so much money on milk frothers that transform your coffee experience, yet we often treat the most delicate part of the machine like an afterthought. Today, I’m going to show you exactly how to tackle that stubborn screen so you never have to drink “crunchy” milk again. [image1]
Stop Letting Baked-On Milk Kill Your Microfoam
I’ll be the first to admit it: I used to be lazy. I thought a quick rinse under the tap was enough. I even made the catastrophic mistake of trying to scrape the mesh with a butter knife once—pro tip, do not do that unless you want a permanent hole in your filter. That buildup is actually something called “milk stone,” a stubborn mix of milk proteins and minerals. According to research published by the National Center for Biotechnology Information (NCBI), these milk-based biofilms can become incredibly resistant to standard detergents if left to harden into a protein-mineral matrix. If you have noticed why your steam wand tips keep getting blocked by milk residue, the exact same process is happening on your frother’s internal screen. It’s not just about hygiene; it’s about fluid dynamics. If air can’t get through those tiny holes, your milk won’t aerate properly. Have you ever looked at your frother and noticed the screen has changed color since you bought it?
Is deep cleaning the screen actually worth the hassle?
You might be thinking that a simple cycle of hot water should be enough. I used to think so too, until I realized that hidden gunk was the reason how to stop your milk frother from burning the bottom of the jug became my most frequent search. The sensors were getting haywire readings because the buildup was insulating the heating element. Cleaning the screen is the difference between café-quality microfoam and a hot, flat mess. If your device has completely given up on you already, you might also need to look into how to fix a milk frother that wont spin before the screen becomes your only concern. Trust me, five minutes of maintenance now saves you a thirty-dollar replacement part later.
Soften the shell before you scrub
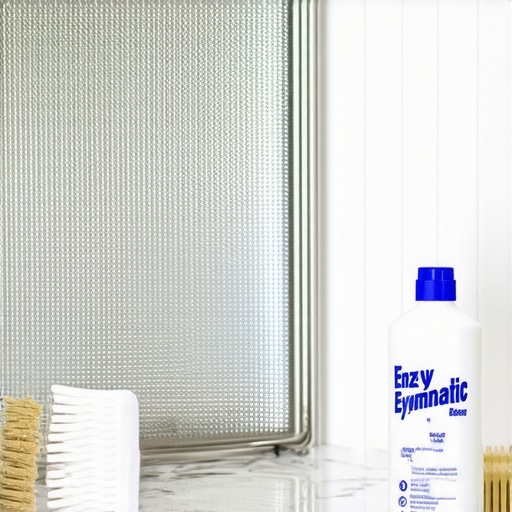
If you try to chip away at dry milk stone, you’re going to lose. It’s like trying to scrape dried cement off a sidewalk with a plastic spoon; you’ll likely damage the surface before you remove the grime. You need to rehydrate that protein-mineral matrix to make it pliable. I usually fill a small bowl with very hot water (around 140°F) and a drop of specialized dairy cleaner or even a bit of enzymatic detergent. If you’ve ever dealt with how to tell if your machine boiler is accumulating lime scale, you know that heat and the right chemical breakdown are your only real allies. Let that screen sit for at least 15 minutes. This isn’t just about surface dirt; we are trying to penetrate the microscopic gaps in the weave where the proteins have basically turned into a biological glue. I remember the first time I did this; the water turned a murky, pale yellow—a gross but satisfying reminder of what I had been drinking.
The toothbrush trick for intricate mesh
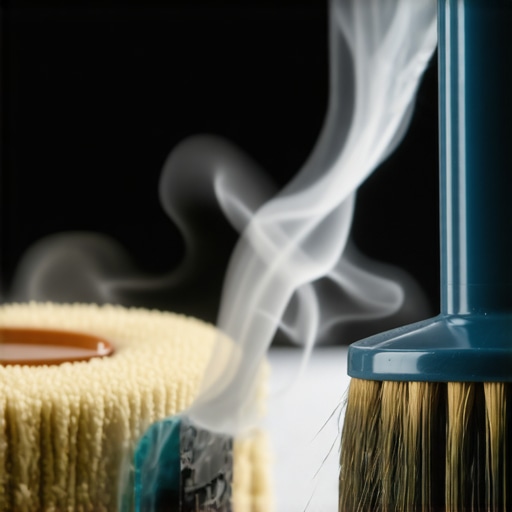
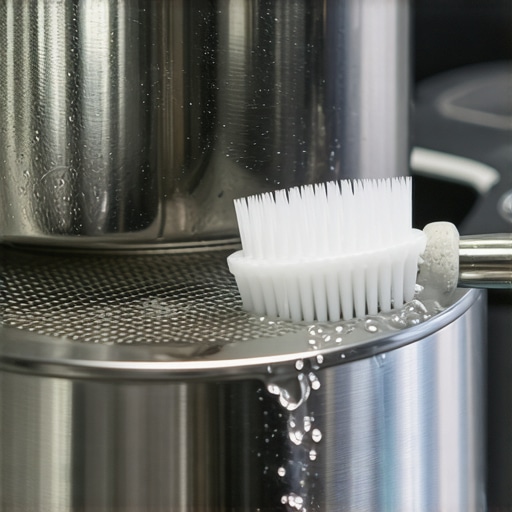
Forget the standard kitchen sponges. The mesh on most automatic frothers is so fine that a standard sponge just glides over the top without actually reaching the holes. I keep a dedicated soft-bristled toothbrush in my choosing the best barista gear for coffee enthusiasts kit specifically for this purpose. One morning, I was in such a rush that I tried using a toothpick to poke out the clogs. It snapped right off, and I spent the next twenty minutes trying to fish out a wooden splinter from my frother while my coffee went cold. Use the brush in a gentle, circular motion. This agitates the loosened milk solids without distorting the delicate metal weave. If you’re too aggressive with a metal pick or a harsh scourer, you’ll end up with a warped screen that ruins the fluid dynamics of your machine, leading to uneven aeration and thin bubbles.
Blast out the remaining grit with pressure
Once you’ve scrubbed, you might think you’re done, but those tiny holes are likely still holding onto liquid residue that will just harden again the moment it dries. This is remarkably similar to how to clean the inside of your steam wand pipe—you need physical flow to finish the job. If you have a kitchen sprayer, use the highest pressure setting to blast water through the screen from the back side. This ‘back-flushing’ action pushes the debris out the same way it came in. If you ignore this step, you’ll find that the reasons why your steam wand tips keep getting blocked by milk residue become a recurring nightmare for your frother too. Pressure is your best friend when mechanical scrubbing can’t reach the center of a mesh sandwich. Think of it like a miniature version of a pressure washer for your morning caffeine fix.
Check your work against the light
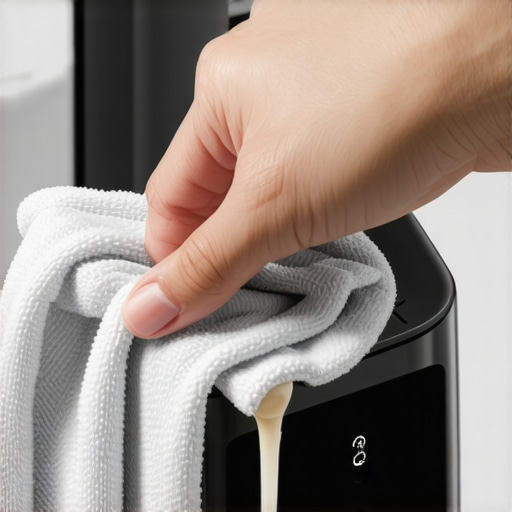
Hold that screen up to a bright window or a desk lamp. If you see any dark spots or cloudy areas, those are persistent blockages. A clean screen should look like a clear, uniform window into your next perfect latte. This kind of attention to detail is essential for mastering the art of home espresso tips for beginners because your equipment is only as good as your maintenance routine. If the screen is visibly clean but your machine still feels sluggish or makes odd noises, you might need to check how to fix a milk frother that wont spin to ensure the motor hasn’t been strained by the previous buildup. Also, pay attention to the temperature during the cleaning process. If you use water that is boiling, you might actually ‘set’ the proteins further, making them as hard as plastic. Using warm water consistently prevents the milk from bonding to the metal. This is a key part of how to stop your milk frother from burning the bottom of the jug because a clean, free-flowing screen ensures the heat is distributed through the milk rather than staying trapped at the base, causing scorched spots.
Despite what the glossy manuals claim, the built-in ‘clean’ cycle on even the most expensive units is often little more than a warm rinse. If you rely solely on it, you’re essentially leaving a buffet out for bacteria. I’ve seen countless enthusiasts wondering how to stop your milk foam from turning into a big bubble, and the culprit is almost always a machine that looks clean but still harbors microscopic protein layers. This leads to the ultimate ‘Oops’ factor: the vinegar trap. While it’s great for salad dressing, vinegar is a poor choice for dairy residue. In fact, if you’ve ever wondered about the reason your espresso tastes like vinegar, it is often because the acetic acid has bonded to the screen’s mesh rather than cleaning it. According to research on dairy equipment sanitation by Dr. Ronald Schmidt at the University of Florida, milk proteins require alkaline cleaners to truly break the chemical bonds of ‘milk stone’; using a simple acid alone can actually fix the proteins more firmly to the stainless steel surfaces. Another hidden nuance is the vibration factor. Many people don’t realize that a clogged screen can put significant back-pressure on the motor. If you’ve been searching for how to fix a milk frother that wont spin, the root cause might be a year of ‘almost clean’ mesh. It’s like trying to breathe through a straw filled with sand; eventually, the motor just gives out. This is why the move for better espresso without buying a new machine is often just a deep, enzymatic soak of your existing components. 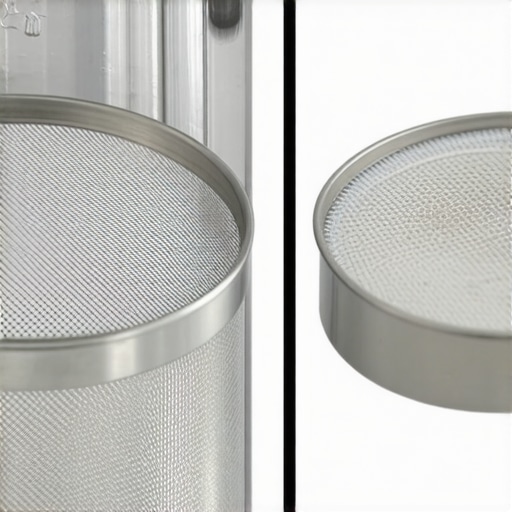
Can an ultrasonic cleaner safely handle a delicate mesh screen?
It is a common question among gear-heads, but you must be careful. While ultrasonic tanks are amazing for jewelry, the high-frequency waves can sometimes vibrate the fine weave of a low-quality screen right out of its frame or cause micro-fractures in the solder. If you are using top-rated espresso machines for coffee lovers in 2025, stick to manual brushing or official dairy-specific soaks to maintain the structural integrity of the filter. Lastly, pay attention to your steam quality. If why your steam wand pressure cuts out after 10 seconds is a mystery to you, it is a sign that the entire system—from the boiler to the mesh—is struggling with internal resistance. Have you ever fallen into this trap of trusting the ‘Auto-Clean’ button too much? Let me know in the comments below.
Put down the kitchen sponge and grab a pipe cleaner
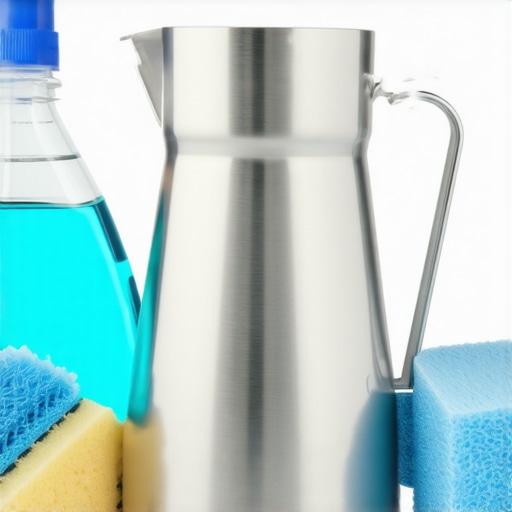
I learned the hard way that a standard kitchen sponge is about as effective at cleaning a frother mesh as a feather duster is at cleaning a chimney. If you really want to clear those microscopic gaps, you need tools that match the scale of the problem. I personally use a set of thin, nylon-bristled pipe cleaners for the internal channels. It is a trick I picked up from learning how to clean your grinders discharge chute with a pipe cleaner; the narrow reach is perfect for dislodging the ‘hidden’ milk stone that sits right at the junction of the screen and the motor shaft. I also swear by using an enzymatic cleaner like Urnex Rinza. Unlike dish soap, which just moves grease around, enzymatic cleaners actually ‘eat’ the proteins. According to the technical safety data from Urnex, these alkaline-based solutions are specifically formulated to break down the complex calcium phosphate bonds that cause milk to bond to stainless steel. If you aren’t using something that targets proteins, you are just polishing the surface of the grime.
Your grinder is hiding similar secrets
Once you get into the rhythm of deep-cleaning your frother, you start to realize that every piece of your coffee bar has a ‘bottleneck’ where old residue ruins fresh flavor. For me, the wake-up call was realizing my grinder was just as neglected as my frother screen. When you are how to select the perfect coffee grinder for your brew, you focus on the burrs, but the real enemy is the retained grounds in the chute. These grounds go rancid and oily, much like the milk solids on your screen. I’ve integrated my frother deep-clean into my monthly ‘full bar’ maintenance. It is the only way to ensure that your choosing the best barista gear for coffee enthusiasts doesn’t turn into a collection of expensive, underperforming paperweights. If you neglect the small parts, you’ll eventually find yourself troubleshooting how to fix a broken boiler temperature sensor because the entire system is being strained by poor flow and thermal resistance.
How do I keep my milk gear in peak condition for years?
The secret to longevity isn’t a magic chemical; it is thermal management and immediate rinsing. Every time you finish frothing, you should run a ‘dry’ cycle with just plain, cool water. This prevents the residual milk from reaching the ‘glass transition temperature’ where it hardens into a plastic-like state. Over time, you should also be checking for signs of mineral buildup that could affect the heating element. Knowing how to tell if your machine boiler is accumulating lime scale is just as important for your frother as it is for your espresso machine. If you notice the heating cycle is taking 30 seconds longer than it did six months ago, minerals are likely insulating the heating plate, forcing the motor to work harder and leading to a premature death of the internal circuitry.
Sensors are the future of foam
I predict that by the time we see the full lineup of top-rated espresso machines for coffee lovers in 2025, we will see ‘smart screens’ equipped with optical sensors. These sensors will be able to detect protein buildup before it becomes visible to the eye, automatically adjusting the vibration frequency of the whisk to compensate. Until then, we are the sensors. We have to be diligent. If you want to see an immediate difference in your morning latte, I challenge you to try a 20-minute enzymatic soak this weekend. Don’t just rinse; actually break down those protein bonds. You’ll be shocked at how much quieter your machine runs and how much silkier that microfoam becomes when it isn’t fighting a clogged screen.
The Hardest Lesson I Learned About Clogged Frother Screens
After years of trial and error, I realized that the ‘invisible’ buildup is often more dangerous than the crust you can actually see. If you hold your screen up to a window and see even a slight haze, your air-to-milk ratio is already compromised. I also learned that water quality plays a massive role; if you live in a hard-water area, you are likely dealing with a ‘sandwich’ of calcium and milk proteins that a standard rinse won’t touch. This is why mastering the art of home espresso tips for beginners usually starts with basic equipment hygiene. Another lightbulb moment for me was the smell test. If your frother has a faint ‘off’ odor even after a quick wash, there is a bacterial biofilm living inside the mesh weave that only an enzymatic soak can kill. Finally, remember that consistency beats intensity. A five-minute soak once a week is infinitely better for your machine than a two-hour desperate scrub once a year.
The Three Tools I Never Make Coffee Without
You don’t need a massive laboratory to keep your equipment running like new. I keep my choosing the best barista gear for coffee enthusiasts kit simple and effective. First, Urnex Rinza is non-negotiable; it is specifically designed to break down dairy fats that standard dish soap simply ignores. Second, I always have a pack of nylon pipe cleaners on hand. Just like how to clean your grinders discharge chute with a pipe cleaner, these are the only tools thin enough to reach the junctions where the screen meets the motor housing. Lastly, a dedicated soft-bristle toothbrush allows you to agitate the mesh without bending the fine wires, ensuring your aeration stays perfect for the life of the device.
Reclaim the Velvet Texture You Deserve
Cleaning your gear isn’t just about chores; it’s about respecting the ritual of your morning coffee. When you properly maintain milk frothers that transform your coffee experience, they reward you with that perfect, velvet texture that makes a home latte feel like a true luxury. Don’t wait until the motor starts straining or the foam turns into big, soapy bubbles. Take twenty minutes this weekend to give your screen the deep, enzymatic clean it deserves. If you ever run into technical trouble with higher-end units, don’t hesitate to contact us for advice on specific models or advanced troubleshooting for top-rated espresso machines for coffee lovers in 2025. Have you noticed a change in your foam quality lately or found a weird buildup you can’t identify? Let me know in the comments below!