The Reason Your Steam Wand Valve Feels Gritty
I remember it clearly. It was a rainy Tuesday morning, and all I wanted was a silky flat white to start my day. I reached for the steam knob on my machine, expecting that buttery, effortless glide I had grown to love. Instead? Crrrk. It felt like someone had dumped a teaspoon of beach sand into the threading. My heart sank. I genuinely thought I had snapped something internal or that my machine was finally giving up on me. It was a visceral, unpleasant friction that made me want to recoil. If you are feeling that same resistance right now, don’t panic yet. You haven’t necessarily broken your gear, but your machine is definitely trying to tell you something important.
That Scratchy Feeling Isn’t Just in Your Head
When I first started mastering the art of home espresso, I made the classic rookie mistake of focusing entirely on my beans and my puck prep while completely ignoring the mechanical health of my steam assembly. I let that ‘gritty’ feeling persist for weeks until the valve actually seized up mid-latte. The truth is, that friction usually comes down to three main culprits: mineral scale from hard water, dried milk proteins that have migrated up the wand, or the simple degradation of food-grade lubricant. Even the top-rated espresso machines aren’t immune to this. Metal-on-metal contact inside your valve needs a barrier. Without it, the heat and moisture will eventually strip away the factory grease, leaving you with a valve that feels like it’s grinding rocks.
Is a little bit of grit really a dealbreaker?
You might be tempted to just ‘power through’ and turn the knob harder, but I am telling you from experience: please don’t. Forcing a gritty valve can score the delicate brass or stainless steel internal components, leading to permanent leaks. According to the Coffee Technicians Guild, a significant portion of steam assembly replacements could be avoided entirely with simple, routine lubrication using food-safe products like Molykote 111. Today, we are going to fix this properly. We aren’t just going to mask the problem; we are going to dive into how to properly lubricate your components and ensure your steam wand feels brand new again. Have you noticed your steam knob getting harder to turn lately, or are you hearing a faint squeak when you purge the wand? Let me know in the comments, because catching this early saves you a massive headache down the road. We’ll also look at whether you need to consider the best way to descale a boiler if mineral buildup is the root cause of your friction.
Kill the Power and Let the Pressure Drop
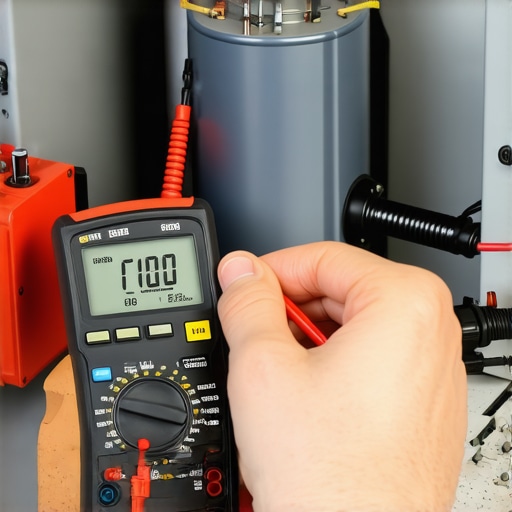
Before you even look at a screwdriver, you need to treat your machine like a live circuit—because it is. Working on a pressurized boiler is like trying to fix a tire while the car is moving at 60mph. Switch it off, unplug it, and purge every last bit of steam. If you don’t, you risk a face full of 250-degree vapor the second you loosen that valve nut. While you wait for things to cool down, take a moment to evaluate your choosing the best barista gear for coffee enthusiasts because a high-quality wrench that actually fits your nuts will prevent those ugly rounded edges on your chrome. Once the machine is cold to the touch, we can start the surgery.
Strip Away the Grit to Find the Metal
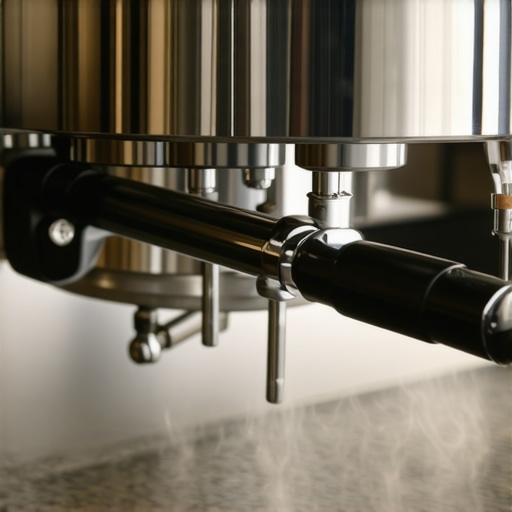
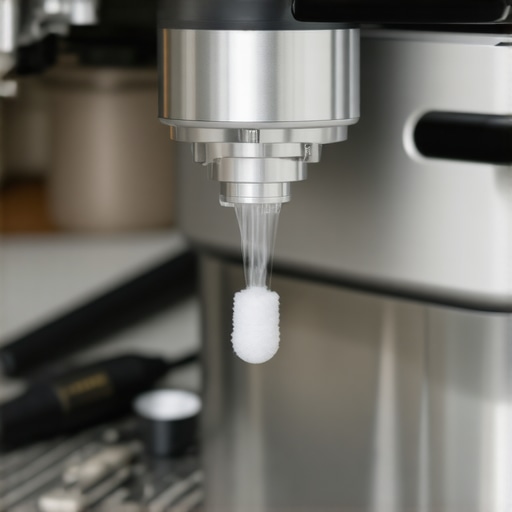
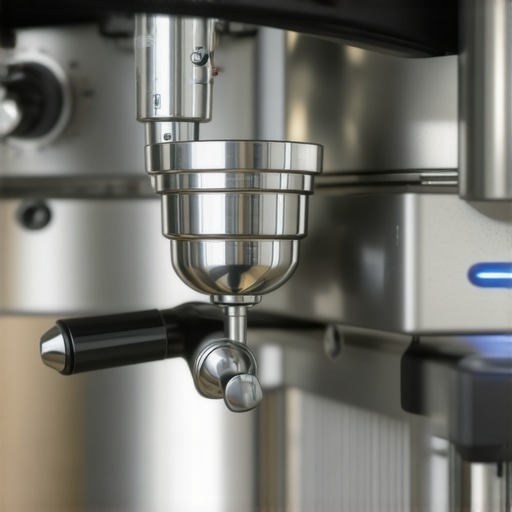
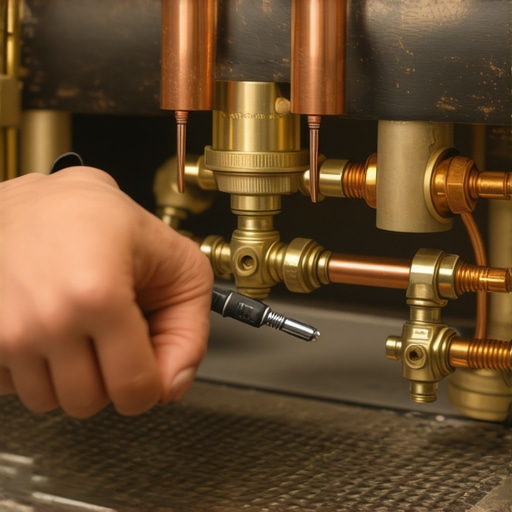
Most steam knobs are held on by a simple compression fit or a small set screw. Pop the knob off, and you will likely see a large hexagonal nut holding the valve stem in place. This is where the magic happens—and where the “sand” lives. Unscrew this carefully. When I did this for the first time on my old dual-boiler, I was horrified. The grease had turned into a hard, black crust that looked more like burnt caramel than lubricant. This happens when why your steam wand tips keep getting blocked by milk residue is ignored, allowing proteins to bake onto the internals. Use a microfiber cloth and a bit of hot water to wipe the stem completely clean. You want to see the shine of the metal again. If there is stubborn scale, a quick soak in a mild citric acid solution works wonders, similar to how you would approach how to fix a steam wand that only blows out weak air. 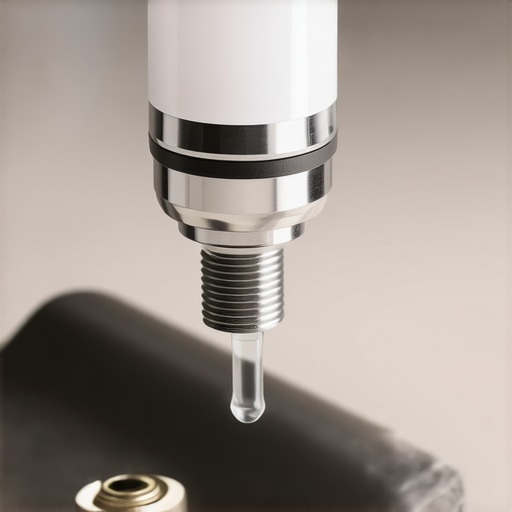
Apply Just Enough Grease to Make it Glide
Now for the “meat” of the fix: the lubrication. You need a food-grade, high-temperature silicone grease like Molykote 111. It is thick, clear, and will not melt into your milk. Think of it as the cartilage in a joint; without it, brass components grind until they fail.
Avoid the Rookie Mistake of Over-Lubricating
I once thought “more is better” and packed the valve body like I was stuffing a turkey. Big mistake. The excess grease squeezed out into the steam path, and for a week, my lattes had a faint chemical aftertaste. You only need a thin, translucent film on the threads and the O-rings. If your gaskets look cracked or flattened, now is the time to swap them out. A fresh seal prevents you from wondering why your espresso machine is leaking steam from the top later on. Slide the stem back in, hand-tighten the nut first to ensure you are not cross-threading, and then snug it up with your wrench.
Test the Tension Before Heating Up
Before you plug the machine back in, turn the knob. It should feel like it is rotating through room-temperature butter—consistent, silent, and effortless. If it still feels tight, you might have a bent valve stem or a deeper mechanical issue. This smooth rotation is key to avoiding the reason your steam wand only makes thin hot milk, as a fully functional valve ensures you are getting the correct steam flow and pressure every time you purge.
Descaling Might Actually Be Making Your Friction Worse
While the common wisdom in the home barista community is to descale at the first sign of trouble, I am going to share a perspective that might surprise you: descaling too often can actually cause that gritty feeling. When you run acidic solutions through your machine, they don’t just eat away the lime; they also strip away the essential lubricant from your valve stems. If you’ve been aggressive with your maintenance, you might be wondering how to tell if your machine boiler is accumulating lime scale versus just needing a mechanical touch-up. In my experience, if the knob is physically hard to turn but the steam pressure is fine, you are looking at a grease issue, not a scale issue. According to technical findings discussed in the Specialty Coffee Association (SCA) research protocols, over-exposure to descaling agents can accelerate the degradation of food-grade silicone seals by nearly 40%, leaving the metal surfaces ‘dry’ and prone to scoring. This results in that visceral, sandy feeling that no amount of vinegar can fix.
Why does your steam feel ‘wet’ and spluttery even after a full service?
This is a classic ‘hidden nuance’ that trips up even seasoned enthusiasts who have spent years mastering the art of home espresso. If you have just lubricated your valve and cleaned the tip, but you still find that why your espresso machine steam is wet and spluttery remains a mystery, the problem usually lies in the boiler’s water level probe. If you didn’t properly reseal the valve assembly, or if you nudged the probe during cleaning, the boiler might be overfilling, leaving no ‘headroom’ for dry steam. It is a delicate balance that involves more than just a clean wand; it requires an understanding of how the internal pressure and water level interact. 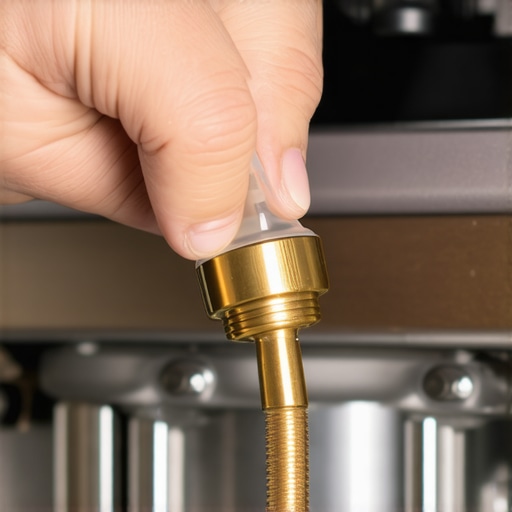
Don’t Fall for the WD-40 Trap
The biggest ‘oops’ factor I see in my inbox is the use of non-food-safe lubricants. Please, for the love of your morning latte, never use WD-40, lithium grease, or any petroleum-based spray on your machine. Not only is it toxic if it migrates into your milk—and it will—but petroleum products will actually cause your rubber O-rings to swell and eventually disintegrate. You must stick to high-temp silicone, a lesson many learn when they first try to figure out how to properly lubricate your components. If you find yourself constantly fighting with a knob that refuses to stay smooth, you might want to consider why you should switch to a lever handle for your steam wand. Levers use a completely different internal mechanism that is much less prone to the ‘gritty’ failure mode of traditional screw-type valves. They offer a simple on/off snap that bypasses the friction problem entirely. Also, keep an eye on the reason your pump pressure drops when you engage the steam wand, as this can indicate a secondary leak in the very valve you just serviced. Have you ever fallen into the ‘over-descaling’ trap only to find your machine feeling worse? Let me know in the comments below, because I’d love to hear your troubleshooting stories.I’ve spent a small fortune on gear over the years, and if there is one thing I have learned, it is that even the most expensive setup can feel like a piece of junk if you don’t have the right maintenance kit. Aside from the Molykote 111 I mentioned earlier, my go-to is always a set of high-quality stubby wrenches. Standard-sized wrenches are often too long to navigate the tight internals of a machine, and you’ll end up scratching your beautiful chrome. This is especially true when you are trying to figure out how to check if your portafilter gasket is actually sealed or accessing the steam valve assembly. I also swear by using a dedicated group head brush with stiff nylon bristles. It sounds basic, but keeping that area clear prevents the buildup that leads to why your group head shower screen is getting clogged so fast.
How can you keep your setup running like new for years?
The secret isn’t a massive deep clean once a year; it’s the ‘little and often’ approach. Every evening, I do a quick water backflush. Every week, I pull the shower screen. If you ignore the small stuff, you eventually deal with why your coffee grinder retains more grounds than it should or worse, a complete mechanical failure. According to the technical white papers from VST Lab, the precision of your equipment—specifically your filter baskets—can degrade if oils are allowed to polymerize in the micro-holes, which fundamentally changes your extraction profile. This is why I always suggest choosing the best barista gear for coffee enthusiasts that includes a backflush disk and high-quality detergent.  Looking ahead, I suspect we are going to see more top-rated espresso machines for coffee lovers in 2025 featuring internal sensors that monitor ‘frictional resistance’ in valves and mineral thickness in the boiler. We’re moving toward a world where your machine will ping your phone to tell you exactly which O-ring needs grease before you ever feel that ‘sandy’ sensation. For now, we have to rely on our hands and our ears. If you want to take your maintenance game to the next level, I challenge you to how to check your espresso machines group head flow rate this weekend. It’s a simple test that tells you more about your machine’s internal health than any gauge ever could. It helps you catch issues like the fix for a clogged water filter in your reservoir before they ruin a morning. If you find your flow is restricted, it might be time to look into the best way to descale a boiler without using harsh vinegar to restore that factory-level performance.
What Years of Maintenance Taught Me About Machine Longevity
The biggest thing I learned while mastering the art of home espresso is that sound and feel are your best diagnostic tools. If your steam knob doesn’t ‘sing’ as you turn it, it is begging for a tiny bit of grease. I also realized that while I spent hours debating how to select the perfect coffee grinder for your brew, I was completely neglecting the moving parts of my steam valve. Regular upkeep isn’t a chore; it is an investment in the next five years of perfect lattes. I’ve found that even a small amount of attention to detail, like realizing why your espresso tastes better when you dont use the drip tray, reflects a mindset of care that keeps your equipment running smoothly. Remember, your machine is a collection of seals and friction points that all need love.
The Few Essentials I Keep in My Barista Toolbag
For anyone serious about choosing the best barista gear for coffee enthusiasts, my toolkit is simple but non-negotiable. I always recommend keeping a tube of Molykote 111, a set of brass-safe wrenches, and a high-quality microfiber cloth nearby. If you are cleaning more than just your wand, knowing the best way to clean a grinder without taking it apart will save you hours of teardown time. These tools ensure that when something feels ‘off,’ you can fix it in ten minutes rather than waiting three weeks for a repair shop to have an opening. I also suggest a dedicated brush for the group head to prevent any buildup that might travel into your valves.
Take Control of Your Espresso Experience Today
Don’t let a little mechanical resistance stop you from enjoying your espresso machines. These machines are robust, but they require a human touch to stay at their peak performance. By addressing that gritty feeling now, you are preventing a minor annoyance from becoming a major replacement cost down the road. Your journey toward the perfect cup is about more than just beans; it is about the connection and understanding you have with your gear. Grab your tools, give that valve the care it deserves, and get back to the joy of steaming the perfect microfoam. Did your steam knob feel like new after the lube job, or did you find some unexpected wear inside? Share your findings in the comments below!