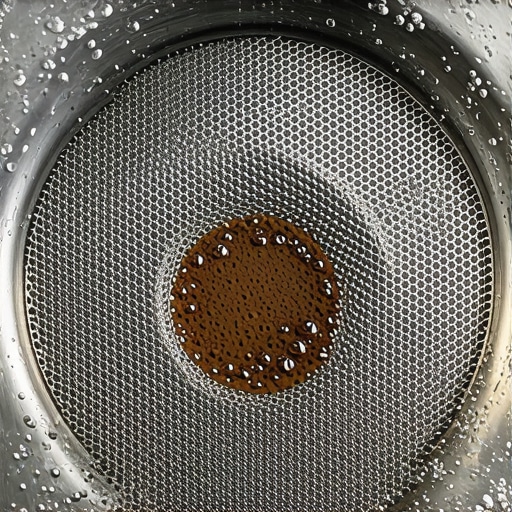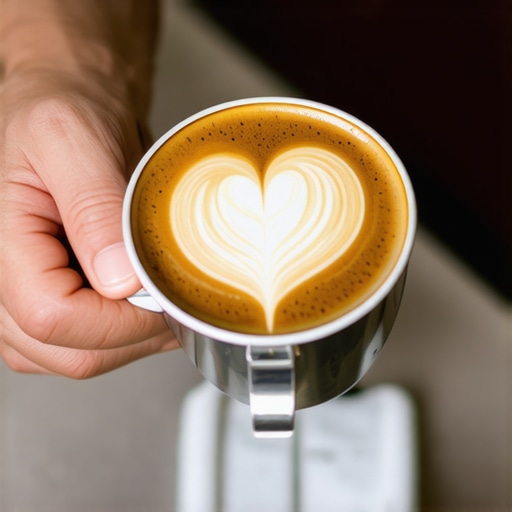
The Move for Better Espresso Distribution Without Fancy Tools
I remember standing in my kitchen at 6:00 AM, staring at a puck that looked more like a lunar landscape than a flat bed of coffee. I had just upgraded to one of those top-rated espresso machines, expecting liquid gold. Instead, my bottomless portafilter decided to spray a hot jet of caffeine directly onto my white linen shirt. It was a mess. I was frustrated, caffeinated only by the smell of failure, and about five minutes away from impulse-buying a $200 distribution tool I didn’t actually need.
The Morning My Portafilter Painted My Kitchen Brown
That disaster happened because I fell into the classic trap of thinking more gear solves fundamental technique problems. I used to think that just banging the portafilter against the counter like a madman would level things out. I was wrong. My shots were always sour or bitter, and I couldn’t figure out why your shot extraction time changes every single day even when you don’t touch the dial. The secret isn’t in the shiny gadgets; it is in how you handle the coffee you already have. Today, I am going to show you how to get that professional-grade extraction using nothing but a few simple movements and maybe a paperclip if you’re feeling fancy.
Is a pricey distribution tool actually worth the hype?
Honestly? Probably not for most of us. While those heavy, spinning distributors look cool on Instagram, they often just compress the top layer while leaving the bottom of the basket a chaotic mess. If your coffee grounds are clumping like little rocks, no amount of surface leveling will stop the water from finding the path of least resistance. According to research published by the Specialty Coffee Association, water under 9 bars of pressure is incredibly efficient at finding gaps, meaning even a tiny air pocket can lead to massive channeling. Have you ever felt like you needed a degree in engineering just to get a decent shot without it spraying your favorite shirt? You aren’t alone.
Why Your Current Routine is Killing the Flavor
Most beginners make the mistake of tamping immediately after grinding. When I started mastering the art of home espresso, I didn’t realize that the way the coffee falls from the chute creates mounds of different densities. If you don’t break those up, your tamper will just push down on a lopsided pile. This is the primary reason to prevent channelling in a bottomless portafilter shot before you even pick up the tamper. We need to stop worrying about the surface and start worrying about the structure of the coffee bed itself. If we get this right, you’ll finally find the simple way to fix a gritty texture in your espresso and start tasting the notes the roaster actually intended.
Break the Clumps Before You Press
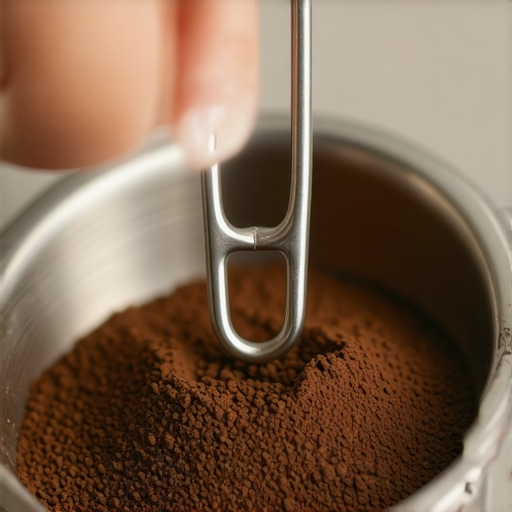
The first rule of a consistent shot is acknowledging that your grinder is not a perfect machine. Even when you how to select the perfect coffee grinder for your brew, static electricity and friction often cause the grounds to bond together. Think of these clumps as little rocks; if you leave them in the basket, the water will simply flow around them, leaving the center of those clumps dry and unextracted. This is exactly why your coffee grounds are clumping like little rocks. To fix this, you need to use the Weiss Distribution Technique (WDT). Grab a few thin needles—or a dedicated tool—and stir the grounds from the bottom up. I remember one Tuesday morning I was in a rush and skipped this step. The resulting shot didn’t just taste sour; it actually sprayed a horizontal jet of water across my counter because of a massive air pocket I hadn’t broken up. Don’t be like Tuesday-morning-me.
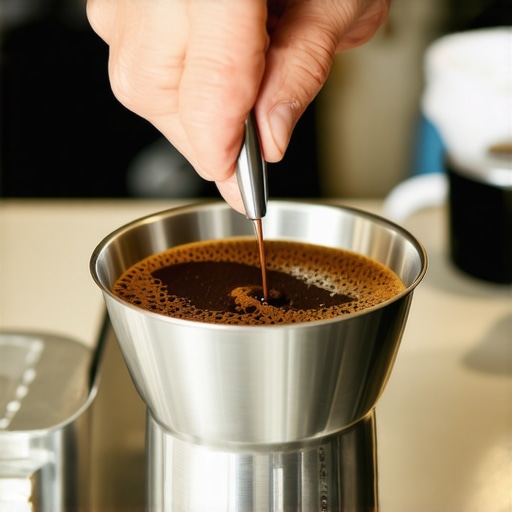
Level the Playing Field Without Fancy Tools
Once you’ve broken up the clumps, the grounds will look like a fluffy mountain. Most people immediately reach for the tamper, but that is a mistake. You need a level surface first. If you don’t want to spend money on choosing the best barista gear for coffee enthusiasts, use the ‘Stockfleth Move’ or a simple horizontal tap. Gently tap the side of the portafilter with the palm of your hand. You want the grounds to settle evenly. If the bed is slanted before you tamp, it will be slanted after you tamp, which is a primary reason how to prevent channelling in a bottomless portafilter shot effectively starts before the pressure is applied.
The Elbow Rule for a Perfect Seal
Tamping is where most people hurt their wrists or ruin their shots. The goal isn’t to use 30 pounds of brute force; it’s to remove the air. When you go to press down, make sure your elbow is positioned directly over the portafilter. This vertical alignment ensures you aren’t pushing the coffee to one side. I used to lean into it like I was trying to crack a walnut, only to find the best angle for tamping to avoid wrist strain is actually a light, perpendicular pressure. If you feel the resistance stop, you’ve done your job. Over-tamping doesn’t make the coffee stronger; it just risks cracking the puck.
Flat or Rippled Tamper Bases
You might wonder how to choose between a flat and a rippled tamper base. While a flat base is the standard, a rippled base can theoretically help increase surface area. However, the most important factor is the fit. If your tamper is 58mm but your basket is 58.5mm, that tiny ring of loose coffee around the edge will cause ‘edge channeling.’ This results in a watery, thin espresso. Always ensure your gear is precisely matched to avoid that dreaded simple way to fix a gritty texture in your espresso that comes from uneven bypass water. If you notice your settings feel off, check if why your grinder adjustment moves while youre grinding, as even a small shift in micron size can render your perfect tamping technique useless.
It’s easy to get blinded by the chrome and the blinking lights of top-rated espresso machines. We are often told that 9 bars of pressure and a PID controller are the only keys to the kingdom. But let’s dig deeper: the machine is essentially just a heater and a pump. In my experience, even a five-figure setup is useless if you haven’t mastered the variables that happen before the water even hits the puck. This is the biggest trap for enthusiasts: spending thousands on the machine while neglecting the one tool that actually dictates flavor. If you don’t know how to select the perfect coffee grinder for your brew, you are effectively trying to drive a luxury car on flat tires.
How Old Coffee Hiding in Your Grinder Ruins the Morning
Everyone talks about ‘freshly roasted’ beans, but nobody talks about the stale grounds from yesterday sitting in your grinder’s chute. This ‘exchange’ is the silent killer of god-shots. If your grinder retains even three grams of coffee, your first double shot of the day is 15% stale dust. This is a primary reason why your grinder settings feel like they changed overnight. You aren’t fighting the humidity; you’re fighting oxidation. A study by the Barista Guild confirms that ground coffee loses a significant percentage of its aromatic volatile compounds within just 60 seconds of exposure to air. When you mix that with fresh grounds, you get an uneven extraction that no amount of fancy barista gear can fix.
Why the Grinder is Always More Important Than the Machine
Contrarian as it sounds, I would rather use a $2,000 grinder with a $500 machine than the other way around. High-end burrs produce a specific particle size distribution that allows for a ‘tight’ flow. If your burrs are cheap or unseasoned, you’ll get too many ‘fines’ (tiny dust-like particles) that clog the filter and ‘boulders’ (large chunks) that let water rush through. This imbalance is why why your espresso tastes burnt even with light roast beans. You are over-extracting the dust and under-extracting the chunks simultaneously. If you’ve just bought a new setup, you need to learn how to properly season new steel burrs for better consistency before you start judging the flavor profile.
Can You Really Taste the Difference Between 9 and 6 Bars of Pressure?
Advanced brewers are moving away from the traditional 9-bar standard. Pushing water that hard can actually compress the puck so much that it causes micro-channeling. By dropping to 6 bars, you get a more forgiving extraction that highlights sweetness over intensity. However, if your hygiene is poor, pressure won’t save you. I’ve seen beautiful machines ruined because the owner ignored the danger of leaving old coffee oils in your portafilter spouts. Those oils go rancid and add a fishy, metallic note to every shot. It’s the ultimate ‘oops’ factor—spending an hour dialing in the grind only to have the flavor sabotaged by a dirty spout.
Stop Steaming Milk with Yesterday’s Residue
The same logic applies to your milk. Many people struggle with texture and assume they need a more powerful boiler. Often, the reason your steam wand only makes thin hot milk isn’t the pressure—it’s the protein buildup inside the tip. If you don’t purge and wipe immediately, those proteins bake onto the metal, narrowing the holes and creating turbulent, large bubbles instead of silky microfoam. It’s a simple maintenance step that separates the amateurs from the pros. Have you ever fallen into the trap of blaming your gear instead of your workflow? Let me know in the comments below.
Owning a high-end setup is a lot like owning a vintage car; if you ignore the oil changes, you’ll eventually find yourself stranded on the side of the road with a very expensive paperweight. Even the top-rated espresso machines are susceptible to the silent creep of mineral buildup and rancid oils. I learned this the hard way when my machine started making a high-pitched whistle that sounded like a tea kettle on its last legs. I hadn’t been backflushing, and my group head was begging for mercy. If you don’t stay on top of the basics, you’ll quickly find why your group head shower screen is getting clogged so fast and why your shots are tasting flatter by the day.
Keep Your Group Head from Getting Gunked Up
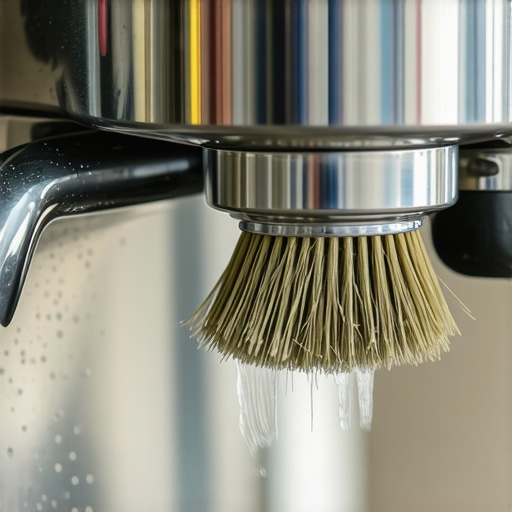
Every time you pull a shot, a tiny amount of coffee oil and fine particles get sucked back into the 3-way solenoid valve. Over weeks, this forms a sticky varnish that ruins the flavor. I make it a habit to do a water-only backflush every single day and a chemical backflush once a week. It takes thirty seconds, but it’s the difference between a crisp, vibrant espresso and one that tastes like a used ashtray. According to the La Marzocco Technical Manual, maintaining a precise water TDS (Total Dissolved Solids) between 90 and 150 ppm is non-negotiable if you want to avoid both the corrosion of your heating elements and the buildup of calcium. Neglect this, and you’ll be searching for how to tell if your machine boiler is accumulating lime scale before the year is out.
How do I keep my gear running for a decade?
The secret to longevity isn’t expensive repairs; it’s preventative hygiene and specialized tools that reach where your fingers can’t. For instance, most people forget about the grinder’s ‘exit wound.’ I’ve found that using a simple pipe cleaner is the best way how to clean your grinders discharge chute effectively. If old grounds sit in that chute, they oxidize and taint the next batch. Furthermore, if you’re struggling with a messy counter, you need to learn how to stop static from ruining your grinding workflow. A single drop of water on your beans before grinding—known as the Ross Droplet Technique—can practically eliminate the ‘snowstorm’ of chaff and dust that plagues most home baristas.
The Scale Struggle No One Admits To
We all know we need a scale for consistency, but have you noticed why your coffee scale doesnt fit under your portafilter? I spent months balancing my cup on the edge of a bulky kitchen scale until I finally invested in a slim, water-resistant version designed for drip trays. It changed everything. When you aren’t fighting for space, you can focus on the flow. If you’re just starting out, choosing the best barista gear for coffee enthusiasts means prioritizing the tools that remove friction from your morning. A scale that fits and a grinder that doesn’t retain coffee are worth more than any fancy aesthetic upgrade.
Where Home Brewing is Heading Next
Looking at the trajectory of the industry, I predict we are moving toward ‘smart’ puck preparation. We are already seeing grinders that weigh the dose in real-time with milligram accuracy and auto-tampers that ensure a level bed every single time. While I love the tactile nature of mastering the art of home espresso manually, the future is about removing human error so the bean can truly shine. We’re likely to see more AI-driven pressure profiling that adjusts the flow rate based on how the puck is actually resisting the water. For now, though, your best bet is to perfect the basics and keep your equipment spotless. Try this tomorrow: perform a deep clean of your steam wand and backflush your group head, then pull a shot of a bean you know well. You might be surprised at how much ‘hidden’ bitterness was just old residue. If you need help picking the right maintenance tools, feel free to contact us for a personalized recommendation.
The Day I Finally Realized It Wasn’t the Machine
Looking back at my years behind the counter and my own kitchen, the biggest hurdle wasn’t the price tag of my setup; it was my own impatience. I used to blame my beans when I should have been cleaning my gear. I’ve learned that a pristine workflow is more valuable than any fancy titanium burr set. First, cleanliness is literally a flavor profile. If you ignore the danger of leaving old coffee oils in your portafilter spouts, you are seasoning your next shot with rancidity. Second, consistency is a result of repetition, not just reading manuals. Finally, don’t let the ‘perfect’ be the enemy of the ‘delicious.’ Sometimes a slightly uneven pour still tastes like heaven if the beans are fresh and your grinder is dialed in.
The Toolkit That Actually Improved My Morning Routine
If you’re looking to level up without spending a fortune, I recommend focusing on the small touchpoints. A slim, responsive scale is non-negotiable, even if you’ve wondered why your coffee scale doesnt fit under your portafilter in the past. I also swear by a dedicated maintenance kit; knowing how to select the perfect coffee grinder for your brew is only half the battle—the other half is keeping it running smoothly. I personally trust the high-end barista guides and long-form teardown videos to understand the mechanical ‘why’ behind the ‘how.’ These resources helped me realize that choosing the best barista gear for coffee enthusiasts is about solving specific workflow problems, not just collecting shiny objects for the sake of it.
Bring the Café Experience to Your Own Kitchen
The journey of mastering the art of home espresso is never truly finished, and that’s the beauty of this hobby. Every morning is a new chance to refine your tamping, adjust your grind for the day’s humidity, and appreciate the chemistry in your cup. Even with the most top-rated espresso machines, the soul of the drink comes from your hands and your attention to detail. Don’t be afraid to make a mess or pull a sour shot occasionally; it’s all part of the education. Grab your portafilter, dial in those beans, and enjoy the process. What was the one technique change that finally stopped your shots from channeling? Let me know below.