Why your milk frother creates bubbles instead of foam
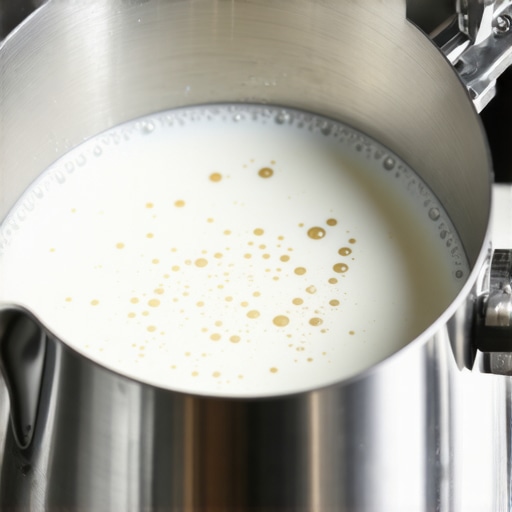
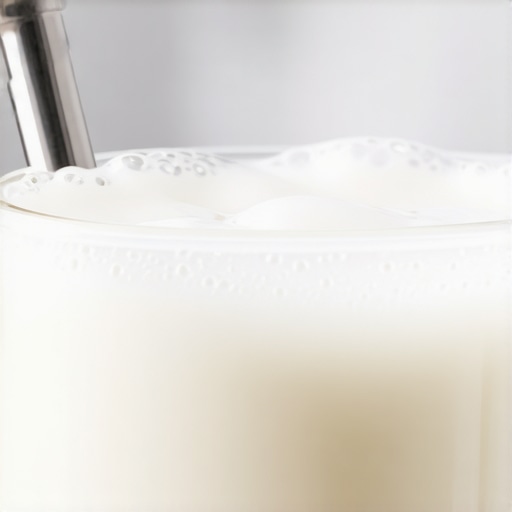
I stood in my kitchen, buzzing with excitement and a brand new handheld wand, ready to conquer the world of latte art. I plunged the tip deep into the pitcher, hit the power, and watched in horror as my milk transformed into a mountain of stiff, dry bubbles that looked more like dish soap than a creamy flat white. It was a humbling moment. If you have ever stared at a cup of coffee topped with sea foam instead of that glossy, wet-paint texture we all crave, you are not alone. We are going to fix your frothing technique today so you can finally stop settling for subpar lattes.
The Frustrating Science of Bubble Bath Coffee
The reason your milk is rebelling usually boils down to two things: air integration and temperature. When you see those giant, aggressive bubbles, it is usually because you are introducing too much air too late in the process or your milk frothers are not being used at the right angle. I spent months thinking my machine was broken before I realized I was just stretching the milk for way too long. If you do not transition from adding air to spinning the milk, those bubbles will never break down into microfoam. According to the Specialty Coffee Association, the ideal temperature for milk sweetness and texture is between 140°F and 155°F; go beyond that, and the proteins break down, leaving you with thin hot milk.
Is my milk just un-foamable by nature?
You might be wondering if you are just fighting a losing battle with your grocery store brand. It is a valid fear! I used to blame the milk every time I failed to get the right texture. While high-protein milk helps, the real culprit is usually a dirty wand or a lack of a vortex. Have you ever felt like no matter what you do, the foam just stays on top like a stiff hat? Drop a comment and tell me if you have ever been tempted to just throw the whole frother out the window.
Stop the Volcano and Start the Vortex
To get that professional finish, you need to stop the splashing. When I first started, I thought more splashing meant more foam. Wrong. You want a silent, aggressive swirl. If you are using a steam wand, you might need to learn the secret to silky microfoam on a single boiler machine, which involves purging the wand first to remove excess water. If you are using an automatic version, make sure to clean the tiny air hole to ensure it can actually pull in the right amount of air. Without that circular motion, your milk just heats up while the air sits on top, creating those annoying bubbles. Understanding how to texture milk for a flat white versus a latte depends entirely on mastering this whirlpool.
Listen for the Sound of Tearing Paper
The first five to ten seconds of frothing are the stretching phase. This is where you introduce air to the cold milk. If you hear a loud, screeching scream, your wand is too deep; if you hear violent splashing, it is too high. You are looking for a gentle chirp, almost like someone is delicately tearing a sheet of paper. When I was mastering the art of home espresso tips for beginners, I used to panic and pull the wand out too far, creating those soapy bubbles I mentioned earlier. You only want to increase the volume of the milk by about 20% to 30% for a latte. If you go too far, you end up with a stiff meringue that will not pour into any recognizable shape.
Get the Milk Spinning Like a Whirlpool
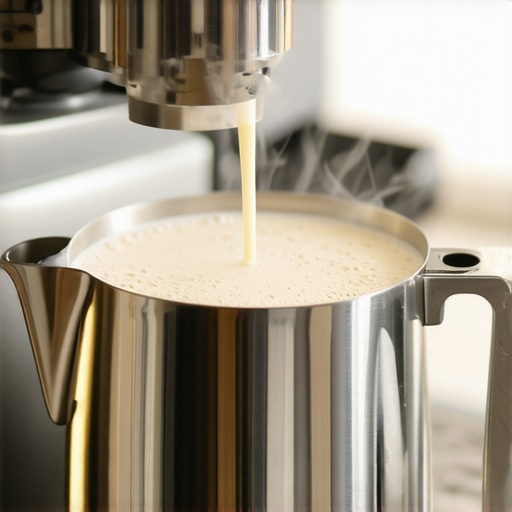
Once the milk feels about room temperature in your hand, it is time to stop adding air and start the roll. Submerge the steam wand tip just a fraction deeper—maybe half an inch—and tilt the pitcher slightly to the side. You are looking for a vortex. This circular motion is what takes those larger bubbles you just created and shears them down into microscopic ones. It is the trick to getting the perfect swirl in your milk pitcher that distinguishes a pro from an amateur. I remember the day it finally clicked for me; I moved the wand just a millimeter to the left, and suddenly the milk started chasing itself in a circle. The surface went from matte to a glossy sheen that looked like melted marshmallows. 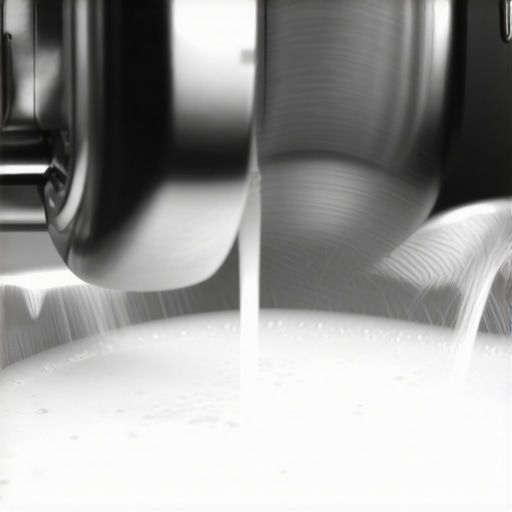
Watch the Temperature Like a Hawk
Do not trust your eyes alone; trust your hands and your equipment. If you are using one of the top rated espresso machines for coffee lovers in 2025, the steam power might be higher than you expect. Once the pitcher becomes too hot to touch for more than a second, shut it off immediately. This is usually around 140°F. If you keep going, the milk sugars will burn, and you will lose that natural sweetness. I once tried to extra-heat a latte for a friend who liked it scalding, and the result was a curdled, thin mess because I broke the protein bonds.
Never Skip the Final Grooming
After you turn off the steam, your work is not done. You need to groom the milk. Give the pitcher a firm tap on the counter to pop any remaining surface bubbles, then swirl it vigorously. The milk should look like wet paint. If it looks dry or chunky, you might find why your latte art foam always slumps to one side because the foam and liquid have separated. If your wand isn’t performing well, check if why your steam wand tip holes keep getting clogged, as a partial blockage can ruin the pressure needed for a good vortex.
Clean the Wand Immediately
Never let the milk sit on the wand. I once left a wand uncleaned for an hour, and the milk turned into a cement-like crust that required a deep soak. Learn the one way to fix a clogged steam wand without chemicals to save your gear. Always purge the wand before and after use to ensure no milk gets sucked back into the boiler, and wipe it down with a dedicated cloth. It is a small habit that prevents you from needing to how to clean the inside of your steam wand pipe later on.
Everyone tells you that you need a dual-boiler commercial monster to get café-quality milk, but in my experience, that is an expensive lie. I have seen baristas produce better texture on a $400 machine by using the secret to perfecting your milk texture on a single boiler than a novice using a high-end setup. The real nuance isn’t just the machine; it’s the thermal stability of your entire workflow. If you aren’t paying attention to the benefit of pre-warming your portafilter head, your espresso shot will be too cold, which immediately causes your meticulously steamed milk to separate as soon as it hits the coffee.
Expensive Gear Won’t Save a Bad Technique
One of the biggest traps I see enthusiasts fall into is thinking that better barista gear can bypass the laws of physics. For instance, people often blame their steam power when the real culprit is the milk’s age. Have you ever fallen into the trap of buying a brand-new pitcher because your foam wasn’t ‘holding’ correctly? Let me know in the comments if you’ve ever spent money to fix a problem that was actually just a technique error.

Why does my foam quality change every single day?
This is the question that separates the hobbyists from the pros. You can use the same technique and the same brand of milk, yet get different results on Tuesday than you did on Sunday. This happens because of a process called lipolysis. According to research published in the Journal of Dairy Science, as milk ages, free fatty acids are released that actually destabilize the protein structure. This means that even if the milk isn’t ‘spoiled,’ its ability to hold microfoam degrades with every hour it sits in your fridge. Understanding this helps you realize that sometimes the reason your milk smells like its burning before the temp is right is actually a chemical breakdown rather than your wand overheating.
The Hidden Cost of Using Cheap Plastic Tools
If you are serious about your craft, you have to stop using the pack-in accessories that come with entry-level machines. For example, why your plastic tamper is making your espresso sour comes down to uneven pressure distribution. An uneven bed of coffee creates channeling, which produces a thin, watery espresso base that can’t support the weight of heavy microfoam. When the base is weak, your latte art will simply sink to the bottom, regardless of how ‘silky’ your milk looks in the pitcher. It’s a chain reaction: better tools lead to better extraction, which finally allows that professional milk texture to shine.
It is easy to get obsessed with the milk, but your espresso machine is a high-pressure ecosystem that demands respect. I have seen people spend thousands on a machine only to let it scale up until the steam pressure is a pathetic whisper. If you have noticed your wand is struggling, it might be time to learn how to clean the inside of your steam wand pipe properly. I personally use a small pipe brush every month because a simple purge does not catch the milk proteins that bake onto the interior walls. The same goes for your coffee. You need to know how to select the perfect coffee grinder for your brew because if your grind is inconsistent, the espresso will not have the viscosity to hold the microfoam. If you have been using the same setup for a year, check how to tell if your espresso grinder burrs are dull. Dull burrs produce more ‘fines’—microscopic dust—which makes your drink taste muddy and ruins that clean latte art look.
How do I maintain my espresso equipment over the long term?
Maintenance is not just about wiping the counter. You have to be proactive. I swear by the rule that why your machine needs a backflush every single week is the difference between a machine that lasts three years and one that lasts fifteen. Old coffee oils turn rancid and sticky, which can even lead to needing a fix for the quick way to fix a sticky power switch on your grinder. According to the La Marzocco Home technical specifications, maintaining a consistent 9 bars of pressure is impossible if your group head gasket has hardened, which usually happens after 12 months of daily heat cycles. I make it a habit to how to check your espresso machines group head flow rate every month to ensure my pump is not dying a slow death. This ensures that when you finally use those high-end barista gear accessories, they are actually working with a healthy machine.
Where Home Coffee Technology Is Heading Next
Looking ahead, I think we are going to see a massive shift toward AI-integrated thermal sensors in home steam wands. We are already seeing prototypes of wands that automatically shut off the second they detect the specific protein-breakdown frequency in the milk. Until then, we rely on our hands, our ears, and the move that saves your grinder from unnecessary wear by never grinding while the burrs are completely dry. 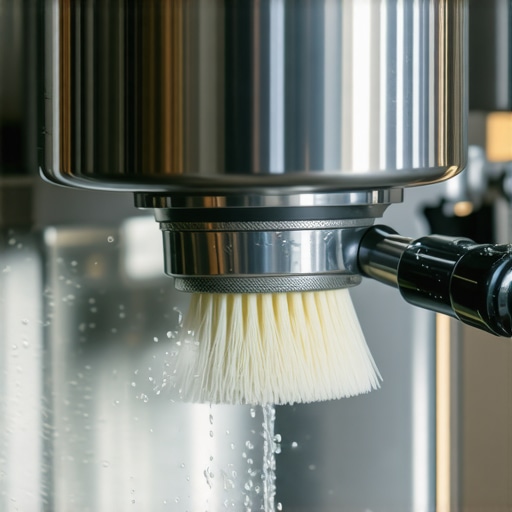 I want you to try the ‘zero-purge’ test today—purge your wand into a separate cup before frothing to see exactly how much ‘wet’ steam and condensation is sitting in your lines. It is a game-changer for texture. If you are still struggling with your setup, feel free to contact us for a bit of troubleshooting. This is a journey, and your gear is your partner—treat it well.
Hard Lessons from My Years of Burnt Milk and Failed Tulips
Reflecting on my journey, the biggest ‘aha’ moment wasn’t about the machine itself, but about the physics of the milk. I spent years thinking my espresso machines were the problem when I was actually just fighting the milk’s chemistry. One thing most people miss is how to tell if your milk is too old for latte art. Even if it’s not sour, old milk loses its structural integrity and ability to hold microfoam. Also, remember that the trick to swirling milk without splashing out of the pitcher is all about the tilt, not the power. Stop moving the pitcher up and down; find that sweet spot and hold it steady. Finally, don’t ignore your equipment maintenance—I’ve found that knowing how to clean the screen on your automatic milk frother makes a massive difference in air intake consistency.
The Tools That Actually Saved My Home Espresso Workflow
If you want to upgrade your results without buying a whole new setup, focus on the details. I personally swear by a heavy-based stainless steel pitcher and high-quality barista gear that provides real-time feedback. For instance, knowing how to select the perfect coffee grinder for your brew ensures your base espresso is thick enough to support your art. I also recommend checking out top rated espresso machines for coffee lovers in 2025 if you are looking for a machine with superior thermal stability. Lastly, always keep a dedicated micro-fiber cloth handy and never skip the purge—cleanliness is the secret ingredient of every pro barista.
Your Kitchen is Now the Best Café in Town
Mastering home espresso isn’t a race; it’s a morning ritual that rewards patience and attention to detail. Every time you pick up one of those milk frothers, you’re getting closer to that perfect, glossy pour. Don’t be discouraged by a few bubbles or a lopsided heart in the beginning. With the right coffee grinders and a bit of daily practice, you’ll soon be pouring better drinks than the local shop. Have you ever struggled with getting your milk to swirl correctly in the pitcher? Let me know in the comments below!