Why your grinder’s timer is never accurate
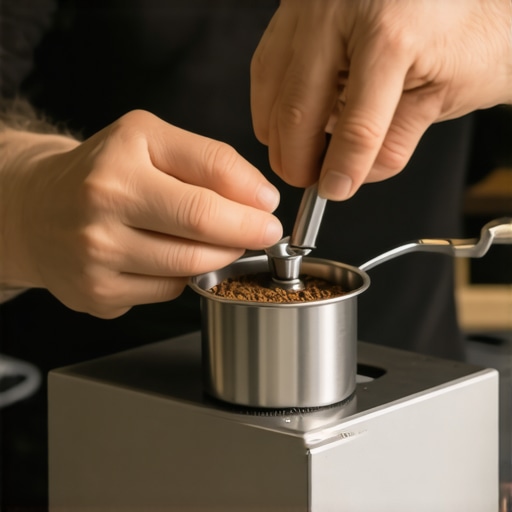
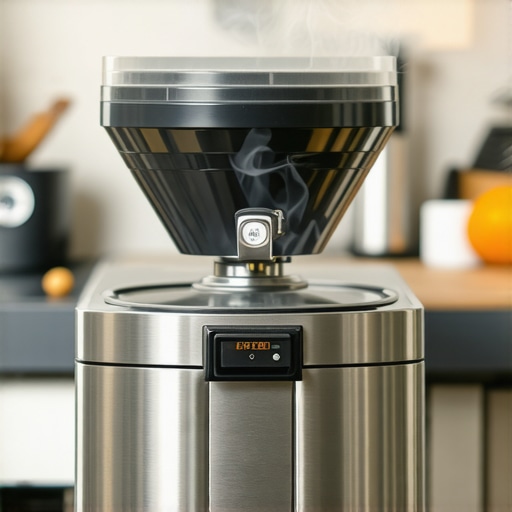
I remember standing in my kitchen at 6 AM, bleary-eyed and desperate for caffeine, watching my supposedly “perfectly timed” grinder dispense what looked like a massive mountain of coffee. Just ten minutes earlier, for my first cup, the exact same 5.4-second setting had barely filled half the basket. It is enough to make any home barista want to toss their portafilter through a closed window. We buy these sleek machines thinking the digital display and precision electronics will handle the heavy lifting, but the reality is that time is a notoriously unreliable way to measure coffee mass. Today, I am going to show you exactly why that timer is betraying you and how you can finally get consistent shots without losing your sanity.
Stop Trusting That Little Digital Clock
The fundamental problem isn’t usually a defect in your electronics; it is a battle with physics. When I first started mastering the art of home espresso, I made the rookie mistake of assuming that if the burrs spun for the same duration, the output would be identical every single time. I was dead wrong. Coffee beans are organic, volatile little things. They lose moisture, they develop different levels of surface oils, and their “flowability” shifts based on the weather outside. Even the static ruining your grinding workflow can cause beans to bridge or clump in the hopper, significantly slowing down the feed rate into the burrs. According to research published by the Journal of Food Engineering, the bulk density of roasted coffee beans can vary significantly based on environmental humidity, which directly affects how much mass passes through the grinder in a set timeframe. This physical inconsistency is often why your shot extraction time changes every single day, even when you haven’t touched the adjustment collar. Have you ever noticed your dose jumping by more than a full gram between your first and second shot of the morning?
Is a Pricey Grind-by-Weight Machine Your Only Way Out?
It is easy to look at the professional gear and think you need to drop another thousand dollars on a machine that weighs the grounds in real-time. While choosing the best coffee grinder with a built-in scale certainly simplifies things, it isn’t the only path to a repeatable recipe. I spent years fighting with a basic timed grinder before I realized that managing variables like hopper weight and burr temperature was half the battle. You can achieve professional-level consistency with the gear you already own by understanding how bean age and “popcorning” affect the speed of the grind. We are going to dive into the simple, neighborly tricks I’ve learned—like why a half-full hopper is actually your best friend and how a quick purge can save your morning—to make sure your 18-gram dose actually stays 18 grams every single time you hit that button.
Why the Weight of Your Beans Actually Matters
The biggest secret to consistency with a timed grinder isn’t the timer itself—it’s the weight of the beans sitting in the hopper. Imagine trying to run through a revolving door. If you are by yourself, you might stroll through at any speed. But if there is a crowd behind you pushing, you are going to fly through that exit much faster. This is exactly how “column weight” works in your grinder. When your hopper is full, the weight of the beans on top forces the ones at the bottom into the burrs more quickly. As the hopper empties, that downward pressure vanishes, and the beans start “popcorning,” bouncing around like lottery balls instead of being ground efficiently. This is precisely the move that saves your grinder from unnecessary wear and ensures the burrs grab the beans at a steady rate.
Stop the Popcorn Effect to Save Your Shot
I learned this the hard way during a Saturday morning rush for my family. I was using a mid-range machine, trying to be efficient by only putting in exactly what I needed for each shot. The first dose was a perfect 18 grams. By the third shot, with the hopper nearly empty, the same 6-second timer gave me a measly 14.5 grams. The resulting espresso was a salty, underextracted mess because I hadn’t accounted for the lack of weight. If you aren’t single-dosing with a dedicated low-retention grinder, keep your hopper at least a third full. This creates enough consistent pressure to keep the output stable. If you find your settings are drifting, it’s worth checking the trick to finding the true zero point on your grinder to ensure your physical hardware is actually aligned.
#IMAGE_PLACE_HOLDER_B#
Purge the Chute or Suffer the Sour Shot
Even if your bean weight is perfect, there is a “ghost” in your machine: retention. Every grinder has a small cavity between the burrs and the exit chute where old, stale grounds love to hide. When you hit that button in the morning, the first few grams out of the chute are actually from yesterday. This is often why the first shot of the day is always a throwaway. These old grounds are drier and more compressed, meaning they will flow through the portafilter differently than the fresh beans you just ground. I usually run a quick 1-second “purge” before my first real shot. It feels wasteful to dump a few grams, but it is cheaper than wasting an entire 18-gram dose on a shot that tastes like cardboard. You can also learn how to clean the grinder chute without taking it apart to minimize this buildup over time.
Use Your Scale to Audit the Timer
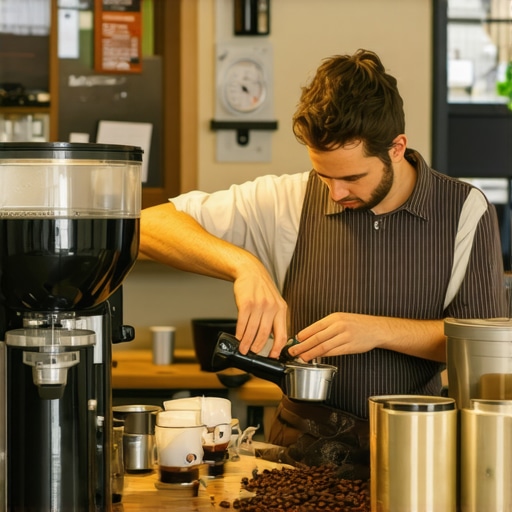
Your timer is a guess, but your scale is a fact. Even with a perfect workflow, environmental factors like humidity will change the density of the beans. Think of it like walking through water versus walking through air; the resistance changes your speed. On rainy days, I often have to increase my timer by 0.2 seconds because the beans are slightly stickier. Don’t just trust the digital display—weigh the output of every second or third shot to “audit” your grinder. If you notice the numbers are erratic, it might be because your espresso scale is jumping numbers due to vibrations or heat. By using the timer to do the work and the scale to verify the result, you bridge the gap between convenience and professional-grade precision.
Let’s dig deeper into how we actually handle that audited output. Many people assume that if the weight is correct and the grind looks flat, the shot will be perfect. I see so many enthusiasts fall into the trap of buying shiny distribution tools—the ones you spin on top of the portafilter—thinking it will solve their channeling issues overnight. However, this is one of the biggest myths in modern home espresso. In my experience, those weighted spinning levelers often do more harm than good. They provide a false sense of security by grooming the top few millimeters of the coffee bed while leaving the bottom half inconsistent and prone to micro-channeling. According to data-driven testing by the team at Socratic Coffee, these tools can actually increase the variance in extraction yield because they don’t address the core density of the puck. This is exactly why your distribution tool might be ruining your extraction. If you really want to improve, stick to a WDT tool—a few thin needles are far more effective than a pound of expensive stainless steel.
#IMAGE_PLACE_HOLDER_C#
Does Your Bottomless Portafilter Actually Tell the Whole Story?
Many advanced home baristas think the naked portafilter is the ultimate diagnostic tool. While it’s great for spotting massive spurts, it can be misleading. You might see a beautiful, single-stream flow, but if your basket isn’t perfectly clean, the physics of the pour can mask internal channeling. If you notice why your bottomless portafilter is creating two streams instead of one, you might have a hygiene issue rather than a grind issue. This leads to the ‘oops’ factor many pros overlook: the invisible buildup. The danger of leaving old coffee oils in your portafilter spouts or basket ridges is that these oils oxidize and create a ‘dirty’ flavor profile that mimics over-extraction. When choosing the best barista gear for coffee enthusiasts, prioritize a simple brush and backflushing powder over the latest flashy accessory. One nuance that often goes ignored is the thermal equilibrium of the group head. Even if your digital display says you’re at the perfect temperature, a cold portafilter will sink that heat the moment the water touches the coffee. This is the benefit of pre-warming your portafilter head; it ensures the temperature in the basket matches the temperature in the boiler.
Stop Wiping Away Your Quality
Another trap is the steam wand ritual. Everyone knows to wipe it, but the method matters. How to stop using a wet cloth on your steam wand is a nuance that separates the hobbyists from the pros. A wet, soggy rag sitting on the drip tray is a breeding ground for bacteria and can introduce off-flavors into your silky microfoam. Use a dedicated, dry microfiber cloth and purge the wand for at least two seconds after every use. And if you start hearing a metallic clatter, don’t ignore it—understanding why your espresso machine is making a rattling noise during heat-up can help you identify a failing solenoid or a vibrating internal pipe before it causes a major leak. Have you ever fallen into the trap of buying a piece of gear that promised to fix your shots but just added more steps to your morning? Let me know in the comments.
Moving beyond the daily grind, the real difference between a setup that lasts five years and one that lasts fifteen comes down to the grit you’re willing to put into maintenance. I’ve seen beautiful machines turned into expensive paperweights because of a simple lack of lubrication or a refusal to acknowledge the chemistry of water. If you want to keep your shots tasting as sweet as the day you unboxed your gear, you have to look past the shiny stainless steel and into the guts of the machine. It isn’t just about making coffee; it is about protecting your investment.
Scrub Your Group Head Like You Mean It
One of the most overlooked aspects of long-term care is the group head seal and the internal valves. Every time you pull a shot, coffee oils and fine particles are forced back into the machine when the three-way solenoid valve opens. Over time, these oils turn rancid and sticky. This is exactly why your machine needs a backflush every single week with a proper detergent. If you have a lever-actuated machine, you also need to know how to properly lubricate your e61 group head cam. Without food-grade Molykote or similar silicone grease, the internal metal parts will eventually grind against each other, leading to a stiff lever and a leaky brew cycle. I make it a habit to check the gasket every six months; if it feels hard like plastic rather than supple like rubber, it is time for a swap to ensure you know how to check if your portafilter gasket is actually sealed.
How can I make my espresso gear last a lifetime?
The short answer is water management. According to the Specialty Coffee Association (SCA) water quality standards, your water should have a total hardness of approximately 50-175 ppm CaCO3 to prevent both corrosion and excessive scale buildup. Most people don’t realize that even ‘filtered’ water can be a machine killer if it’s too soft or too hard. I personally use a titration kit once a month because the easy way to test your machines water hardness at home is the only way to be sure you aren’t slowly calcifying your boiler. Scale is an insulator; it makes your heating element work harder and eventually causes it to burn out. If you’re looking at top-rated espresso machines for coffee lovers in 2025, you’ll notice more manufacturers are including built-in filtration reminders, but don’t rely on a blinking light—rely on your own testing.
#IMAGE_PLACE_HOLDER_D#
Don’t Sleep on Your Grinder’s Burrs
While the machine gets all the glory, your grinder is the workhorse that actually takes the most physical abuse. Most home-grade steel burrs are rated for about 500-800 pounds of coffee. That sounds like a lot, but if you’re a multi-cup-a-day household, you might be hitting that limit faster than you think. You need to know how to tell if your espresso grinder burrs are dull—look for increased ‘fines’ and a shot that tastes muddy no matter how much you adjust the dial. For those chasing perfection, the right way to align your flat burrs for better shots involves using a dry-erase marker to check for high spots. It is a tedious process, but it ensures your particles are uniform, which is the holy grail of extraction consistency. In the future, I expect we will see more ‘smart’ grinders that can actually detect burr wear through torque sensors, but for now, your palate and a steady hand are your best tools.
My best advice? Pick one thing this weekend—whether it’s testing your water or doing a deep-clean of your grinder chute—and do it thoroughly. You’ll be surprised how much better Monday morning’s latte tastes when the equipment isn’t fighting against you. If you’re just starting out, don’t feel overwhelmed; mastering the art of home espresso is a marathon, not a sprint.
Hard-Won Truths from My Morning Caffeine Fails
After years of wrestling with various machines, I’ve realized that the digital timer on your grinder is more of a suggestion than a rule. One of the most frustrating things I learned is why your espresso shot volume varies even with the same dose; it usually comes down to how much air is trapped in the grounds or how the beans settled in the chute. I used to think I needed a massive upgrade to fix this, but the real breakthrough came from simply accepting that a 0.5-second fluctuation is normal and manageable if you use your eyes and a scale. Another lightbulb moment was realizing that the beans I bought on Monday will grind differently by Friday as they degas. Consistency isn’t about setting a machine and forgetting it; it’s about staying curious and making those tiny, 0.2-second adjustments as the week goes on.
The Tools I Actually Use When the Camera is Off
You don’t need a counter full of expensive chrome to make incredible coffee, but there are a few non-negotiables I recommend to anyone serious about the craft. First, invest in a reliable scale—and if you find why your coffee scale is giving you inconsistent readings, it’s usually just a low battery or a stray bean under the platform. For those looking to level up their setup, I’ve put together a guide on choosing the best barista gear for coffee enthusiasts that focuses on utility over hype. I also can’t stress enough the importance of water chemistry; using the easy way to test your machines water hardness at home saved my boiler from a very expensive repair bill last year. Finally, keep a simple WDT tool—even a DIY one—to break up those clumps that a timed grinder inevitably creates.
#IMAGE_PLACE_HOLDER_E#
Your Path to the Perfect Pull Starts Tomorrow
Don’t let the technical details discourage you from the joy of brewing. Every “sink shot” is just a lesson in disguise, and even the world’s best baristas started exactly where you are today. By focusing on the fundamentals—bean weight, water quality, and clean equipment—you are already ahead of 90% of home users. If you are feeling overwhelmed, take it slow and revisit the basics of mastering the art of home espresso until it becomes second nature. Your equipment is a partner in this process, not a master to be feared. Have you ever noticed a massive weight difference in your timed doses on a rainy day? Let me know your experiences in the comments below!