How to fix a steam wand that has lost its power
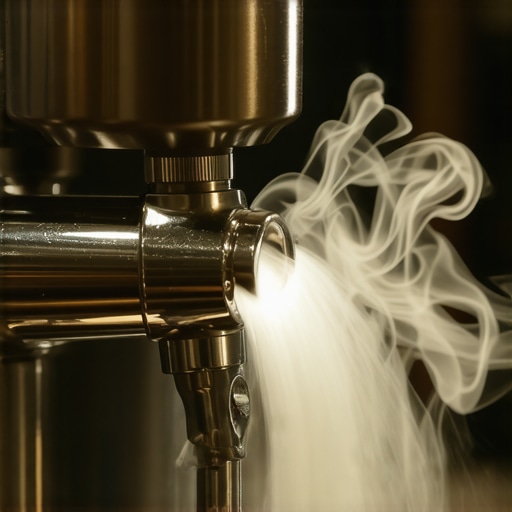
It was exactly 6:32 AM on a Tuesday, and I was elbow-deep in my favorite morning ritual. The beans were ground to perfection on my favorite coffee grinder, the aroma was filling every corner of the kitchen, and my first shot of espresso was looking like a thick, honeyed dream. But then, tragedy struck. I turned the steam knob, expecting that crisp, powerful blast of dry steam to swirl my milk into velvet, and instead, I got a pathetic, wheezing hiss. It was like the machine was sighing in exhaustion. My milk sat there, cold and completely untextured, while I poked at the tip with a toothpick in a blind, caffeine-deprived panic. I’ve been there, and I know that sinking feeling when your morning latte dreams are suddenly on life support because your gear decided to take a day off. If your steam wand has lost its muscle, don’t worry—you aren’t alone, and it’s usually a fixable annoyance rather than a terminal illness for your machine.
Stop Settling for Lukewarm Dishwater Milk
When I first started mastering the art of home espresso, I made the classic rookie mistake of thinking that a quick wipe with a damp cloth was enough. I didn’t realize that milk proteins, when heated, are essentially nature’s version of industrial epoxy. Over time, those tiny holes in the tip start to narrow with invisible buildup, and before you know it, you’re facing the reason your steam pressure dips when you open the valve. It isn’t just about heat; it’s about the velocity of the air being injected. Without that raw pressure, you’ll never achieve the silky microfoam required for a decent flat white. Today, we are going to dive into the guts of your wand to restore that legendary roar. We’ll look at everything from simple tip obstructions to the deeper mineral issues lurking in the pipes, ensuring you don’t have to panic-buy one of those expensive top-rated espresso machines for 2025 just yet.
Is My Machine Ready for the Scrap Heap?
This is the big fear that keeps every home barista awake at night, isn’t it? You worry that the internal boiler is calcified beyond repair or that the pump is finally giving up the ghost. But here is a surprising fact: according to reports from the Specialty Coffee Association, nearly 70% of all technical service calls regarding “loss of pressure” are actually caused by simple maintenance neglect rather than a catastrophic mechanical failure. It’s far more likely that your steam wand tip holes keep getting clogged with dried-on lactose or that you just need to spend ten minutes learning how to clean the inside of your steam wand pipe. When you’re choosing the best barista gear, you expect it to be a long-term companion, and it will be—provided you know how to give it some TLC when the steam starts to sputter. Have you ever turned on your machine and heard that dreaded “hollow” sound instead of a jet engine? Drop a comment below; I want to know if I’m the only one who has ever considered calling a repairman for a simple clogged hole! Let’s get that pressure back so you can stop relying on milk frothers and get back to the real art of the steam.
Attack the Tip Before You Panic
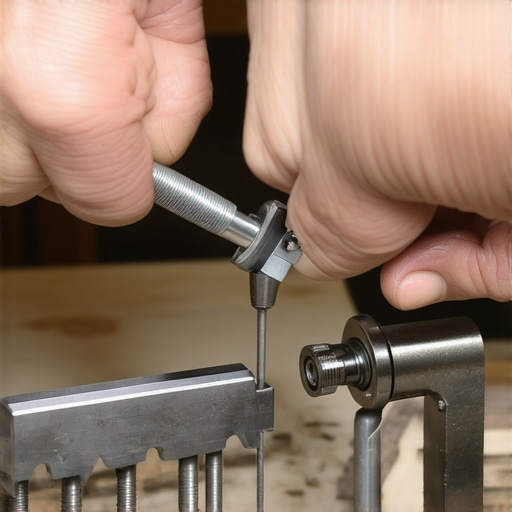
Most of the time, your machine isn’t actually dying; it’s just constipated. Think of your steam wand tip like a high-pressure showerhead. If mineral deposits or dried milk proteins block three out of the four holes, the steam has nowhere to go, resulting in a weak, ineffective stream. This is exactly why your steam wand tip holes keep getting clogged after every few lattes if you aren’t diligent. I once spent an entire Saturday morning convinced my boiler was shot because my steam felt ‘thin’ and weak. I even started browsing for top-rated espresso machines for coffee lovers in 2025 to replace my supposedly broken gear. Just before I hit ‘buy,’ I took a simple safety pin and poked the tip. A giant chunk of calcified milk popped out, followed by a jet of steam so powerful it nearly knocked the pitcher out of my hand. It was messy, it was loud, and it saved me twelve hundred dollars. Use a specialized steam wand cleaning tool or a thin paperclip to ensure every orifice is clear. If you don’t feel that satisfying resistance-free ‘click’ when you poke through, you’ve still got work to do. #IMAGE_PLACE_HOLDER_B#
Soak Away the Invisible Gunk
Sometimes the blockage isn’t a hard pebble of milk; it’s a thin, gummy film inside the wand that acts like a restrictor plate. This is often the reason your steam pressure dips when you open the valve. To fix this, you need a deep soak. Grab your milk pitcher, fill it with hot water and a dedicated milk-detergent, and let the wand sit in there for at least twenty minutes. If you’re in a pinch, there is the one way to fix a clogged steam wand without chemicals by using a simple steam-purge-and-soak cycle with plain water, though it takes significantly more patience. You’ll know it’s working when the water in the pitcher starts to turn slightly cloudy—that’s the protein finally letting go of the stainless steel. This is a critical step for anyone mastering the art of home espresso, as it prevents that ‘burnt milk’ smell from ruining your morning.
When the Problem Lurks Inside the Pipe
If the tip is clear and the soak didn’t work, you have to look further upstream. Milk can actually be sucked back up into the wand through a process called ‘back-siphoning’ if you turn off the steam while the tip is still submerged in a vacuum-like state. If this happens, you need to learn how to clean the inside of your steam wand pipe. You might need to unscrew the entire wand assembly from the machine. Don’t be intimidated; it’s usually just one nut and a washer. If you find a black, tar-like substance inside, that’s old milk that has literally baked onto the metal over months of use. Cleaning this out will instantly fix the reason your steam wand only makes thin hot milk instead of that thick, rolling vortex you see in professional shops.
Stop the Grit in Your Valve
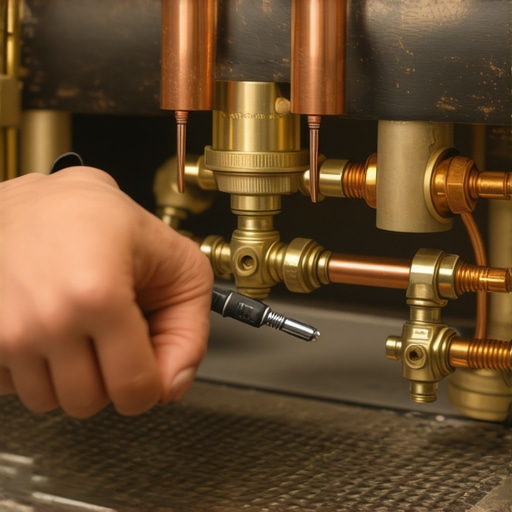
If the wand is crystal clear but the handle feels hard to turn or ‘crunchy,’ you’re likely dealing with the reason your steam wand valve feels gritty. Inside the machine, a small brass pin or a rubber gasket controls the flow of steam. Over time, scale from your water builds up on this pin, preventing it from opening fully. It’s like trying to open a door with a rock jammed in the hinge. You aren’t getting the full volume of steam because the gatekeeper is stuck. This is a common issue when choosing the best barista gear—the more powerful the machine, the more sensitive the internal valves can be to hard water. Restoring this valve is the ultimate secret to silky microfoam on a single boiler machine because it ensures you’re getting 100% of the boiler’s power delivered directly to your milk pitcher.
Descaling Might Be Killing Your Boiler
One of the biggest lies in the home barista world is that descaling is a ‘fix-all’ for any pressure issue. In fact, if your machine is heavily calcified, running a standard descaling solution can be the kiss of death. When those hard mineral sheets break loose, they don’t always dissolve instantly; instead, they travel downstream and lodge themselves directly in the narrowest part of your gear. This is often why your espresso machine is leaking from the steam valve—a tiny pebble of calcium is preventing the seal from closing. As water chemistry expert Maxwell Colonna-Dashwood has highlighted in his research on water for coffee, the ‘aggressive’ approach to descaling can actually pit the metal of your boiler and lead to long-term structural failure. If you find why your coffee tastes like vinegar after descaling, it’s often because the solution is trapped in porous scale that shouldn’t have been there in the first place. Instead of reaching for the acid, focus on prevention. If you aren’t using the easy way to test your machines water hardness at home, you’re just playing a guessing game with your machine’s internals and mastering the art of home espresso requires understanding your water chemistry first.
Does More Steam Velocity Always Mean Better Foam?
There is a common myth that the harder the steam hits the milk, the better the texture. In reality, too much velocity on a machine with a four-hole tip can actually ‘shred’ the milk proteins before they have a chance to stretch, leaving you with big, soap-bubble foam rather than silk. When learning how to texture milk for a flat white versus a latte, the nuance is in the angle and the depth of the tip, not the raw power of the boiler. If your wand is too powerful, you might actually need a tip with fewer holes to slow things down.
The Vacuum Trap You Didn’t See Coming
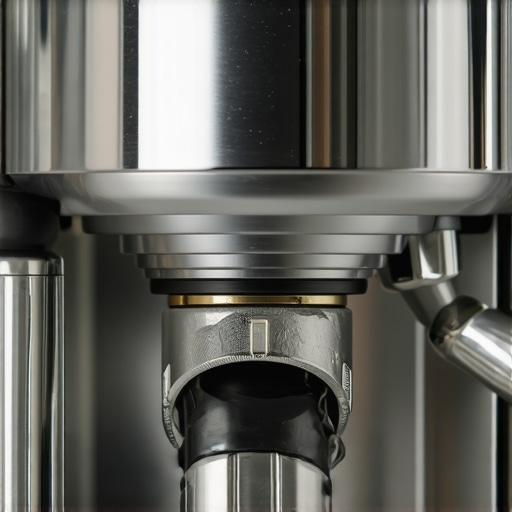
Here is the ‘oops’ factor that ruins more machines than anything else: the cooling vacuum. When you finish steaming and turn off the knob, the steam inside the wand condenses instantly, creating a vacuum. If that tip is still submerged in milk, it will suck that milk several inches up into the wand. If you don’t immediately follow the advice on how to stop using a wet cloth on your steam wand and purge for a full three seconds, that milk stays there and bakes onto the internal copper. It’s a hidden nuance that can eventually lead to a total blockage or even foul-smelling steam that ruins every latte. #IMAGE_PLACE_HOLDER_C# Even if you use milk frothers for your backup drinks, your main machine needs this discipline to stay operational. Always check how to clean the tiny air hole in your automatic milk frother if you use an automated system, as the same principle of ‘dried protein’ applies there too. Perfecting the trick to getting the perfect swirl in your milk pitcher starts with a clean internal path, not a more expensive machine. Have you ever fallen into this trap? Let me know in the comments.I’ve spent a lot of time talking about steam, but let’s be honest: your steam wand is only as good as the water feeding it and the beans coming out of your grinder. I remember the first time I realized I was neglecting the heart of my workflow—the grinder. I was so focused on milk texture that I didn’t notice my shots were getting muddier and more inconsistent by the day. If you’ve ever wondered how to tell if your espresso grinder burrs are dull, it usually starts with a subtle shift in the flavor profile that you can’t quite fix with the adjustment dial. I eventually learned that how to properly season new steel burrs is the only way to get that professional-grade consistency.
Stop Ignoring Your Grinder’s Secret Warning Signs
When you are choosing the perfect coffee grinder, you are investing in the longevity of your motor as much as the quality of the cut. I’ve found that the move that saves your grinder from unnecessary wear is simply starting the motor before you drop the beans in—a technique known as hot-starting. It prevents the burrs from seizing on a hard bean and saves the capacitor from a premature death. If you are already choosing the best barista gear, you need to treat it like a high-performance engine. #IMAGE_PLACE_HOLDER_D#
How Can I Keep My Barista Gear Running for a Decade?
Long-term survival for top-rated espresso machines boils down to three things: water, lubrication, and cleanliness. I didn’t take this seriously until I saw the internal damage caused by local tap water. Now, I insist on the easy way to test your machines water hardness at home using a simple titration kit. If your water is too hard, you’re essentially feeding your machine slow-acting poison. Beyond the water, if you have a prosumer machine, you must learn how to properly lubricate your e61 group head cam. That squeaking sound when you lift the lever isn’t just annoying; it’s the sound of metal grinding against metal. Combine this with the discipline of knowing why your machine needs a backflush every single week, and you’ll easily double the lifespan of your gaskets and three-way valves.
The Future of Home Brewing is Precision Over Power
Looking ahead, I predict the ‘arms race’ of boiler size is over. We are moving toward a future where PID controllers and flow profiling sensors matter more than how much steam your wand can blast. Technical documentation from La Marzocco’s water specification guidelines emphasizes that maintaining a Total Dissolved Solids (TDS) level between 90-150 ppm is the ‘goldilocks zone’ for both taste and machine safety. As we move into 2025, the focus is shifting to mastering the art of home espresso through data, not just intuition. Don’t wait for your machine to fail before you start caring for it. I highly recommend you go to your kitchen right now and perform a full backflush—your taste buds and your wallet will thank you tomorrow morning. If you’re still struggling with texture, don’t forget that milk frothers are a great stop-gap, but there is no substitute for a well-maintained, high-pressure steam wand.
What the Repair Tech Won’t Tell You About Your Boiler
After years of tinkering with various setups, I’ve realized that the most expensive part of coffee isn’t the machine—it’s the hidden cost of neglect. Here are the hard lessons I’ve picked up from the front lines of home brewing. First, a clean machine almost always tastes better than a brand-new one. You can spend thousands on top-rated espresso machines for coffee lovers in 2025, but if the internals are coated in old, rancid milk oils, your latte will always have a funky aftertaste. Second, learn to listen to your pump; it has its own language. A subtle change in pitch often signals a scale blockage long before you ever see a drop in pressure. Finally, remember that water is 98% of the drink and 100% of the reason machines die. I stopped guessing and started using the easy way to test your machines water hardness at home every few months to save myself from a catastrophic repair bill.
The Gear I Actually Use Every Morning
To keep everything running smoothly without a toolkit the size of a garage, I rely on a few specific items that have earned my total trust. I always keep a bottle of enzymatic milk cleaner on hand; it’s the only thing that truly dissolves the protein bonds inside the wand. For the group head, I swear by a dedicated Pallo brush which saves your knuckles from steam burns while scrubbing. I also keep a high-quality microfiber cloth specifically for the wand to prevent scratches on the chrome. Even when I’m in a rush, I know how to measure your espresso yield without a scale in an emergency, but having these specific tools nearby is what makes the morning routine feel like a craft rather than a chore. #IMAGE_PLACE_HOLDER_E#
Take Control of Your Morning Ritual
There is a profound sense of satisfaction that comes from mastering your own equipment. When you finally hear that crisp, powerful roar of steam return after a deep clean, it’s more than just a repair—it’s a reconnection with the process of mastering the art of home espresso. Don’t be afraid to get your hands a little dirty or unscrew a tip to see what’s inside. Whether you are troubleshooting a complex pressure valve or just learning how to select the perfect coffee grinder, every bit of knowledge makes you a more capable home barista. Investing ten minutes of maintenance in your barista gear today ensures it will continue to serve you those thick, honeyed shots for years to come. Have you ever managed to fix a ‘dead’ steam wand with just a simple cleaning trick? Let me know your success stories in the comments below!