Why your espresso tastes like vinegar after cleaning
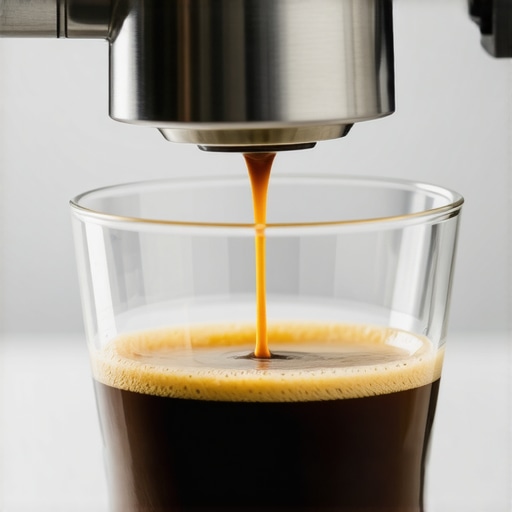
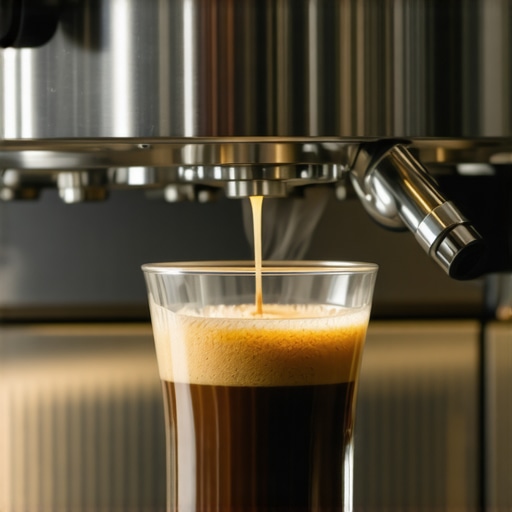
I’ll never forget the morning I thought I’d finally “arrived” as a home barista. I had one of those top-rated espresso machines, a shiny new coffee grinder, and a meticulous schedule for deep-cleaning my setup. I spent an hour scrubbing the group head and running descaler through the boiler. Then, I pulled a shot of my favorite medium roast. I took a big, expectant gulp and nearly spat it across the kitchen. It wasn’t just sour; it was sharp, acidic, and tasted exactly like a bottle of white vinegar. I felt like an absolute failure. If you are currently staring at your machine with a grimace, wondering why your hard work resulted in a liquid nightmare, take a deep breath. We are going to get that clean, sweet extraction back today.
That Awful Sour Punch After a Deep Clean
It is the ultimate betrayal. You put in the effort to maintain your barista gear, and it rewards you with a cup of battery acid. Most of us immediately panic and think we’ve broken the pump or somehow permanently altered the internal metallurgy of the boiler. In reality, you are likely just dealing with the stubborn remnants of your cleaning agent. If you’ve ever wondered why your coffee tastes like vinegar after descaling, you are not alone. I used to think a single rinse cycle was enough. It was a rookie mistake I made for months. This happens because descaling agents—usually citric or sulfamic acids—are incredibly clingy. According to technical bulletins from the Specialty Coffee Association, mineral scale can actually act like a sponge, trapping acidic cleaning solutions in tiny pockets that don’t wash away with a simple flush. This is especially true if you are mastering the art of home espresso and still learning the quirks of your specific machine.
Did I Just Permanently Ruin My Machine?
That is the fear that keeps us up at night, isn’t it? You worry that the acid has etched the copper or that the espresso machine is discharging too much water because a seal melted. Let me put your mind at ease: you almost certainly haven’t killed your gear. You have just created a temporary chemical imbalance that a thorough rinsing protocol can fix. Have you ever taken a sip of your morning brew only to be met with that face-scrunching sourness? Drop me a line through our contact page and let me know your story; I have been there more times than I care to admit. The problem isn’t the machine; it’s the hidden residue lurking in the pipes.
Flush Three Times More Than You Think Necessary
You might think that running a single reservoir of fresh water through your machine is enough to clear the pipes, but it rarely is. Think of descaling solution like heavy syrup; even when most of it is gone, a thin film sticks to the internal walls of the copper or stainless steel pipes. To truly clear it, you need volume. I remember my first time descaling a prosumer machine; I ran half a tank through and thought I was done. I pulled a shot, and it tasted so sharp it felt like my teeth were vibrating. Now, I follow a strict ‘three-tank’ rule. The first tank is for the initial rinse, the second is to dilute the microscopic leftovers, and the third is for peace of mind. While you are doing this, make sure you are also checking how to remove scale from a handheld frother wand if you used it during the process, as the wand can harbor just as much acid as the group head. #IMAGE_PLACE_HOLDER_B#
The Heat Trick to Loosen Acid Residue
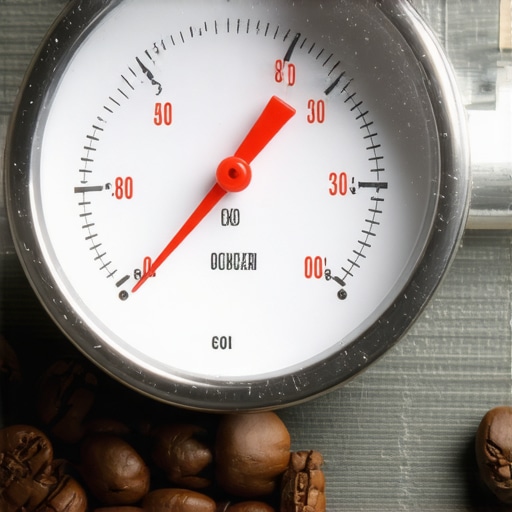
Acid becomes more reactive and soluble when it’s hot. If you are rinsing with cold water, you are making the job harder for yourself. Let your machine come up to full operating temperature between rinse cycles. This thermal expansion actually helps ‘squeeze’ the cleaning solution out of the tight tolerances in your valves. If you have top-rated espresso machines with E61 group heads, the brass acts as a massive heat sink that can hold onto chemical tastes if not properly heated during the flush. I once rushed this part on a chilly winter morning and ended up with a metallic, sour brew because the internal gaskets hadn’t expanded enough to let the fresh water reach every crevice. If your machine is older, you might also find that why your machines water temperature fluctuates every few minutes makes the rinsing inconsistent, so be patient and let the needle stabilize.
Why Your First Extraction Must Go Down the Drain
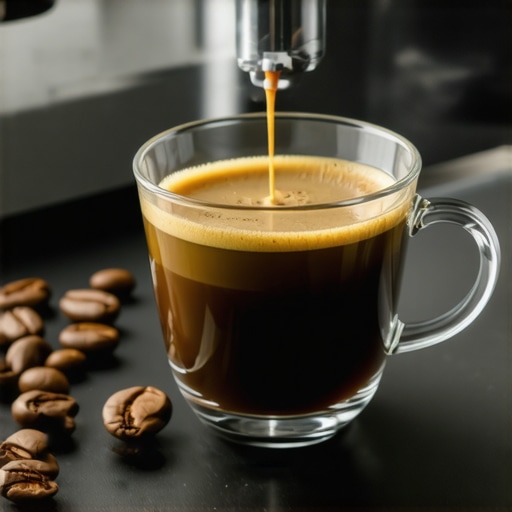
Even after the water tastes neutral, the first time you put coffee under pressure, everything changes. The oils in the coffee can react with the tiniest microscopic traces of acid left in the shower screen. This is why the first shot of the day is always a throwaway, but it is doubly true after a descale. I call this the ‘Sacrificial Shot.’ Use your oldest, cheapest beans. Don’t worry about the dial-in. Just let the hot, pressurized water push through the coffee puck. The coffee oils will actually help coat the internal surfaces and ‘season’ the machine, neutralizing any lingering pH imbalance. If you skip this, that first expensive specialty roast will taste like a battery. You might also notice why your espresso shot tastes salty and how to fix it if there are minerals still breaking loose, so keep an eye on the clarity of the flow.
Don’t Forget the Steam Wand and Hot Water Tap
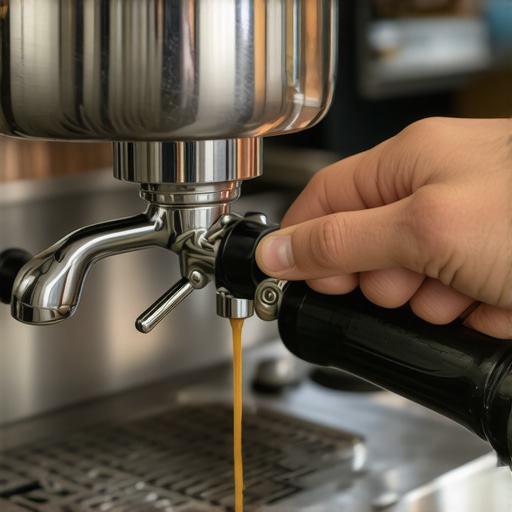
It is a common mistake to focus only on the group head. If your machine has a dedicated hot water tap, that is often where the highest concentration of descaling solution settles because it draws directly from the bottom of the boiler. Purge that tap until the water is crystal clear and doesn’t smell like a chemistry lab. The same goes for your milk setup; if you’ve been searching for the secret to silky microfoam on a single boiler machine, any acid left in the steam tip will curdle your milk instantly the next time you try to froth. I learned this the hard way when I tried to make a cappuccino right after a cleaning session and watched the milk separate into gross, sour clumps before it even hit the cup.Despite what you might read in forums about keeping your machine ‘hospital clean,’ there is such a thing as over-sanitizing or focusing on the wrong metrics. One of the most dangerous myths I see is the advice to use distilled water to prevent scale. It sounds logical, right? No minerals, no scale. However, according to the Specialty Coffee Association’s Water Quality Handbook, water that is too pure is chemically aggressive. It will actually leach metal from your copper boiler and lead to a flat, lifeless cup because it lacks the minerals needed to pull flavor from the grounds. If you’ve been doing this, you’ll need to learn the easy way to test your machines water hardness at home before your internal components start to pit. This is an advanced trap that many barista gear enthusiasts fall into while trying to be too careful. Have you ever fallen into this trap of over-optimizing your water? Let me know in the comments.
Distilled Water is Slowly Killing Your Machine
It’s not just about the taste. Without a certain level of TDS (Total Dissolved Solids), your machine’s sensors might fail. I’ve seen cases where the reason your espresso machine is tripping the breaker was actually due to sensor failure or internal corrosion from ‘hungry’ water. If you are mastering the art of home espresso, aim for a balanced mineral profile rather than total purity. #IMAGE_PLACE_HOLDER_C#
The Expensive Machine and Cheap Grinder Trap
I see it every week: someone buys one of the top-rated espresso machines and pairs it with a blade grinder or a cheap ceramic burr set. They assume the machine does the heavy lifting. In reality, the grinder is 70% of the equation. If your shots are inconsistent, it’s rarely the machine’s fault. You need to know how to select the perfect coffee grinder for your brew to actually taste what that machine can do. A common mistake here is adjusting the grind size while the motor is off. This can jam the burrs or strip the adjustment threads. Always make the move that saves your grinder from unnecessary wear by keeping the motor running while you dial in a finer setting.
Does Your New Grinder Need a Break-in Period?
This is a question only the true coffee nerds ask, but it makes a massive difference in your daily workflow. Most people assume burrs are perfect out of the box, but they often have microscopic burrs and ridges from the manufacturing process. Professional baristas often run several pounds of ‘seasoning’ beans through a new unit to smooth these out. Learning how to properly season new steel burrs for better consistency will shave weeks off your learning curve. If you don’t, you’ll find that why your shot extraction time changes every single day for the first month will drive you absolutely mad. You might also want to check how to tell if your espresso grinder burrs are dull if you’re working with older equipment, as dull burrs generate more heat and ruin your flavor profile.I used to think that as long as I wiped the shower screen with a damp cloth, I was doing my part. Then I took apart a group head that hadn’t seen a chemical cleaning in three months, and what I found looked like something from a horror movie. It wasn’t just old coffee; it was a rancid, black sludge that had completely blocked the secondary infusion holes. This is why your machine needs a backflush every single week if you want to avoid that bitter, metallic aftertaste that no amount of fancy beans can fix. If you ignore this, you’re essentially brewing through a layer of charcoal and rot. I’ve learned that the danger of leaving old coffee oils in your portafilter spouts is real; those oils oxidize and turn rancid faster than you’d think.
Stop Chasing Variables and Start Measuring
Once I got my cleaning routine down, I realized my shots were still fluctuating wildly. I was doing the ‘eyeball’ method for my yield, which is a recipe for disaster. If you aren’t using a high-precision scale, you are essentially gambling with your morning. However, even the best tools have quirks; I spent a week losing my mind before realizing why your coffee scale is giving you inconsistent readings—usually due to steam or heat interference from the drip tray. I now use a small silicone riser to keep the heat away from the sensors. Another game-changer for me was realizing that why your distribution tool might be ruining your extraction usually comes down to depth settings. If you press too hard before tamping, you’re creating uneven density pockets. #IMAGE_PLACE_HOLDER_D#
How do I keep my gear running like new for a decade?
To keep your machine alive for the long haul, you have to look past the shiny exterior. According to the technical maintenance logs from La Marzocco Home, using a silicone group gasket instead of the standard rubber ones can prevent leaks for up to twice as long because they don’t get brittle under high heat. I make it a point to learn how to replace a group gasket without scratching the chrome every six months. It’s a five-minute job that saves you from a face full of steam. Also, if you have a mechanical lever, you absolutely must know how to properly lubricate your e61 group head cam. Without food-grade Molykote, that lever will eventually grind itself into a costly repair. I predict the next big trend in home barista gear will be integrated AI sensors that alert you to internal scale buildup before it ever causes the reason your espresso machine is tripping the breaker. We are moving toward a world where the machine tells you exactly what it needs. My best advice for you today? Go pull your shower screen off right now—not tomorrow, now—and give it a soak in backflush detergent. You’ll be shocked at what has been hiding there.
Lessons from the Great Vinegar Disaster of 2021
Looking back, that sour morning wasn’t a failure; it was a masterclass in patience. One thing I’ve learned while mastering the art of home espresso is that machines have memory. If you rush the rinse, the boiler remembers. Another lightbulb moment was realizing that ‘clean’ doesn’t just mean free of scale; it means chemically neutral. If your pH is off, your coffee is dead on arrival. Lastly, never underestimate the power of a fresh start. Sometimes, when my barista gear feels finicky, I realize I’ve been over-thinking the technicals and ignoring the basic cleanliness of my portafilter.
The Gear That Actually Saved My Sanity
If you want to move beyond the ‘vinegar phase’ and into consistent excellence, these are the resources I swear by. First, the Specialty Coffee Association Water Quality Handbook—it is the ultimate guide for anyone tired of scale issues. For physical tools, I always recommend switching to a silicone group gasket. It is a minor upgrade for top-rated espresso machines that prevents leaks without the struggle of hardened rubber. Also, keep a tube of food-grade Molykote 111 handy; a lubricated machine is a happy machine. And if you are still struggling with consistency, revisit how to select the perfect coffee grinder for your brew because even a perfectly descaled machine cannot fix an inconsistent grind.
Your Journey Toward the Perfect Shot
Don’t let a single bad batch of beans or a sour descaling experience discourage you. Every professional barista you admire has stood exactly where you are, staring at a sink full of wasted coffee. Maintenance is not a chore; it is the foundation of the craft. When you take care of your espresso machines, they reward you with that thick, syrupy gold that makes the whole process worth it. You have the tools, and now you have the knowledge to fix the flavor. Now, go pull a shot you are actually proud to drink. Have you ever accidentally brewed a ‘vinegar shot’ or dealt with a cleaning disaster that nearly made you quit? Let me know your stories in the comments below!