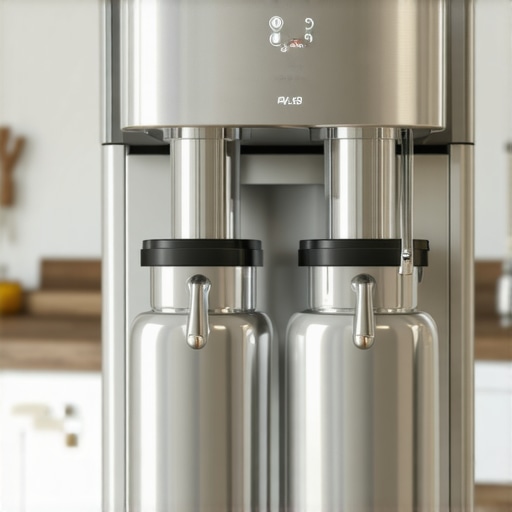
The Best Routine for a Weekend Deep Clean
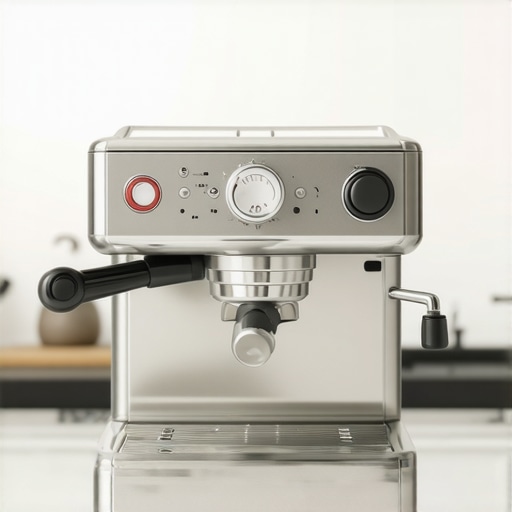
I stood in my kitchen last Saturday, staring at my espresso machine with a sinking feeling in my stomach. I had just pulled a shot using an expensive single-origin bean, but it tasted like a wet basement. It wasn’t the beans. It wasn’t the water. I looked up at the group head and saw a crusty, black layer of ancient coffee oils staring back at me. It was a mess. I realized that while I spent hours choosing the best barista gear, I was treating the maintenance like an afterthought. That morning, I didn’t get my caffeine fix; I got a lesson in humility. If you don’t respect the gear, the gear won’t respect your palate. Today, I am going to show you the exact routine I use to get my station back to factory-fresh status in under thirty minutes. We are going to stop the bitterness before it starts.
Don’t Let Rancid Oils Ruin Your Weekend Brew
The biggest mistake I made early on was thinking that a quick wipe with a damp cloth was enough. It isn’t. Coffee is full of organic oils that go rancid incredibly fast when exposed to heat. When those oils bake onto your portafilter or shower screen, they impart a sharp, acrid flavor that no amount of dial-in magic can fix. I once went three months without a proper teardown, and the danger of leaving old coffee oils in your portafilter spouts became very real when my morning latte started smelling like burnt tires. Research from the Specialty Coffee Association (SCA) suggests that machine cleanliness is one of the top three variables affecting flavor consistency in high-end brewing. Even the top-rated espresso machines will produce subpar results if the brew path is obstructed by biofilm and scale. You need a system. A routine that hits the grinder, the group head, and the steam wand with precision. Have you ever noticed your coffee tasting bitter for no apparent reason? It might be time to look under the hood.
Is a Deep Clean Actually Worth the Hype?
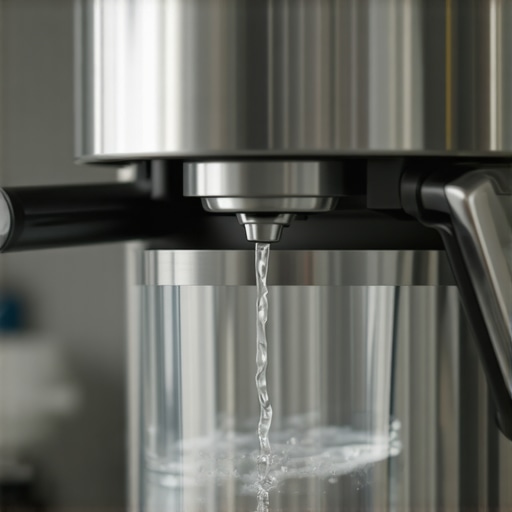
I know what you are thinking. You just want a coffee, not a chemistry project. Is it really worth scrubbing every nook and cranny every single week? The short answer is yes, unless you enjoy the taste of charcoal. When you skip why your machine needs a backflush every single week, you are allowing pressurized oils to migrate into the 3-way solenoid valve, which eventually leads to expensive repairs. It is not just about taste; it is about protecting your investment. I learned this the hard way when I had to pay a technician to clear a clog that a five-cent cleaning tablet could have prevented. We aren’t just cleaning for the sake of it; we are ensuring that every shot is as vibrant as the roaster intended. Let’s get into the nitty-gritty of the process so you can get back to drinking the good stuff.
Clean Your Burrs Before They Fail You
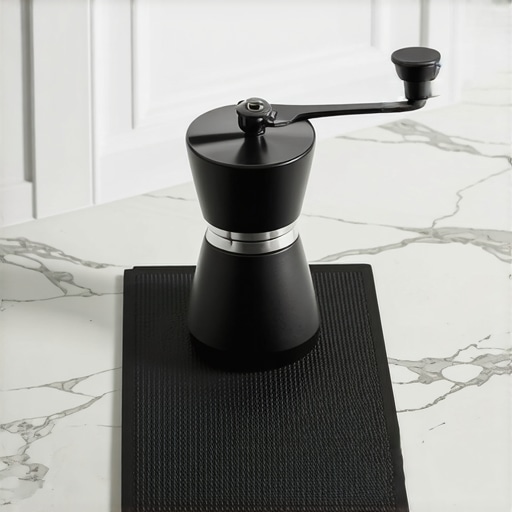
Your grinder is the heart of your home cafe, but it is also a magnet for stale grounds. I used to think that as long as the motor turned, I was fine. Then one morning, my usual medium-roast started tasting like a dusty attic. I opened the casing and found a literal wall of compacted, oily fines blocking the exit. If you want to keep your flavor profiles crisp, you need to learn how to clean the grinder chute without taking it apart on a regular basis. Vacuuming out the chute prevents that ‘ghost’ flavor of yesterday’s beans from haunting today’s shot. While you are at it, run your finger across the edges of the metal. If they feel rounded rather than sharp, it is vital to know how to tell if your espresso grinder burrs are dull before you waste another bag of expensive beans. Static can also be a silent workflow killer, making a mess of your counter and causing dose inconsistency. Knowing how to stop static from ruining your grinding workflow is as simple as a tiny drop of water on your beans, but it makes a world of difference in your daily cleanup.
Pop the Screen Off Every Once in a While
Most home baristas stop at backflushing, but the real filth hides behind the shower screen. Last month, I noticed my water dispersion looked like a garden hose with a thumb over it—all spray and no flow. I realized I hadn’t actually removed the screen in weeks. The buildup was so thick I almost stripped the fastener. I had to use the trick to removing a stuck shower screen without stripping the screw involving a short, stubby screwdriver and a lot of patience. Once that screen is off, soak it in a bowl of espresso cleaner until the silver shines again. While the screen is out, check your rubber seal. Heat makes them brittle over time, and knowing how to replace a group gasket without scratching the chrome will save you from that annoying leak that drips down the side of your portafilter mid-shot.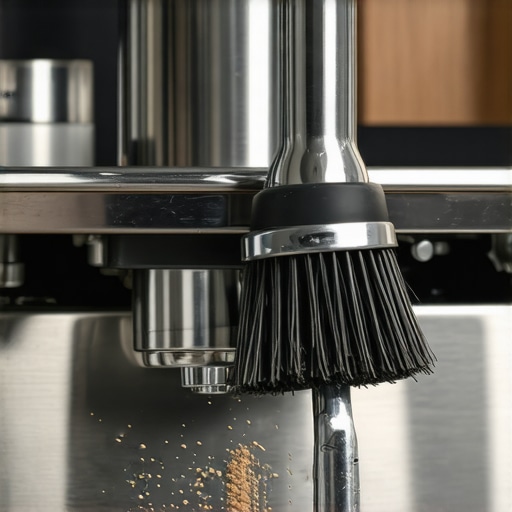
Stop the Milk Buildup Before it Hardens
Nothing kills the vibe of a beautiful latte like a crusty steam wand. I remember a particularly embarrassing morning when I had a friend over; I went to purge the wand and it just let out a pathetic wheeze. A tiny flake of dried milk had migrated upward and blocked the exit. It is a common headache, which is why understanding why your steam wand tip holes keep getting clogged is the first step to better milk texture. You should never rely on a quick wipe alone. In fact, learning how to stop using a wet cloth on your steam wand and switching to dedicated micro-fiber pads can prevent the bacterial growth that happens when a damp rag sits on a warm machine. A clean tip ensures that the air incorporates smoothly, giving you that velvet-like microfoam instead of a bubbly mess. Maintenance isn’t a chore; it’s the price of admission for the perfect cup.Let’s dig deeper into the gear because, honestly, the industry loves to sell us solutions to problems that don’t exist. I used to be the person who bought every shiny new gadget, thinking it was the ‘missing piece’ to my morning ritual. But here is the contrarian truth: most of those fancy spinny distribution tools are actually doing more harm than good. While they make the coffee look pretty and flat on top, they often cause uneven density throughout the puck. Research from Barista Hustle has shown that these tools can create a compressed ‘crust’ on top while leaving the bottom loose, leading to hidden channeling. This is exactly why your distribution tool might be ruining your extraction without you even realizing it. I switched back to a simple WDT tool—literally just some thin needles—and my consistency skyrocketed.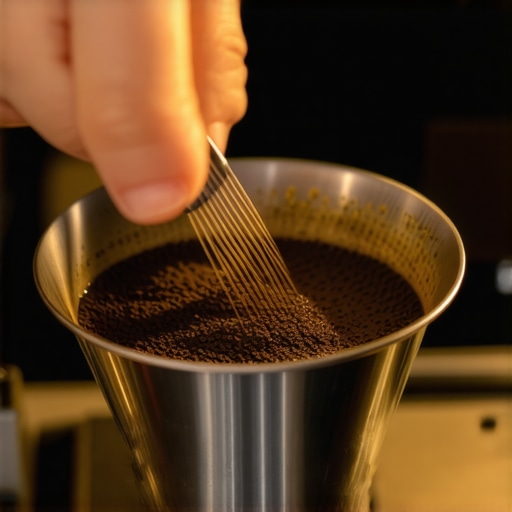
Stop Ignoring the Temperature of Your Metal
Another mistake I see prosumers make is ignoring thermal mass. You can have the most expensive PID-controlled boiler in the world, but if your portafilter has been sitting on the counter, it’s going to suck the heat right out of your water the second you engage the pump. I spent weeks wondering why your shot extraction time changes every single day, only to realize my portafilter temperature was the culprit. You have to realize the benefit of pre-warming your portafilter head by leaving it locked in the group while the machine heats up. If that metal isn’t hot to the touch, your shot will be sour, regardless of what the screen says. It’s a classic ‘trap’ for those of us in a rush to get our first hit of caffeine.
Why does my coffee taste like vinegar even after a deep clean?
This is a question I get all the time from folks who have finally committed to a maintenance schedule. You’ve scrubbed, backflushed, and descaled, but the first shot out of the gate is undrinkable. The nuance here is chemistry. If you don’t rinse your machine thoroughly, residual citric or sulfamic acid from the descaler reacts with the coffee solids. This is why your espresso tastes like vinegar after cleaning. Furthermore, you need to understand why your machines water temperature fluctuates every few minutes during this process. A study by the Coffee Science Foundation confirms that thermal stability is compromised during heavy cleaning cycles, meaning your machine needs a ‘re-seasoning’ shot to stabilize. Have you ever fallen into this trap of the ‘too-clean’ machine? Let me know in the comments below.
Stop Trusting Your Eyes for the Perfect Dose
I spent years thinking I had a ‘feel’ for the right amount of coffee in my basket. I was wrong. The reality is that humidity, bean density, and static change the volume of your grounds every single day. If you aren’t using a high-precision scale, you are essentially guessing. I’ve seen enthusiasts get frustrated when their shots vary wildly, often failing to realize why your coffee scale is giving you inconsistent readings due to something as simple as a low battery or an uneven countertop. A scale that drifts even by 0.5 grams can be the difference between a syrupy delight and a thin, sour mess. I personally swear by scales with a fast response time; waiting for a slow sensor to catch up during a live shot is a recipe for over-extraction. Integrating a scale into your workflow isn’t just about being a perfectionist; it is about removing the variables that make you want to throw your portafilter through the window.
Align Your Burrs or Suffer the Muddy Taste
Most people buy a grinder, set it, and forget it. But if your burrs aren’t perfectly parallel, you are producing a mix of boulders and fines that will never brew evenly. I recently took a weekend to dive into the right-way to align your flat burrs for better shots using the dry-erase marker test. The difference in clarity was staggering. It’s a technical hurdle, but it’s one of those ‘pro-level’ moves that separates the hobbyists from the true gear-heads. If you’ve just upgraded your equipment, remember that you also need to know how to properly season new steel burrs for better consistency before you judge the flavor profile. According to technical documentation from La Marzocco, even a 1-mm buildup of limescale on a heating element can increase energy consumption by 10% and significantly delay thermal recovery, which is exactly why your espresso machine takes longer to heat up recently than it did when it was new.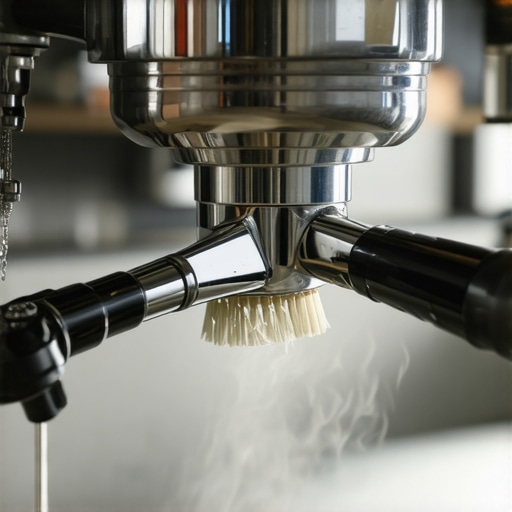
How do I keep my gear running like day one?
Maintaining a prosumer setup over years requires a proactive mindset rather than a reactive one. Beyond the weekly backflush, you should be looking at your grinder’s health. I’ve found that the move that saves your grinder from unnecessary wear is simply purging the motor before you drop the beans in, especially with lighter roasts that are physically harder. Don’t wait for a part to snap before you check the internals. Open the casing once a year to check for loose wires or signs of slow leaks. This kind of deep-level stewardship is what keeps a machine on your counter for a decade instead of in a landfill after three years.
The Future of Home Espresso is Getting Smarter
We are entering an era where ‘dumb’ machines are becoming relics. The trend is moving toward pressure profiling and AI-integrated thermal blocks that learn your brewing habits. In the next few years, I expect the top-rated espresso machines to come standard with flow-control sensors that automatically adjust for puck degradation in real-time. It’s an exciting time to be a home barista, but these advancements only work if the foundation—cleanliness and calibration—is solid. If you want to see an immediate jump in your shot quality tomorrow morning, I challenge you to try the burr alignment marker test; it’s the single most effective ‘free’ upgrade you can give your station.
The Brutal Truths My Countertop Taught Me
I used to think that a more expensive machine would automatically forgive my laziness. It won’t. In fact, prosumer gear is more sensitive to neglect than basic entry-level units. If you notice a gritty texture in your espresso, don’t just blame the beans; look at your water filtration and your group head cleanliness first. I spent way too long ignoring the small details, but realizing that high-quality milk frothers that transform your coffee experience require daily attention was my biggest lightbulb moment. Your gear is a living ecosystem, and every part—from the boiler to the basket—needs to be in total harmony to produce that sweet, syrupy nectar.
My No-Nonsense Arsenal for Better Brewing
You do not need a thousand gadgets to make great coffee, but you do need the right ones. For anyone just starting out, I highly recommend reading up on mastering the art of home espresso tips for beginners to avoid the common pitfalls of over-extraction. When it comes to hardware, knowing how to select the perfect coffee grinder for your brew is truly 80% of the battle for flavor. I personally rely on a dedicated scale, a simple WDT tool, and a set of microfiber cloths. These tools, combined with choosing the best barista gear for your specific kitchen setup, create a workflow that is actually sustainable in the long run.
Don’t Wait for the Perfect Shot to Enjoy the Process
At the end of the day, this hobby is about the joy of the craft and the quiet ritual of the morning. Your home espresso does not have to be a source of frustration or a endless chore. With the right barista gear and a solid maintenance routine, every single morning can feel like a trip to your favorite high-end cafe. Take it one step at a time, keep those burrs sharp, and do not be afraid to make a mess while you learn. Have you ever struggled with a specific part of your cleaning routine? Let me know in the comments below!