The Problem with Using a Wet Tamper on Dry Grounds
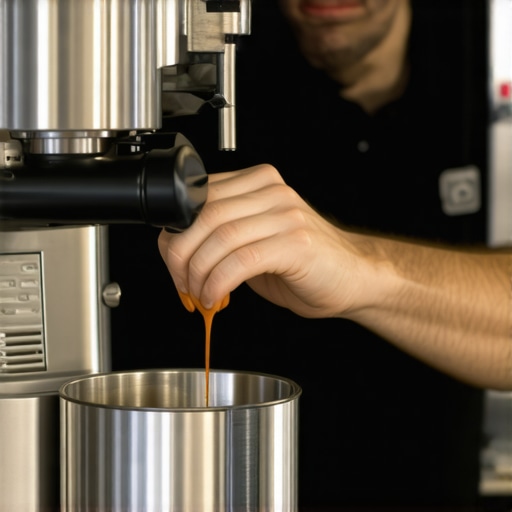
I was standing in my kitchen at 6:30 AM, bleary-eyed and desperate for caffeine, when I made a mistake that haunted my sink for the next twenty minutes. I had just rinsed my gear, and without thinking, I pressed my damp tamper straight into a perfectly level bed of fresh grounds. Big mistake. When I lifted the tamper, a massive chunk of coffee clung to the stainless steel base, leaving a jagged crater in my portafilter. It was a visceral reminder that in the world of espresso, water is both our best friend and our most annoying enemy. Today, I want to walk you through why keeping your tools bone-dry is the simplest way to save your extraction from total disaster.
The Sticky Disaster That Ruined My Morning Shot
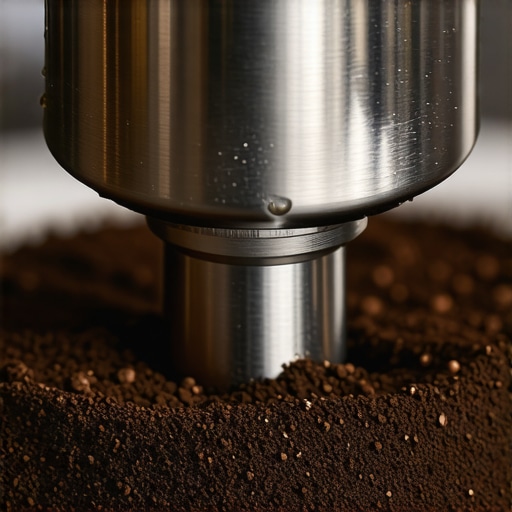
It seems like a small thing, right? A couple of drops of water hanging onto the edge of your tamper. But in the high-stakes environment of a 9-bar extraction, those drops act like a magnetic glue. When moisture hits dry grounds before the brewing process starts, it creates uneven density and surface tension. I used to think I could just brush off the excess and keep going, but as I learned while mastering the art of home espresso, consistency is the only way to avoid the dreaded sink shot. If your tamper is wet, you aren’t just compressing the coffee; you are effectively excavating it. This lead to massive channeling where water finds the path of least resistance—the hole you accidentally created—leaving the rest of the puck under-extracted and sour.
Is a dry tamper really worth the extra effort?
You might be skeptical. You are probably thinking, “It is all getting wet in the machine anyway, so what is the big deal?” The deal is the structure of the puck. According to data from the Barista Institute, any pre-infusion surface irregularities are magnified once pressure is applied. My biggest blunder early on was assuming that the move for more consistent puck compression was just about how hard I pushed. In reality, a clean, dry surface is what ensures the water moves through the coffee evenly. If you have ever wondered why your espresso puck is always soupy at the end, it often starts with these tiny prep errors. Have you ever faced that frustrating moment where half your coffee sticks to the tamper? It is a total mood killer for your morning routine. When choosing the best barista gear for coffee enthusiasts, we often focus on the shiny tech, but the simple habit of using a dry towel is what actually saves the day.
The Three-Cloth System for a Clean Workflow
To get your workflow from messy to professional, you need a system that prevents moisture from ever touching your dry grounds. Most home baristas make the mistake of using one single towel for everything—wiping the steam wand, cleaning the counter, and drying the portafilter. This is a recipe for disaster. I highly recommend you how to stop using a wet cloth on your steam wand for anything other than milk residue. Instead, you need a dedicated ‘dry zone’ on your bar. I keep three microfiber cloths on hand: one for the wand, one for the damp counter, and one that never touches water, specifically for the basket and tamper base. Since microfiber can harbor bacteria if left damp, you should also learn the best move for keeping your barista rags smelling fresh so your coffee station stays hygienic.
The Dry Wipe Technique That Actually Works
Before you even think about grinding your beans, grab your dedicated dry cloth and perform what I call the ‘Basket Spin.’ Insert the corner of the cloth into the portafilter basket and spin it rapidly with your thumb. You aren’t just looking for visible drops; you are removing the microscopic humidity that clings to the metal. If the basket is even slightly humid, the coffee will stick to the walls, creating a perimeter gap during compression. This ruins the move for more consistent puck compression because the coffee isn’t moving as a single, fluid mass. It’s like trying to build a sandcastle with wet sand—it clumps exactly where you don’t want it to.
The Day My Apron Ruined My Best Ethiopian Roast
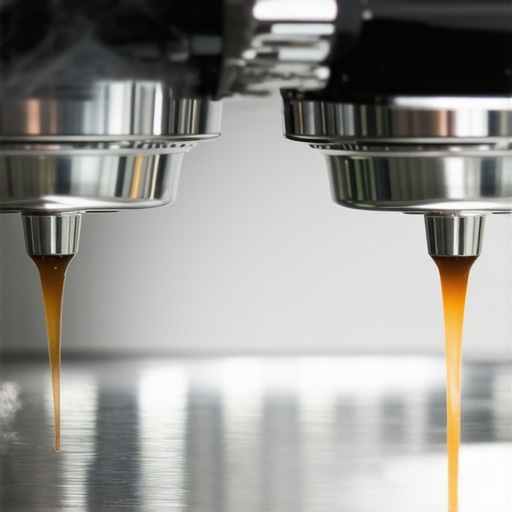
I remember one Sunday morning when I was rushing to serve a rare, light-roast Ethiopian coffee to a friend who actually knows their stuff. I had just rinsed my portafilter and, in a moment of sheer laziness, I didn’t reach for my towel. Instead, I wiped the basket on the front of my apron. I thought it was dry enough. It wasn’t. Worse yet, my apron had tiny bits of lint and a stray crumb from a bagel I’d eaten earlier. When I pulled the shot, it looked like a garden hose was spraying out of the bottomless portafilter. The moisture on the tamper base had caused a ‘slug’ of coffee to lift out of the center, and the lint created a literal bridge for the high-pressure water to bypass the grounds entirely. It was the most sour, watery mess I’ve ever produced. It taught me that when choosing the best barista gear for coffee enthusiasts, the most important tool isn’t the $200 tamper—it’s the clean towel you use to keep it dry.
Why Your Prep Tools Need a Moisture Check
This rule doesn’t just apply to tampers. If you use a WDT tool, those thin needles must be perfectly dry too. If there is a bead of water on one of those wires, you are effectively drawing ‘mud lines’ through your dry grounds. Some people find that why your wdt tool is actually causing more channeling is simply due to static or moisture transfer. To prevent this, I always keep my prep tools on a high-quality surface. You should look into how to pick a coffee mat that doesn’t absorb odors and stays dry, which provides a safe, moisture-free harbor for your gear between shots. Always check the face of your tamper under a bright light before it touches the coffee; if you see a reflection of water, you aren’t ready to brew.We often fall into the trap of thinking that a bigger price tag on a machine guarantees a better shot. I see it all the time in the forums—someone drops four figures on one of the top-rated espresso machines for coffee lovers in 2025 and then wonders why their coffee still tastes like a battery. The truth is, your gear is only as good as your understanding of the physics inside that basket. Most enthusiasts obsess over grind size but completely ignore the “fines migration” caused by over-handling. You might think you’re being thorough with a distribution tool, but in reality, why your distribution tool might be ruining your extraction is often down to how it unevenly compresses the top layer before the tamper even touches it. It creates a false sense of a level bed while leaving air pockets underneath. 
Is your obsession with pure water killing your machine?
This is the hill I will die on: stop using 100% distilled water. I know, you want to protect your boiler from scale, but the truth about using distilled water in your machine is that it’s a double-edged sword. First, distilled water has no minerals, and minerals are what the electrical sensors in your boiler use to detect water levels. Use it long enough, and your machine might think it’s empty when it’s full, or worse, try to heat an empty element. Second, from a flavor perspective, the mistake of using distilled water in your boiler leads to flat, lifeless espresso. Coffee needs magnesium and calcium to grab the flavor compounds from the grounds. Without them, your $20 bag of specialty beans will taste like generic office coffee. According to research by the Specialty Coffee Association, water chemistry requires a specific mineral balance to achieve the correct extraction yield and protect machine longevity. The oops factor I see most often involves the steam wand after the shot is pulled. People are so careful with the puck that they neglect the milk. If you’ve noticed why your milk frother creates bubbles instead of foam, it’s usually because of a microscopic air leak or a clogged tip. Even the best milk frothers that transform your coffee experience will fail if you don’t master the vortex. Have you ever fallen into this trap where you focus so hard on one variable that you let another one slide? Let me know in the comments. If you are struggling with a specific piece of gear, you can always contact us for advice on your setup.
Stop letting old coffee oils kill your pump
It is one thing to know how to pull a shot; it is quite another to keep your machine running like it did on day one. I have seen so many beautiful setups gather dust because the owner didn’t realize why your machine needs a backflush every single week. When those coffee oils sit inside the three-way solenoid valve, they turn into a sticky resin that can eventually burn out your pump or cause permanent leaks. I treat my Sunday morning cleaning like a ritual. Beyond just backflushing, I always make sure I know how to replace a group gasket without scratching the chrome because once that seal hardens, you will lose the pressure necessary for that perfect crema.
How do I maintain my espresso gear for the long haul?
Maintenance is about consistency, not just crisis management. According to the technical guidelines from La Marzocco Home, you should be replacing your dispersion screen every six to twelve months regardless of how many shots you pull. These tiny holes can become partially blocked with carbonized coffee that you can’t see, leading to uneven water flow. I personally check my screen every month under a jeweler’s loupe. If you are using one of the top-rated espresso machines for coffee lovers in 2025, you owe it to the engineering to keep it pristine. This includes being able to how to tell if your espresso grinder burrs are dull. If your grind feels more like flakes than sand, or if your machine is running hotter than usual, it is time for a change. I recommend the best routine for a weekend deep clean which includes a full teardown of the grinder chute and a thorough descaling if your local water is hard.
The tools I actually trust for a clean workflow
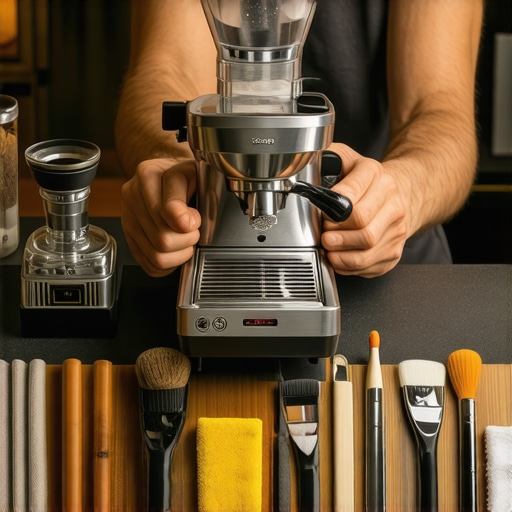
When people ask me for recommendations when choosing the best barista gear for coffee enthusiasts, they expect me to name a fancy scale or a laser-cut basket. While those are great, my most used tools are actually my cleaning brushes and a high-quality vacuum. I use a small handheld vacuum to ensure the mess-free way to clean a conical burr grinder actually stays mess-free. You also need to keep an eye on your alignment; learning the right way to align your flat burrs for better shots can take a mediocre grinder and make it perform like a commercial titan. Looking toward the future, I predict we will see more “Smart Water” integration—internal sensors that won’t just tell you when the tank is low, but will actually analyze the mineral content in real-time to prevent scale before it forms. For now, stay proactive. My challenge to you: pull your shower screen off today and see what’s hiding behind it. If it’s black and slimy, you’ve just found the reason your coffee tastes bitter. If you find yourself overwhelmed by the technical side, you can always contact us for a walkthrough of your specific machine’s needs.
Lessons the Drain Taught Me About Moisture Control
I spent years thinking I needed a more expensive machine, but the real breakthrough came when I started treating my prep area like a laboratory. One thing most people miss is how the temperature of the basket affects that initial contact. I finally realized why the first shot of the day is always a throwaway—it isn’t just about the beans in the chute; it is about the thermal equilibrium of your portafilter and the microscopic moisture from your last cleaning cycle. Another hard-learned truth is that static electricity loves a dry climate, but it hates a wet basket. If you are struggling with clumps, look at your environment before you look at your burrs. Surface tension is your enemy until the moment you pull the lever.
Tools That Actually Deserve a Spot on Your Counter
When it comes to gear, don’t get distracted by the bells and whistles. You need to know how to select the perfect coffee grinder for your brew because grind uniformity is your foundation. I also recommend keeping a watchful eye on your measurement tools; I have seen many shots fail because of why your coffee scale is giving you inconsistent readings due to moisture or uneven surfaces. Beyond that, a simple set of specialized microfiber cloths—one specifically for the steam wand and one that stays bone-dry for the portafilter—is more valuable than any fancy distribution tool. Trust me, keeping your station organized is half the battle.
Your Path to Consistent Gold
The journey of mastering the art of home espresso is never truly finished. Every shot is an opportunity to learn something new about your equipment and your technique. Don’t be discouraged by a bad pull; even the best baristas have ‘sink shots’ from time to time. The goal is to minimize the variables you can control so that the beans can truly shine. If you hit a wall or your machine starts acting up, don’t hesitate to contact us for troubleshooting help. Have you ever had a wet tamper ruin your perfect morning shot? Let me know your espresso horror stories in the comments below!