How to Swap Your Grinder Burrs Without Losing Your Settings
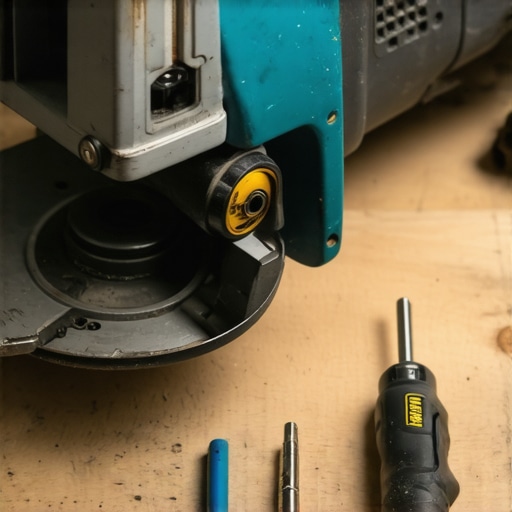
There I was, standing over my kitchen counter with a screwdriver in one hand and a set of high-end flat burrs in the other, feeling like a genius—until I realized I’d just erased six months of dialing-in history. It’s the classic home barista trap. You want that sharper, cleaner flavor profile, but the moment you loosen that first screw, your ‘sweet spot’ setting vanishes into the ether. I once wasted an entire weekend and two kilos of expensive beans just trying to get back to a drinkable shot because I didn’t have a system. If you’ve ever felt that pit in your stomach when you realize your perfectly selected coffee grinder is now spitting out boulders or dust, this is for you. I’m going to show you the ‘marking’ method I use to ensure your burr swap is surgical, keeping your espresso recipe intact.
Keep Your Settings Exactly Where You Left Them
Swapping burrs shouldn’t feel like a gamble. When I first started mastering the art of home espresso, I thought the adjustment dial was the only thing that mattered. Wrong. The physical distance between the burrs is the heart of the machine. By using a simple reference mark on the internal carrier, you can return to your exact grind size without the ‘guess and check’ nightmare. This is especially vital because the best way to season new grinder burrs fast involves running a lot of coffee through them, and you don’t want to do that while being miles away from a functional grind range.
Does Your Grinder Really Need New Burrs Right Now?
Many people jump into a swap because they think their burrs are dull, but often it’s just a matter of alignment or cleaning. However, if your shots are consistently sour regardless of temperature, or you’ve passed the 500kg mark on standard steel, it’s time. A surprising fact from the Specialty Coffee Association technical reports suggests that even a 10-micron deviation in burr parallelism can significantly increase ‘fines,’ leading to bitterness and clogging. That’s why the reason your grinder burrs are touching early often comes down to poor installation rather than a faulty dial.
Your First Step to a Better Brew
Before you grab your toolkit, take a deep breath. We aren’t just taking things apart; we are documenting the journey. Have you ever tried to ‘improve’ your gear only to end up with a machine that won’t even turn on? It happens to the best of us. Tell me, have you ever lost your perfect dial-in setting after a deep clean or a part swap? Let’s make sure that never happens again.
Find Your True North Before You Unscrew Anything
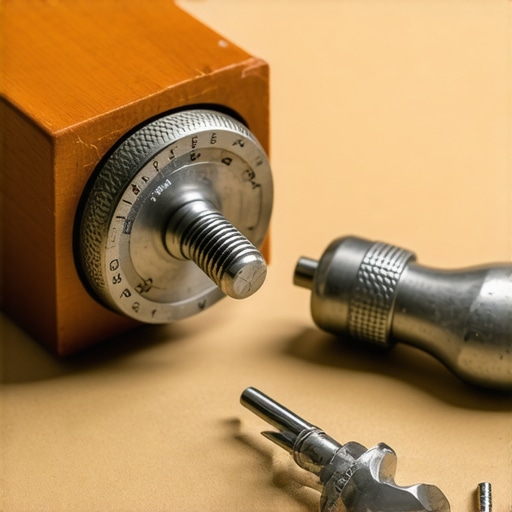
The secret to a painless burr swap isn’t in the tools you use; it’s in the reference points you establish before the first screw comes out. Most people make the mistake of looking at the numbers on the outside of the machine. Those numbers are just a plastic sticker. What actually matters is the ‘physical zero’—the exact point where the burrs touch. Turn your grinder (while off!) toward the finest setting until you feel resistance. This is your baseline. I once skipped this step during a late-night maintenance session and ended up with a machine that wouldn’t even engage the motor. I spent three hours troubleshooting the fix for a grinder that wont turn on after cleaning only to realize I had jammed the burrs so tightly they were physically locked. Don’t be like me. Take a fine-tip Sharpie and draw a small line across the threads of the burr carrier and the grinder body. This mark is your ‘Return to Home’ button. 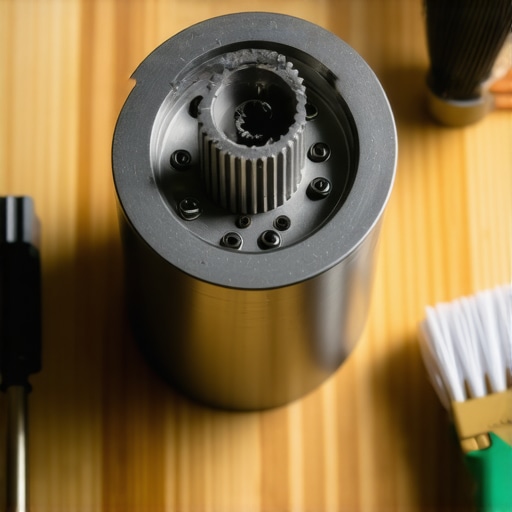
Clean Every Single Thread Like Your Shot Depends On It
Once you have the grinder open, you’ll likely see a mountain of old, compressed coffee. This ‘retention’ is the enemy of accuracy. If a single grain of coffee gets trapped between your new burr and the carrier, it will tilt the burr by a few microns, causing uneven extraction. This is a perfect time to learn how to tell if your grinder is retaining too much coffee during normal use. Use a vacuum and a stiff tooth-brush to scrub the threads until they look brand new. If the carrier doesn’t spin smoothly back into place with just your fingers, there is still debris in the way.
The Surgical Swap: Screws and Shims
When you finally unscrew the old burrs, pay attention to the torque. You shouldn’t need a power drill; in fact, using one is a recipe for stripped screws and a very expensive paperweight. I suggest using a manual screwdriver with a wide head that fits the slot perfectly to avoid slipping and scratching the new cutting surfaces.
The Star Pattern Tightening Method
Think of your burr screws like the lug nuts on a car tire. If you tighten one screw all the way before starting the others, the burr will seat at a slight angle. This ’tilt’ is why some baristas get great shots one day and sour messes the next. Snug each screw down just until it touches the burr, then move in a circle, tightening each one a quarter-turn at a time. This ensures the burr sits perfectly flat. If you want to go the extra mile, this is when you should check the right way to align your flat burrs for better shots using the dry-erase marker test. It’s a tedious process, but it separates the hobbyists from the pros.
Listen for the Warning Signs
Once the new burrs are in and the machine is back together, listen closely as you turn it on for the first time. It should hum, not rattle. If you hear a rhythmic ‘clack’ or a heavy vibration, you likely have a loose screw or a misaligned carrier. Understanding the reason your grinder makes a thumping noise during use can save you from damaging those expensive new blades. If everything sounds smooth, rotate your adjustment dial back to that Sharpie mark you made earlier. You are now within millimeters of your old recipe, saving you from wasting half a bag of beans just to find the ‘espresso range’ again. This level of precision is exactly what I look for when choosing the best barista gear for coffee enthusiasts who take their craft seriously.Expertise isn’t just about knowing how to swap burrs; it’s about knowing why the swap might not solve your flavor issues. Let’s dig deeper into the nuances that separate a decent home shot from a world-class extraction.
Stop Blaming Your Machine for Bad Coffee
Common wisdom suggests that if you spend more, you automatically get better results. I used to fall for this until I realized that even the most top-rated espresso machines for coffee lovers in 2025 are essentially expensive water heaters if you don’t respect thermal mass. In my experience, a modest machine with a thoroughly pre-heated portafilter will outperform a high-end dual boiler that’s only been idling for ten minutes. Many people dive into choosing the best barista gear for coffee enthusiasts without realizing that the most expensive equipment often requires the most precise technique to shine.
Why Does Your High-End Setup Still Produce Sour Shots?
It’s what I call the ‘Precision Trap.’ You buy a 0.1g scale and a laser-cut filter basket, yet you’re still left wondering why your espresso shot has no crema even with fresh beans. The hidden nuance here is puck integrity. A technical report from the Specialty Coffee Association (SCA) on water-path resistance highlights that most channeling occurs due to uneven density rather than just grind size. This is where most home baristas fail by over-processing the coffee. For instance, have you ever considered why your WDT tool is actually causing more channeling? If your needles are too thick or if you stir in a chaotic pattern, you are actually creating micro-voids at the bottom of the basket that the pressurized water will inevitably exploit. 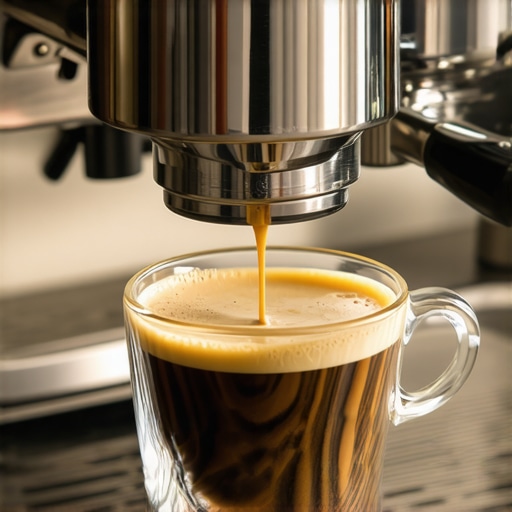 The ‘Oops’ factor you must watch for is bean head-pressure. You might have your grind dialed perfectly for a full hopper, but understanding why your shots taste different on a full hopper compared to a nearly empty one is crucial. The physical weight of the beans pushing into the burrs affects the grind consistency significantly. To truly master the craft, you have to stop looking for a ‘set it and forget it’ solution and start observing the physics of the bean. Have you ever fallen into this trap of over-complicating your workflow only to get worse results? Let me know in the comments.
It’s easy to get obsessed with the polish and shine of a new setup, but the real test of a home barista is how that machine performs three years down the line. If you aren’t doing the invisible work behind the scenes, you’re essentially just waiting for a catastrophic breakdown. I learned this the hard way when my vibration pump started screaming like a banshee because I ignored a simple scale buildup. You need to realize that why your machine needs a backflush every single week isn’t just a maintenance suggestion; it’s the difference between a vibrant, clean cup and a rancid, oily mess that ruins your morning. For those of us using high-end gear, we have to treat wear-and-tear items like the group gasket as consumables. Over time, constant heat cycles turn standard rubber into a brittle, plastic-like substance. If you wait until it leaks, you’ll find out that the reason your portafilter gasket is getting brittle makes it nearly impossible to remove without scratching your chrome group head. I personally made the switch to food-grade silicone gaskets because they stay pliable indefinitely and don’t require half as much torque to create a perfect seal.
Clean Your Machine Before It Breaks
The biggest threat to your longevity isn’t the beans—it’s the water. I’ve seen $3,000 boilers ruined in under a year because a user thought ‘filtered water’ from a pitcher was enough. According to the technical specifications in Jim Schulman’s Insanely Long Water Guide, the gold standard for home enthusiasts, the balance between calcium hardness and alkalinity is a narrow bridge. If you tip too far, you’re scaling up your heating element; if you go too low with distilled water, you’re actually leaching metal from the boiler walls. This is why the mistake of using distilled water in your boiler can be just as deadly as using hard tap water. I recommend every serious enthusiast invest in a drop-titration kit to test their specific tap-to-filter performance. It’s the only way to be certain you aren’t killing your machine from the inside out.
How do I keep my gear running for a decade?
Maintenance shouldn’t be a once-a-year event. I follow what I call the ‘500-Shot Rule.’ Every 500 shots, I do a full teardown of the shower screen and the grinder chute. You’d be amazed at the swamp that develops behind a shower screen even with regular backflushing. Integrating the best routine for a weekend deep clean into your schedule ensures that small issues, like a slightly worn O-ring, don’t turn into a flooded kitchen. Looking ahead, I predict the next five years of home espresso will be defined by ‘Predictive Maintenance.’ We are already seeing grinders that track burr wear via apps, and soon, we’ll see sensors that can tell us how to tell if your water hardness is damaging your boiler in real-time. Until then, you are the sensor. Listen to the pitch of the pump and the click of the solenoid. If you want to elevate your game today, my specific challenge to you is this: Remove your shower screen tonight. If it’s covered in black sludge, that is the ‘secret ingredient’ in your coffee you didn’t ask for. Clean it, and tell me if your shots don’t suddenly taste five points higher on the SCA scale.
What My Stripped Screws Taught Me About Maintenance
Over the years, I’ve realized that the best tools are only as good as the technician holding them. First, accept that why the first shot of the day is always a throwaway—even after a burr swap, the first pull is about thermal equilibrium, not just grind size. Second, remember that environmental factors play a huge role; you’ll likely notice why your grinder’s static gets worse in winter as the air dries out, which affects how those new burrs drop the grounds. Finally, trust your ears over your eyes. If you hear a weird noise, like the reason your pump makes a clicking sound, stop and investigate before you burn out a motor.
#IMAGE_PLACEHOLDER_E#
My Daily Drivers for a Flawless Setup
Beyond the internal parts, I’ve found a few external additions make the maintenance lifestyle much easier. I always suggest learning how to pick a coffee mat that doesn’t absorb odors so your workbench stays clean without the ‘stale bean’ smell lingering. For those mornings when I’m not pulling shots, I rely on milk frothers that transform your coffee experience to keep the routine alive. Lastly, if your results feel erratic, check your scale—I’ve written about why your coffee scale is giving you inconsistent readings, which is often a low battery or an uneven surface rather than a broken machine.
Take Your Next Shot with Confidence
Maintenance is a journey, not a destination. It’s about building a relationship with your machine so that you can focus on the flavor, not the friction. When you’re mastering the art of home espresso, every burr swap and backflush is a step toward that perfect cup. Don’t be intimidated by the screws and gaskets; they are your entry ticket into the world of elite coffee. Have you ever accidentally stripped a screw or lost your ‘zero point’ during a deep clean? Let me know your maintenance stories in the comments below!