How to Fix a Squeaky Grinder Adjustment Lever
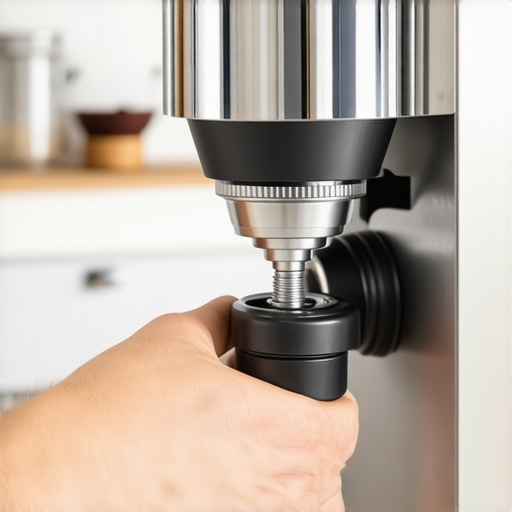
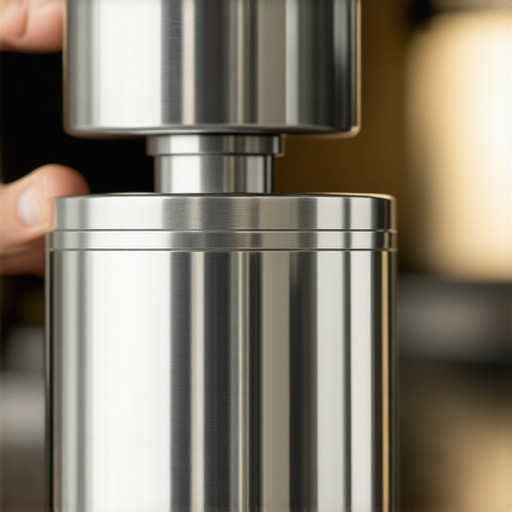
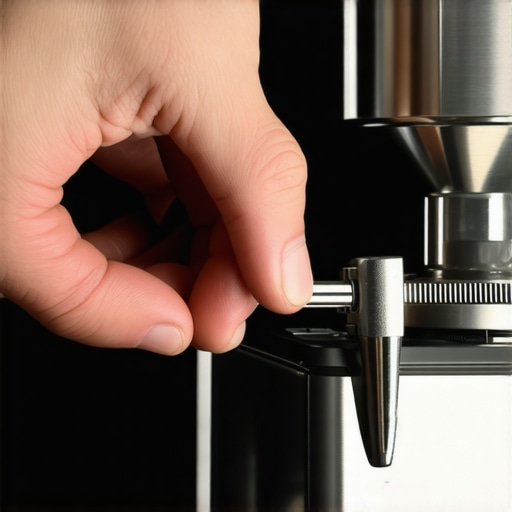
It was 6:15 AM, and the only thing I wanted was a quiet double shot before the rest of the world woke up. I reached for my grinder, gave the adjustment lever a tiny nudge to fine-tune my extraction, and then it happened: a piercing, metallic shriek that sounded like a rusty gate in a horror movie. My peaceful morning ritual was officially dead. My dog jumped, my wife groaned from the next room, and I was left staring at a piece of machinery that I’d spent a small fortune on, wondering why it was betraying me. If you’ve ever felt that spike of annoyance when your gear starts sounding like a tractor, you aren’t alone. We’re going to silence that screech today without a trip to the repair shop. [IMAGE_PLACEHOLDER]
Get Rid of That High-Pitched Metal Screech
I’ve learned the hard way that a squeaky lever is usually a cry for help from the internal threads. When I first started out, I thought I could just ignore it, but eventually, the lever became so stiff I nearly snapped it off trying to dial in a light roast. Back then, I didn’t realize that how to select the perfect coffee grinder for your brew involves more than just looking at the motor; it’s about the mechanical longevity of the adjustment assembly. Sometimes the noise is related to why your grinder screeches only when grinding fine, but more often, it is simply dry metal-on-metal friction in the collar housing. I once tried to ‘fix’ this by spraying a bit of household lubricant near the hopper—don’t ever do that. It took me weeks to get the chemical taste out of my beans. When you are choosing the best barista gear for coffee enthusiasts, you have to be ready to maintain it with the right tools.
Is Opening Up My Grinder Actually Worth the Risk?
I get it. You’re worried that if you start unscrewing things, you’ll never get it back together, or worse, you’ll lose your ‘sweet spot’ for your favorite beans. It’s a valid fear, especially when you’ve finally mastered how to swap your grinder burrs without losing your settings. But here’s the reality: ignoring that friction causes actual, permanent wear to the threads. According to the National Sanitation Foundation (NSF), only H1 rated food-grade lubricants should be used in areas where incidental contact with your coffee might occur, and a tiny application can save your machine’s life. It’s a simple ten-minute job that makes your grinder feel brand new again. Have you ever felt like your adjustment dial was one turn away from seizing up entirely? Let’s dive into the safe way to lubricate that assembly.
Clear the Path Before You Start Digging
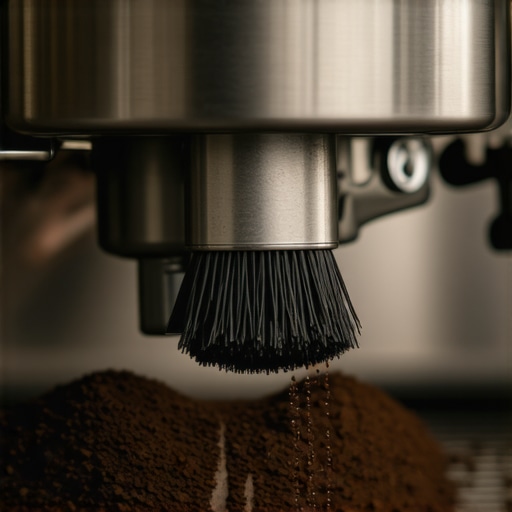
Before you can address that ear-splitting friction, you need to treat your workspace like a surgical suite. Coffee grounds are like sand; if they get mixed into your lubricant, you’ve essentially created liquid sandpaper that will grind down your threads faster than the original screech ever could. Start by purging the machine entirely. Use a vacuum to ensure no stray beans are hiding in the throat, as these can jam the collar while you are trying to unscrew it. I once skipped this step and a half-crushed bean wedged itself into the thread path, making me think I had cross-threaded the whole unit. It’s a heart-stopping moment you want to avoid. If you are working with a conical setup, the mess-free way to clean a conical burr grinder involves using a dedicated brush to sweep the upper carrier clean before you even think about applying grease. 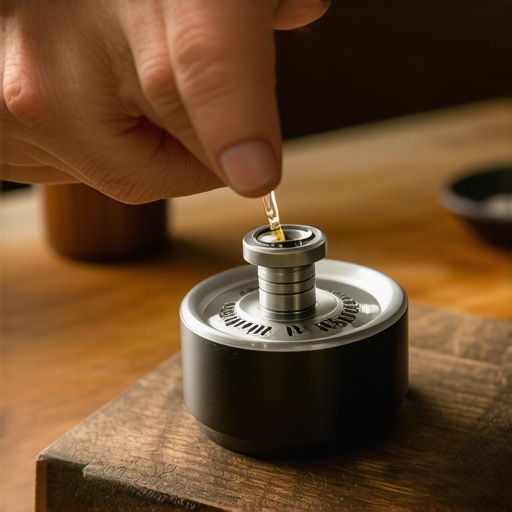
Strip Away the Old Gunk First
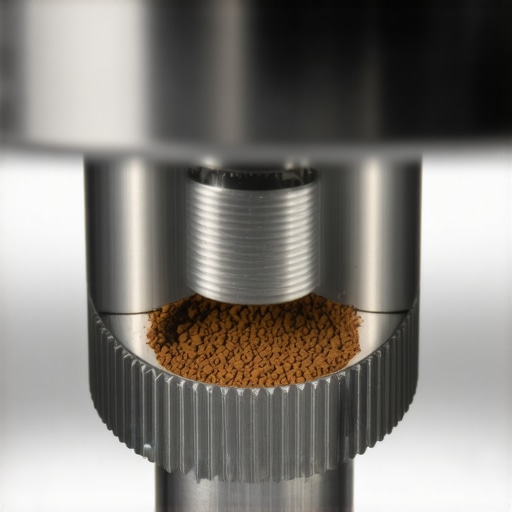
Once you have the adjustment collar or the upper burr carrier removed, take a good look at the threads. You’ll likely see a dark, sticky residue. That’s a mix of factory-applied lubricant and years of coffee dust. This sludge is often the culprit when why your hand grinder is getting harder to turn or why your electric unit sounds like it’s struggling. Take a clean microfiber cloth and wipe every single thread until the metal shines. For those hard-to-reach grooves, the trick for getting ground coffee out of tight corners is using a wooden toothpick or a stiff nylon brush. I remember one Saturday morning spending nearly an hour just picking out hardened oils from a second-hand Mazzer I’d bought; the difference in the dial’s smoothness afterward was night and day.
Stop the Metal-on-Metal Madness
Now comes the most critical part: the lubricant. You must use a food-grade, high-viscosity grease like Molykote 111. It’s thick, it doesn’t migrate, and it’s safe if it accidentally touches a bean. Applying it is an art of moderation. Use a toothpick to place three or four tiny dots of grease at equal intervals around the threads. Do not—I repeat, do not—slather it on like you’re buttering toast. If you use too much, it will squeeze out and migrate into the burr chamber, contaminating your shots. I once over-greased a flat burr grinder, and for the next three days, my espresso had a weird, silky sheen that definitely wasn’t crema. It took another full teardown to fix my mistake.
Realign and Verify Your Settings
As you screw the collar back in, do it slowly. If you feel any resistance, stop immediately and back it out. It should spin freely until the burrs begin to close. This is also the perfect time to ensure everything is square, as the right way to align your flat burrs for better shots often starts with a perfectly seated adjustment assembly. If you hear a thumping sound when you turn it back on, you might be dealing with the reason your grinder makes a thumping noise during use, which usually points to a misaligned carrier. Once the collar is back on, refer to your notes on how to swap your grinder burrs without losing your settings to find your zero point and get back to brewing without that haunting metallic scream.Now that your grinder is finally running as quietly as a luxury sedan, let’s talk about the gear that might be secretly sabotaging your morning. Many enthusiasts believe that a perfectly flat coffee bed is the holy grail of espresso, often leading them to buy expensive, spinny distribution tools. However, I’ve found that these tools can be a major distraction. In reality, why your distribution tool might be ruining your extraction comes down to the fact that they only level the top few millimeters of coffee. While the surface looks flawless, the density of the grounds underneath remains uneven. When you are choosing the best barista gear for coffee enthusiasts, it is easy to prioritize aesthetics over actual mechanical functionality.
Why do your shots still channel despite perfect puck prep?
If you have ever stared at a messy extraction and wondered what went wrong, you might be falling for the ‘Oops’ factor of improper WDT (Weiss Distribution Technique) usage. Using needles that are too thick or simply swirling the grounds without reaching the bottom of the basket can actually create more problems than it solves. This is often why your wdt tool is actually causing more channeling; it creates air pockets or deep fissures that the water exploits. This leads to the frustrating experience of why your bottomless portafilter is making a huge mess on your kitchen counter. 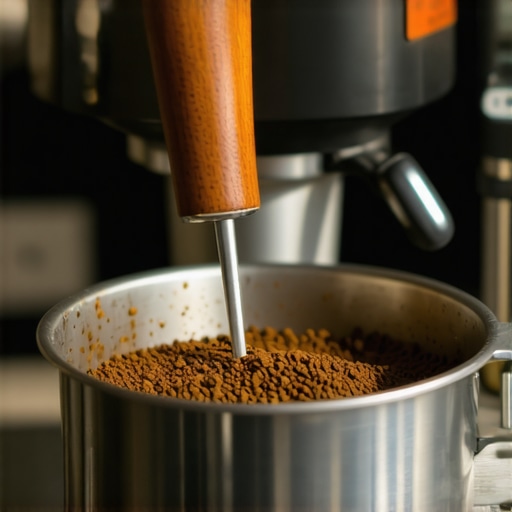
Save Your Machine from the Hungry Water Trap
Perhaps the most dangerous myth for advanced home baristas is the idea that distilled water is the safest choice for an espresso machine. It sounds logical: no minerals, no scale, no problems. But this is a massive trap. Pure distilled water is what chemists often call ‘hungry water.’ Because it lacks ions, it becomes aggressive and can actually leach minerals directly out of your boiler’s metal and heating elements. According to the Specialty Coffee Association (SCA) water standards, a total hardness of 50-175 ppm CaCO3 is necessary not only for a balanced flavor profile but to maintain the physical integrity of your equipment. In short, the mistake of using distilled water in your boiler could cost you a fortune in repair bills down the road. If you find yourself struggling with consistency on an entry-level machine, don’t just buy more gadgets; focus on the move for better temperature stability on budget machines through proper flushing techniques. Have you ever fallen into this trap? Let me know in the comments.
I’ve realized over the years that the ‘set it and forget it’ mentality is the quickest way to end up with a very expensive paperweight sitting on your kitchen counter. Beyond the water chemistry we just discussed, the physical build-up of coffee oils is a silent killer of flavor and machinery. If you are noticing a bitter, rancid aftertaste that wasn’t there last month, it is likely because of oil polymerization inside your group head. This is exactly why your machine needs a backflush every single week with a proper detergent. I personally use a backflushing routine every Sunday morning while my first cup cools; it’s a non-negotiable habit that keeps the solenoid valve from seizing up. According to the Coffee Technicians Guild (CTG), nearly 70% of solenoid failures in home prosumer machines are caused by preventable debris buildup rather than mechanical fatigue.
Fight the Coffee Oil Creep Before It Hardens
One of the most satisfying yet overlooked maintenance tasks is managing your seals. I remember the first time I noticed a leak coming from the top of my portafilter; I panicked, thinking the pump was dying. In reality, it was just a brittle gasket. Learning the reason your portafilter gasket is getting brittle is usually a mix of heat exposure and leaving the portafilter locked in too tight overnight. When it comes time to swap it, you need to know how to replace a group gasket without scratching the chrome, or you’ll leave permanent scars on your machine’s finish. I always keep a spare silicone gasket in my ‘espresso drawer’ because, unlike rubber, silicone doesn’t bake onto the group head, making future removals a five-second job instead of a thirty-minute struggle.
How do I maintain my espresso machine over the long haul?
Consistency isn’t just about your tamping technique; it’s about the state of your equipment when no one is looking. For me, the best routine for a weekend deep clean includes a full breakdown of the shower screen. You would be shocked at the amount of ‘mud’ that hides behind that single screw. If you ignore this, the water dispersion becomes uneven, leading to those dry spots in your puck that ruin your extraction. While you are at it, don’t forget the grinder; the mess-free way to clean a conical burr grinder is to use a vacuum first, then a brush—never water. This proactive approach ensures that when you look at top-rated espresso machines for coffee lovers in 2025, you aren’t looking for a replacement, but rather an addition to an already thriving setup. 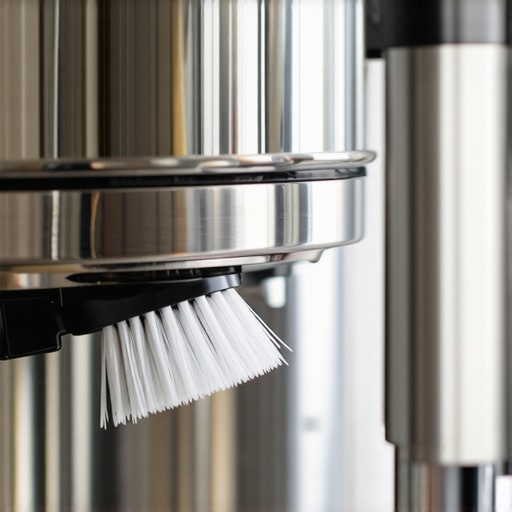
The Future of Smart Brewing Is Closer Than You Think
I predict we are moving toward a ‘sensor-first’ era in home coffee. We are already seeing the beginning of this with machines that track flow rates and pressure in real-time, but soon, I expect integrated sensors to tell us exactly when our water’s ionic balance is off before scale even forms. This is a massive leap for mastering the art of home espresso tips for beginners, as it removes the guesswork that currently plagues the hobby. Until then, you need to rely on your own discipline. If you haven’t done it lately, I challenge you to pull your shower screen today and give it a soak in backflush detergent—you might just find the flavor clarity you’ve been missing.
Lessons from My Messiest Maintenance Mishaps
If there is one thing I’ve learned from years of tinkering, it’s that your equipment doesn’t just break; it slowly degrades under the weight of neglect. I used to think that a quick wipe-down was enough, but true longevity comes from the details. First, never underestimate the power of a clean thread; even the smallest coffee particle can cause a mechanical seizure. Second, your water choice is the most important ‘ingredient’ for your machine’s health—more so than the beans themselves. Lastly, trust your ears. That first tiny squeak or hiss is your machine asking for help before a total failure happens. Why you should never leave water in your reservoir overnight is a lesson in preventing slime and scale that I had to learn the hard way.
The Toolkit That Keeps My Countertop Quiet
You don’t need a professional workshop, but a few specific items will make your life significantly easier. I swear by food-grade silicone grease (Molykote 111) for any moving parts near the brew path. I also recommend a high-quality set of hex keys to avoid stripping those tiny, soft-metal screws found on prosumer gear. For organization, knowing how to organize your barista tools in a single drawer keeps your workspace from becoming a chaotic mess. Finally, always have a dedicated vacuum for your grinder chute; it’s the only way to truly clear out old grounds that harbor rancid oils. #IMAGE_PLACEHOLDER_E#
Stop Overthinking and Start Pulling Better Shots
Maintenance might feel like a chore, but it is actually the foundation of your craft. When you take care of your tools, they reward you with clarity, sweetness, and that perfect tactile feedback during a pull. Don’t wait for a breakdown to start your journey into mastering the art of home espresso tips for beginners. Implementing the best routine for a weekend deep clean will transform your morning ritual from a struggle into a joy. Your future self (and your taste buds) will thank you for the extra ten minutes you spend today. Have you ever discovered a hidden ‘coffee mud’ stash inside your machine that shocked you? Let me know in the comments below!