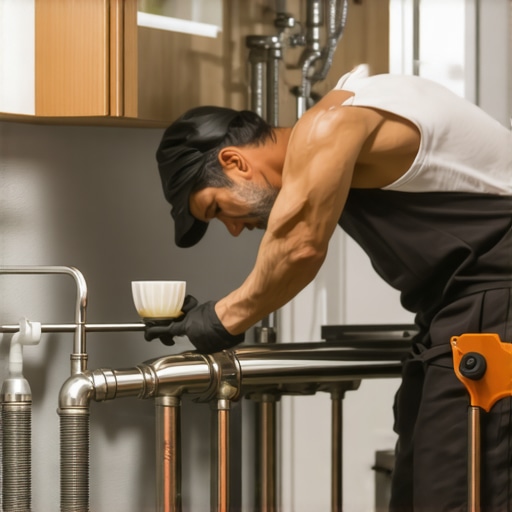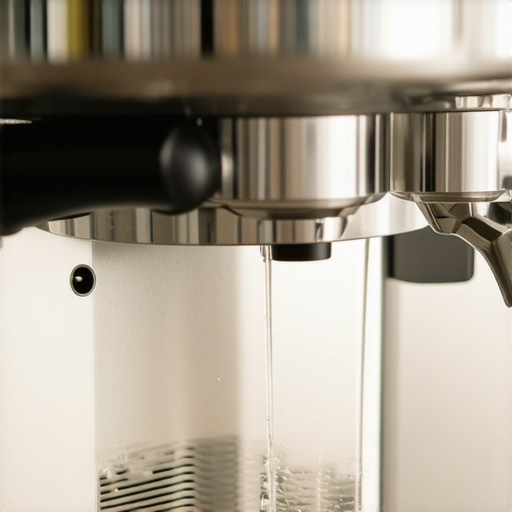
The Problem with Leaving Water in Your Reservoir Too Long
I remember the exact moment I realized I was failing my morning routine. I was reaching for my portafilter, ready to pull a shot of a beautiful single-origin roast, when I caught a whiff of something… funky. Not the good, fermented coffee funky. It smelled like a damp basement. I pulled the tank out and, sure enough, the bottom was covered in a slippery, invisible film. I’d been topping it off for three weeks straight, thinking I was being efficient. In reality, I was brewing mold juice. I used to think that because the water was eventually going to be boiled, it didn’t matter if it sat in the plastic tank for a few days. I was dead wrong. Heat kills some things, but it doesn’t remove the off-flavors or the mineral buildup that occurs when water evaporates and concentrates in your reservoir. One day I actually touched the inside of the intake tube—the part that feeds the pump—and it felt like a wet lollipop. Just sticky and gross. That was the ‘lightbulb moment’ where I realized my expensive beans were being sabotaged by five-day-old tap water. Today, we are going to fix that habit for good so you never have to taste a ‘basement latte’ again. Have you ever noticed that weird slime in your tank, or are you one of those lucky people who cleans it religiously? [image placeholder]
That Slimy Film is Stealing Your Best Shots
Most of us spend a fortune on choosing the best barista gear, but we treat the water reservoir like a ‘set it and forget it’ appliance. It isn’t. When water sits, it becomes stagnant. This isn’t just about taste; it’s about the health of your machine and yourself. We focus so much on the shine of our stainless steel and the precision of our scales, but we ignore the actual ingredient that makes up 98% of the drink. I made the mistake of thinking my mastering the art of home espresso journey was all about the grind size and tamping pressure. I was wrong. If your water isn’t fresh, your espresso shot has no crema and tastes flat, no matter how much you spent on the beans. Fresh water is highly oxygenated, which actually helps with the extraction process. Stale water is dead water.
Is a daily water change actually worth the effort?
You might be thinking that emptying the tank every night is overkill. It’s not. According to the EPA, stagnant water can develop biofilm—a collection of bacteria and microorganisms—surprisingly fast in room-temperature environments. If you’ve been struggling with how to stop your water tank from growing algae, you already know the battle. Leaving that water to sit for days on end is the fastest way to ruin your top-rated espresso machines and potentially your stomach. Plus, if you’re making the mistake of using distilled water, you might be doing even more damage to the metal internals without realizing it. Freshness is the only way forward.
Rinse Your Tank Every Single Morning
Most people assume that if the water looks clear, it is clean. This is the biggest mistake you can make. Every morning, before you even turn on your machine to warm up, you should pull that tank out and dump any remaining water down the sink. I learned this the hard way after a week of just topping off the reservoir. I noticed my coffee had a lingering metallic tang that I couldn’t dial out, no matter how much I adjusted my grind. I eventually realized the water was concentrating minerals as it sat and slightly evaporated in the warm environment of the machine. Now, I make it a non-negotiable rule: fresh water every day. This simple habit is more effective than any expensive additive for how to stop your water tank from growing algae.
Scrub the Interior with Mild Soap Weekly
A simple rinse won’t remove the biofilm that clings to the plastic walls. Once a week, you need to use a soft sponge and a tiny drop of scent-free dish soap. I remember once I thought I was being thorough by just rinsing the tank with hot water. I took a clean paper towel, wiped the inside corner, and it came back with a faint yellow tint. I hadn’t used soap in a month, and the bacteria had built a microscopic fortress. When you scrub, pay special attention to the corners and the area around the valve at the bottom. This ensures your choosing the best barista gear investment stays in peak condition. 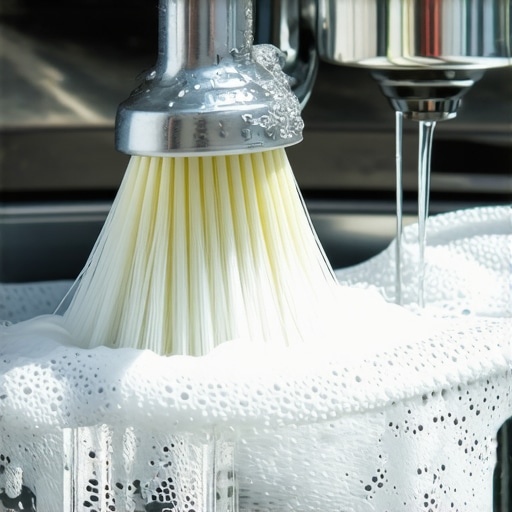
Don’t Ignore the Silicone Intake Lines
The most overlooked part of the water system is the intake tube. If your machine isn’t plumbed in, it likely has a silicone hose that dangles into the reservoir. This tube is a magnet for slime because it’s always wet and rarely moved. I once spent an entire Saturday morning trying to figure out the reason your pump makes a clicking sound, only to find a literal clump of translucent slime blocking the intake. I had been diligent about the tank, but I ignored the tube. To clean it, gently pull it off its fitting and run hot water through it, or use a tiny straw brush. Ignoring this part increases the risk of leaving your machines water intake tube dirty and eventually forcing a costly pump replacement.
Ditch the Old Resin Filter Before It Molds
If you use an in-tank softener or charcoal filter, you are essentially putting a sponge in your water. These filters are great for flavor, but they are also breeding grounds for bacteria once they pass their expiration date. Many beginners believe the truth about using distilled water in your machine is that it solves all problems, but without some mineral content, your machine’s sensors might not even detect the water level. Instead, use filtered water and change that internal pouch every two months without fail. If you leave it in for six months, you aren’t filtering your water anymore; you’re seasoning it with old bacteria.
Test Your Water Hardness Regularly
You cannot manage what you do not measure. Using a simple TDS (Total Dissolved Solids) meter or a pH strip can save your boiler from a slow death. I started testing my tap water every season and discovered that my local utility changed their treatment process in the winter, making my water significantly harder. This helped me understand how to tell if your water hardness is damaging your boiler before the scale became a permanent problem. Keeping a log of these readings allows you to adjust your filtration strategy before you see white flakes in your espresso.
I used to think that as long as I kept my water clean, my machine would perform like a dream forever. I was wrong. The rabbit hole goes much deeper than just fresh water. While we often obsess over the shiny exterior of our setups, the real sabotage happens in the places we can’t see or the habits we think are helpful. If you have ever felt like your shots are drifting in quality despite following all the rules, you are likely falling for the ‘gear gaslighting’ trap. Let’s look at the nuances that separate a hobbyist from someone who actually masters their equipment. Have you ever fallen into this trap? Let me know in the comments.
Stop Blaming Your Machine for Sour Shots
The biggest myth in the home espresso world is that a more expensive machine will fix your flavor problems. In my experience, people spend thousands on top-rated espresso machines for coffee lovers in 2025 while completely ignoring their grinder’s alignment. You can have the most stable PID in the world, but if your burrs are even a fraction of a millimeter out of parallel, you will get uneven extraction. I spent months chasing a ‘sour’ note only to realize I needed to learn the right way to align your flat burrs for better shots. A misaligned grinder creates a mix of boulders and dust, leading to simultaneous over and under-extraction. It’s a nuance that many enthusiasts ignore because it requires opening up the ‘scary’ part of the gear.
Is your distribution tool actually making your coffee worse?
We see those spinning levelers everywhere on social media, but here is a hard truth: many of them are doing more harm than good. If you set the depth too deep, you are pre-compressing the top layer of the puck while the bottom remains loose. This leads to massive channeling that even a good machine can’t overcome. Research from the Specialty Coffee Association (SCA) suggests that uniform density is far more important than a perfectly flat surface. This is why your wdt tool is actually causing more channeling if you aren’t using it to reach the very bottom of the basket. Don’t let the aesthetic of a level surface fool you into thinking the density is correct underneath.
The Hidden Trap of the Zero Point
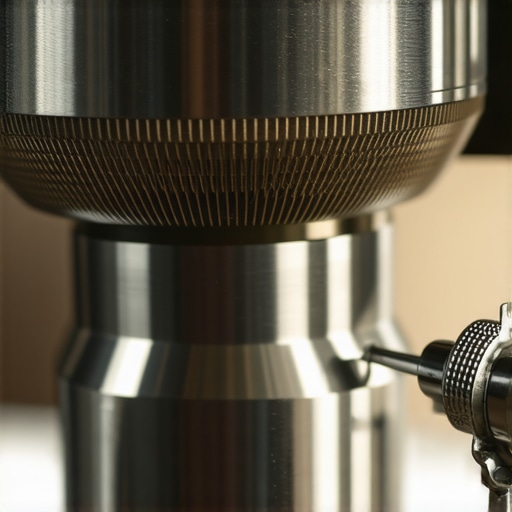
One of the most dangerous ‘oops’ factors for your equipment is chasing the ‘zero’ on your grinder. Most people think ‘zero’ is where you should start for the finest espresso, but that is a recipe for disaster. I once turned my adjustment dial too far while the motor was off, leading to the reason your grinder burrs are touching early. When I flipped the switch, the screeching sound was enough to make my heart stop. You are not just risking the burrs; you are putting immense strain on the motor and the drive shaft. When you are how to select the perfect coffee grinder for your brew, always look for one with a clear, physical stop that prevents the burrs from actually grinding against each other. Metal-on-metal contact is the fastest way to turn a $500 investment into a paperweight.
Your Milk Wand is a Biohazard
It isn’t just about the water tank. If you aren’t purging your steam wand both before AND after use, you are inviting milk to be sucked back into the boiler. When the steam cools, it creates a vacuum. If there is milk residue on the tip, it gets pulled into the wand and, eventually, the internal plumbing. I have seen prosumer machines opened up for service where the inside of the steam arm was coated in a thick, black sludge. Even if you use milk frothers that transform your coffee experience, the principle is the same: proteins bake on fast. This is why you should never skip how to clean burnt milk off a teflon steam wand immediately after your pour. It’s a ten-second habit that saves you from a $300 professional descaling and cleaning bill later.
Backflush with Chemicals Every Fifty Shots
I used to be afraid of the backflush cycle. I thought putting detergent into my machine felt invasive, like I was poisoning the plumbing. But if you only use water, you aren’t removing the oils; you’re just rinsing the dust off them. Over time, those oils bake onto the shower screen and the three-way solenoid valve. This is often the reason your pump makes a clicking sound or why your shots suddenly taste like burnt rubber. According to the official technical documentation from La Marzocco regarding the Linea Mini, consistent chemical backflushing is the only way to prevent the polymerization of coffee oils in the group head. I now treat it like an oil change for a car. If you neglect it, you’ll eventually need to learn how to replace a group gasket without scratching the chrome much sooner than expected because the heat and residue will bake the rubber into a brick.
Cleaning Your Burrs Without Ruining Your Dial
We all hate losing our sweet spot on the grinder, but avoiding a deep clean because of it is a massive mistake. I’ve found the mess-free way to clean a conical burr grinder involves using a dedicated vacuum attachment rather than just compressed air. If you just blow air into the chute, you’re often pushing fine dust deeper into the motor housing or bearings. When I finally opened mine after six months of heavy use, I found a gram of stale, oily coffee stuck in the threads. This buildup can actually cause why your grinder screeches only when grinding fine. Knowing how to swap your grinder burrs without losing your settings is a superpower that allows you to maintain the hardware without the headache of re-dialing for an hour. This ensures your burrs stay sharp and your extraction stays even.
How can I keep my espresso setup running for a decade?
Longevity is about small, cumulative wins. It’s the difference between a machine that lasts three years and one that becomes a family heirloom. I recommend adopting the best routine for a weekend-deep-clean: wipe the level sensor, check for weeping leaks at the fittings, and feel the elasticity of your gaskets. If you wait until you see a puddle on the counter, you’ve waited too long. Pay attention to the small things, like the reason your portafilter gasket is getting brittle, which is usually just chronic heat exposure. Replacing a ten-dollar gasket today prevents a three-hundred-dollar professional repair tomorrow. I expect the next generation of top-rated espresso machines for coffee lovers in 2025 to include internal water quality sensors that notify your phone if scale levels get too high. For now, we have to be the sensors. If you want to truly level up, stop guessing. Take ten minutes this weekend to perform a full chemical backflush and vacuum out your grinder’s burr chamber; you will be shocked at how much clarity returns to your morning cup.
Lessons I Learned the Hard Way About Machine Care
I used to think that as long as the machine turned on, everything was fine. I was wrong. The biggest shift in my home espresso journey happened when I stopped treating my gear like a simple kitchen appliance and started treating it like a precision instrument. Here are a few things I wish I’d known sooner:
- Water chemistry is non-negotiable. You can’t just filter your way out of bad tap water if the minerals are already at critical levels. Check your hardness often to avoid a dead boiler.
- The shower screen is a flavor killer. Coffee oils polymerize quickly under heat. If you aren’t wiping and flushing the group head after every single shot, you’re brewing through yesterday’s rancid residue.
- Grinder hygiene is half the battle. If you’ve been mastering the art of home espresso but your shots still taste muddy, it is likely old grounds stuck in your burr chamber.
The Barista Toolkit for Reliable Shots
You don’t need a massive toolbox, but you do need the right essentials. I personally swear by these resources for maintaining top-rated espresso machines for coffee lovers in 2025. First, a high-quality digital TDS meter is essential for testing your water before it ever touches your tank. Second, I recommend the SCA Coffee Sensory Manual for understanding how cleanliness impacts what you actually taste. Finally, ensure you have a dedicated brush for how to select the perfect coffee grinder for your brew and keeping it debris-free. These aren’t just extras—they are the foundation of consistency.
[image placeholder]
Your Path to Barista Consistency Starts Now
Maintenance shouldn’t feel like a chore that stands between you and your morning latte. Instead, look at it as a ritual of respect for the craft. When you take care of your equipment, it rewards you with that perfect, syrupy extraction that made you fall in love with coffee in the first place. Whether you are using a manual lever or one of the latest top-rated espresso machines, the principles of cleanliness remain the same to ensure your home espresso tastes like it was made in a professional shop. Take it one step at a time, start with the best routine for a weekend-deep-clean, and watch your skills—and your coffee—reach a whole new level. Which part of your maintenance routine do you find the most annoying to keep up with? Let me know in the comments below!