Why Your Pressure Profiling Is Failing on Light Roasts
I remember standing in my kitchen at 6:30 AM, surrounded by the scent of expensive, wasted beans and the hum of a machine that felt like it was mocking me. I had the flow-control paddle wide open, then shut, then halfway, yet the shot still looked like a pale, watery mess. It was a classic ‘Expectation vs. Reality’ moment where my fancy gear was failing me. I assumed that if I just mimicked a high-end lever machine profile, I’d get that syrupy sweetness. I was wrong. I was actually making things worse by micro-managing the pressure during the wrong phase of the extraction, and my morning coffee tasted more like a science experiment gone wrong than a specialty brew. If you have ever spent a small fortune on a bag of Nordic-roast Ethiopian beans only to have them taste like battery acid, believe me, I have been there.
Stop Fighting the Puck and Start Flowing
The biggest mistake I made early on was thinking that 9 bars of pressure was a law, not a suggestion. When you are dealing with light roasts, you are dealing with a bean that is incredibly dense and stubborn. If you hammer it with high pressure immediately, the puck often compacts too tightly or, worse, fractures, which explains the reason your double ristretto tastes like vinegar even when you think you have everything right. My lightbulb moment came when I stopped trying to force the water through and started coaxing it. You see, the density of these beans requires a more delicate touch. If your grinder isn’t up to the task, you’re already behind the curve; learning how to select the perfect coffee grinder for your brew is the first step toward getting the particle uniformity required for successful profiling. Today, we are going to solve the mystery of why your shots are stalling or channeling and how to actually use your machine’s capabilities to find that hidden sweetness. Have you ever felt like throwing your portafilter out the window after a third failed shot in a row?
Is all this manual profiling actually worth the hassle?
It is a fair question to ask when you are staring at a sink full of discarded espresso. Skeptics often argue that traditional 9-bar extraction is more consistent, but the reality is that light roasts rarely shine under those static conditions. According to a study published in the Journal of Agricultural and Food Chemistry, higher pressures can actually lead to uneven extraction and ‘fines migration,’ which blocks the flow and causes the very channeling we are trying to avoid. I used to think my puck prep was the issue, only to realize that my why your wdt tool is actually causing more channeling was partly due to my aggressive pressure curves. By understanding how the puck integrity changes as it gets wet, you can adjust your flow to match the resistance. It isn’t just about playing with a lever; it is about responding to what the coffee is telling you in real-time. We are going to dive into the specific pressure stages that will finally turn those sour shots into the balanced, floral cups you were promised when you bought that bag of beans.
Saturate the Grounds Gently Before Increasing Power
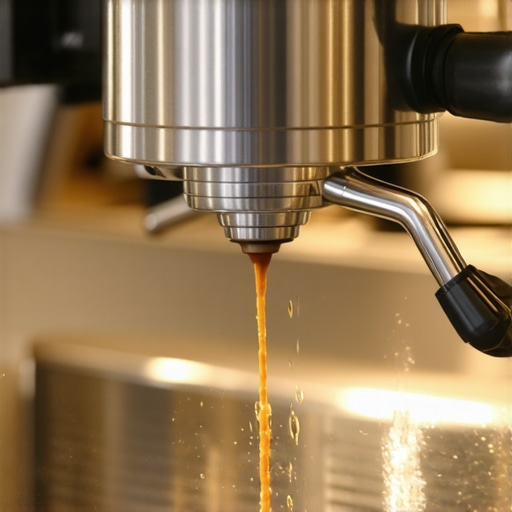
The first rule of working with dense, light-roasted coffee is to treat the pre-infusion like a slow-motion soak rather than a quick splash. Think of your coffee puck like a dry, tightly packed sponge. If you throw a bucket of water at it instantly, the water just bounces off or finds a single crack to tear through. By keeping your flow rate restricted to about 2 grams per second until the bottom of your basket is fully saturated, you are ensuring the move for more consistent puck compression across the entire bed. I learned this the hard way one Tuesday morning with a bright Kenyan bean; I slammed the pump to full pressure immediately, and within seconds, a jet of brown liquid shot sideways, missing my cup entirely and painting my backsplash. That mess taught me that a slow, low-pressure start allows the gases to escape and the particles to swell, creating a unified structure that can actually handle the pressure coming next.
Why Seven Bars is Often Better than Nine
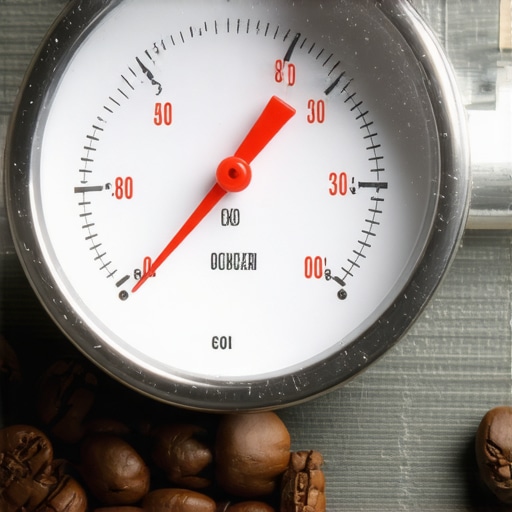
Once the puck is fully saturated, your instinct is to crank it to the traditional 9-bar standard, but with light roasts, that is often a recipe for astringency. Instead, try peaking at 6 or 7 bars. This lower peak pressure prevents the fine particles from migrating to the bottom of the basket and clogging the flow. If you find your shots are still tasting muddy despite this, you might need to look at the right way to align your flat burrs for better shots, as physical alignment is just as critical as your pressure curve. Lowering the peak pressure acts as a safety net, giving you a wider window of deliciousness before the coffee turns bitter. It is like driving a car on a winding road; you don’t need to hit top speed to have a smooth ride; you just need to maintain the right momentum through the curves.
Back Off When the Puck Starts to Break Down
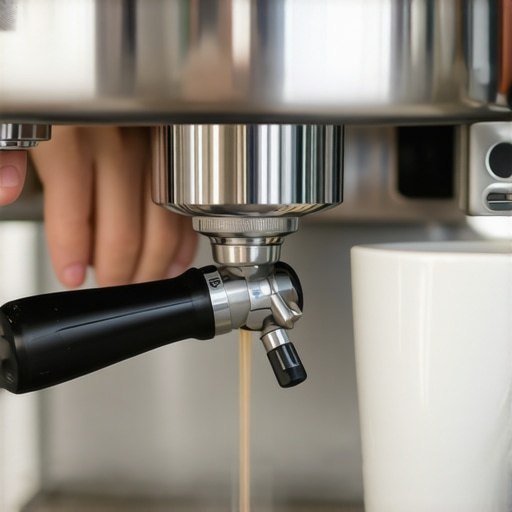
As the extraction progresses, the coffee solids dissolve, meaning the puck literally loses its structural integrity. If you maintain a constant high pressure until the end, the water will start racing through the now-hollowed-out puck. This is why your shots start running fast after two seconds or toward the end of the yield, leading to that thin, salty finish. When you see the stream start to blond or the flow accelerate on your scale, start tapering the pressure down. Gently closing the flow paddle to drop the pressure back down to 3 or 4 bars for the final 10 grams of your shot can transform a sharp, biting espresso into something resembling melted peach preserves. If you are using a naked basket and notice things getting sprayy during this phase, it’s a clear sign of why your bottomless portafilter is making a huge mess—the puck has given up, and your pressure needs to follow suit. By following the resistance of the coffee rather than fighting it, you are letting the bean dictate the recipe, which is the ultimate secret to specialty espresso.
If you have spent any time in enthusiast forums, you have likely heard that burr alignment is the holy grail of espresso. While it is true that finding how to select the perfect coffee grinder for your brew involves looking at grind consistency, many people spend weeks obsessing over microns while ignoring the fact that their hopper is nearly empty. Most baristas will tell you that single-dosing is the only way to stay fresh, but there is a hidden nuance: ‘popcorning’ in a grinder without a bellows ruins your particle distribution. In my experience, a partially full hopper provides the downward pressure needed for a more uniform feed into the burrs. This is why your shots taste different on a full hopper, and it is a variable that often outweighs a slightly misaligned burr set.
Why does my shot time change when the hopper is low?
It comes down to physical force. A study by the Coffee Science Foundation suggests that the weight of the bean column significantly impacts the flow rate through the grinder. Without that weight, the beans bounce around, creating more ‘fines’ and ‘boulders’ instead of a uniform grind. If you are struggling with consistency, do not immediately reach for the screwdriver to align your burrs. Instead, look at how you are feeding the machine. This is one of those mastering the art of home espresso tips for beginners that even veterans often forget.
Stop Using Distilled Water Before You Kill Your Boiler
Now, let’s talk about the ‘Distilled Water Trap.’ I see this all the time: someone buys a high-end machine and uses 100% distilled water because they are terrified of scale. This is a massive mistake. The mistake of using distilled water in your boiler is not just about the flavor being flat; it is about your machine’s health. Most prosumer espresso machines use a conductivity probe to detect water levels. Distilled water does not conduct electricity, meaning your machine might not realize it is full and will keep heating a dry boiler until the thermal fuse pops. It is the fastest way to turn a luxury appliance into an expensive paperweight.
#IMAGE_PLACE_HOLDER_C#
Your Barista Gear Needs to Reach Thermal Equilibrium
Another nuanced trap involves choosing the best barista gear for coffee enthusiasts without considering thermal mass. I once worked with a guy who had the most expensive titanium tamper but used a cold portafilter for his first shot. He could not understand why his shots were sour. Your gear needs to reach thermal equilibrium. If your portafilter is not hot to the touch, you are essentially pulling your shot into a heat sink. This is the reason your group head temperature drops mid-shot, and no amount of flow control can save an under-extracted shot caused by a cold group head. Have you ever fallen into this trap of over-optimizing the wrong variable? Let me know in the comments below.
Beyond the daily ritual of pulling shots, the longevity of your setup depends on the invisible maintenance tasks we often ignore. I have seen beautiful machines develop pools of water on the counter because the owner ignored a simple rubber ring. Learning how to replace a group gasket without scratching the chrome is a rite of passage for any serious home barista. If you wait until you feel resistance when locking in the portafilter, you have waited too long. Over time, heat turns that soft rubber into a brittle plastic-like substance, which is the reason your portafilter gasket is getting brittle and failing to provide a proper seal. If you notice water dripping from the group head during a shot, you are looking at how to fix an espresso machine that is leaking from the bottom eventually, as internal pressure finds the path of least resistance through your seals.
Keep Your Gaskets Soft to Avoid the Dreaded Leak
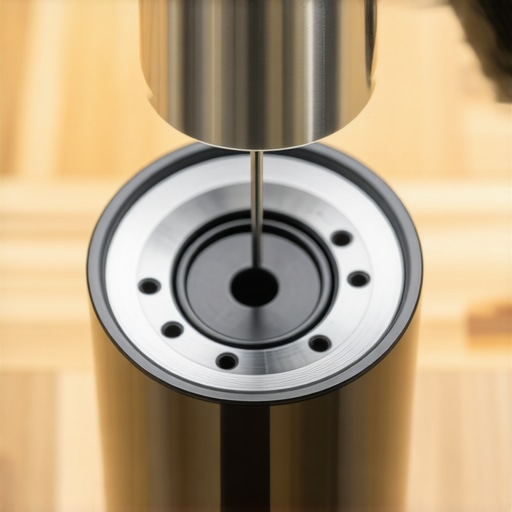
I make it a point to swap my gaskets every six months, regardless of how they look. It is cheap insurance for your machine. While you are in there, I highly recommend adopting the best routine for a weekend deep clean, which includes backflushing with a dedicated detergent. This keeps the three-way solenoid valve from sticking and ensures your flavor remains crisp rather than rancid. I used to be lazy about this until a technical report from the SCA (Specialty Coffee Association) pointed out that coffee oils can polymerize on metal surfaces within just 48 hours, creating a bitter film that no amount of expensive beans can overcome.
Why Seasoning New Burrs is a Non-Negotiable Step
When you finally upgrade your grinder, the temptation is to immediately throw in your best beans. Do not do it. New burrs have microscopic teeth and burrs from the manufacturing process that need to be worn down to a stable state. I personally run about five pounds of the cheapest, oldest beans I can find through any new set to smooth them out; it is the best way to season new grinder burrs fast and ensures your grind distribution is actually stable from day one. If you are worried about losing your current grind size during a deep clean or burr swap, knowing how to swap your grinder burrs without losing your settings will save you from wasting half a bag of good coffee on re-dialing. I predict that in the next few years, we will see grinders with built-in sensors that alert you exactly when burr sharpness has degraded past the point of peak extraction.
How do I keep everything running like day one?
Consistency over time requires monitoring your environment just as much as your machine. This means checking your water. You must learn how to tell if your water hardness is damaging your boiler because once scale builds up in those narrow copper pipes, a simple descaling solution won’t be enough. I use a dedicated TDS meter every time I refill my reservoir to ensure my mineral content is within the 50-100ppm range. My challenge to you: This weekend, pull your shower screen and perform a full chemical backflush; it is the single most effective way to restore the flavor profile you fell in love with when you first unboxed your machine. If you are unsure of the next step, our team is always ready via the contact us page to help you troubleshoot your specific setup.
The Harsh Truths Behind My Best and Worst Extractions
Looking back at my journey with the flow-control paddle, the biggest lesson wasn’t about a specific number on the gauge, but about patience. I spent months thinking my equipment was the problem, only to realize that the mistake of using distilled water in your boiler was muting the very floral notes I was chasing. I’ve learned that sometimes, the best thing you can do for a stubborn light roast is to walk away and let it rest for another week. Another ‘lightbulb’ moment was realizing that chasing a perfect 30-second window is a fool’s errand if the taste is already there. If it tastes like a dream at 22 seconds or 45 seconds, trust your palate over your stopwatch. Lastly, never underestimate the weather; understanding why your grinders static gets worse in winter is a real phenomenon that can throw off your workflow even if your technique is flawless.
Gear and Knowledge to Guide Your Next Session
If you are looking to level up without spending a fortune, focus on the small things that offer the highest ROI. I always recommend choosing the best barista gear for coffee enthusiasts that emphasizes precision, like a high-resolution scale and a responsive thermometer. For those who want to dive deeper into the science, I highly suggest keeping a digital log of every shot—not because I’m obsessive, but because it’s the only way to replicate that ‘one-in-a-million’ pull. If you are just starting, reading up on mastering the art of home espresso tips for beginners will give you the foundational confidence to start experimenting with the advanced flow curves we discussed today.
#IMAGE_PLACEHOLDER_E#
Your Path to the Perfect Pull
At the end of the day, home espresso should be a joy, not a chore. Don’t let the technicalities of pressure profiling or thermal equilibrium steal the magic of that first morning sip. Every sink-shot is just data, and every perfectly balanced cup is a victory you earned through curiosity and persistence. As you continue to refine your skills and explore new roasts, remember that the best gear in the world is only as good as the passion behind the portafilter. The future of your morning ritual is in your hands, and with a bit of practice, those god-shots will become your new daily standard. Have you ever struggled with a specific bean that refused to dial in no matter what you tried? Let me know in the comments below!