Why Your Tamper Size Actually Matters for Perimeter Extractions
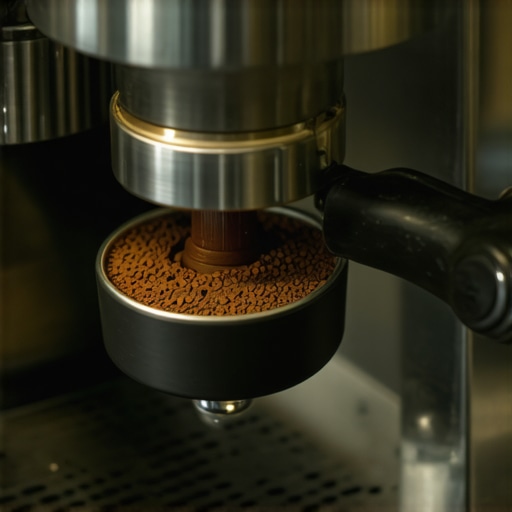
I stood there, staring at my portafilter like it had personally insulted me. I’d just spent a small fortune on a beautiful machine, but every shot I pulled tasted thin, sour, and strangely hollow. I was doing everything by the book—fresh beans, a precise scale, and [choosing the best barista gear for coffee enthusiasts](https://espressotechguide.com/choosing-the-best-barista-gear-for-coffee-enthusiasts) that I could afford. Yet, when I knocked the puck out, there was always a rim of dry, uncompressed grounds clinging to the steel walls. It hit me like a ton of bricks: my tamper was ‘standard,’ but my basket was ‘precision.’ That tiny, one-millimeter gap was letting water rush past the coffee, essentially bypassing the flavor I was working so hard to extract. Today, I want to show you why that perimeter matters and how a snug fit changes everything.
Stop Letting the Edges Ruining Your Morning Espresso
It took me way too long to realize that the ‘industry standard’ 58mm tamper is actually a bit of a myth when it comes to high-end baskets. Most precision baskets, like those from VST or IMS, actually measure closer to 58.7mm or 58.8mm internally. When you use a 58mm tool, you leave a literal ring of least resistance around the outside of your coffee bed. This is why you might see [why your shots start running fast after two seconds](https://espressotechguide.com/why-your-shots-start-running-fast-after-two-seconds); the water isn’t going through the coffee, it’s going around it. I made the mistake of thinking my grind was too coarse, when in reality, I was leaving a wide-open highway for the water to travel. The result? Side-channeling that makes even the expensive beans taste like vinegar. According to tests by the researchers at Socratic Coffee, using an undersized tamper can leave up to 12% of the puck surface area uncompressed, which leads to significantly lower extraction yields. It is the silent killer of a balanced shot.
Is a Half-Millimeter Actually Worth the Extra Cash?
You might be thinking that a 0.5mm difference sounds like pure marketing fluff. I was the biggest skeptic in the world until I actually tried a 58.5mm tamper. The difference is immediately tactile. When you feel that slight ‘vacuum seal’ as you lift the tamper, you know every single grain is doing its job. It’s [the move for more consistent puck compression](https://espressotechguide.com/the-move-for-more-consistent-puck-compression) that finally stopped my shots from spraying all over the counter and improved my body and mouthfeel. If you have ever dealt with [how to fix the wobble in your coffee portafilter](https://espressotechguide.com/how-to-fix-the-wobble-in-your-coffee-portafilter), you know that small mechanical misalignments lead to big headaches in the cup. Have you ever noticed that annoying ring of loose coffee after you tamp, or has your espresso ever felt ‘watery’ despite a fine grind? Let me know, because once you see it, you can’t unsee it. We’re moving past [the problem with cheap spring-loaded tampers](https://espressotechguide.com/the-problem-with-cheap-spring-loaded-tampers) and into the world of total edge-to-edge coverage. The fix is simpler than you think, but it requires being honest about the gap in your gear.
Measure Twice and Tamp Once to Kill Side Channeling
The first step isn’t actually tamping; it’s identifying the exact geometry of your basket. Think of your portafilter as a racetrack. If the walls aren’t perfectly smooth or the ‘car’—your tamper—is too narrow for the lane, you’re going to lose control at the corners. Most people make the mistake of assuming their 58mm tamper is a universal fit. In reality, you need to verify if you’re using a ridged or ridge-less basket. I remember the first Saturday I swapped my stock plastic tamper for a precision 58.5mm steel base. I was so excited I forgot to properly dry the basket. The result? A massive clump of grounds stuck to the tamper face because of the tight seal, proving that even with the best tools, the problem with using a wet tamper on dry grounds can ruin your workflow. Since then, I’ve learned the best way to dry your portafilter quickly is a dedicated microfiber cloth before every single dose.
Why You Should Scrutinize the Perimeter of Your Puck
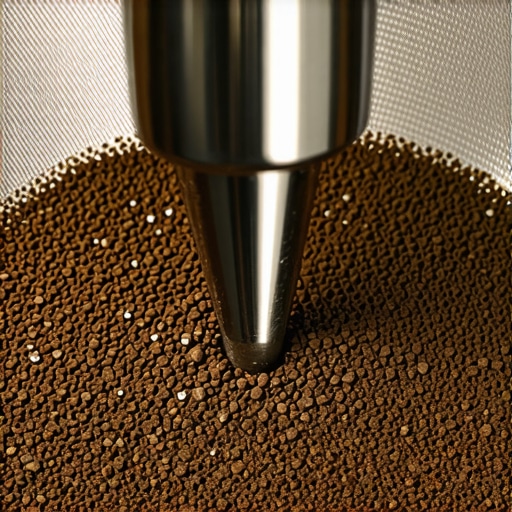
Once you have a tool that actually reaches the edges, you have to ensure the coffee is actually there to meet it. This is where your distribution technique becomes the guardrail for your extraction. If you just dump grounds from how to select the perfect coffee grinder for your brew directly into the center, you create a mountain in the middle and a valley at the edges. Even a 58.8mm tamper can’t fix a lack of physical coffee at the perimeter. I use a WDT tool to rake the grounds toward the walls, but be careful—if your needles are too thick, why your wdt tool is actually causing more channeling becomes a real concern. You want to gently ‘whisk’ the coffee until it looks like a flat, fluffy cloud that completely covers the bottom of the basket.
#IMAGE_PLACE_HOLDER_B#
Nail the Vertical Drop for a Perfectly Level Bed
Now comes the actual compression. The goal isn’t to use brute force; it’s to achieve total, level density. Grip the tamper handle like you’re shaking hands with a friend—firm but not aggressive. If your grip is off, you’ll likely tilt the base, and how to fix a wobbly tamper handle won’t save you from a slanted puck. A slanted puck is an invitation for water to take the ‘downhill’ route, leading to over-extraction on one side and a sour mess on the other. Apply pressure until you feel the coffee push back. This is the ‘puck point’ where the air is gone and the density is uniform. You don’t need to lean your whole body weight into it—30 pounds of pressure is plenty. The key is that ‘vacuum’ feel when you pull the tamper back up. If you hear a slight ‘pop,’ you’ve achieved the edge-to-edge seal that forces water to fight through every single grain of coffee for its flavor.
The Paradox of the Ultra-Fine Grind
Now that the puck is locked and loaded, we need to talk about the most common ‘fix’ that actually breaks your espresso: the obsession with grinding finer. Everyone tells you that if the shot is fast, you grind finer. But here is the contrarian truth: after a certain point, a finer grind leads to less extraction and more mess. When the particles are too small, they clump together and create high-resistance zones. The water, being lazy, finds the one weak spot and carves a canyon through it. This is why your shots start running fast after two seconds even though you’re at the finest setting on your dial. I’ve seen enthusiasts spend months chasing their tails because they didn’t realize their burrs were actually misaligned, making the right way to align your flat burrs for better shots the real solution, not just turning the dial to zero.
Does 15 Bars of Pressure Actually Make Better Espresso?
Another high-level mistake is trusting the ’15-bar’ sticker on the box of entry-level machines. Marketing teams love big numbers, but coffee physics doesn’t. A study by computational chemist Christopher Hendon suggests that high pressure can actually compress the puck too much, causing it to collapse and channel, which is the reason your double ristretto tastes like vinegar due to uneven flow. Most professionals prefer 6 to 9 bars because it allows for a more even flow. If you’re struggling with harsh flavors, the move for better temperature stability on entry-level units combined with a pressure adjustment is often more effective than buying more gear. Have you ever fallen into this trap of chasing ‘more power’ only to get worse results? Let me know in the comments.
#IMAGE_PLACE_HOLDER_C#
The Hidden Danger of Using Pure Distilled Water
There is a massive misconception that using distilled or zero-TDS water is the best way to ‘protect’ your investment. While it prevents scale, it’s actually a major ‘oops’ factor that can destroy your machine and your flavor. Pure water is ‘hungry’; it lacks minerals, so it aggressively leaches metals from your boiler and copper pipes. Furthermore, most espresso machine sensors rely on the electrical conductivity of water to detect levels. If you use distilled water, your machine might think it’s empty even when it’s full, potentially leading to a burned-out heating element. This is the mistake of using distilled water in your boiler that many pros see far too often. You need a balanced mineral content—specifically calcium and magnesium—to actually pull the oils out of the coffee. Without them, the water just slides right past the flavor. If you aren’t sure where your water stands, learning how to tell if your water hardness is damaging your boiler is the single most important maintenance step you can take. Stop chasing the gear and start respecting the chemistry.
Don’t Let Old Oils Turn Your Morning Cup Into a Chemistry Project
Your machine is an investment, not just a kitchen appliance. If you’ve been following my journey, you know I’m obsessed with the small details. But all the precision tampers in the world won’t save a shot if your group head is caked in rancid coffee oils. I’ve learned the hard way that replacing your group gasket without scratching the chrome is a skill every home barista needs to master before the rubber turns into a rock. When you ignore this, you’ll start noticing why your portafilter gasket is getting brittle, leading to those annoying leaks that ruin your extraction pressure. I recommend making a rigorous weekend deep clean routine a non-negotiable part of your Saturday morning. It’s the difference between a machine that lasts five years and one that lasts fifteen. Andrea Illy, in his seminal work ‘Espresso Coffee: The Science of Quality’, emphasizes that any accumulation of carbonized oils on the shower screen creates erratic water dispersion regardless of pump pressure, essentially undoing all your hard work with WDT tools and precision baskets.
#IMAGE_PLACE_HOLDER_D#
How do I keep my espresso gear performing like new over time?
The secret is proactive replacement rather than reactive repair. For your grinder, this means swapping your grinder burrs without losing your settings every couple of years depending on your throughput. I personally check my burr alignment every six months because determining if your grinder is retaining too much coffee can be a silent signal that your burrs are becoming dull or misaligned. If you notice why your grinder’s static gets worse in winter, don’t just reach for the RDT spray; use it as a prompt to check if your internal chutes need a thorough brushing.
The Future of Home Espresso is Smarter Not Just More Expensive
I truly believe we are moving toward an era where ‘manual’ skill will be augmented by real-time data. We’re already seeing the rise of smart scales that talk to grinders, and I predict the next five years will bring affordable machines with built-in sensors that measure puck resistance in real-time, automatically adjusting the pump to prevent channeling. It’s an exciting time to be an enthusiast. If you really want to level up your game today, my big tip is this: go pull your shower screen right now. If it’s brown or sticky, give it a 15-minute soak in backflush detergent. You’ll be shocked at how much cleaner and more vibrant your next shot tastes. Stop treating maintenance as a chore and start seeing it as the ultimate flavor enhancer.
Hard Truths I Discovered While Chasing the Perfect Shot
Looking back at my first few years as a home barista, I realized that I spent way too much time blaming my beans and not enough time auditing my mechanics. Here are the three most important ‘lightbulb moments’ that changed my workflow forever:
- The ‘Polish’ is a Lie: I used to spin my tamper at the end of the compression like a pro in a 90s movie. I eventually learned that spinning—or ‘polishing’—often breaks the seal at the edges you just worked so hard to create. If you want a perfect puck, press down, lift straight up, and walk away.
- Grinders Outrank Machines: You can pull a decent shot on a budget machine if you have a world-class grinder, but even the most expensive dual-boiler won’t save a shot from a inconsistent grind. If your counter is shaking, learn how to stop your espresso machine from rattling the counter before you blame the pump.
- The Perimeter is the Priority: Channeling almost always starts at the walls. If you can master the edges of your basket, the center usually takes care of itself. This is why that extra 0.5mm on a precision tamper is non-negotiable.
#IMAGE_PLACE_HOLDER_E#
The Arsenal That Kept Me From Quitting
If you are feeling overwhelmed by the endless sea of gadgets, let me simplify the ‘must-haves’ based on what actually improved my coffee, not just my shelf aesthetic. First, pick up a copy of James Hoffmann’s The World Atlas of Coffee; it’s the only way to truly understand why your Ethiopian beans behave differently than your Brazilian ones. Second, invest in a dedicated WDT tool with needles thinner than 0.4mm. Finally, before you upgrade your hardware, revisit the fundamentals of mastering the art of home espresso tips for beginners to ensure your technique is solid. When you are ready for a bigger leap, looking into top-rated espresso machines for coffee lovers in 2025 will give you a clear roadmap of what features actually matter in the current market.
Your Kitchen is the New Best Cafe in Town
At the end of the day, making coffee at home is about the ritual as much as the caffeine. It is a journey of constant adjustment and small victories. Don’t be discouraged by a sour shot or a messy basket; those are just data points leading you to your best cup yet. Just remember to keep your gear pristine, because nothing ruins a morning faster than why your espresso tastes like vinegar after cleaning due to leftover residue. With the right home espresso setup and a little bit of patience, you’ll soon find yourself preferring your own kitchen to the local coffee shop. Have you ever noticed a visible gap between your tamper and the side of your basket? Let me know in the comments below!