The Trick for Getting Rid of Old Coffee Odors in a Hopper
I still remember the morning I ruined a fresh bag of single-origin Ethiopian beans. I was excited for those delicate, blueberry-like notes. Instead, my first sip tasted like a stale, burnt diner brew from last month. The culprit wasn’t my brewing technique or my water. I took off the lid of my grinder and stuck my nose inside. It hit me like a wall. A thick, rancid, oily stench had completely coated the plastic walls. My expensive beans never stood a chance.
Your Beans Are Absorbing Last Month’s Leftovers
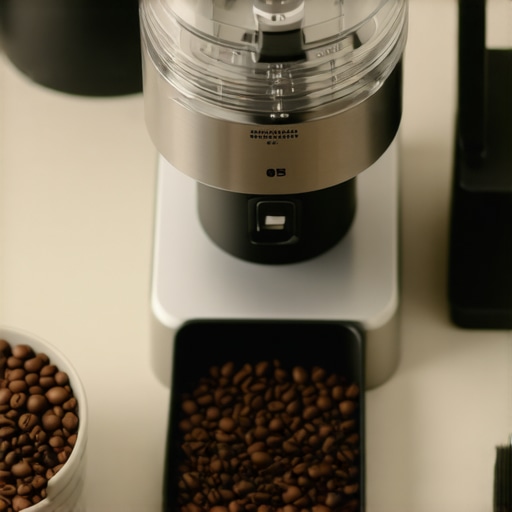
Our coffee beans contain delicate lipids and oils that migrate to the surface of the bean over time. These oils are highly volatile. When they stick to your plastic hopper, they oxidize quickly and turn rancid. If you do not tackle this build-up, those old smells will actively degrade your fresh, expensive beans. To get a handle on your setup, learning how to select the perfect coffee grinder for your brew is only half the battle. You also have to keep that equipment pristine. I made the classic rookie mistake of ignoring my plastic hopper for a full year. I assumed a quick wipe-down with a dry paper towel was enough. It was not. In fact, you can find the complete guide on how to get the old coffee smell out of your hopper to see just how deep those oils can sink into porous plastic materials. Today, we are going to fix this problem for good so your mornings can taste fresh again.
Is a smelly hopper really ruining my expensive morning espresso?
You might be skeptical. Can a slight smell on the plastic walls actually affect a shot that extracts in under thirty seconds? Yes, absolutely. Coffee is highly hygroscopic, meaning it absorbs moisture, odors, and oils from its surrounding environment almost instantly. If your hopper smells like stale coffee, your fresh beans act like a sponge and soak up those off-flavors before they even hit the burrs. This is especially true if you are using top-rated espresso machines for coffee lovers in 2025, where high pressure amplifies every single flavor defect. Have you ever noticed your morning espresso tasting suddenly flat or bitter despite using fresh roast dates? Let me know in the comments below if you are fighting this same frustrating battle right now! It is a common hurdle when you are first mastering the art of home espresso, but the solution is incredibly simple once you know the right trick.
Cleaning a coffee hopper is like washing a greasy frying pan. If you just splash some cold water on it, the grease stays exactly where it is. You need a method that breaks down the stubborn, oxidized lipids without scratching the delicate plastic surface or leaving a chemical scent that ruins your next espresso extraction.
Break Down the Coffee Oil Barrier Safely
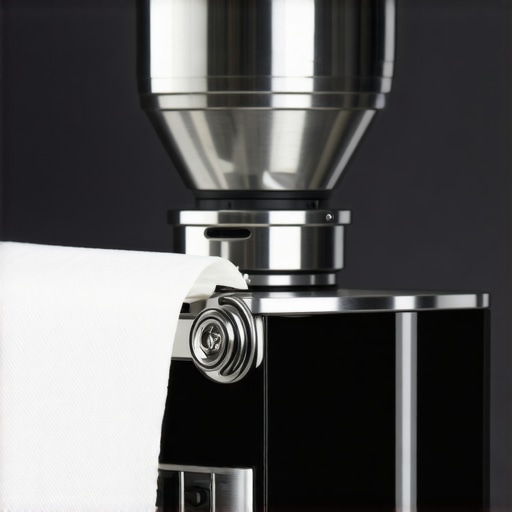
The biggest mistake I ever made was using a harsh glass cleaner on my hopper. I thought the grease-cutting formula would make quick work of the residue. It did, but it also micro-fractured the acrylic plastic, leaving it cloudy, and my next ten double-shots tasted like synthetic lavender. To avoid this catastrophe, you must use the right formulation: warm water, a mild, unscented dish soap, and a microfiber cloth. Avoid paper towels, as their wood fibers can create microscopic scratches that harbor even more oils in the future.
Dismantle the Assembly and Safely Empty Your Beans
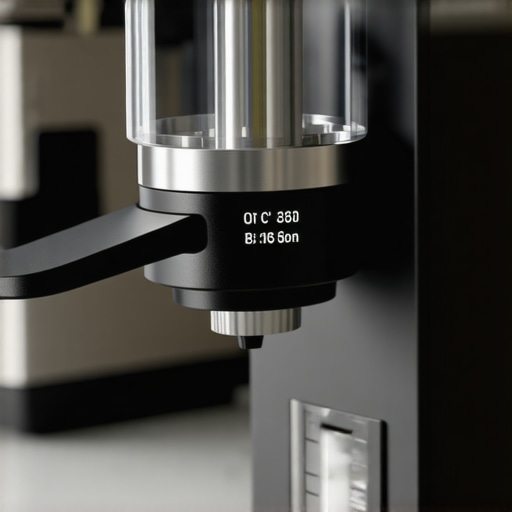
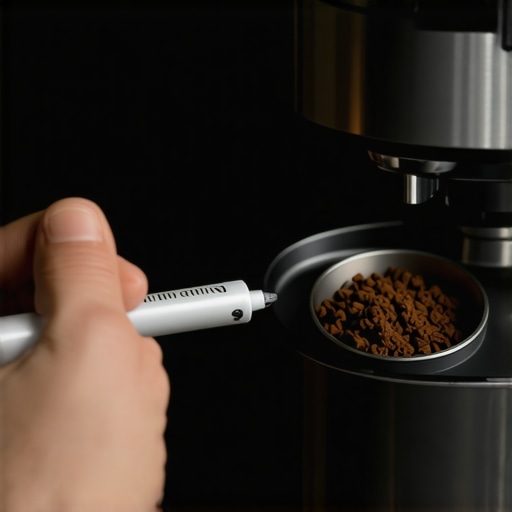
Before you introduce any moisture, shut off your grinder and unplug it from the wall. Close the sliding gate at the bottom of the hopper to trap the remaining beans, then twist and lift the hopper off. Dump those beans into an airtight container. Now, look down into the throat. You will likely see stray beans resting on top of the burrs. I always keep a small brush handy; it is the trick for getting ground coffee out of tight corners before those loose grounds get wet and turn into a concrete-like paste inside your grind chamber.
Wash by Hand and Avoid the Dishwasher at All Costs
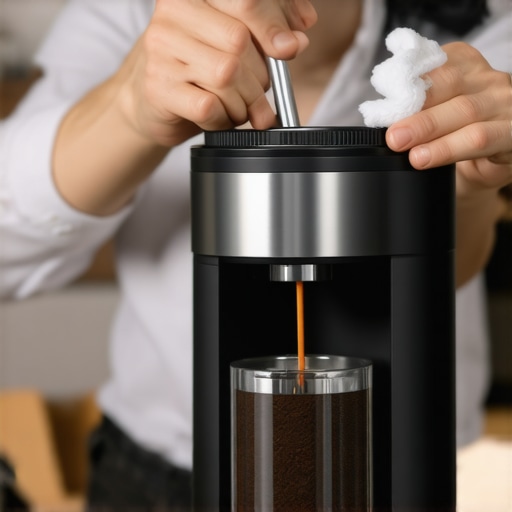
Never, under any circumstances, put your plastic hopper in the dishwasher. The intense heat and aggressive detergents will warp the collar, making it impossible to fit back onto your machine. Instead, submerge the hopper in lukewarm water mixed with a few drops of unscented dish soap. Use your microfiber cloth to gently scrub the interior walls. When I first did this to my old workhorse grinder, the water turned a murky, tea-like brown in seconds—a disgusting reminder of what had been flavoring my morning drinks. If you are also cleaning the rest of your setup, it pays to know the best routine for a weekend deep clean to streamline your workflow.
Achieve a Bone-Dry Assembly Before Reinstallation
Moisture is the ultimate enemy of your steel grinder burrs. Even a single drop of water clinging to the bottom collar of your hopper can slide down into the chamber, causing the burrs to rust or causing your fresh grounds to clog. After rinsing the soap away thoroughly, dry the hopper with a fresh microfiber towel. Let it air-dry upside down on a rack for at least an hour. This patience is crucial, similar to how the best way to dry your portafilter quickly prevents channeling issues. Once it is bone-dry, slide it back onto your grinder, lock it in place, and enjoy the clean, uncompromised flavor of your favorite beans.
Now that we have tackled the physical grime on the hopper, let’s dig deeper into the science of coffee oil extraction. Most home baristas assume that once the visible yellow grease is gone, their work is done. This is actually a major misconception that hinders many when mastering the art of home espresso. In my years of roasting and brewing, I have discovered that microscopic oil residue behaves very differently than what we can see with the naked eye. Cleaning is only half of the battle; understanding how those oils interact with your plastic gear on a molecular level is what separates the novices from the true coffee experts.
The Micro-Pore Illusion and Why Soap Fails
Everyone tells you to wash your hopper with soapy water, but in my experience, standard dish detergent is not the silver bullet we think it is. Acrylic and polycarbonate plastics are not actually solid barriers. Under a microscope, they have tiny, porous pockets. When warm coffee oils migrate to the surface of the bean, they get pressed into these micro-pores by the weight of the coffee column. This pressure is magnified when you keep your hopper fully loaded, a dynamic that explains why your shots taste different on a full hopper over the course of a week.
Standard surfactants in household soap only clean the surface tension. They cannot penetrate those microscopic plastic pores. Over time, those trapped oils still oxidize and go rancid beneath the surface, slowly leaching off-flavors into your fresh specialty beans. This is the exact trap that leaves enthusiasts scratching their heads, wondering why their expensive top-rated espresso machines for coffee lovers in 2025 are still producing flat, slightly sour extractions despite a spotless-looking setup.
Why does my coffee still taste stale after a deep clean?
The culprit is often the volatile organic compounds (VOCs) that have permanently bonded with the plastic structure of your hopper. A study on polymer scent retention by the Journal of Applied Polymer Science shows that certain organic lipids can migrate into the molecular matrix of acrylics, making them nearly impossible to wash out with water alone. To combat this, professional roasters utilize specialized, food-safe organic solvent powder designed specifically to break down coffee oils without damaging the plastic. If you are investing in high-end choosing the best barista gear for coffee enthusiasts, you must pair that hardware with commercial-grade cleaning agents rather than relying on standard kitchen soap.
Another massive trap is neglecting the throat of the grinder where the hopper meets the collar. We spend so much time polishing the big, clear plastic bowl that we ignore the dark, narrow chute where the beans actually sit. Old, rancid oils pool in this small junction, completely bypassing your cleaning efforts. Have you ever fallen into this trap and realized you were ignoring the dirtiest part of your machine? Let me know in the comments below! I want to hear your cleaning horror stories and how you solved them.
That dark junction is precisely where I started focusing my weekly deep cleans. If you want to keep your morning shots tasting sweet and bright, you need to treat your entire grinding pathway as a single, connected ecosystem. Over the years, I have tested various tools to make this routine less of a chore, and I have found that a dedicated toolkit is the only way to ensure long-term consistency.
How do I maintain my hopper and grinder cleanliness over time?
The secret to keeping your system clean without performing a full teardown every single day is establishing a simple, disciplined maintenance rhythm. First, never leave beans sitting in your hopper for more than forty-eight hours if you can avoid it. Single-dosing has become incredibly popular for this exact reason, but if you prefer the convenience of a full hopper, only fill what you plan to use over a two-day period. This minimizes the time those oils have to sweat and bond to the plastic walls, preventing that stale build-up before it even starts.
For my personal setup, I rely on a combination of Urnex Grindz cleaning tablets and a high-quality, anti-static camel hair brush. Once a week, after running the vacuum through the empty throat, I run a capful of these food-safe tablets through the burrs. This organic formula absorbs the deep-seated lipids from the burrs and the collar threads that your microfiber cloth simply cannot reach. If you are looking to streamline your weekend chores, establishing the best routine for a weekend deep clean will save you hours of frustration and keep your shots tasting incredibly crisp.
Looking ahead, I predict we will see a major shift in how manufacturers design this critical piece of choosing the best barista gear for coffee enthusiasts. According to recent design patents filed by commercial grinder manufacturers like Mazzer, future high-end home grinders will likely phase out traditional acrylic hoppers entirely in favor of specialized, anti-static glass or oleophobic-coated polymers that actively repel organic coffee lipids. Until those advanced materials become the standard on everyday consumer machines, we have to rely on smart manual maintenance and the right tools to protect our extractions.
My challenge to you this week is to try one advanced tip: pull your hopper completely off, grab an unscented, damp microfiber cloth, and thoroughly clean the very bottom of the throat collar where it connects to the grind chamber. You might be shocked at the dark, oily residue hiding right under your nose.
When you start paying closer attention to the state of your coffee hopper, your entire relationship with espresso shifts. You stop blaming your extraction technique or your water recipe for those random, bitter notes and begin addressing the actual root causes of flavor degradation. Maintaining a clean machine is not just about keeping things looking pretty; it is a fundamental pillar of consistent brewing.
The Hardest Lessons I Learned Managing Coffee Oils
Over the years, I have made almost every maintenance mistake in the book. Here are the core insights that completely changed my daily workflow and saved my coffee from tasting like plastic:
- Plastic is a sponge: Cheap acrylic hoppers hold onto organic compounds much longer than glass. If you do not clean them regularly, those flavors will permanently seep into the material.
- Moisture ruins burrs: A single droplet of trapped moisture on your hopper neck can run down and corrode your grinding plates. Never rush the drying phase.
- Friction creates static: If you notice your chute is constantly clogged, check out why your grinders static gets worse in winter to understand how cold air and residual oil build-up work together to create messy static cling.
My Essential Toolkit for Pristine Grinder Maintenance
I do not believe in complicated routines, but having the right tools on hand makes a massive difference in how often you actually clean your gear. These are the three items I always keep next to my bar:
First, a specialized, high-density microfiber cloth that will not shed fibers into the grind chamber. Second, a dedicated set of food-safe cleaning tablets to strip away volatile lipids from internal surfaces. Third, a stiff-bristled brush to clear the neck; utilizing a proper brush is the ultimate trick for getting ground coffee out of tight corners before those grounds can oxidize. Having this kit ready is crucial when you are investing in top-tier choosing the best barista gear for coffee enthusiasts.
Your Next Step to Sweeter Morning Extractions
Do not let months of accumulated oils ruin your high-quality single-origin beans. Taking ten minutes this weekend to deeply wash your hopper and clear out the throat collar will dramatically transform the clarity and sweetness of your shots. It is one of the easiest ways to elevate your skills when mastering the art of home espresso. Your tastebuds will absolutely thank you for the extra effort.
Have you ever taken off your hopper and been shocked by the sticky, yellow residue waiting underneath? Let me know in the comments below how you handled the cleanup!