How to Balance a Grinder That Is Wobbling on the Counter
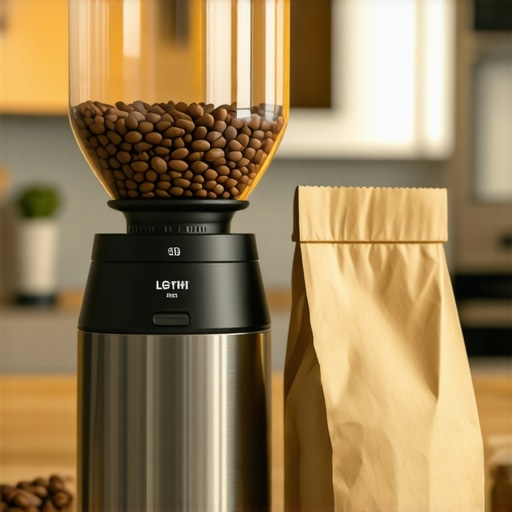
It happened at 6:15 AM, before I’d even had my first sip of caffeine. I hit the start button on my burr grinder, and instead of the usual steady hum, I got a violent rhythmic thumping. My grinder wasn’t just working; it was migrating. Within three seconds, it had shimmy-shook its way two inches closer to the edge of the marble. I’ve seen some strange things in my years of obsession with choosing the best barista gear, but watching a three-hundred-dollar machine try to commit suicide off a countertop is a special kind of stress. Today, I am going to show you exactly how to steady that beast so you can focus on your puck prep instead of playing “catch the grinder.”
Your Countertop Is Probably Not the Problem
When I first started out, I made the classic mistake of blaming my kitchen island. I spent twenty minutes with a spirit level only to realize the surface was perfectly flat. The real culprit? One of the tiny rubber feet on the bottom of my machine had compressed more than the others. In my desperation, I tried sticking a folded-up business card under the corner. It worked for about two days until the vibration spat the card out across the floor. If you have been struggling with how to stop your grinder from bouncing on the counter, you know that temporary fixes just lead to more mess. We need a solution that stays put because, according to mechanical engineering studies on rotational inertia, even a 0.5mm deviation in a high-speed motor’s base can create enough harmonic resonance to rattle a heavy chassis right off its station.
Is a tiny bit of vibration actually worth worrying about?
You might think a small wobble is just an annoying noise, but it is more than that. Unintended movement in the chassis can lead to micro-variations in burr spacing, meaning your grind isn’t as consistent as it could be. Beyond the gear, there is the simple fact of safety—nobody wants to replace a shattered hopper. You can also look into how to quiet a loud grinder using only a rubber mat if the noise is your main gripe. Have you ever had your machine nearly take a dive off the counter during a morning rush? Drop a comment below and let’s compare horror stories. If things are really uneven, you might even need the cardboard trick for leveling a grinder, but we are going to aim for something a bit more permanent first. Let’s look at the feet and the friction.
Stop the Slide Before It Starts
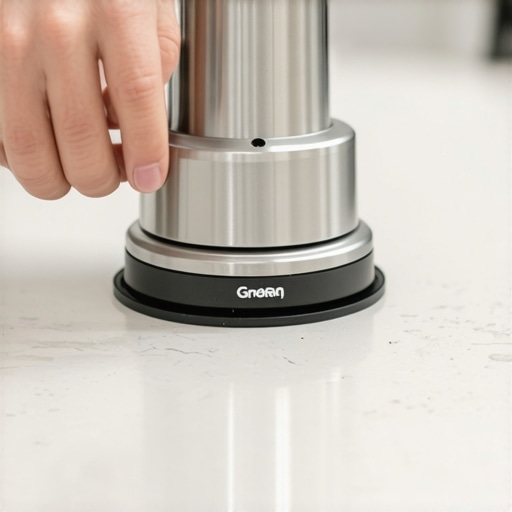
The first thing you need to do is get your hands dirty. Flip that machine over—carefully, mind the hopper—and look at the feet. Most modern grinders use threaded rubber feet that act like tiny shock absorbers. Over time, one might screw itself in further than the rest, or the rubber might simply degrade from heat and pressure. When I tried to fix my old Mignon, I thought I could use Blu-Tack as a quick stabilizer. Huge mistake. The motor’s heat turned the adhesive into a gooey syrup that bonded to my counter. It took me an hour of scrubbing to save the marble, and the grinder still wobbled. Instead of sticky fixes, you want to ensure the weight is distributed evenly across all four points of contact. If you find your surfaces are just too slick, you should learn how to select the perfect coffee grinder for your brew that features a wider, heavier base for better natural stability.
Fix the Feet Without Using Cardboard Shims
If one foot is shorter, don’t reach for the junk drawer yet. Many feet are actually adjustable by unscrewing them slightly. If yours are fixed and worn down, you can find universal adhesive rubber bumpers at any hardware store. These are like the tires on a car; once the tread is gone, you lose grip. Replacing all four at once ensures a uniform height and prevents the harmonic resonance that causes the machine to “walk” across the stone. This is much more effective than the cardboard trick for leveling a grinder because rubber actually grips the surface rather than just filling a gap. Think of it as upgrading from dress shoes to high-performance sneakers on a basketball court.
Put a Dampener Between the Motor and the Counter
Sometimes the machine is fine, but the combination of a high-RPM motor and a hard countertop creates a “drum” effect. The vibrations bounce off the marble and send the grinder into a frenzy. This is where a thick silicone mat becomes your best friend. It acts as an isolation mount, soaking up the kinetic energy before it can move the chassis. It is the same principle used in high-end speakers to prevent rattling. If you are also dealing with a noisy setup, check out how to quiet a loud grinder using only a rubber mat for specific thickness recommendations. I’ve found that a 5mm thick mat not only stops the migration but also makes the whole grinding process sound deeper and less shrill.
Check the Hopper and Chute for Loose Fittings
Vibration often starts at the top and works its way down. A loose hopper can act like a sail in a windstorm, catching the motor’s rhythm and amplifying it. Ensure the locking screw or the tension ring on your hopper is snug. While you are at it, check the discharge area. A loose dosing cup or a poorly seated tray can rattle against the body, creating secondary vibrations. If your machine is older, you might also need to know how to clear a jammed chute without damaging your grinder, as a clogged path can cause the motor to labor harder, creating more heat and more violent shaking. Keeping the internals clean with the best way to clean a grinder without losing your settings ensures the motor runs smoothly without unnecessary resistance. Even something as small as how to stop your dosing cup from catching on the grinder chute can reduce the micro-movements that eventually lead to the “migrating grinder” syndrome.
Let’s dig deeper into why simply buying the heaviest machine on the market doesn’t always solve the ‘walking’ problem. There is a common myth in the community that a heavy, solid-metal chassis is a guarantee of stability. In my experience, however, weight can actually work against you if the internal components are out of sync. I once owned a twenty-pound commercial beast that rattled more than my entry-level plastic model because the motor shaft was slightly off-kilter. When you are choosing the best barista gear, do not just look at the spec sheet for kilograms; look for mentions of motor balancing and isolation mounting.
Weight Won’t Save a Poorly Balanced Motor
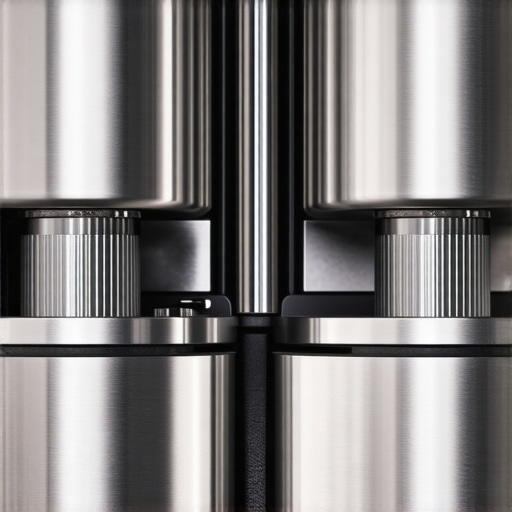
People often assume that because a grinder is expensive, it must be perfectly calibrated out of the box. That is a dangerous assumption. According to the principles laid out in J.P. Den Hartog’s classic text ‘Mechanical Vibrations,’ if the motor’s operating frequency matches the natural frequency of the grinder’s chassis, you will get resonance amplification regardless of how much lead is in the base. This is why some high-end grinders still migrate across the counter while cheaper ones stay put. If you feel a high-frequency buzz rather than a low thud, your issue isn’t the feet—it is internal alignment. This is where the tinfoil shim move for perfectly aligned grinders becomes an essential skill for the advanced user. By shimming the burrs, you aren’t just fixing the grind quality; you are often centering the rotational mass, which reduces the vibration that causes the machine to move.
Why does my expensive grinder still vibrate like a budget model?
The secret often lies in the thermal expansion of the internal components. As you grind, friction generates heat. If the tolerances are too tight or the materials aren’t high-grade, the internal housing can expand unevenly, throwing off the motor’s balance mid-dose. This is a common reason why your grinder burrs are getting hot during a single dose. When the metal expands, the center of gravity shifts ever so slightly, and that rock-solid machine starts to hum. To combat this, I always recommend a ‘cold start’ workflow or ensuring your internals are free of old, hardened oils that can create uneven friction.
The Friction Trap That Actually Makes Vibrations Worse
Here is the ‘oops’ factor most people miss: adding too much grip to the feet. You might think that sticking your grinder down with heavy-duty adhesive pads is the ultimate fix, but this is a trap. If the machine cannot dissipate energy through micro-movements, that vibration is forced back into the motor and the burrs. This leads to premature wear on the bearings and, surprisingly, more noise. You want isolation, not a permanent bond. A common mistake I see is people using things like rice to ‘clean’ and stabilize the internal burr resistance, but why you should never use rice to clean your high-end grinder is simple: the starch buildup can actually unbalance the spinning assembly. Instead, stick to the best way to clean a grinder without taking it apart to keep the weight distribution of the burrs consistent. When how to select the perfect coffee grinder for your brew is the goal, remember that a clean, well-maintained motor is always quieter and more stable than a dirty one. Have you ever fallen into this trap and found your machine getting louder after a ‘fix’? Let me know in the comments.
Keep Your Group Head from Self-Destructing
Once you’ve successfully anchored your grinder and stopped the ‘countertop walk,’ the next battle for espresso longevity happens inside the machine. I used to ignore my group head until I noticed a strange, chalky buildup. If you ignore the warning signs, you will eventually find that your e61 mushroom is covered in white crust, which is a death sentence for temperature stability. I personally pull the mushroom every three months to check for scale. It’s a five-minute job that saves you a five-hundred-dollar repair bill later. When you look at the top-rated espresso machines for coffee lovers in 2025, you’ll see more manufacturers moving toward stainless steel boilers to fight this, but even the best steel can’t survive terrible water chemistry.
How do I maintain my espresso machine for the next decade?
The secret isn’t a magic chemical; it’s consistency. I follow the *Specialty Coffee Association (SCA) Water Quality Handbook* guidelines religiously because they highlight how even ‘safe’ tap water becomes a corrosive nightmare when subjected to 9 bars of pressure and 200-degree heat. To keep my boiler pristine, I use the best way to descale a boiler without using harsh vinegar, which keeps the metallic aftertaste out of my morning latte. If you start noticing that your steam wand pressure cuts out after 10 seconds, do not just turn up the heat. That is a symptom of a scale blockage, and pushing the machine harder will only lead to a blown thermal fuse.
The Essential Kit Beyond the Grinder
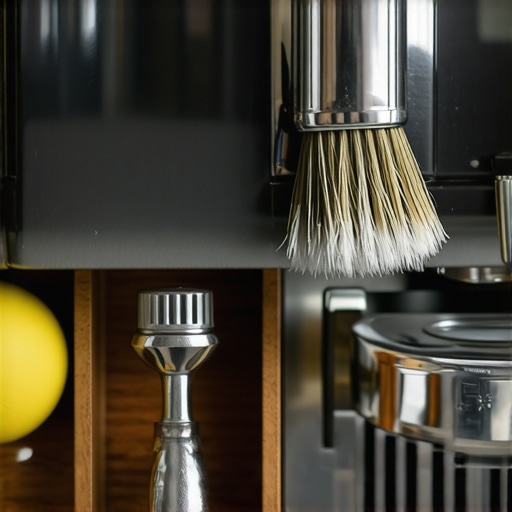
Maintenance isn’t just about descaling; it is about the physical interface of your gear. I’ve recently made the switch to a lever-driven setup, and I highly recommend you see why you should switch to a lever handle for your steam wand. Standard twist knobs eventually wear out their internal gaskets, leading to that annoying slow drip that keeps you up at night. For the actual brewing, I’ve stopped guessing with my tamping pressure. I moved to a calibrated tool because the truth about using spring-loaded tampers for even shots is that they remove one more variable from your morning rush. I also suggest looking at your distribution tools; if you find your espresso is thin, it might be because your wdt tool pins are too thick for light roasts, causing more channels than they fix.
Where the Home Barista World is Heading
I predict that the next five years will be defined by ‘smart maintenance’ sensors built directly into our barista gear. We are already seeing machines that lockout until a backflush is performed, and soon, we’ll have grinders that alert us to burr wear via Bluetooth. But until that high-tech future arrives, the best thing you can do is adopt the 2-minute habit that prevents clogged steam wands. It’s the difference between a machine that lasts three years and one that becomes a family heirloom. If you want to really level up your maintenance game, try this one advanced tip tonight: after your final shot, pull your shower screen entirely and soak it in backflush detergent; you will be horrified by the oils hiding behind that ‘clean’ screen. Ready to dive deeper into perfecting your workflow? Check out our other guides to keep your station running like a pro shop.
The Heavy Cost of Ignoring Your Grinder’s Cry for Help
After years of tinkering, I realized that a migrating grinder is actually a blessing in disguise—it is a diagnostic tool. If your machine is “walking,” it is telling you something about its internal balance. One of the biggest shifts in my journey was realizing that mastering the art of home espresso starts with a stable foundation. You cannot troubleshoot a sour shot if your burrs are rattling like a bag of marbles. I have also learned that noise is almost always wasted energy; a quiet machine is an efficient machine. If you have already fixed the grinder but your machine is still making a racket, you might need to look at how to stop your drip tray from vibrating across the counter to find peace in your kitchen.
The Small Additions That Saved My Sanity and My Countertop
I do not believe in buying gear for the sake of it, but these three things are non-negotiable for my station. First, a high-density silicone mat—specifically 5mm thick—is the single best investment for noise reduction and grip. Second, I swear by the SCA Water Quality Handbook because poor water chemistry kills even the most expensive top-rated espresso machines for coffee lovers in 2025 through calcification. Finally, keeping a dedicated set of food-grade O-rings on hand is the move for better espresso without buying a new machine. It stops the leaks before they start, ensuring every ounce of pressure goes through the coffee puck, not the side of the portafilter.
Take Control of Your Morning Workflow
Building a world-class coffee setup isn’t about having the deepest pockets; it is about the attention you pay to the details. When your barista gear is tuned, balanced, and clean, the coffee simply tastes better because you are no longer fighting your equipment. Do not let a vinegar smell ruin your morning—if you have just finished a deep clean, make sure you know the reason your espresso tastes like vinegar so you can flush the system properly. Your morning routine should be a ritual, not a repair session. Go ahead and tighten those feet, lay down that mat, and enjoy the silence of a perfectly calibrated grind. #IMAGE_PLACE_HOLDER_E#
Have you ever had a piece of gear that seemed possessed by vibrations until you found a simple fix? Let me know in the comments below!