How to Clean an Old Copper Boiler Without Damaging the Finish
I stood there staring at a green, crusty mess that was supposed to be the crown jewel of my kitchen. My first vintage espresso machine had a copper boiler that looked like it had been sitting at the bottom of the ocean for a decade. I’ll admit it: I panicked and reached for the harshest scrubby pad I could find. It was a disaster. I learned the hard way that when you’re dealing with older barista gear, brute force is your worst enemy. Today, I’m going to show you how to peel back the years of neglect without leaving a single scratch on that precious metal. We are going to solve the riddle of removing stubborn oxidation while preserving the structural integrity and the aesthetic soul of your machine.
Stop Using Abrasive Pads on Your Vintage Gear
I see it all the time in the forums. Someone buys one of the top-rated espresso machines from forty years ago and thinks a bit of steel wool is the answer. It’s not. Copper is a soft, forgiving metal in terms of heat, but it is incredibly easy to scar. When I first started mastering the art of home espresso, I thought a shiny boiler meant a healthy boiler. I was wrong. You need to know how to tell if your machine boiler is accumulating lime scale before you even worry about the outside finish. The real danger is that commercial cleaners often contain hydrochloric or sulfuric acids that can eat right through the thin walls of an old boiler. According to the Copper Development Association, copper develops a natural protective patina that can actually prevent deeper corrosion, and stripping it too aggressively exposes the raw metal to oxygen, leading to even faster tarnishing. Before you start, always find the easy way to check if your boiler is actually empty so you don’t end up with a kitchen floor full of scale-filled water.
Does a gentle cleaner really work on heavy oxidation?
It is natural to be skeptical. We’ve been conditioned to think that if it doesn’t smell like a laboratory and sting our eyes, it isn’t working. But in my workshop, I found that the best way to descale a boiler without using harsh vinegar or industrial chemicals is often a simple organic acid solution. Have you ever accidentally stripped the finish off a piece of gear you loved? I know I have, and that sinking feeling is exactly what I want to help you avoid today. This process isn’t just about making things look pretty; it’s about respecting the craftsmanship of a bygone era. We’ll look at how to balance the pH of your cleaning solution and why you should always perform the easy way to test your machines water hardness at home to prevent future buildup.
Pop the Hood and Start the Teardown
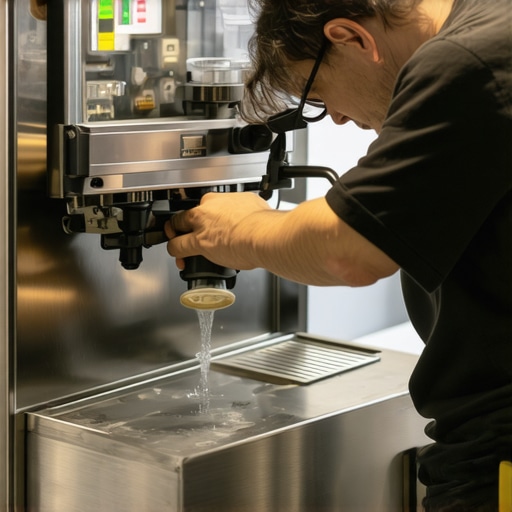
Before you even think about the polish, you have to get the components apart. This is where most enthusiasts fail. I remember my first restoration where I treated a stuck screw like a personal challenge; I applied too much torque and snapped the head clean off. It took me three days of drilling and tapping to fix a mistake that could have been avoided with heat and patience. When dealing with barista gear that has seen decades of heat cycles, the metal has expanded and contracted thousands of times. You need to use the trick to removing a stuck shower screen without stripping the screw: use a stubby, high-torque screwdriver and give it a firm tap with a hammer to break the seal of the coffee oils before you turn it. Once the internals are exposed, verify that you followed the easy way to check if your boiler is actually empty. There is nothing worse than disconnecting a heating element and having a liter of calcified water dump into your delicate wiring.
Mix the Perfect Citric Acid Bath
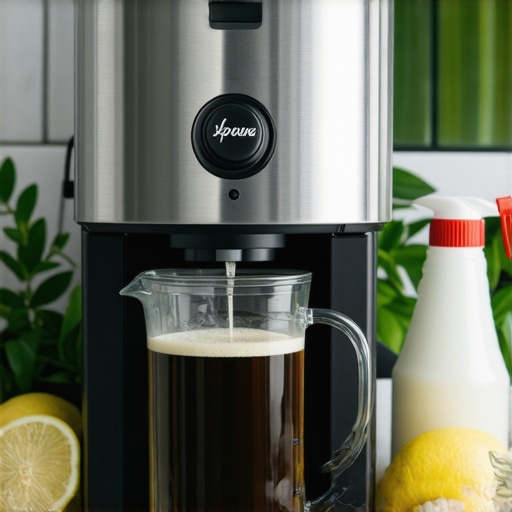
Instead of using heavy-duty industrial descalers, I rely on food-grade citric acid. It’s like the difference between using a sledgehammer and a scalpel. I mix roughly two tablespoons per liter of warm water. If you are dealing with a heavily oxidized copper boiler, you will see the water turn a vibrant blue-green—that is the citric acid reacting with the copper oxides. This is exactly the best way to descale a boiler without using harsh vinegar because it doesn’t leave that lingering, funky smell that can haunt your first fifty shots. While the boiler is soaking, check your smaller components. If your machine is older, you might find how to spot a failing solenoid valve before it floods your kitchen by looking for white, crusty trails around the base of the valve.
Clear Out the Hidden Milk Gunk
While the metal is soaking, we need to talk about the steam circuit. On these old machines, the steam wand is often a biohazard. People used to be much less diligent about purging their wands. You must learn how to clean the inside of your steam wand pipe using a dedicated pipe brush. I once pulled a centimeter-long plug of solidified milk out of a 1974 Pavoni; it looked like plastic and smelled worse. This buildup is often the reason your steam wand only makes thin hot milk instead of that silky microfoam you need for latte art.
Fix the Mechanical Feel
If you are working on a manual machine, the physical feedback is everything. I often hear people complaining that their handle feels like it’s grinding through sand. Usually, the reason your manual lever pull feels spongy or gritty is either a lack of food-safe lubricant on the piston seals or a build-up of scale in the group neck. While you have the machine open, it is also the perfect time to learn how to fix a stuck pressure stat in an older machine. These mechanical switches often get carbon buildup on the contacts. A quick pass with a piece of very fine-grit sandpaper—just on the electrical contacts, never the copper—can bring a dead machine back to life. If you find your reservoir is looking a bit green, you can also use how to clean a moldy water tank without harsh chemicals to ensure your water source is as clean as your newly scrubbed boiler.
Now that your machine is gleaming and the scale is gone, we have to address the silent killer of great coffee: the grinder. Most people think choosing the best barista gear starts and ends with the espresso machine, but I’ve spent years realizing that a mediocre machine with a world-class grinder beats a top-tier machine with a poor grinder every single time. It’s a hard pill to swallow after you’ve spent weeks polishing a copper boiler, but the machine is just a water delivery system; the grinder is the architect of your flavor. The hidden nuance here is that your grinder isn’t a static tool. If you’ve ever wondered why your grinder settings feel like they changed overnight, it’s not your imagination. Coffee is hygroscopic, meaning it absorbs moisture from the air, and even a 5% shift in humidity can require a total recalibration of your burrs. This is where most beginners give up, assuming their equipment is broken.
Can burr alignment actually fix a sour shot?
Many enthusiasts dive into the rabbit hole of burr alignment because they feel their shots lack “clarity” or consistently taste sour regardless of the dose. While alignment matters, the “Oops” factor I see most often is pure neglect of the internal pathways. We spend so much time descaling the boiler that we forget the danger of leaving old coffee oils in your portafilter spouts and inside the grinder’s discharge chute. These oils go rancid quickly. A study published in the Journal of Agricultural and Food Chemistry indicates that the oxidation of coffee lipids begins within minutes of grinding, and if those old oils coat your internals, every fresh shot will carry a metallic, off-flavor. This is also why your espresso shot tastes like plastic after a long storage period—the volatiles have bonded with the residue in the machine. To combat this, you must learn how to properly season new steel burrs for better consistency. Unseasoned burrs have microscopic burrs and sharp edges that produce far too many “fines,” leading to a muddy, uneven extraction that no amount of fancy tamping can fix.
Stop Chasing the Perfect Grind with Oily Beans
Here is a controversial take that might upset some dark roast fans: those shiny, oily beans you love are the natural enemy of high-end equipment. I have seen countless $2,000 grinders ruined because people didn’t realize why you should never use oily beans in a super-automatic or a precision flat-burr grinder. The surface oil acts like a high-strength glue for coffee dust, leading to the reason your grinder adjustment ring feels gritty or stuck. If you find yourself in this position, stop turning the dial immediately. You need to know how to fix a grinder adjustment ring that wont budge without snapping the internal carrier. Even when mastering the art of home espresso, you might still find yourself frustrated by a bitter profile. If you’ve ever asked why your espresso tastes burnt even with light roast beans, look at your grinder first. Friction heat from dull or dirty burrs can cook the grounds before they even hit the water. Have you ever fallen into this trap where you blamed the machine when it was actually the grinder? Let me know in the comments.
Keep the Group Head Purring Like New
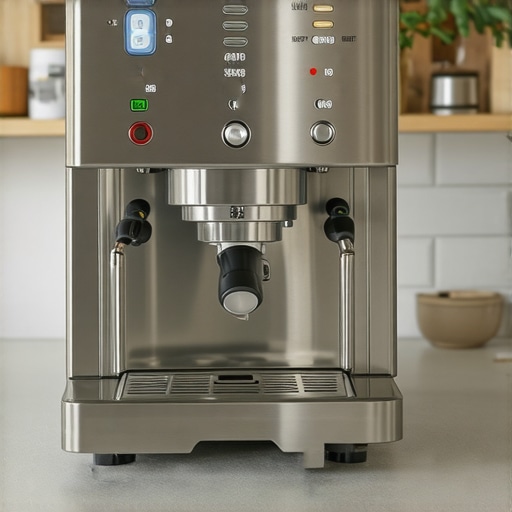
Once you have tackled the grinder, you have to realize that the machine’s mechanical parts are constantly fighting against heat and friction. If you are lucky enough to own an E61 group, you need to learn how to properly lubricate your e61 group head cam. I do this every time I backflush with detergent because those chemicals strip away the food-safe grease that keeps the lever smooth. Without it, you are just grinding metal against metal. If you feel a click or resistance, that is a cry for help. You should also regularly how to check your espresso machines group head flow rate to ensure your pump is not dying or your lines are not restricted. I keep a small tube of Molykote 111 in my drawer at all times; it is the only lubricant I trust for high-temperature seals.
How can I keep my vintage setup running for decades?
Maintenance is not a one-time event; it is a rhythm. Every six months, I pull the shower screen to see why your group head shower screen is getting clogged so fast. Usually, it is a mix of fine grounds and hardened oils that restrict flow. If you ignore this, the water distribution becomes uneven, and you will wonder why your bottomless portafilter shows channels every time despite your perfect tamping technique. According to the Specialty Coffee Association’s (SCA) Water Quality Handbook, the ideal calcium hardness should be around 50 to 175 ppm CaCO3 to prevent both corrosion and scale buildup. I use a dedicated testing kit every month because tap water hardness fluctuates with the seasons. If you are seeing weird puddles, you need to know how to check if your portafilter gasket is actually sealed before the leak damages your electronics.
Precision Tools That Actually Make a Difference
I used to roll my eyes at people spending hundreds on a scale, but then I realized why your espresso scale is jumping numbers while the shot is pulling. Cheap scales have terrible sampling rates and zero moisture protection. I personally use a scale with at least a 0.1g resolution and a fast response time because, in a 30-second shot, a half-second lag can mean the difference between a sweet nectar and a bitter mess. This level of precision is vital for mastering the art of home espresso. Looking ahead, I predict we will see even more smart integration where pressure transducers in manual lever machines sync directly to our phones, giving us real-time flow profiling even on 50-year-old hardware. We are moving toward a world where the physical feel of a manual pull is backed by hard, digital data.
If you are struggling with consistency, look at your workspace layout. I have found why your espresso tastes better when you dont use the drip tray—often because it gives you more clearance for a proper scale and prevents chassis vibrations from messing with your readings. My final piece of advice for this stage: do not let a small leak turn into a catastrophe. Learn how to fix a leaking steam wand valve pin the moment you see a drip. It is a ten-minute job that saves you a massive repair bill later. Try the cam lube trick this weekend; you will be shocked at how much more luxurious your machine feels to operate.
What Most Manuals Won’t Tell You About Resurrecting Dead Copper
Over the years, I’ve realized that the most valuable tool in my kit isn’t a heavy wrench—it’s patience. When you’re working on forty-year-old espresso machines, the metal has a memory of every heat cycle it has endured. If a fitting feels stuck, don’t force it; applying local heat is usually the secret to loosening decades of calcification without snapping a bolt. Another lightbulb moment for me was realizing that even if the boiler is spotless, your electronics can still lie to you. If your machine isn’t heating properly, you might need to learn how to fix a broken boiler temperature sensor that has been blinded by microscopic scale. Finally, don’t ignore the physical stability of your setup. If your machine is so powerful it vibrates across the counter, you should look into how to stop your espresso machines feet from vibration walking to protect both your countertop and your sanity.
The Restoration Toolkit I Can’t Live Without
If you are serious about keeping your barista gear in top shape, you need a curated set of supplies that go beyond basic soap and water. First, food-grade citric acid is non-negotiable; it is simply the best way to descale a boiler without using harsh vinegar while maintaining the metal’s integrity. Second, I always keep a variety of thin pipe brushes for the steam circuit. Safety is paramount when testing your work, so always practice the best way to purge your steam wand without getting burned. Lastly, remember that no machine restoration is complete without a paired grinder that can handle the precision required for high-end shots. If you’re still using an old blade grinder, it’s time to learn how to select the perfect coffee grinder for your brew to actually taste the results of your hard work.
Bring Your Coffee Ritual Back to Life
Restoring a vintage machine isn’t just about saving money; it’s about the connection you feel to every shot you pull. When you’ve spent hours cleaning copper and aligning burrs, mastering the art of home espresso becomes a deeply personal journey rather than just a morning chore. Whether you are working with high-end levers or modern milk frothers that transform your coffee experience, the goal is always the same: a perfect cup that tells a story. Don’t be afraid to get your hands dirty—that old, crusty boiler in the back of the thrift shop might just be the best espresso machine you’ll ever own. Have you ever encountered a restoration problem that felt impossible to solve? Let me know in the comments below!