The Simple Way to Fix a Gritty Texture in Your Espresso
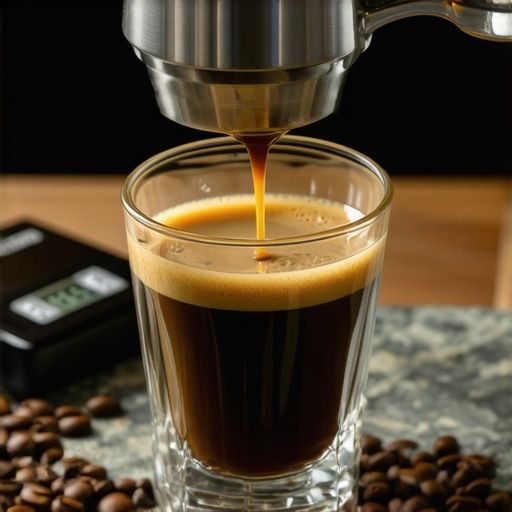
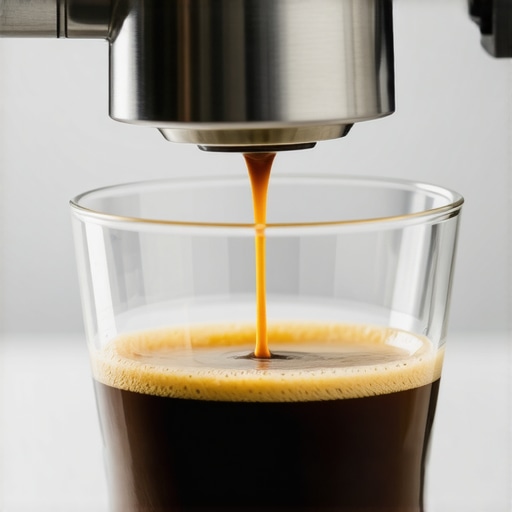
I will never forget the morning I finally thought I had nailed it. I had the fresh beans, the fancy scale, and I had spent the previous night reading about mastering the art of home espresso. The shot looked like liquid velvet pouring from the spouts. I took a confident, greedy gulp, expecting bliss. Instead, it felt like I had seasoned my brew with a teaspoon of beach sand. My tongue was coated in a fine, muddy silt that ruined the entire experience. It was visceral, frustrating, and honestly, a little embarrassing. I felt like a failure despite having all the right tools. We have all been there, staring at a beautiful crema while trying to ignore the grit between our teeth. Today, I am going to show you exactly how to banish that sediment forever without needing to buy a three-thousand-dollar setup. We are going to turn that muddy mess back into the clean, crisp nectar you actually deserve.
Stop Drinking Sand and Start Enjoying Silky Shots
The culprit behind a gritty mouthfeel is rarely the coffee beans themselves; it is almost always a mechanical or procedural hiccup that is letting ‘fines’ escape into your cup. In my early days, I made the rookie mistake of assuming my equipment was just ‘broken’ when, in reality, I was neglecting the basics. For instance, I completely ignored the danger of leaving old coffee oils in your portafilter spouts, which eventually hardened and flaked off as bitter, gritty debris in my espresso. If you are seeing a dark, muddy residue at the bottom of your demitasse, your basket is likely letting too many microscopic particles through, or your puck is fracturing mid-pull. Have you ever pulled a shot that looked perfect but left your mouth feeling like you just licked a chalkboard?
Is Your Grinder Secretly Sabotaging Your Morning?
Many enthusiasts think that as long as the coffee is ground fine, the job is done. However, if your coffee grounds are clumping like little rocks, you are dealing with static and poor particle distribution that leads to ‘fines’—dust-like particles that pass right through the holes of your filter basket. According to the Specialty Coffee Association (SCA), an inconsistent grind size is the primary factor in poor extraction and physical sediment in the cup. This is why learning how to select the perfect coffee grinder is about more than just settings; it is about burr alignment and minimizing those pesky fines that turn your espresso into sludge. We need to look at how your equipment handles the beans before a single drop of water even touches them.To stop the grit, we have to look at the physical seal first. If water is sneaking around the edges of your basket rather than through the coffee, it is dragging dry grounds along for the ride. I learned this the hard way when I ignored a slight hiss from my group head for three weeks. I thought it was just typical machine noise, but it was actually a pressure leak that was dumping sediment into my demitasse every single morning. You need to learn how to check if your portafilter gasket is actually sealed because even a microscopic gap can ruin your texture. If that gasket is hard or cracked, no amount of fancy coffee will save you from a mouth full of sand.
Seal the Leak to Save Your Cup
When the seal fails, the pressurized water finds the path of least resistance, which is often right over the rim of your filter basket. This is why some shots look perfect in the stream but taste muddy. Replace that rubber ring every six months as part of your standard maintenance. While you are at it, consider choosing the best barista gear like a high-precision basket. Standard baskets that come with most consumer machines often have irregular hole sizes, which practically invite fines to take a swim in your espresso.
Kill the Static Before it Ruins Your Flow
Static electricity is the hidden enemy of a clean shot. When coffee beans are ground, they build up a charge that causes them to clump together. These clumps are deceptive; they look like solid mass, but they are actually pockets of air and dust. If you find that your coffee grounds are clumping like little rocks, those clumps will create weak points in the coffee puck. Water will rush through these spots, creating high-velocity channels that physically push sediment through the holes. I started using the ‘Ross Droplet Technique’—literally just one drop of water on the beans before grinding—and the difference was night and day. Learning how to stop static from ruining your grinding workflow is the fastest way to get that liquid-velvet texture without spending a dime.
Stop Channeling from Blasting Silt into Your Cup
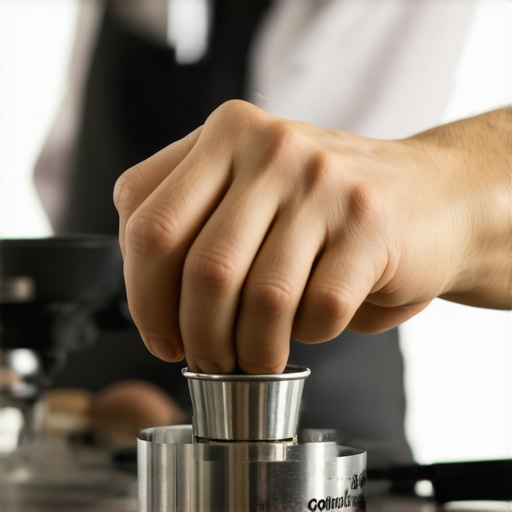
Think of your coffee puck like a filter. If the water flows evenly, the puck itself helps trap the smallest particles. But if the water finds a crack, it acts like a pressure washer, blasting everything in its path straight into your cup. This is why you must master how to prevent channelling in a bottomless portafilter shot. Use a Weiss Distribution Tool (WDT)—which is essentially just thin needles—to stir the grounds and break up those static clumps before you tamp. I remember my first time using a WDT tool; I felt ridiculous stirring my coffee with what looked like acupuncture needles, but the sediment at the bottom of my cup vanished instantly. It turns out that a few seconds of stirring is the difference between a gritty mess and a professional-grade extraction.While many beginners obsess over ‘freshness,’ the reality is that beans straight out of the roaster are actually your worst enemy. I have seen enthusiasts throw away perfectly good gear because of why your freshly roasted beans are making your espresso taste like grass, not realizing that the trapped CO2 is physically pushing water away from the coffee particles. This creates ‘micro-channels’ that dump silt into your cup. The Specialty Coffee Association (SCA) notes in their degassing studies that resting beans for at least five to seven days allows the internal pressure to stabilize, giving you a much cleaner, sediment-free pour. If you are using beans roasted yesterday, you are basically fighting an uphill battle against physics. Another trap is the belief that more pump pressure equals more flavor. If you see why your espresso pressure drops suddenly during the shot, it is often because the force has literally crushed the coffee structure, causing a physical collapse that lets fines through. I have found that dropping my machine to 6 or 7 bars often produces a far more ‘elegant’ shot than the industry-standard 9 bars, simply because it is gentler on the coffee puck.
Why Does Your Shot Extraction Time Change Every Single Day?
It feels like a ghost is messing with your settings, right? You dial it in on Monday, and by Wednesday, the same setting produces a muddy mess. This is often down to humidity and the ‘oops’ factor of not accounting for bean aging. As beans age, they lose moisture, which is why your shot extraction time changes every single day. Even top-rated espresso machines for coffee lovers in 2025 cannot compensate for a barista who does not understand that the grind must get slightly finer as the beans get older. If you find why your espresso shot volume varies even with the same dose, stop looking at the machine and start looking at your puck prep and environmental factors. You also need to realize that new gear is not a silver bullet. When people start choosing the best barista gear, they often forget how to properly season new steel burrs for better consistency. Raw burrs produce a wider range of particle sizes, meaning more of that sand-like sediment in your cup. I spent my first month with a high-end grinder wondering why my shots were so muddy, only to realize the burrs had not been ‘broken in’ yet. Don’t fall for the myth that milk covers all sins either; if your base is gritty, even resolving the reason your steam wand only makes thin hot milk will not save the mouthfeel. A clean espresso shot is the foundation; without it, you are just making gritty milk. Have you ever fallen into this trap where you blamed the machine for a problem that was actually just ‘fresh’ beans or unseasoned burrs? Let me know in the comments.I used to think that once I had my technique down, the battle was won. I was wrong. The real challenge of home espresso isn’t just pulling one great shot; it is making sure your machine is capable of doing it again tomorrow. If you don’t stay ahead of the grime, you will eventually find yourself wondering why your espresso machine takes longer to heat up recently. It usually isn’t a ghost in the machine—it is a buildup of scale or old oils that are slowly choking your components. I have made it a ritual to check my gear every Sunday because I have learned that a tiny bit of prevention is worth more than a two-hundred-dollar repair bill.
Keep Your Group Head from Becoming a Graveyard
If you aren’t backflushing your machine with a blind basket and detergent at least once a week, you are brewing your fresh, expensive beans through a layer of rancid, carbonized gunk. This is often why your group head shower screen is getting clogged so fast, leading to uneven water flow and that dreaded channeling we talked about earlier. I personally use a specialized Purgit-style brush to scrub the gasket tracks after every session. It takes ten seconds, but it prevents the seal from failing prematurely. Have you ever looked up at your shower screen and seen those black specks? That isn’t ‘character’; it’s old coffee that is ruining your flavor profile.
How do I keep my gear running for a decade?
Beyond the daily wipe-down, you have to look at the health of your boiler. Even if you use filtered water, minerals will eventually accumulate. You need to learn how to tell if your machine boiler is accumulating lime scale before it starts affecting your pressure. Technical documentation from La Marzocco suggests that even a 1mm layer of scale can reduce thermal efficiency by 10%, which wreaks havoc on your temperature stability. For the truly dedicated, I recommend learning how to build a custom water reservoir for a plumbed-in machine. Controlling the exact mineral content of your water—balancing the magnesium and calcium—is the ‘final boss’ of espresso quality.
Why I Swapped My Steam Knob for a Lever
When it comes to choosing the best barista gear, I have become a bit of a minimalist. One of the best upgrades I ever made was moving away from traditional twist-knobs. You should consider why you should switch to a lever handle for your steam wand if you want instant, full-pressure steam without the wrist fatigue. It makes texturing milk for milk frothers that transform your coffee experience much more intuitive. Looking forward, I predict we are going to see a massive shift toward ‘smart’ grinders that use AI to auto-adjust for humidity changes in real-time, effectively ending the morning ‘dialing-in’ struggle. For now, though, the best tool you have is your own attention to detail. My challenge to you: tonight, take a screwdriver and actually remove your shower screen. If it’s covered in black oil, give it a deep soak in espresso cleaner. Your taste buds will thank you tomorrow morning.
The Hardest Lesson I Learned About Consistency
For years, I thought I needed a more expensive pump or deeper baskets, but I eventually realized that my workflow was the real variable. I’ve learned that even the best top-rated espresso machines for coffee lovers in 2025 won’t compensate for a dirty shower screen or a neglected gasket. Another realization was how much physical vibration matters; I spent weeks chasing a ‘ghost’ in my grind quality before discovering how to quiet a loud grinder using only a rubber mat to stabilize the burrs and reduce movement. Lastly, remember that why your grinder settings feel like they changed overnight is usually just a matter of physics and humidity—don’t fight the environment, just adjust your dial by a hair and move on. Trusting your senses over a digital display is the ultimate sign of growth in this hobby.
My Go-To Toolkit for Perfect Extractions
When you are choosing the best barista gear, I recommend starting with the basics that actually touch the coffee puck. I never pull a shot without my WDT tool—a simple set of 0.35mm needles—to ensure the grounds are perfectly fluffy. A high-precision scale is non-negotiable for ensuring your yield is exact every single time. I also suggest keeping a dedicated brew log; it is the only way to spot patterns and understand how your specific machine reacts to different roasts. Finally, a specialized cleaning kit with a group head brush and backflush detergent will do more for your flavor profile than any five-hundred-dollar accessory ever could.
Your Journey to a Truly Refined Brew
The path to mastering the art of home espresso is paved with a few muddy shots, but each one is a lesson in disguise. Don’t be afraid to experiment with lower pressures or longer rest times for your beans—the ‘rules’ we follow are really just starting points for your own personal taste. You now have the knowledge to look past the marketing hype and focus on the mechanical reality of your brew. Go forth, clean those gaskets, and enjoy the silky, sediment-free nectar you have worked so hard to achieve. Have you ever struggled with a gritty texture even after cleaning your whole setup? Let me know in the comments below!