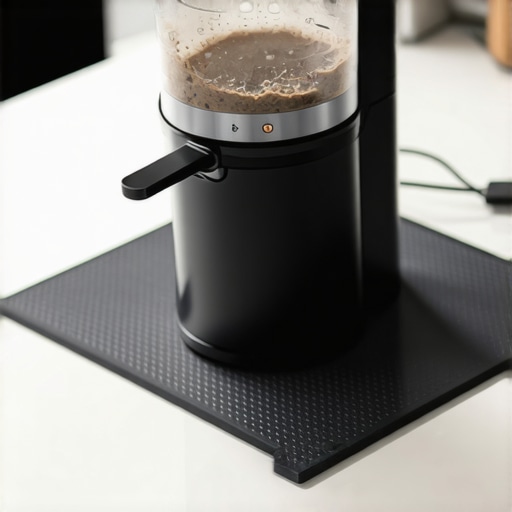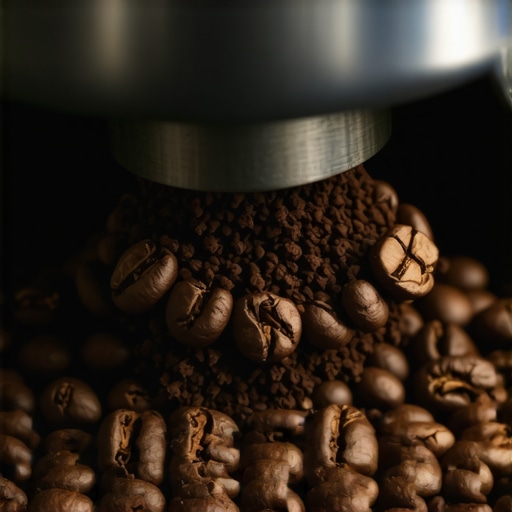
The Best Way to Season New Grinder Burrs Fast
I sat on my kitchen floor, surrounded by three bags of expensive Ethiopian Yirgacheffe, nearly in tears because my brand-new $1,000 grinder was producing shots that tasted like battery acid and wet cardboard. I had done everything right, or so I thought. I followed the manual, I used the trick to finding the true zero point on your grinder, and yet, the shots were wildly inconsistent. It was a classic “rookie” mistake. I expected peak performance out of the box. But here’s the cold, hard truth: espresso burrs are like a new pair of leather boots—they need a breaking-in period before they actually feel (and taste) right.
Why Your Brand New Grinder Tastes Like Disappointment
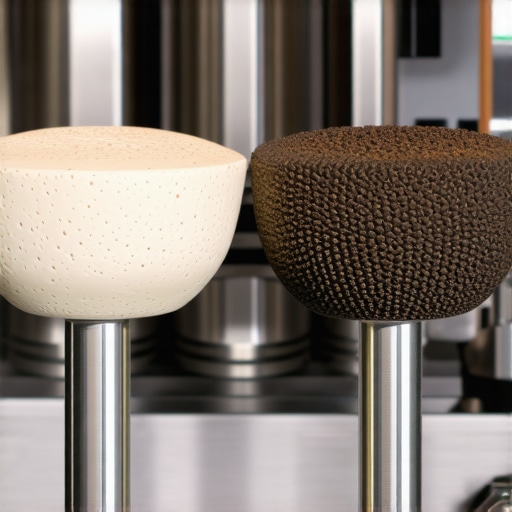
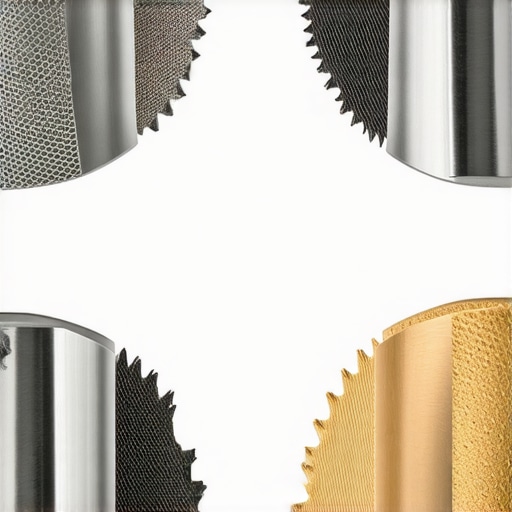
When burrs are freshly machined, they have microscopic imperfections and razor-sharp “teeth” that produce an excessive amount of “fines”—tiny dust-like particles that clog your filter basket. This is exactly why your espresso shot tastes like cardboard or overly bitter during those first few pounds. According to coffee science experts at the Specialty Coffee Association, the physical surface of the metal needs to stabilize to ensure a uniform particle distribution. Early in my journey, I made the mistake of thinking I could just “dial it out.” I wasted hours and hundreds of dollars on premium beans trying to fix a hardware issue with software solutions. You don’t need better beans yet; you need to smooth out that metal. Today, I’m going to show you how to get past this “break-in” phase in a single afternoon without emptying your wallet.
Is seasoning actually worth the hype?
Some folks will tell you that seasoning is a myth invented by people who like to waste coffee. They’ll say, “Just drink the coffee, and it’ll get better over time.” Sure, if you want to suffer through 10 pounds of mediocre espresso over the next three months, go for it. But if you want that “god shot” clarity today, seasoning is non-negotiable. Have you ever felt like your gear was fighting against you right after an upgrade? It’s a frustrating spot to be in.
The Shortcut to Professional Consistency
To get the best results, we need to talk about friction and volume. You don’t want to use your best beans for this. I usually head to the local supermarket and find the cheapest, oiliest, darkest roast I can find—stuff I wouldn’t dream of putting in my top rated espresso machines normally. Knowing how to properly season new steel burrs for better consistency involves running enough bulk through the system to wear down those factory edges. While you’re at it, it’s a great time to learn the move that saves your grinder from unnecessary wear, such as never adjusting the grind size finer while the motor is off. If you’ve noticed why your burr grinder is throwing chaff everywhere, it’s often because those new burrs are creating tons of static, another issue that magically improves once a thin layer of coffee oils coats the internal chamber.
Grab the Cheapest Bag You Can Find
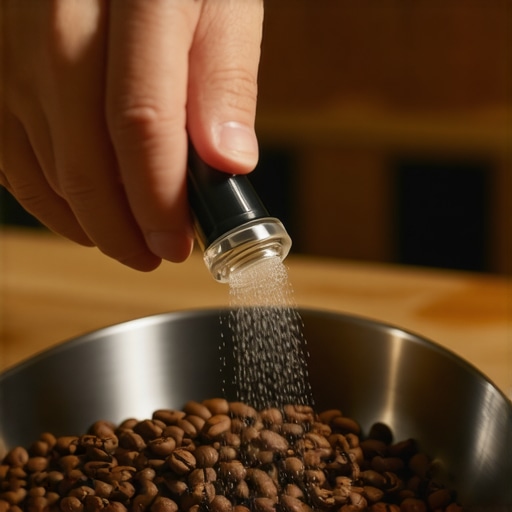
To get those burrs ready for peak performance, you need volume, not quality. When I first started, I felt guilty buying ‘trash’ coffee, but the reality is that those factory-fresh burrs are like raw denim—they are stiff and unyielding. You want to run about 5 to 10 pounds of coffee through the machine to effectively dull those microscopic burr ‘hooks’ that cause uneven extraction. You don’t need to know how to tell if your coffee beans are truly espresso roast for this part of the job; in fact, the oilier and darker the roast, the faster you will coat the metal with the necessary oils to prevent static. Think of this as the ‘break-in’ period for your engine. I once made the mistake of using my premium single-origin beans for this, and after wasting $60 on 2 pounds of coffee, my shots were still tasting like salt and vinegar.
Why Quality Beans Are a Waste During Seasoning
High-end beans are often roasted lighter and are physically harder, which can actually take longer to smooth out the burrs. Save those for when you are actually mastering the art of home espresso tips for beginners. For now, head to the discount aisle. The goal is friction and heat, and cheap beans provide plenty of both.
Set Your Dial to a Medium-Fine Range
You might be tempted to set the grinder to the finest setting possible to ‘work the metal’ harder, but this is a mistake that leads to clogs. Set your grinder to a coarse espresso or fine drip setting. This ensures the beans pass through at a steady rate without choking the motor. If you go too fine right away, you risk the burrs heating up to the point of expanding, which can lead to a jam. When how to select the perfect coffee grinder for your brew becomes your focus, you’ll realize that the internal clearance is vital. 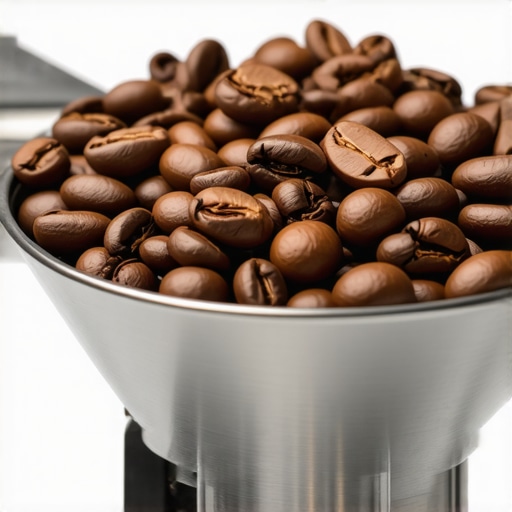
Avoid the Extremes of the Adjustment Ring
Stay away from the ‘zero point’ during this process. You want the burrs to be close enough to exert pressure on the beans but not so close that they are touching or creating excessive fine dust. I remember seasoning my first big flat-burr grinder; I ran it too tight and the beans literally turned into a solid puck inside the chamber. I had to spend an hour learning how to clean the grinder chute without taking it apart because I was too aggressive with the settings.
Master the Pulse and Pause Method
Don’t just dump 5 pounds in and walk away. Grinders are not designed for continuous 10-minute runs. Heat is the enemy of your motor and your burr geometry. I usually run the grinder for 30 seconds, then let it rest for 60 seconds. This ‘Pulse and Pause’ method prevents the internal components from expanding too much. Once, while seasoning a commercial-grade unit, I ignored this and learned the hard way that the reason your commercial grinder keeps tripping the breaker is usually a thermal protection switch kicking in to save the motor from a meltdown.
Watch for the Change in Sound
As you progress through the first few pounds, you’ll notice the pitch of the grinder changes. It will move from a high-pitched scream to a deeper, more consistent hum. This is the sound of the burrs stabilizing. At this point, you should check how to tell if your espresso grinder burrs are dull just to familiarize yourself with what ‘sharp but seasoned’ feels like compared to ‘factory raw.’ When you finish the seasoning, use a vacuum to pull out all the leftover oily dust so it doesn’t go rancid and ruin your first real shot.Most people think that buying more gadgets is the shortcut to cafe-quality coffee, but here is the secret most influencers won’t tell you: sometimes, your fancy gear is the actual problem. I’ve seen enthusiasts spend hundreds on choosing the best barista gear for coffee enthusiasts, only to end up with shots that are less consistent than their old, basic setup. Let’s talk about the ‘Distribution Trap.’ Many home baristas use needle tools or levelers religiously, but the reality of why your distribution tool might be ruining your extraction comes down to particle migration. If you stir too deep or too aggressively, you’re actually pushing the ‘fines’ to the bottom, creating a clogged layer that leads to uneven pressure.
Stop Over-Fiddling With Your Puck Distribution
Instead of complex patterns, I’ve found that the move for better espresso distribution without fancy tools—a simple horizontal tap to level the bed—often yields more repeatable results. Research by the analytical team at Socratic Coffee has shown that excessive grooming can actually decrease extraction yield by creating mechanical inconsistencies within the puck. This is the ‘oops’ factor that most beginners fall for; they try to solve a technique issue with a piece of metal. 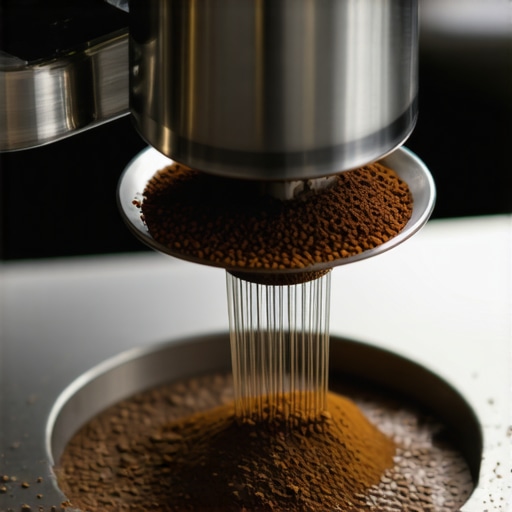
Why Fresh Water is More Important Than a New Filter Basket
Another nuance is the water sitting in your tank. You might think it’s fine for a few days, but why you should never leave water in your reservoir overnight isn’t just about bacteria; it’s about dissolved oxygen and mineral concentration shifts. As water sits, its chemistry changes, which directly impacts how it extracts those delicate flavors. If you’ve noticed your shots getting more bitter as the week goes on, this is likely the culprit.
Does the temperature of your portafilter actually change the taste?
Absolutely. Most people overlook the benefit of pre-warming your portafilter head. If your metal is cold, it sucks the heat out of the water the second the pump starts, leading to sour, under-extracted shots. It’s one of those ‘hidden’ variables that makes why your shot extraction time changes every single day feel like an unsolvable mystery. Also, don’t forget that why your machine needs a backflush every single week is about more than just cleanliness; it prevents old, rancid oils from acting as a barrier to fresh water flow. If you skip this, your machine works harder, which is often the reason your espresso machine is tripping the breaker due to internal pressure build-up. Have you ever fallen into this trap? Let me know in the comments.It’s easy to get obsessed with the chrome and the aesthetic of a new machine, but the real work starts when the honeymoon phase ends. I’ve seen beautiful, expensive setups turn into paperweights simply because the owner ignored the internal build-up. When you are choosing the best barista gear for coffee enthusiasts, you have to consider the ‘maintenance tax’ of each item. The most critical habit I developed early on was the simple ‘purge and wipe’ method. If you neglect this, you’ll quickly find out why your steam wand tip holes keep getting clogged, which eventually kills your steam pressure and ruins your milk texture. I once visited a friend who never purged his wand, and the latte he served me literally smelled like sour milk because of the bacterial growth inside the tip. It was a harsh wake-up call for my own daily routine.
How do I keep my espresso gear running for a decade?
The answer isn’t a magical tool; it’s a disciplined schedule. Every Sunday morning, before I pull my first shot, I perform a full backflush and soak my portafilter. You have to realize the danger of leaving old coffee oils in your portafilter spouts because those oils turn rancid and will overpower even the most expensive single-origin beans. Beyond the visible cleaning, you must monitor your water chemistry. According to water science expert and physicist Robert Pavlis, using a specific mixture of distilled water and potassium bicarbonate (the ‘Pavlis Water’ method) can virtually eliminate the need for harsh descaling, which is the leading cause of internal pump failure. If you aren’t ready to mix your own water yet, you should at least learn the easy way to test your machines water hardness at home to know exactly what is happening inside your boiler before the scale takes over. 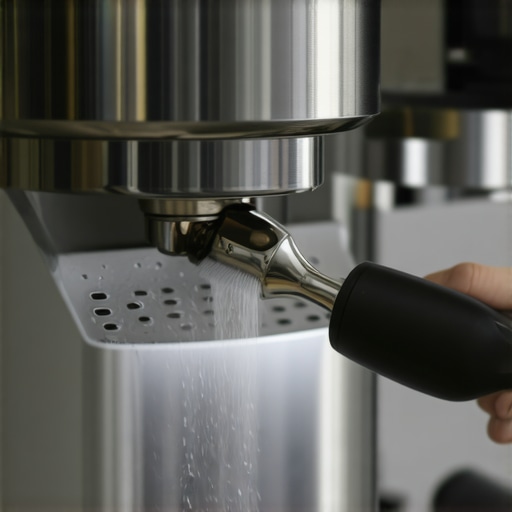 Don’t trust a cheap plastic scale either. I transitioned from a generic kitchen scale to a dedicated barista model because there is nothing more frustrating than why your espresso scale turns off right before the shot ends. It ruins your flow and makes repeatability impossible. Also, if you’re using a single boiler, the secret to silky microfoam on a single boiler machine often comes down to the health of your steam valve; if it’s leaking, your pressure will be too inconsistent for art. I predict that the future of home espresso will involve ‘smart’ sensors integrated into boilers that alert you to scale buildup in real-time, much like a car tracks its oil life. Until then, we have to be the sensors ourselves. If you have been putting off your maintenance, my challenge to you is to do a full deep clean today. Follow the best routine for a weekend deep clean and I guarantee your Monday morning coffee will taste like a total revelation.
The Hardest Realizations After Burning Through 50 Bags
Looking back at my journey, I realize that the biggest hurdle wasn’t my budget, but my impatience. Here are the truths I had to learn the hard way: The first shot is always a lie. I spent months trying to fix my technique when the issue was simply that the first shot of the day is always a throwaway due to retention and temperature shifts. Price doesn’t guarantee flavor. You can buy the top rated espresso machines, but if your water chemistry is off, it will still taste like vinegar. Silence is a warning. If your grinder suddenly gets quiet or the reason your grinder makes a thumping noise during use becomes a daily mystery, you’ve likely skipped a deep clean. Don’t let the ‘gear acquisition syndrome’ distract you from the basic physics of extraction.
The Toolkit That Actually Saved My Sanity
If you want to move beyond the basics of mastering the art of home espresso tips for beginners, you need a few reliable North Stars. I personally swear by the Socratic Coffee blog for data-driven experiments that debunk common myths. For hardware, I always recommend how to select the perfect coffee grinder for your brew based on burr alignment rather than just motor power. When it comes to water chemistry, Robert Pavlis’s research is the gold standard; it stopped my boiler from scaling and saved me thousands in repairs. Finally, when choosing the best barista gear for coffee enthusiasts, prioritize a high-precision scale—it’s the only way to prove your progress.
Stop Overthinking and Start Pulling
Espresso is a craft that rewards the observant and the patient. You don’t need to be a professional scientist to enjoy a cafe-quality cup, but you do need to respect the machine and the beans. By seasoning your burrs and maintaining a clean workflow, you are removing the barriers between you and that perfect shot. Your home espresso journey is meant to be an enjoyable ritual, not a source of stress. Take a breath, clean your wand, and trust the process. Have you ever struggled with a grinder that felt like it was fighting you? Let me know below.