The Move for More Consistent Puck Compression
I remember standing in my kitchen at 6 AM, staring at a sticky brown puddle on my counter. My brand-new bottomless portafilter had just sprayed hot espresso everywhere, and I couldn’t for the life of me figure out why. I had the fancy beans, the expensive machine, and I was tamping so hard my wrist hurt. It was a mess. If you’ve ever wondered why your bottomless portafilter is making a huge mess, you aren’t alone. I spent months frustrated until I realized I was focusing on the wrong thing: power instead of precision. Today, I’m going to show you ‘The Move’—a subtle technique for more consistent puck compression that finally stopped the spraying and started the syrupy, delicious flow we all crave. This isn’t about gym-level strength; it’s about mechanical repeatable habits.
Tamp Like You Mean It Without Breaking Your Wrist
When I was first mastering the art of home espresso, I made the classic rookie mistake of thinking that harder was better. I would lean my entire body weight into the counter, thinking I was creating an impenetrable wall for the water. In reality, I was just creating micro-fractures in the coffee bed. Water is lazy; it will find the easiest path through your coffee, and my brute-force method was giving it a highway straight to the bottom of the cup. According to research from the Specialty Coffee Association, the actual amount of pressure you apply matters significantly less than the levelness and uniformity of the puck. Once you reach a certain point of resistance, the coffee is fully compressed, and any extra muscle is just wasted effort that risks an uneven surface. I even had to fix a wobbly tamper handle once because I was torquing it so aggressively at an angle. Now, I focus on a vertical drop and a gentle, consistent finish.
Is a Precision Tamper Really Worth the Extra Cash?
You might be skeptical. I was too. I figured my plastic stock tamper was ‘good enough’ until I saw the gap it left around the edges. That tiny ring of uncompressed coffee is where channeling starts. If you find why your plastic tamper is making your espresso sour, it’s usually because of that uneven extraction. Upgrading to a tamper that actually fits your basket diameter—down to the tenth of a millimeter—changes the game. It’s not just hype; it’s about removing variables. Have you ever felt like you’re doing everything right, but your espresso still tastes like a salty or sour science experiment? I’d love to hear about your most frustrating morning at the machine—leave a comment and let’s troubleshoot it together.
Shake the Grounds Before You Press Down
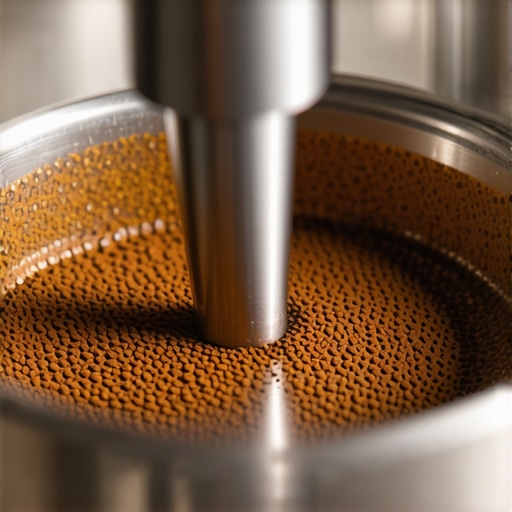
Before you even touch that tamper, you need to ensure the coffee is sitting flat. Think of your portafilter like a bucket of sand. If the sand is all heaped on one side, tamping it down just creates a dense mountain on the left and a shallow valley on the right. Water, being the ultimate path-of-least-resistance traveler, will ignore the mountain and blast through the valley. This is why I often say your why your distribution tool might be ruining your extraction if it is only shifting the top layer while leaving air pockets underneath. Instead, try the move for better espresso distribution without fancy tools: the horizontal tap. I use the palm of my hand to gently knock the side of the portafilter until the coffee bed looks like a calm, flat lake. It is a five-second habit that eliminates the majority of your channeling issues.
Forget the Spinners and Try the Side-Tap
I used to be obsessed with those polished distribution spinners. They look cool and feel heavy, but they often compress the top just enough to hide the mess underneath. I learned this the hard way on a Tuesday morning when I was rushing for a meeting. I used a spinner, slammed the tamper, and hit the switch. Because the grounds weren’t actually settled at the bottom, a massive air pocket collapsed mid-shot. The resulting spray hit my white shirt and the kitchen wall. It was a caffeinated disaster that left me cleaning for twenty minutes. When you are choosing the best barista gear for coffee enthusiasts, do not overlook the simple technique of a physical side-tap. It ensures the grounds are settled from the bottom up, not just smoothed over on the surface.
Turn Your Hand Into a Human Level
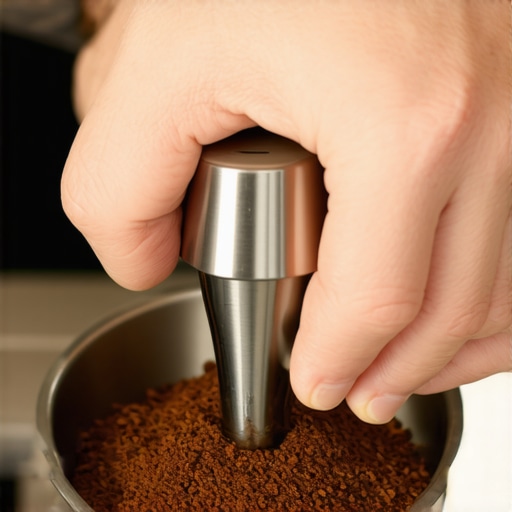
This is where ‘The Move’ really happens. When you grab your tamper, don’t just hold the handle like a doorknob. Instead, let your thumb and index finger extend down so they actually touch the rim of the filter basket while you hold the tamper. As you push down, your fingers act as physical sensors. If one finger touches the rim before the other, you know immediately that you are tamping at an angle. This tactile feedback is far more accurate than just trying to ‘eyeball’ the levelness of the metal. When I was learning how to fix a wobbly tamper handle, I realized my uneven finger pressure was the real culprit behind my tilted pucks. By using your fingers as a guide, you ensure the puck is perfectly level every single time, which is the secret to those beautiful, single-stream extractions.
Heat Is Your Best Friend for Better Shots
Even with a perfect puck, a cold portafilter will ruin your flavor profile. Espresso machines rely heavily on thermal mass. If you lock a cold portafilter into a hot group head, the metal acts like a heat sink, sucking the temperature right out of your brewing water as it passes through. This results in a sour, under-extracted mess that no amount of tamping technique can fix. I always make sure to emphasize the benefit of pre-warming your portafilter head by running a short ‘blank’ shot of hot water through the empty basket before grinding the beans. If you are working with entry-level equipment, you might also need the move for better temperature stability on budget machines, which often involves ‘temperature surfing’ to ensure the boiler is at its peak when the pump starts. Consistency isn’t just about the pressure you apply; it is about the thermal environment the coffee lives in for those thirty seconds of extraction.
Why Your Grinder Lies to You Every Morning
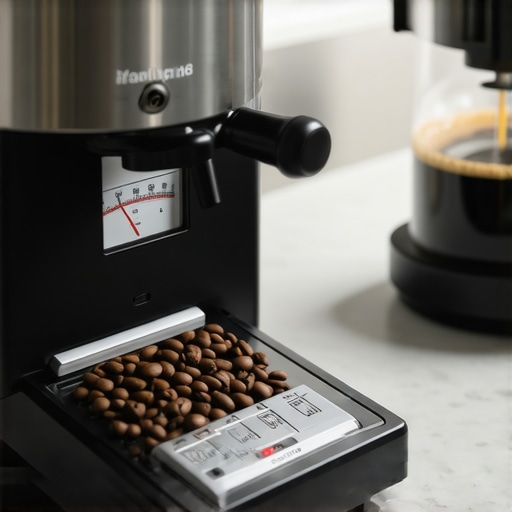
You spent twenty minutes yesterday dialing in the perfect 1:2 ratio, only to wake up today and find your first shot gushing out like a fire hose. Most beginners blame the machine or the beans, but the real culprit is usually grinder retention. When you grind for your morning latte, you’re often getting a few grams of stale, oxidized coffee from yesterday that was stuck in the chute. This is exactly why the first shot of the day is always a throwaway. If you do not purge a small amount of coffee first, you are mixing fresh grounds with stale ones, leading to an inconsistent puck density that defies logic. I learned this after wasting bags of expensive beans trying to ‘fix’ my machine when the issue was just three grams of old coffee sitting in the throat of my grinder.
Why Does Your Shot Speed Up Suddenly After Two Seconds?
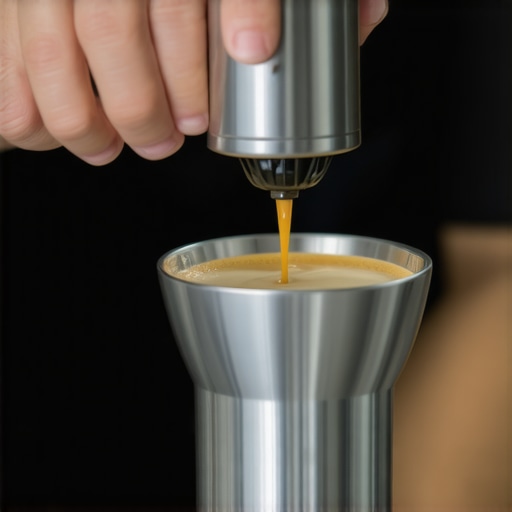
This is a classic ‘nuance’ problem that separates the home barista from the pro. You see the first few drops of dark syrup, and then—boom—the flow turns blonde and watery halfway through the timer. You might think you need to grind finer, but if you go too far, you’ll just choke the machine. Often, the issue is that your beans are too fresh or your puck prep allowed for micro-channeling. A study by the Scientific Reports journal on coffee extraction highlights how particle size distribution and gas release significantly alter flow dynamics. This is why your shots start running fast after two seconds; it’s a battle of chemistry, not just physics. Have you ever fallen into this trap where you keep chasing the grind setting in circles? Let me know in the comments and let’s compare notes.

Stop Putting Distilled Water in Your Boiler
Here is a contrarian take that might save you hundreds in repair bills: ‘pure’ water is actually the enemy of your espresso machine. I’ve seen so many enthusiasts try to protect their gear by using distilled water, thinking they are preventing scale. While it’s true you won’t get calcium buildup, distilled water is ‘hungry’—it lacks minerals, so it actually leaches metal from your copper or brass boiler through a process of ion exchange. Plus, most machine sensors require some mineral content to even detect that there is water in the tank. If you’ve wondered about the truth about using distilled water in your machine, the answer is a hard ‘no’ unless you are remineralizing it with specific salts first. It is a ‘pro’ tip that actually backfires if you do not understand the chemistry behind it.
The Daily Grind is a Moving Target
If you think you can set your grinder on Monday and forget it until Friday, you’re in for a sour week. Humidity and temperature changes in your kitchen will alter the way beans shatter in the burrs. This is why your shot extraction time changes every single day even if you haven’t touched the dial. I always recommend the move that saves your grinder from unnecessary wear: always adjust your grind setting while the motor is running. This prevents beans from getting wedged between the burrs and stalling the motor, which is the fastest way to blow a fuse. If you’re struggling to get consistent results, it might also be time to check how to tell if your espresso grinder burrs are dull. Dull burrs produce more ‘fines’—tiny dust-like particles—which lead to a muddy, bitter taste that even the most expensive barista gear cannot save.
Stop Treating Your Machine Like a Microwave
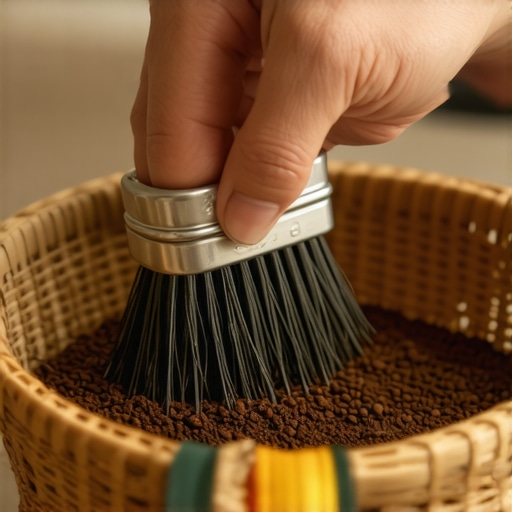
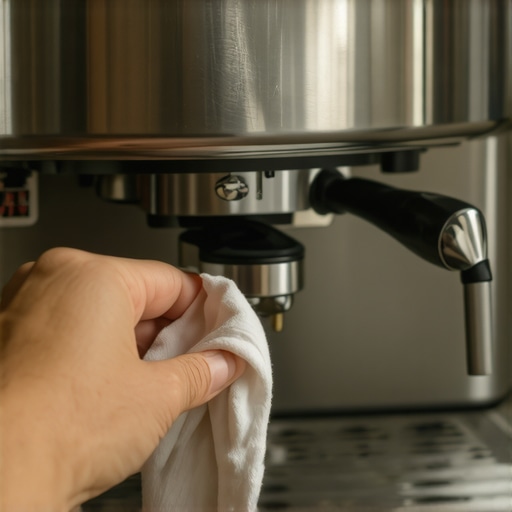
I see it all the time: people buy a prosumer machine and expect it to run forever with zero effort. Your espresso machine is more like a car engine than a toaster; if you don’t change the oil, it dies. In our world, ‘changing the oil’ means managing the buildup of rancid coffee fats. This is why your machine needs a backflush every single week. Without it, those old oils bake onto the shower screen and group gasket, turning every sweet bean into a bitter mess. The La Marzocco Home Technical Guide warns that organic buildup in the three-way solenoid valve can lead to permanent pressure loss, so don’t skip this step. I personally use a specialized detergent for my weekend routine, but for daily maintenance, a simple water backflush is the minimum entry fee for great coffee.
How do I keep my espresso setup running for a decade?
Consistency over the long haul requires a shift in mindset from ‘repairing’ to ‘preventing.’ You need the best routine for a weekend deep clean to catch the small things before they become $500 repair bills. I always check my steam wand first. If you notice a drop in performance, you can usually find the one way to fix a clogged steam wand without chemicals just by using a dedicated wire tool to clear the tip holes. But the real silent killer is water. I don’t care if you use a pitcher filter; you need the easy way to test your machines water hardness at home. I use a simple titration kit because if those minerals get into your boiler, no amount of technique will save your heating element from calcifying. I predict that in the next five years, we will see machines with built-in mineral sensors that refuse to pull a shot if the water chemistry is dangerous for the boiler.
Why Your Scale Is Your Most Honest Barista Friend
If you’re still ‘eyeballing’ your shots, you’re playing a guessing game you will eventually lose. Your scale is the only piece of gear that doesn’t have an ego. However, if you find why your coffee scale is giving you inconsistent readings, it’s usually because of heat or moisture interfering with the sensitive load cell. I always place a small silicone mat between my scale and my drip tray to prevent the hot metal from throwing off the sensors. When you’re how to properly season new steel burrs for better consistency, that scale becomes your primary diagnostic tool, telling you exactly how your flow rate is changing as the metal ‘breaks in.’ It is about the long game—fine-tuning your barista gear so it works for you, not against you.
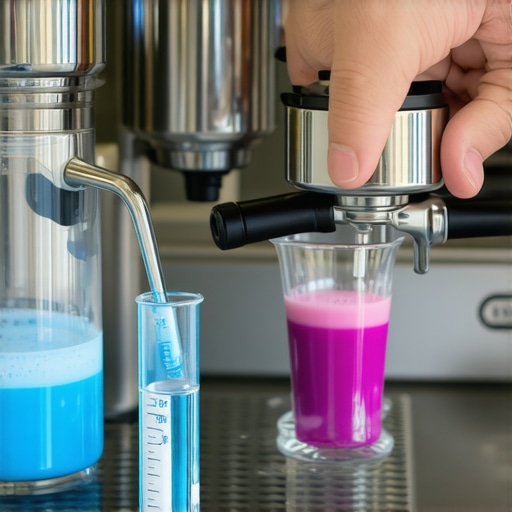
My advice? Go buy a cheap water hardness test kit today. It is the single most important step you can take to protect your investment and ensure your mastering the art of home espresso journey doesn’t end in a repair shop. Once you know what is going into your machine, you can stop worrying about the ‘what ifs’ and focus on the flavor. Let’s keep the conversation going—if you have ever had a ‘dead’ machine come back to life after a deep clean, I want to hear about it in the comments below.
The Most Expensive Lesson I Learned at the Group Head
Looking back at my first year, I realize I spent more time buying gadgets than actually tasting the coffee. I’ve learned that the sound of your pump can tell you more about your shot than a fancy pressure gauge ever will. If the pump suddenly gets quiet, you’ve likely choked the machine with a grind that is too fine. Another lightbulb moment was realizing that ‘fresh’ beans need a rest period; shooting espresso from beans roasted yesterday is a recipe for a gassy, sour mess. I also stopped chasing 30-second shots as if they were a law of physics. If a 24-second shot tastes like liquid gold, stop adjusting the dial and trust your palate over your timer.
Tools That Actually Earned a Spot on My Counter
I’ve tested dozens of accessories, but only a few stay in my daily rotation. First, I never skip a maintenance session because the best routine for a weekend deep clean is what keeps the flavors bright and the metal gleaming. I also recommend picking up a simple titration kit to see how to tell if your water hardness is damaging your boiler—it is the best insurance policy for your machine. For those who love lattes, milk frothers that transform your coffee experience don’t have to be expensive, they just need to be used with consistent technique. Finally, a high-quality precision basket is a cheap upgrade that fixes more issues than a new machine ever could.
Believe in Your Inner Barista
The road to mastering the art of home espresso is paved with a few spilled grounds and sour sips, but that is part of the charm. Every bad shot is just data helping you understand your equipment better. Don’t let the technical jargon or the expensive gear lists intimidate you; at the end of the day, it’s just coffee and water mixed with a bit of science. Grab your portafilter, trust your prep, and enjoy the process of making something truly artisanal in your own kitchen. Have you ever had a morning where everything went wrong at the machine, but you still managed to pull one perfect shot? Let me know in the comments below!