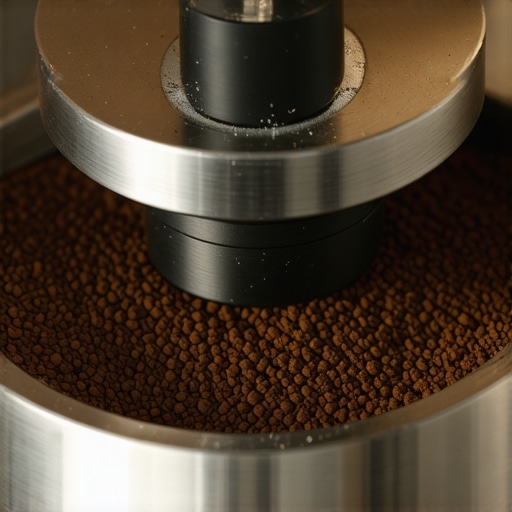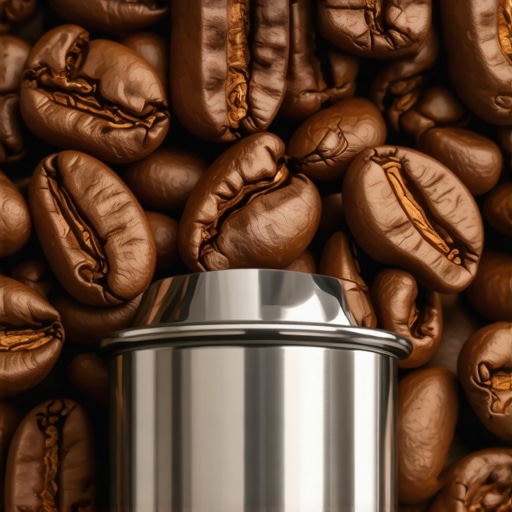
How to Stop Your Coffee Beans from Popping Out of the Grinder
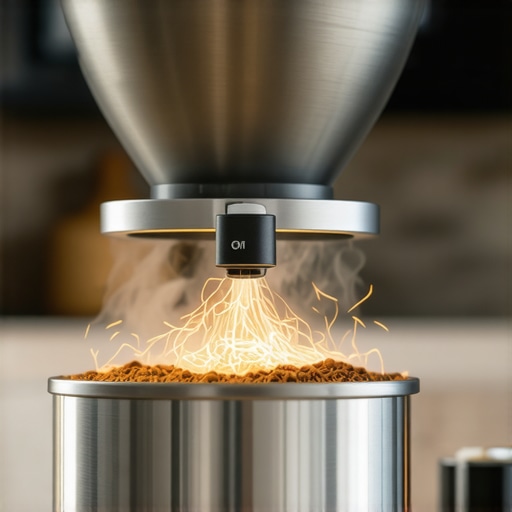
I remember standing in my kitchen at 5:45 AM, still half-asleep, waiting for the sweet hum of my grinder to signal the start of my day. Instead, I heard a sharp thwack-ping—the unmistakable sound of a high-quality Arabica bean ricocheting off my toaster and landing somewhere behind the microwave. If you have ever had to hunt for runaway beans while your machine warms up, you know the frustration. This isn’t just about the mess; it is about the soul of your brew. When beans bounce around like popcorn, they don’t enter the burrs consistently, leading to a muddy flavor that even the top-rated espresso machines cannot fix. [IMAGE_PLACEHOLDER]
End the Projectile Chaos in Your Kitchen
When I was first choosing the best barista gear for coffee enthusiasts, I didn’t realize that “popcorning” was my biggest enemy for consistency. It is a common hurdle when mastering the art of home espresso. Today, I am going to show you exactly how to keep those beans down where they belong so you can finally get the flavor you actually paid for. Early on, I made the mistake of thinking I just needed to grind faster, but I was actually causing unnecessary wear on my equipment by letting the last few beans bounce until they were unevenly shattered. I was basically sabotaging my own morning before it even started. Have you ever found a stray coffee bean in your shoe three hours after making your latte? I want to hear your wildest runaway bean stories in the comments.
Is that annoying popping sound actually ruining your espresso flavor?
You bet it is. It is not just a noise issue; it is a science issue. According to the Coffee Science Foundation, grind particle size distribution is the most critical factor in extraction quality. When beans bounce, they are fed into the burrs at inconsistent angles and speeds. This creates a mess of “fines” and boulders that make your coffee taste both sour and bitter at the same time. If you have noticed that your shots taste different on a full hopper versus a near-empty one, you have already experienced the negative effects of popcorning. We are going to fix that today by looking at bellows, weights, and simple lid hacks that actually work.To stop the popcorn effect, you need to treat your grinder like a vacuum sealer rather than a trampoline. Think of your coffee beans as a crowd of people trying to squeeze through a narrow subway turnstile. When they are all pushing from behind, the line moves through smoothly and efficiently. But if only two people are left, they start dancing around the entrance, wasting time and energy before finally passing through. This is exactly why your grinder struggles with those last few beans; they lose the momentum of the pack.
Push the Beans Down with a Heavy Dosing Weight
This is the most direct solution for single-dosing enthusiasts who want to stop beans from ricocheting inside the hopper. I remember a particularly humid Tuesday when I was testing a new light roast. The beans were so oily and bouncy they were literally flying out of the throat of the machine. In a moment of desperation, I grabbed a heavy stainless steel tamper and rested it directly on top of the beans. The change was instant. The thumping noise during use vanished, and my grind time was cut by nearly four seconds. Now, I use a dedicated metal dosing weight. By applying constant downward pressure, you ensure that every bean is engaged by the burrs at the same rate, which is a vital consideration when choosing the best barista gear for coffee enthusiasts. 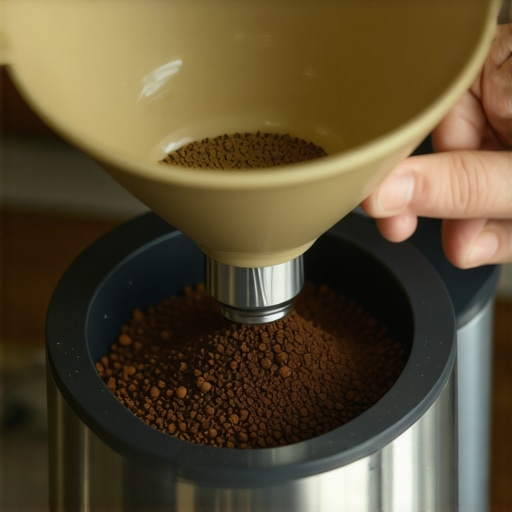
Install a Bellows to Create a One-Way Street
If you prefer not to use weights, a silicone bellows is your best friend. It serves a dual purpose: it stops beans from jumping up and helps clear out the dead space inside the machine. When the beans try to pop upward, they hit the ceiling of the bellows and are forced back down. However, don’t just smash the bellows like you are playing a set of drums. Use a firm, singular pulse at the very end of the cycle. This is the ultimate trick for getting ground coffee out of tight corners and ensuring your dose in equals your dose out. In my early experiments, I tried to DIY a bellows using a folded piece of cardboard. It was a disaster; I ended up with more grounds on my shirt than in the portafilter because it lacked a proper seal. A real silicone bellows creates a vacuum that prevents the back-pressure from escaping.
The Counter-Intuitive Hopper Hack
You might think a completely full hopper is the enemy of freshness, but it is actually the greatest ally of grind consistency. The weight of the beans on top, often called bean pressure, acts as a natural stabilizer. If you have noticed that your shots taste different on a full hopper compared to a single dose, it is because that physical pressure is missing. To mimic this without wasting beans, you can place a small, heavy lid or a sliding gate inside the hopper throat to keep the beans pinned against the burrs.
Keep the Heat Down During Long Sessions
When beans bounce, they take longer to grind, which means your burrs are spinning against friction for a longer duration. This generates unnecessary heat. Learning how to stop your grinder from overheating starts with efficiency. By keeping the beans moving through the burrs quickly, you prevent the delicate oils from baking onto the metal. If you have ever smelled a burnt, metallic scent during your second latte, your beans were likely popcorning for too long.
Finding the Real Bottom of Your Grinder
Before you can fix the bounce, you have to know where your burrs actually sit. Use the trick to finding the true zero point to ensure your calibration is correct. If your burrs are too far apart, the popcorning is significantly worse because the beans have more room to dance. Tightening that gap slightly can sometimes be the simplest move for better espresso distribution without fancy tools because it creates a more immediate grab on the bean as it enters the grinding chamber.Let’s dig deeper into what happens once those beans actually hit the burrs. Most beginners are taught a simple mantra: “If it’s sour, grind finer.” While that is a decent starting point when mastering the art of home espresso, it is often a one-way ticket to a frustrated morning. In my experience, the biggest mistake people make is chasing a finer grind at the expense of puck integrity. When you go too fine, you increase the resistance so much that the water creates tiny “canals” through the coffee bed. This results in an uneven extraction where you get both the bitterness of over-extracted channels and the sourness of the dry pockets. Sometimes, the best move for better espresso distribution is actually to back off the grind size slightly and focus on how the coffee is settled in the basket. If you are using a cheaper machine, be particularly careful about the error of grinding too fine for a pressurized basket, which can choke your pump entirely.
Stop Putting Pure Distilled Water in Your Machine
Then there is the “purity” trap. I have seen so many enthusiasts buy top-rated espresso machines only to fill them with distilled water, thinking they are being “extra clean.” This is a disaster. The truth about using distilled water is that it’s actually hungry for minerals. Because it is chemically “empty,” it will literally pull ions out of your machine’s copper and brass components to reach equilibrium. As highlighted by the Specialty Coffee Association (SCA), water needs a specific mineral balance—typically between 50-175 ppm of hardness—to both protect your equipment and properly extract flavor. If you ignore this, you might end up needing to know how to tell if your water hardness is damaging your boiler much sooner than you expected. 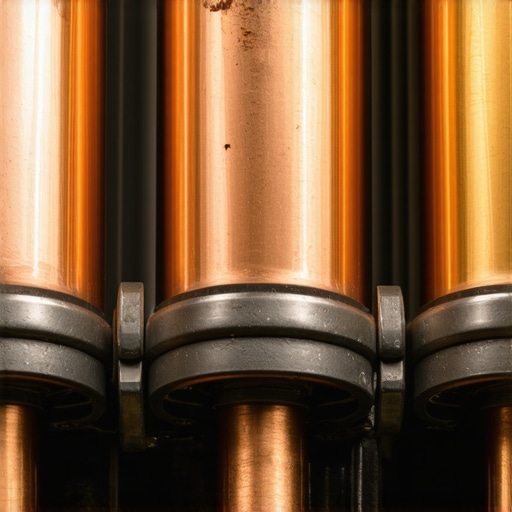
Is your expensive distribution tool actually making things worse?
Paradoxically, yes. A lot of those shiny spinning levelers you see on social media can actually compress the top layer of your coffee while leaving the bottom loose. This creates a false sense of a level surface. You might find why your distribution tool might be ruining your extraction is because it isn’t actually moving the grounds at the bottom of the basket where the high-pressure water does most of its work. Have you ever fallen into this “over-accessorizing” trap? I definitely did with my first bottomless portafilter. Let me know in the comments if you’ve ever bought a gadget that ended up collecting dust.
The Hidden Break-in Period for New Burrs
We also need to talk about the “new gear” myth. People buy a new grinder and expect perfect shots on day one. But burrs need a “break-in” period. This is the best way to season new grinder burrs fast: run a few bags of cheap, old beans through them to smooth out the microscopic burrs left from manufacturing. Without this, your particle distribution will be wild for the first few months. Also, pay attention to the heat. If you are hosting a brunch, how to stop your grinder from overheating becomes a survival skill. Hot burrs expand, changing your grind setting mid-session without you even touching the dial. Always keep an eye on your shot times; if they start speeding up, your grinder might just be getting too warm for its own good.
Keep your setup running like a dream for years
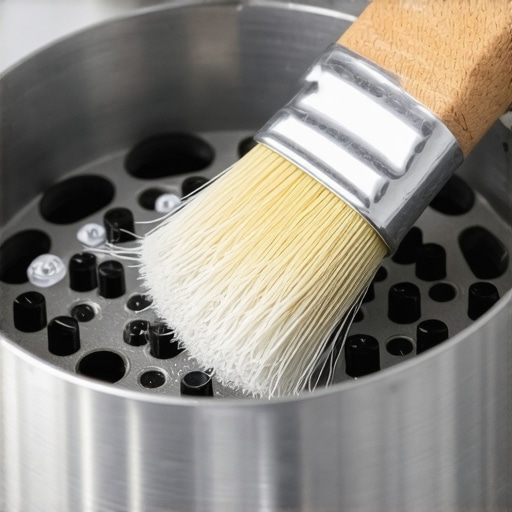
I used to think that a quick wipe-down of the drip tray was enough to keep my machine in top shape. Boy, was I wrong. Over time, coffee oils turn into a sticky, rancid lacquer that coats everything from the shower screen to the internal valves. If you aren’t sure why your machine needs a backflush every single week, you are essentially brewing your fresh specialty beans through a filter of old, burnt residue. This is where your flavor clarity goes to die. I now dedicate 15 minutes every Sunday to the best routine for a weekend deep clean, and the difference in my Monday morning latte is staggering. It is the cheapest ‘upgrade’ you will ever give your coffee station.
How do I maintain my espresso gear over time?
Consistency is the name of the game here. Beyond cleaning, you have to look at the ‘wear’ parts that eventually give out. For example, knowing how to replace a group gasket without scratching the chrome is a vital skill. According to the official La Marzocco technical maintenance guides, even a slightly worn or compressed gasket can lead to a 1-2 bar pressure drop at the puck, which ruins the extraction profile regardless of how perfect your grind is. If you see water leaking from the side of your portafilter during a shot, you’ve already waited too long. 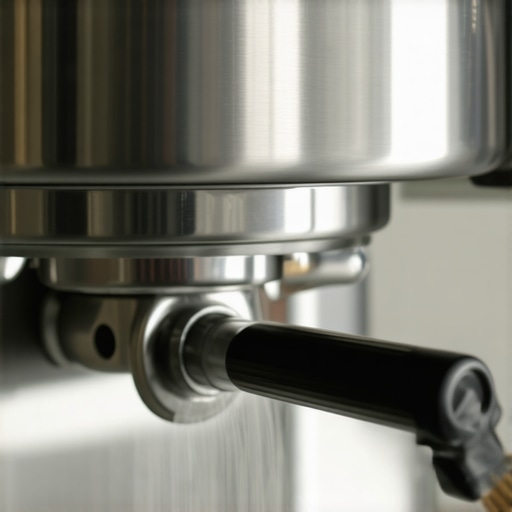 I also recommend keeping a close eye on your sensors and pressure stats. If you have a higher-end unit, you might eventually need to learn how to adjust the expansion valve on your prosumer machine to ensure your pump isn’t working harder than it needs to.
The one tool that actually saves your sanity
If there is one piece of barista gear that I will never compromise on, it is a high-precision scale. However, scales are notoriously finicky in a wet environment. If you find why your coffee scale is giving you inconsistent readings, it is often due to steam or moisture getting into the load cell. I’ve started using a small silicone mat to shield my scale from the heat of the drip tray, and it has doubled the lifespan of my electronics. This attention to detail is what separates a hobbyist from someone who has truly mastered the art of home espresso. Don’t forget the milk side of things either; always practice the best way to purge your steam wand after every single use to prevent milk from being sucked back into the boiler. Even if you are working with the secret to perfecting your milk texture on a single boiler, hygiene remains your number one priority for flavor.
Where the home espresso world is headed
I predict we are moving toward a future where AI and sensor-driven feedback become standard in even budget-friendly top-rated espresso machines. Imagine a grinder that automatically adjusts its distance based on the humidity it detects in the room—no more ‘dialing in’ every morning. Until that tech becomes affordable, we have to rely on our own skills and maintenance habits. My challenge to you this week is to pull your shower screen off and give it a proper soak in backflush detergent. You might be shocked at what has been hiding behind that piece of stainless steel. Let me know in the comments if you found a ‘coffee swamp’ back there!
Hard Truths I Learned While Chasing the Perfect Shot
Over the years, I have realized that the most expensive gear cannot compensate for a lack of ritual. One of the biggest lightbulb moments was discovering that my beans were changing every single day. As a bag of coffee ages, its moisture content shifts, meaning the grind setting you used on Monday might be a disaster by Thursday. Another harsh reality is that the ‘perfect’ recipe you find online is just a suggestion. Your kitchen’s humidity and your specific altitude change how water interacts with those grounds. I also spent way too long ignoring the ‘static’ in my kitchen; if you are struggling with a mess, you might want to look into how to select the perfect coffee grinder for your brew that handles retention better than your current model. Finally, remember that consistency is born from clean equipment. If you skip the purge, you are just drinking yesterday’s mistakes.
The Tools That Actually Earned Their Spot on My Counter
You do not need a hundred gadgets, but a few specific items will save you hours of frustration. First, get a high-quality dosing cup. I spent months struggling with spills before I realized why your dosing cup doesn’t fit your portafilter is usually down to diameter mismatches that create huge messes. Second, invest in a specialized surface; knowing how to pick a coffee mat that doesn’t absorb odors is the difference between a professional-looking station and one that smells like stale milk. Lastly, keep a simple notebook or a digital log. Tracking your yield, time, and temperature is the only way to replicate that ‘one in a million’ shot. I also highly recommend avoiding the mistake of using distilled water in your boiler, as it is one of the quickest ways to degrade your internal components. [IMAGE_PLACEHOLDER]
Go Ahead and Pull That Next Shot with Confidence
Mastering the nuances of home espresso is a journey of small victories and occasionally very messy failures. Every time you fix a popcorning issue or calibrate your burrs, you are moving closer to that cafe-quality experience in your own kitchen. Do not let a sour shot or a noisy grinder discourage you; even the most seasoned baristas started with a runaway bean and a confusing pressure gauge. The goal is not perfection on the first try, but the joy of the process and the incredible aroma that fills your home every morning. You have the knowledge now—it is time to put it into practice. Which part of your cleaning or grinding routine do you find most satisfying—or most annoying? Let me know in the comments below!