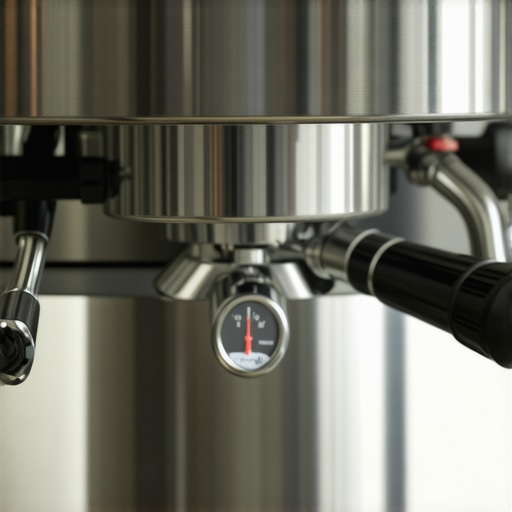
How to Fix a Drip Tray That Leaks into the Machine Body
I remember it like it was yesterday. 6:00 AM, desperate for a double shot, and I stepped into a cold, murky puddle on my kitchen counter. At first, I thought I’d just been messy with the steam wand. But then I pulled the tray out and realized the unthinkable: the water wasn’t just in the tray; it was pooling under it, seeped right into the guts of my beautiful machine. Talk about a wake-up call that wasn’t caffeine. I’d spent good money on that gear, and here it was, trying to drown itself from the inside out. [image] Early on, I made the classic rookie mistake of just shoving a folded paper towel under the machine and hoping it would go away. Spoiler: it didn’t. It just made the metal rust faster.
Stop the Water Before it Destroys Your Machine
If you are seeing water where it shouldn’t be—under the chassis or pooling near the feet—you have a drip tray bypass issue. It’s annoying, it’s messy, and if you leave it alone, it’s a one-way ticket to learning why your home circuit breaker trips when you turn on the boiler. Today, I’m going to help you trace that leak back to its source. We aren’t just going to wipe up the mess; we’re going to stop it for good. Whether it’s a misaligned solenoid discharge pipe or a cracked plastic housing, we can handle this. I’ve even seen cases where simple vibrations caused the tray to shift just enough to miss the drain, much like the common issue of how to stop your drip tray from vibrating across the counter.
Is this repair actually safe to do at home?
You might be worried that opening up your machine will void the warranty or leave you with a pile of spare bolts you don’t know how to put back. I get it. I used to be terrified of anything more complex than a backflush. But here is the truth: most drip tray leaks are mechanical, not electrical. They are usually caused by a hose that’s wiggled loose or a piece of plastic that isn’t sitting flush. If you can handle a screwdriver and have a little patience, you can save yourself a $200 trip to the repair shop. In many cases, it’s as simple as the zip tie fix for loose espresso machine tubing to get things watertight again. Have you ever noticed a mysterious puddle under your machine and just ignored it for a week? Tell me I’m not the only one who tried the ‘maybe it will just stop’ method. According to a report by the home repair experts at The Spruce, water damage in small appliances often starts with minor leaks that lead to significant internal corrosion if not addressed immediately. We’re going to make sure that doesn’t happen to your setup. Sometimes, the issue is so subtle you might even wonder why your espresso tastes better when you dont use the drip tray, but let’s stick to fixing the hardware first. Let’s dive into the common culprits and get your counter dry.First, get the machine on a dry towel and pull the casing off. It’s intimidating the first time you see the spaghetti of wires and copper pipes, but remember: you’re just following the water. Run a blank shot—meaning no coffee—and watch where the drip starts. Most of the time, the culprit is the solenoid discharge tube. This little rubber or silicone hose is supposed to direct the ‘exhaust’ water from the group head straight into the tray funnel. If it’s even slightly out of alignment, the water hits the edge of the funnel, splashes against the interior frame, and pools on your counter. 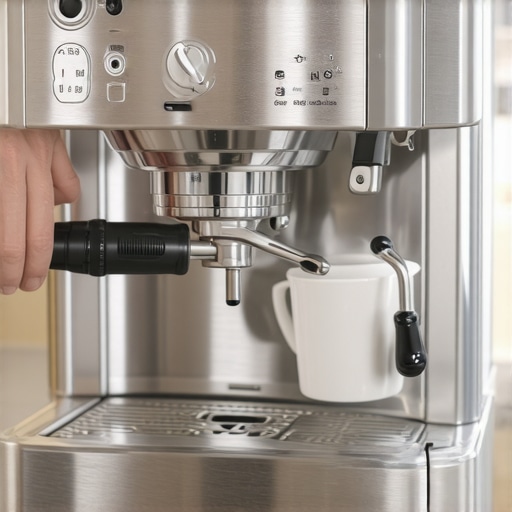
Pull the Case to Find the Hidden Spill
Once the cover is off, you can see if a hose has simply popped off its barb. Heat is the enemy here. As the machine warms up and cools down, components expand and contract. Over time, a snug fit becomes a loose one. If you find a hose that feels like it’s barely holding on, don’t just push it back. Use the zip tie fix for loose espresso machine tubing to create a permanent seal. It’s a cheap, 10-cent solution that prevents a $500 repair.
Focus on the Solenoid and its Exit Path
When you stop a shot, the 3-way solenoid valve opens to relieve pressure. That sudden burst of water has a lot of force behind it. If the discharge tube is brittle or has a hairline crack, that pressure will spray water everywhere except the tray. I once spent an hour chasing a leak that only happened for a split second at the end of a shot. It turned out to be a tiny pinhole in the silicone hose. Every time the valve clicked, a mist of hot water would coat the internal electronics. If you’re still mastering the art of home espresso tips for beginners, identifying these components is the first step to becoming your own tech.
Tighten the Connections Without Breaking the Plastic
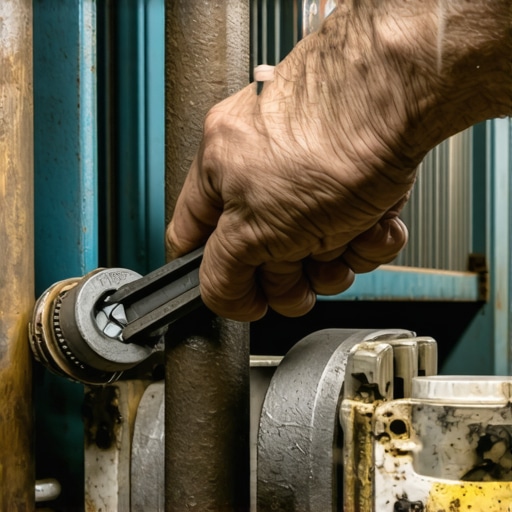
Here is where things got messy for me. I was working on a machine that had a slow leak at the boiler inlet. I thought I could just ‘tighten’ the problem away. I grabbed a massive wrench and gave the plastic fitting a good twist. *Crack.* Not only did I still have a leak, but now I had a fountain. The lesson? Most top-rated espresso machines for coffee lovers in 2025 use high-quality parts, but plastic is still plastic. If you’re dealing with a leak at a junction, sometimes you just need to replace the gasket or check if you need the simple o-ring fix for a leaky portafilter spout rather than applying more force.
Stop the Tray from Moving Out of Place
Sometimes the machine is fine, but the tray is the problem. If the tray doesn’t sit perfectly level, the water might not reach the drain hole. This is common if you have a vibrating machine that ‘walks’ across the counter. You might also want to look at how to fix the annoying drip after your espresso shot stops to ensure you aren’t overloading the tray capacity during a single session. Always ensure the tray is clicked firmly into its housing before you start your morning routine.Most enthusiasts assume that once they have finished choosing the best barista gear for coffee enthusiasts, the hardware should stay as pristine as it was on day one. But here is the contrarian truth: the more expensive and high-performance the machine, the more it demands your active mechanical participation. There is a common belief that the ‘factory-sealed’ nature of these machines means you should never touch the internals. I disagree. In my experience, the people who actually open their machines once a year to inspect the internal hoses are the ones whose equipment lasts a decade. If you treat your machine like a ‘set and forget’ microwave, you are essentially waiting for a flood. One of the biggest ‘oops’ factors—and I say this because I have broken a $150 manifold doing it—is the ‘wrench-happy’ syndrome. When a barista sees a drip, their first instinct is to grab a pair of pliers and crank down on the fitting. This is a fatal trap. Most modern espresso machines use soft brass or plastic fittings that are designed to be snug, not crushed. Over-tightening leads to hairline fractures that only open up when the machine reaches full brewing temperature. Instead of reaching for the heavy tools, check your seals first. You might find the reason your espresso tastes metallic after descaling is actually related to how the chemicals interacted with those micro-cracks you created by over-tightening. 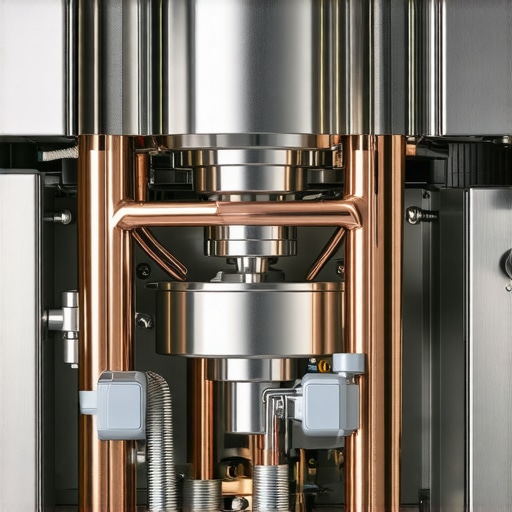
Stop Treating Your High-End Machine Like a Microwave
Does your water chemistry play a bigger role in leaks than the hardware itself?
Surprisingly, the answer is a resounding yes. We often focus on scale, but ‘hungry’ water—water that is too soft—is a silent killer of internal gaskets. According to a technical report by the Specialty Coffee Association (SCA) on water standards, water lacking a proper mineral balance can become chemically aggressive. It seeks to pull minerals out of your metal components and can cause silicone and rubber hoses to lose their elasticity. If you are not sure where your tap water stands, you need to learn how to tell if your water is too soft for brewing. If the water is too pure, your seals will dry out and shrink, leading to that annoying drip tray bypass that started this whole project. Furthermore, the backpressure caused by a bad grind cannot be ignored. If you did not learn how to select the perfect coffee grinder for your brew, you might be creating puck resistance so high that the water is forced backwards, stressing the solenoid and hose connections until they fail.
Avoid the Dangerous Trap of the One-Size-Fits-All Wrench
Another nuance most people ignore is ‘vibration drift.’ High-vibration pumps can literally walk an internal hose right off its barb over a period of six months. If your machine sounds like it is struggling, try the simple cardboard trick to quiet a vibrating machine. It is not just about the noise; it is about dampening the kinetic energy that eventually shakes your plumbing apart. Have you ever fallen into this ‘tighten-until-it-breaks’ trap? Let me know in the comments. We are all learning, and sometimes a dry counter is the best reward for a little mechanical curiosity.
Ditch the Giant Wrench for a Stubby Screwdriver
I learned the hard way that a standard 10-inch screwdriver is useless inside the cramped quarters of a prosumer machine. If you are serious about choosing the best barista gear for coffee enthusiasts, you need to add a stubby ratcheting driver to your tool kit. Why? Because most of the hose clamps and mounting brackets are tucked behind the boiler or the pump, and a long shaft will just strip the screw heads. I personally use a Wera Kraftform Kompakt because it gives me enough torque to snug down a fitting without the risk of over-tightening. Precision is your best friend when you’re trying to figure out why your group head shower screen is getting clogged so fast or why a silicone hose keeps slipping off its barb.
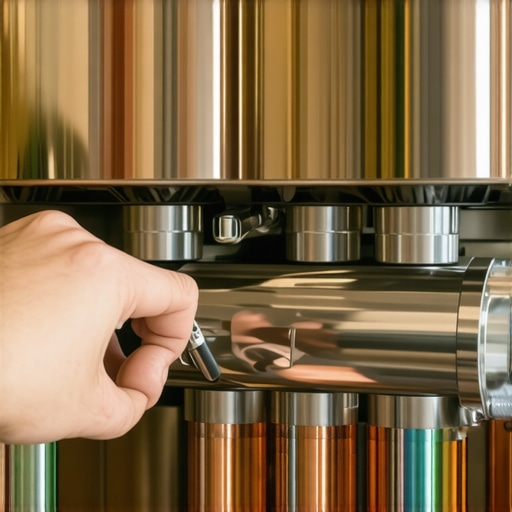
How do I make my internal components last longer?
Consistency isn’t just for your extraction; it’s for your maintenance schedule. According to the La Marzocco Home technical training manuals, waiting until a leak happens is often waiting too long. They recommend a proactive 6-month replacement cycle for the group head gasket and steam wand seals. This prevents the rubber from becoming brittle and ‘baking’ onto the metal, which leads to those microscopic gaps that allow steam to escape into the electronics. If you’re already seeing signs of trouble, like when you’re checking how to tell if your machine boiler is accumulating lime scale, that’s your cue to inspect every internal joint. I’ve found that a quick visual check every time I descale saves me hours of headache later.
The Future of Home Tech is User-Serviceable
I predict we’re moving toward a world where the top-rated espresso machines for coffee lovers in 2025 will be designed with modularity in mind. Manufacturers are realizing that the home barista community is technically savvy and tired of ‘disposable’ appliances. We want machines where the solenoid is accessible with two screws, not a full teardown. This shift will make it easier to maintain your setup and even swap parts, much like how to select the perfect coffee grinder for your brew based on its ease of cleaning. My advice? Don’t be afraid to get your hands dirty. Start small by trying the simple cardboard trick to quiet a vibrating machine to see if it stops your drip tray from walking. Once you realize you can fix the small stuff, the big stuff doesn’t seem so scary. Go ahead, pop that case off this weekend and just look—you might find a loose hose that was one shot away from a kitchen flood.
What Pro Techs Know That Most Home Enthusiasts Miss
After years of tinkering, I realized that internal leaks aren’t just bad luck; they are often the result of predictable mechanical physics. First, the thermal cycle is your machine’s worst enemy. Every time your boiler reaches temp, components expand; every time it cools, they shrink. This microscopic movement eventually wiggles even the tightest connections loose. Second, never confuse ‘tight’ with ‘sealed.’ Cranking down on a brass fitting with a large wrench often causes hairline fractures that only leak when the machine is hot. Finally, I’ve learned that the zip tie fix for loose espresso machine tubing is often more reliable than the original factory spring clamps because you can apply uniform tension in cramped spaces.
My Personal Survival Kit for Internal Repairs
You don’t need a full workshop to keep your counter dry, but a few specific items are non-negotiable for me. I always keep a stubby ratcheting screwdriver nearby because standard drivers simply won’t fit between the boiler and the frame. I also swear by Molykote 111, a food-grade silicone grease that keeps gaskets supple and prevents them from ‘baking’ onto the metal. If you are focused on choosing the best barista gear for coffee enthusiasts, these maintenance tools are just as essential as your tamper. Lastly, always use your smartphone to take ‘before’ photos of the wiring before you move anything—trust me, you won’t remember where that ground wire goes after twenty minutes of troubleshooting.
Take the Case Off and Take Back Control
It is easy to feel like modern top-rated espresso machines for coffee lovers in 2025 are magical black boxes that shouldn’t be touched by the owner. But once you realize they are just a logical system of pipes, valves, and heaters, the fear disappears. By learning to identify a simple drip tray bypass or a loose hose, you are not just saving money on repair bills; you are becoming a more connected barista. You will start to hear the subtle changes in the pump or the faint hiss of a tiny steam leak before it becomes a kitchen-flooding disaster. Your journey in mastering the art of home espresso tips for beginners isn’t truly complete until you have looked under the hood and understood the plumbing. Have you ever found a mysterious puddle and just closed your eyes, hoping it was just a dream? Let me know your messiest leak story in the comments below!