Why You Should Never Use Oily Beans in a Super-Automatic
It was a Tuesday morning, 6:00 AM, and I was desperate for caffeine. I pressed the ‘Double Espresso’ button on my machine, expecting that familiar, comforting hum. Instead, I heard a sickening, high-pitched whine, followed by a smell that definitely wasn’t French Roast—it was the scent of a struggling motor. I’d just dumped a fresh bag of ultra-shiny, dark-roasted beans into the hopper, thinking I was treating myself. Little did I know, I was essentially feeding my machine slow-acting poison. I’ve spent years obsessing over top-rated espresso machines for coffee lovers in 2025, but that day, my lack of bean knowledge almost sent my favorite appliance to the landfill. Today, I’m going to show you how to avoid that heartbreak and keep your internal grinder running like a dream.
Those Shiny Beans Are Clogging Your Internal Grinder
When I first started my home barista journey, I fell for the trap. I bought the darkest, oiliest beans I could find because I thought ‘shiny’ meant ‘fresh and flavorful.’ I was wrong. Super-automatic machines are masterpieces of convenience, but their internal grinders have a fatal flaw: they cannot handle heavy oil. Unlike when you select the perfect coffee grinder for a manual setup, you can’t easily reach in there to scrub the burrs. The oil acts like a glue, catching fine dust and turning it into a concrete-like sludge. According to reports from major manufacturers like Saeco, nearly 70% of grinder-related failures in home machines are caused by residue buildup from dark roasts. If you’ve ever wondered why your coffee beans are sticking to the sides of the hopper, you’re already seeing the warning signs.
Can’t I just run a cleaning cycle to fix the oil?
It’s a fair question, and one I asked myself while staring at my broken machine. Sadly, those little cleaning tablets are great for the brew group, but they don’t do much for the grinder burrs themselves. Once that oil turns rancid and sticky inside the teeth of the grinder, your machine will start to struggle, eventually leading to a situation where the grinder adjustment ring feels gritty or stuck. I made the mistake of ignoring the ‘slow’ sound of my grinder for months until it finally gave up. Have you noticed your machine sounding a bit more strained lately after switching bean brands?
The Hidden Cost of the Dark Roast Dream
It’s not just about the mechanical failure; it’s about the flavor. When oils sit on the plastic components of your hopper and the metal of your burrs, they go rancid quickly. This is why your morning cup might start tasting like old gym socks even if you’re using ‘fresh’ beans. We are here to make sure your mastering the art of home espresso doesn’t turn into a repair bill nightmare. Let’s dive into what you should be looking for in a bean instead.
Stop Buying Shiny Beans Today
The first step to saving your machine is non-negotiable: you have to stop using beans that look like they’ve been dipped in lip gloss. If you’re used to those deep, dark Italian roasts, look for bags labeled Medium or Medium-Dark. The oil on the surface of a bean is essentially a magnet for coffee dust. When I was deep in my oily bean phase, I didn’t realize that why your coffee grinder retains more grounds than it should was directly linked to that sticky residue. I once spent an entire Saturday morning with a shop vac and a bent paperclip trying to fish out a gunk-plug from my machine’s throat. I ended up covered in a cloud of fine dust and almost scratched my burrs. Now, I use the paper bag test. If I put a handful of beans in a brown paper bag and it leaves grease spots within a minute, those beans stay away from my hopper. 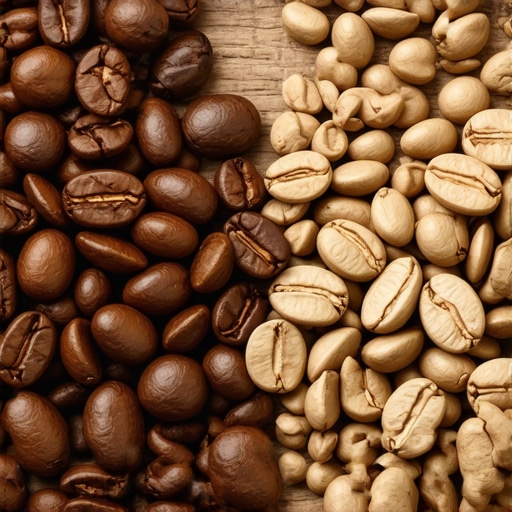
Clean Your Internal Burrs Without the Headache
You don’t always have to tear your machine down to its screws to keep things moving. I’ve found that using specialized grinder cleaning pellets—not rice—is a lifesaver. You must know why you should never use rice to clean your high-end grinder; the starch can expand and seize the motor entirely. Instead, run about a tablespoon of cleaning pellets through on a coarse setting once a month. This absorbs the surface oils before they turn into that concrete-like sludge I mentioned earlier. For those who want to be thorough, the cotton swab trick for cleaning hidden grinder crevices is my go-to for the exit chute. It’s low-tech, but it pulls out the gunk that even a vacuum misses.
Listen for the High-Pitched Motor Whine
Your machine is always talking to you; you just have to listen. When the motor starts to sound like it’s struggling or the pitch goes up an octave, the internal chute is likely narrowing. This is when you need to know how to clear a jammed chute without damaging your grinder. If you feel resistance when turning your dial, don’t force it. That’s a sign of oil buildup in the threads. Instead of an expensive repair, the best way to clean a grinder without taking it apart involves a combination of high-powered compressed air and these absorbent pellets. I remember the relief I felt when my Jura’s grinder finally stopped sounding like a dying cat and returned to its smooth, low growl just by switching to a drier bean and giving it a quick blast of air.Now that we’ve tackled the physical grit in your burrs, we need to talk about the ‘more is better’ trap that most home baristas fall into. You’ve probably seen machines advertised with ’15 bars of pressure’ like it’s a badge of honor. In reality, that’s usually a recipe for a bad morning. Most experts, and a significant 2020 study published in the journal Matter by mathematician Michael Cameron, suggest that lower pressures and slightly coarser grinds actually produce more consistent, delicious shots than the traditional high-pressure approach. When you push too much pressure, you’re not getting more flavor; you’re just forcing the water to find the path of least resistance, which is why your bottomless portafilter shows channels every time.
Forget the 15-Bar Marketing Gimmick
If you’re chasing that 15-bar peak, you’re likely crushing the coffee puck so tightly that the water can’t even pass through evenly. This results in a shot that is both over-extracted and under-extracted at the same time. I used to think I needed to crank my machine to the limit, but I realized that the secret to pulling sweet shots from very dark roasts is actually backing off the intensity. When you see why your espresso shot slows down midway through the pull, it’s often because the fines have migrated to the bottom of the basket, creating an impenetrable wall.
Does more pressure actually lead to a richer crema?
It’s a common myth that higher pressure equals more crema. Crema is mostly CO2 being forced out of the coffee oils, and while you need some pressure to create it, too much actually thins out the texture and makes the bubbles large and soapy. I’ve found that mastering the art of home espresso requires looking past the foam and focusing on the viscosity of the liquid. If you notice how to identify under-extracted espresso by the color of the stream, you’ll see that a blonding stream happens much faster under extreme pressure. 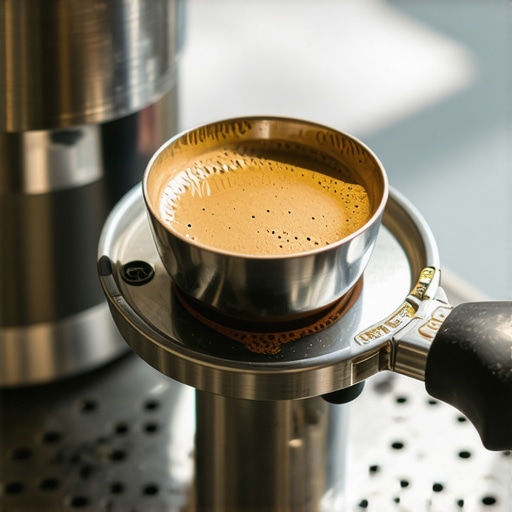
The Puck Compression Trap
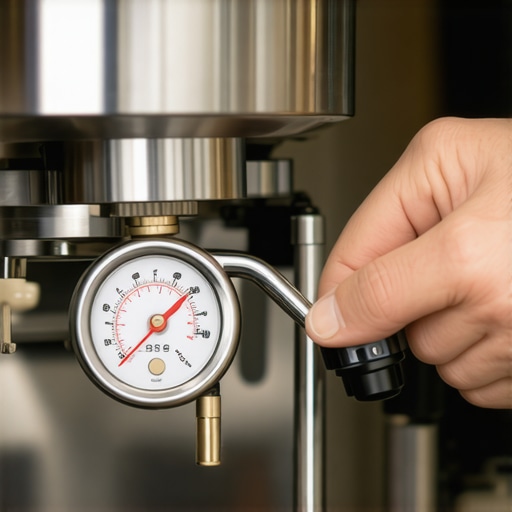
Another mistake I see seasoned veterans make is over-tamping to compensate for a grinder that isn’t quite dialed in. You might think a 30-pound squeeze is mandatory, but consistency matters more than raw force. This is exactly the truth about using spring-loaded tampers for even shots; they don’t necessarily make the coffee better, they just make it the same every time. If your machine is struggling, check if why your espresso pressure gauge is stuck at zero or behaving erratically; it might not be a mechanical failure, but simply a puck that is so compacted it’s acting like a solid plug. I once spent an hour troubleshooting a pump only to realize I was tamping like a bodybuilder on a deadline. Have you ever fallen into this trap and blamed your gear instead of your technique? Let me know in the comments! If you’re still having trouble with your setup, feel free to contact us for more specific advice on choosing the best barista gear for coffee enthusiasts.If you’ve ever looked at your steam wand and seen a crusty, white layer that won’t budge, you’re looking at more than just dried milk—it’s a breeding ground for bacteria. I learned the hard way that a quick wipe isn’t enough. You really need to adopt the 2-minute habit that prevents clogged steam wands. Every single time I finish frothing, I purge for a full two seconds before and after. If you neglect this, you’ll eventually find why your steam tip holes keep clogging every single day. For those using automatic frothers, knowing how to fix a milk frother that won’t spin usually starts with checking the magnetic whisk for dried residue that’s acting like a brake. It’s these small, daily habits that separate the hobbyist from the pro. 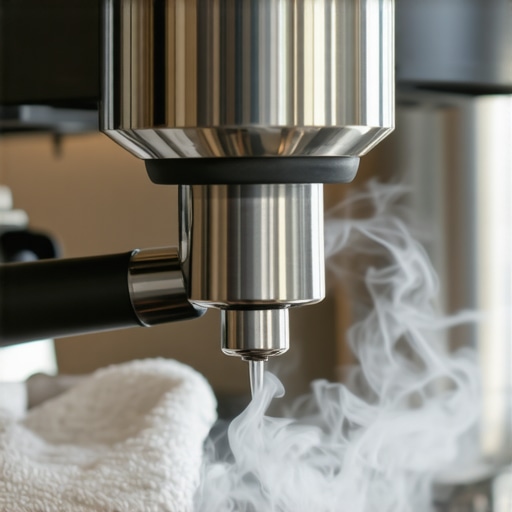
How do I keep my espresso machine running for a decade?
Maintenance isn’t just about the parts you can see; it’s about the internal health of your boiler and sensors. According to the official La Marzocco Home technical specifications, failing to manage water hardness is the leading cause of catastrophic component failure, specifically the calcification of heating elements. I personally use a BWT Bestsave pouch in my reservoir to prevent mineral buildup before it even hits the pump. If you aren’t sure about your local tap, you need to learn how to tell if your machine boiler is accumulating lime scale before the heating element burns out. This is a crucial step in choosing the best barista gear for coffee enthusiasts; the gear is only as good as the water you put through it. I’ve seen $5,000 machines turned into paperweights in less than two years because the owner ignored a simple descaling schedule.
Upgrade Your Workflow Without Buying More Machines
Sometimes the best tools are the ones that deal with the ‘micro-problems’ of physics in your basket. For instance, I used to struggle with channeling in my portafilter until I realized why your wdt tool pins are too thick for light roasts. Switching to 0.3mm acupuncture-style pins made a world of difference in my extraction evenness. As we look toward the future of home espresso, we’re seeing a massive shift toward data-driven brewing, where tools like Acaia scales and Bluetooth-enabled pressure profiles are becoming the norm. This trend toward ‘precision’ isn’t going away; if anything, we will soon see AI-assisted grinders that adjust themselves based on the flow rate of your previous shot. However, no amount of high-tech sensors can replace the fundamental cleanliness of your machine. Before you go out and buy a new machine, try the move for better espresso without buying a new machine by simply deep-cleaning your group head and shower screen tonight. My challenge to you: pull your shower screen tonight and see what’s hiding behind it. You’ll be surprised at how much ‘bright’ flavor you’ve been missing under that layer of old coffee oils.
Lessons That Cost Me More Than Just Coffee
After years of trial and error, I’ve realized that the most expensive part of coffee isn’t the machine—it’s the maintenance habits I ignored. One major lightbulb moment was realizing that consistency beats complexity every time. I spent thousands trying to buy my way into better flavor when a simple $10 scale and a commitment to mastering the art of home espresso would have saved me a fortune.
Another tough pill to swallow? You can’t out-clean bad water. I watched my first boiler die because I thought my tap water was “fine.” Now, I never skip a test to see how to tell if your water is too soft for brewing. Also, don’t let the fear of a mess stop you from experimenting; how to dial in decaf without losing your mind taught me more about grind size than a dozen YouTube tutorials ever could.
Finally, trust your ears. A grinder that changes pitch mid-dose is telling you something is wrong with the feed or the burr alignment. Ignoring that sound is the fastest way to a motor burnout.
The Toolkit That Keeps My Counter Clutter-Free
If I had to start over with only three tools, here’s what I’d grab. First, a precision scale like the Acaia Lunar. It’s the only way to know if why your espresso pressure drops suddenly during the shot is due to the pump or just a channeling puck. Second, a high-quality WDT tool. Just make sure the pins are the right size; I learned the hard way why your wdt tool pins are too thick for light roasts and can actually cause more harm than good.
#IMAGE_PLACE_HOLDER_E#
Finally, I always keep a bottle of Cafiza and a few specialized grinder cleaning pellets handy. It’s the best way to avoid a grinder adjustment ring that feels gritty or stuck. I trust these tools because they address the root causes of bad coffee—cleanliness and precision—rather than just masking the symptoms with fancy features.
Turn Your Morning Routine Into a Ritual
The journey to the perfect shot isn’t a sprint; it’s a series of small, mindful adjustments. Don’t be discouraged by a sour shot or a messy puck. Every failure is just data helping you toward choosing the best barista gear for coffee enthusiasts that fits your specific style. Start by cleaning that group head tonight and see if you can taste the difference tomorrow. Your espresso machine is a finely tuned instrument—treat it like one, and it will reward you for a decade.
Have you ever found a surprising “secret ingredient” or a specific cleaning habit that totally changed your coffee’s flavor? Let me know in the comments below!