How to Tell if Your Espresso Grinder Burrs Are Dull
I remember the Tuesday morning my espresso finally broke my heart. I was using my favorite beans, my water temperature was perfect, and I’d even practiced the move for better espresso distribution without fancy tools. Yet, the shot came out thin, sour, and utterly lifeless. I felt like a failure. It wasn’t until I took apart my grinder that I realized the problem wasn’t me—it was the metal. We focus so much on choosing the best barista gear for coffee enthusiasts that we forget these machines are mechanical, and mechanical things wear out. If your morning routine feels like a guessing game lately, you might be dealing with dull burrs.
Your Grinder is Crushing Beans Instead of Cutting Them
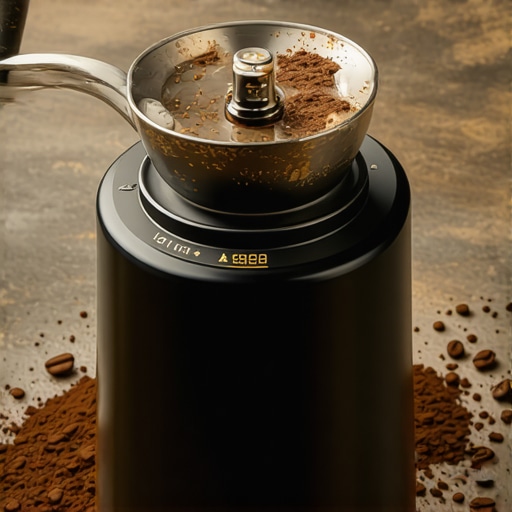
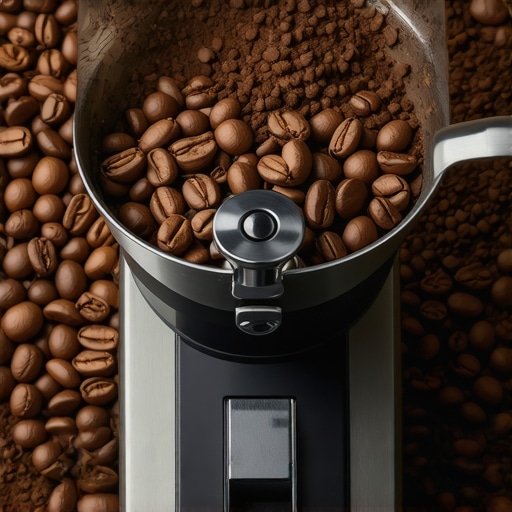
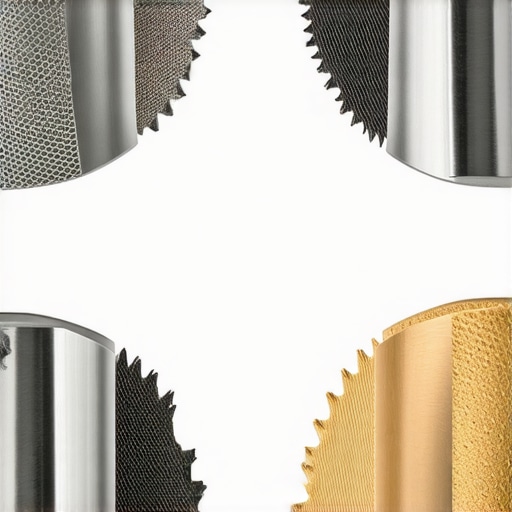
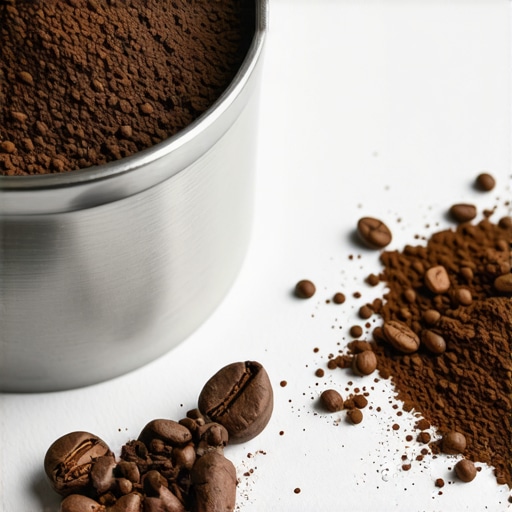
When burrs are sharp, they slice coffee beans into uniform particles. When they go dull, they start smashing them like a hammer. This results in a massive amount of “fines”—tiny dust-like particles that cause gritty texture in your espresso—and large chunks that let water bypass the coffee entirely. You might notice why your espresso shot is running too fast but the puck is dry, which is a classic symptom of uneven grinding. Industry leaders like Mazzer note that standard 64mm flat burrs are often rated for about 300 to 500 kilograms of coffee, but for many home baristas, the quality drop happens much sooner due to heat and oil buildup. I once spent a month thinking I’d lost my touch, only to find my burrs were smoothed over from years of daily use. Have you noticed that your grinder seems to be struggling to keep up lately?
Is New Gear Actually Worth the Money?
It’s tempting to think you need a whole new machine when the coffee starts tasting “off.” Trust me, I almost pulled the trigger on one of those top-rated espresso machines for coffee lovers in 2025 just because I was frustrated. But often, the fix is much simpler and cheaper. Before you drop a grand on a new setup, consider if you just need to learn how to properly season new steel burrs or simply replace your old ones. A common mistake I made early on was ignoring why your coffee grounds are clumping like little rocks; I thought it was just static, but it was actually the dull burrs heating up and compressing the oils. Replacing your burrs is like giving your grinder a second life, and it’s a lot cheaper than a whole new unit. Have you ever felt like no matter what you do, your shots just taste flat?
Find the True Zero Point Before Your Next Shot
Finding the exact moment your burrs touch—the ‘true zero’—is the only way to calibrate your palate. If you are just turning the dial until it stops, you are probably missing the mark. If you don’t know the trick to finding the true zero point on your grinder, you are basically throwing darts in the dark. I used to think ‘zero’ was just where the sticker pointed, but after a month of sour shots, I realized my ‘zero’ had shifted because of a tiny bit of grit in the threads. Think of your grinder like a guitar; if it isn’t tuned to a standard, the music—or in this case, the crema—will always be slightly out of key.
Stop Static from Ruining Your Workflow
We’ve all been there: you grind a perfect 18 grams, but only 16 grams make it into the basket while the rest coats your counter in a fine brown film. This isn’t just a mess; it’s a consistency killer. Learning how to stop static from ruining your grinding workflow is a game changer. A single drop of water—the ‘Ross Droplet Technique’—can neutralize that charge. I remember the first time I tried it; I was terrified I’d rust my burrs. Instead, the grounds fell like silk, perfectly vertical, and my kitchen finally stopped looking like a construction site. It’s a tiny move, but it’s the move that saves your grinder from unnecessary wear by preventing internal buildup.
The Paper Trick for Burr Alignment
If your burrs are sharp but your shots still taste muddy, they might be tilting like a crooked table. You can test this by painting the edges of your burrs with a dry-erase marker and spinning them by hand. If the ink only rubs off on one side, you’re misaligned. I once spent an entire Saturday shimming my burrs with tiny strips of aluminum foil. It felt like heart surgery for coffee gear, but the result was a shot so clear I could taste the blueberry notes the roaster promised. Misalignment is a silent thief of flavor, and it’s often why your coffee grinder retains more grounds than it should—the uneven gap traps coffee in the ‘valleys’ of the burr teeth.
That One Time I Almost Broke My Mazzer
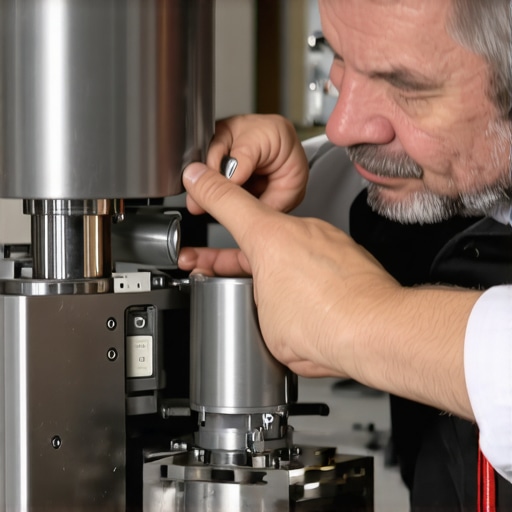
I’ll never forget the morning I tried to adjust my grind and the collar wouldn’t move. I panicked, thinking I’d cross-threaded the machine. I almost reached for a pipe wrench, which would have been a thousand-dollar mistake. It turns out, coffee oils had seeped into the threads and hardened into a cement-like glue. I had to learn how to fix a grinder adjustment ring that is stuck using nothing but heat and patience. Now, I make it a habit to use how to clean your grinders discharge chute with a pipe cleaner every few weeks. It keeps the path clear and prevents that ‘cement’ from ever forming again. When your gear moves smoothly, your workflow stays fast, and your coffee stays fresh.
One of the biggest lies in the coffee world is that more pressure equals better espresso. You’ve seen the boxes: ‘Professional 15-Bar Pump!’ It sounds impressive, but it’s a marketing trap. In reality, shoving water through a puck at 15 bars of pressure is like trying to put out a candle with a fire hose; it just creates massive channels. If you find why your espresso pressure drops suddenly during the shot, it’s often because that high pressure has blasted a hole right through your coffee bed. Professional baristas actually aim for a steady 9 bars, and many are even experimenting with 6 bars to get a sweeter, more balanced extraction. As coffee expert Scott Rao often points out, consistency in flow is far more important than raw pressure. If your machine is pushing too hard, you’re likely experiencing why your espresso shot is extracting from only the edges of the basket, leaving the center of your puck under-extracted and sour.
Why Does Your High-End Machine Still Produce Sour Shots?
It’s easy to blame the beans, but the ‘Oops’ factor often lies in the temperature. Even the most top-rated espresso machines for coffee lovers in 2025 can suffer from a cold group head. I used to pull my shots as soon as the ‘ready’ light turned on, only to get a mouthful of battery acid. The light only means the boiler is hot, not the heavy metal components the water has to travel through. This is where the benefit of pre-warming your portafilter head becomes a game changer. If the metal is cold, it sucks the heat out of your brew water instantly, leading to that dreaded why your espresso shot tastes salty and how to fix it. Have you ever fallen into this trap of rushing the warm-up process? Let me know in the comments.
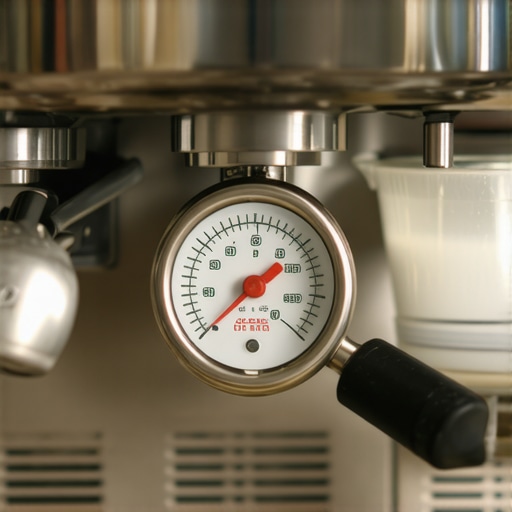
Another nuance people overlook is the maintenance of the steam system. We focus so much on the espresso that we ignore the wand until the reason your steam wand only makes thin hot milk becomes an everyday frustration. It’s usually not the machine’s fault; it’s a buildup of milk proteins inside the tip. I’ve seen people buy expensive milk frothers that transform your coffee experience just because they didn’t know why your steam wand tips keep getting blocked by milk residue. A simple toothpick and a regular purge can save you hundreds of dollars in ‘upgrades’ that you don’t actually need. Before you assume your pump or heater is dying, how to check your espresso machines group head flow rate to see if the blockage is internal. Mastering the gear you already own is always more satisfying than chasing the next shiny object.
Stop Your Espresso Machine From Dying a Slow Death
I learned the hard way that 90% of espresso machine failures aren’t due to manufacturing defects; they are due to neglect. If you have noticed why your espresso machine takes longer to heat up recently, you are likely looking at a scale problem. Water is the lifeblood of your coffee, but it is also its biggest enemy. I used to just fill my reservoir with tap water, but after my first boiler repair bill, I realized I needed the easy way to test your machines water hardness at home. According to the Specialty Coffee Association (SCA) water quality standards, having a total dissolved solids (TDS) count around 150 mg/L is the sweet spot for flavor and machine health. Ignoring this means your internal components will eventually look like a limestone cave, leading to a point where you might need to know how to fix a stuck pressure-stat in an older machine because of calcium buildup.
Why Your Scale Might Be Lying to You
Precision is everything, but gear fails under the humid conditions of a kitchen. I once spent an hour troubleshooting a sour shot only to find out my scale was drifting because of steam from the drip tray. If you find why your espresso scale is jumping numbers while the shot is pulling, it usually comes down to vibration or moisture. When choosing the best barista gear for coffee enthusiasts, we often overlook the stability of the platform. I recommend using a silicone mat to decouple your scale from the machine. In the future, I expect to see more machines with integrated, load-cell-based scales that communicate directly with the boiler to stop shots based on real-time weight, removing the ‘guesswork’ of manual timing entirely.
How can I keep my espresso setup running for a decade?
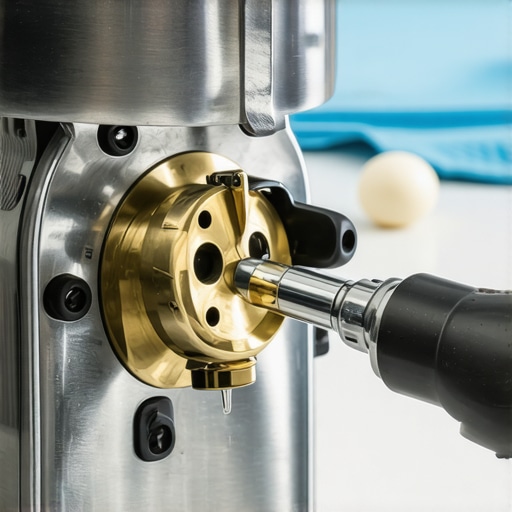
Maintenance isn’t just about descaling; it’s about the moving parts you never see. If you own an E61 group head, you must learn how to properly lubricate your E61 group head cam. Every time you backflush with detergent, you strip away the food-safe grease that keeps the lever moving smoothly. If you don’t re-apply it, the brass will eventually grind down. It’s also vital to monitor your internal valves; knowing how to spot a failing solenoid valve before it floods your kitchen can save you thousands in flooring repairs. I personally do a ‘deep clean’ every Sunday morning—it’s my ritual to ensure that when Monday hits, the gear is as ready as I am. I highly recommend you try a ‘blind filter’ pressure test today: if your gauge doesn’t hit its target instantly, you might have a tiny leak in your portafilter gasket that is stealing your crema.
The Truth About Espresso Mastery That Nobody Tells Beginners
After years of tinkering with every screw and valve, I’ve realized that even the most expensive machine won’t save you from a flawed workflow. One major revelation was that perfect consistency is often a moving target; even the pros have to account for why your shot extraction time changes every single day due to simple things like room humidity or bean age. Don’t let a mechanical hiccup ruin your morning either; knowing how to fix a grinder adjustment ring that wont budge is practically a rite of passage for any serious home barista. Your equipment responds to how you treat it; if you force a jammed burr, it will break, but if you maintain it, it will reward you with flavor clarity you never thought possible.
#IMAGE_PLACEHOLDER_E#
My Personal Arsenal for Brewing Success
If you are looking to level up your setup, I always suggest starting with the fundamentals before chasing shiny gadgets. When I’m asked about how to select the perfect coffee grinder for your brew, I tell people to focus on burr geometry and build quality over digital displays. For those just starting out, mastering the art of home espresso tips for beginners is the best foundation you can build to avoid frustration later. If your goal is better lattes, I’ve found that high-quality milk frothers that transform your coffee experience can bridge the gap between a basic machine and a cafe-quality drink. And if you’re ready for a full upgrade, check out the top-rated espresso machines for coffee lovers in 2025 to see where the industry is heading.
The Perfect Cup Is Already in Your Kitchen
At the end of the day, your journey with barista gear is about the joy of the process, not just the caffeine hit. Every time you descale your boiler, align your burrs, or find that true zero point, you are becoming more connected to the craft. You don’t need a five-figure setup to pull a shot that makes you smile; you just need a bit of patience and the right technical knowledge. Go ahead and try one of these maintenance tricks today and see how your flavor profile evolves. Have you ever found a weird ‘quick fix’ or a specific tool that completely saved your morning coffee? Tell me about your espresso hacks in the comments below!