Why Your Cold Brew Grind Isn’t Working for Your Espresso Machine
I stared at the portafilter, brimming with what looked like brown gravel, and genuinely believed my machine would work some kind of magic on it. I’d run out of espresso-grade beans, and in a moment of desperate caffeine-deprived logic, I figured my coarse cold brew grounds would do the trick. Spoiler alert: they didn’t. I hit the ‘pull’ button, and instead of that beautiful, syrupy nectar we all crave, my machine let out a pained, high-pitched wheeze. Within seconds, a thin, sour geyser of brownish water exploded out of the spout, splashing all over my favorite mug and the white tile backsplash. It was a humbling, messy reminder that in the world of high-end caffeine, physics is the ultimate boss.
My Kitchen Looked Like a Crime Scene
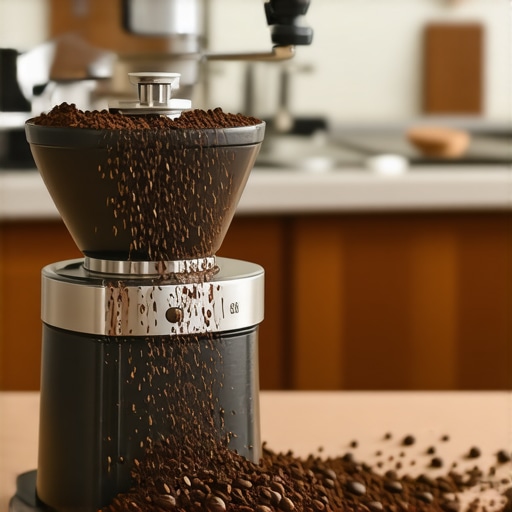
We’ve all been there—trying to make a square peg fit into a round hole because we’re too tired or too impatient to do it the right way. When you’re mastering the art of home espresso, the biggest hurdle isn’t the shiny machine itself, but the invisible wall of resistance you create inside the portafilter basket. Cold brew grounds are huge. They’re chunky, rustic, and designed to sit in cold water for 12 to 24 hours to slowly release their flavors. Espresso, on the other hand, is a high-pressure sprint. You’re forcing hot water through a tightly packed puck at roughly nine bars of pressure in a mere 25 to 30 seconds. If those grounds are too big, the water just races through the gaps like a flood through a chain-link fence. This is exactly why your espresso shot is running too fast. Without the proper resistance of a fine, uniform grind, you aren’t actually extracting those rich oils; you’re just giving the beans a quick, aggressive rinse. I spent twenty minutes scrubbing coffee stains off my toaster that morning, only to realize I’d wasted perfectly good beans and put unnecessary strain on my pump. To get that thick, tiger-striped crema, you simply have to select the perfect coffee grinder that can handle the microscopic adjustments needed for a real shot. According to the Specialty Coffee Association, the particle size distribution in espresso is so critical that even a few microns of difference can be the gap between a delicious latte and a cup of battery acid.
Is a Professional-Grade Grinder Actually Worth the Hype?
I used to be a skeptic. I thought my ‘all-purpose’ grinder was doing just fine, but the reality is that ‘all-purpose’ usually means ‘okay at everything, great at nothing.’ A coarse cold brew grind creates massive air pockets in your puck. When the water hits it, it doesn’t saturate the coffee evenly. Instead, it finds the path of least resistance—a phenomenon we call channeling—and blasts right through, leaving the center of those large coffee chunks completely dry and unextracted. Have you ever tried to ‘shortcut’ your grind size and ended up with a watery, disappointing mess? Don’t feel bad; I’m still finding dried coffee speckles on the underside of my cabinets from my own failed experiment. The truth is, if you want that café-quality experience, you have to respect the grind. Today, we’re going to break down exactly why that coarse grind is the enemy of your top-rated espresso machines and how you can finally achieve the balance required for a perfect pull.
Adjust Your Grind Until It Feels Like Fine Table Salt
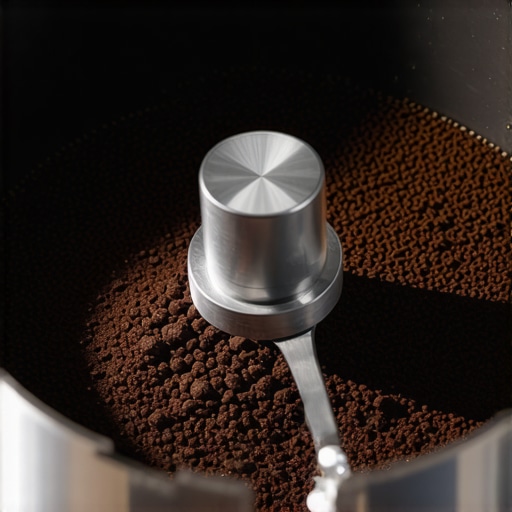
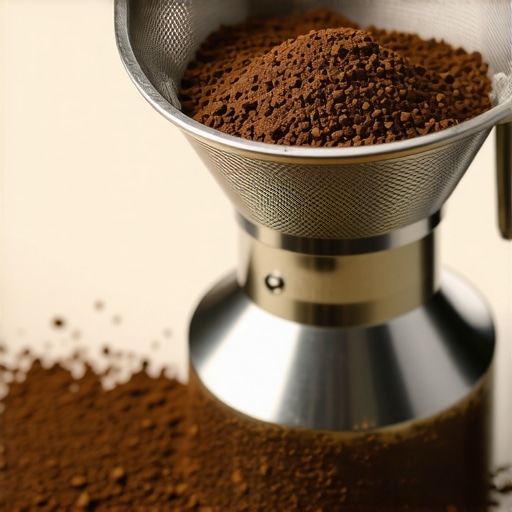
The first rule of consistent extraction is that your grind size dictates the entire narrative of your shot. If you’re transitioning from drip coffee or cold brew, you have to recalibrate your brain entirely. Espresso needs to be fine—think somewhere between powdered sugar and table salt. To get this right, you first need to find the true zero point on your grinder. This is the physical moment the burrs actually touch. From there, you back off slightly to find your starting range. If your shot takes 10 seconds to fill a cup, you need to go finer to create more resistance. If the machine chokes and only produces a few bitter drops, you’ve gone too far. Also, keep an eye on your equipment; if you find yourself constantly clicking the dial finer but the coffee still feels ‘chunky’ or inconsistent, you might need to learn how to tell if your espresso grinder burrs are dull. Old burrs shred the beans rather than slicing them, creating a chaotic mix of sizes that ruins your flow. 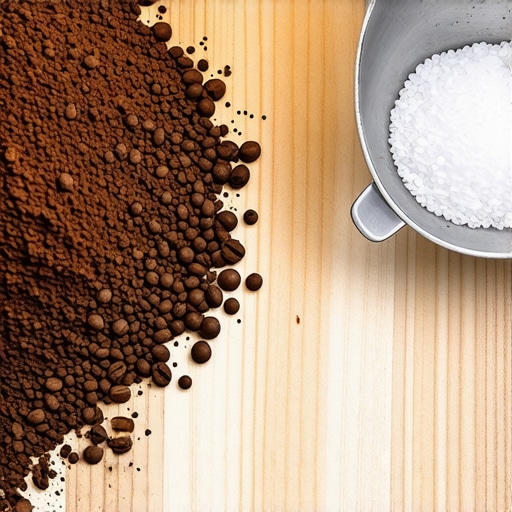
Stop Squashing the Life Out of Your Puck
Tamping isn’t about brute strength or showing off your gym progress. I used to think I needed to put my entire body weight onto the portafilter to get a ‘pro’ seal. One Tuesday morning, I pushed so hard with a straight arm that I felt a sharp ‘pop’ in my wrist and spent the next three days icing my hand while drinking instant coffee in shame. That was the day I finally researched the best angle for tamping to avoid wrist strain. You only need about 20 to 30 pounds of pressure—essentially just enough to push the air out and create a flat, uniform surface. The goal is a level bed, not a diamond-hard brick. Before you even touch the tamper, however, make sure the grounds are evened out. You can master the move for better espresso distribution without fancy tools by simply using your index finger to ‘groom’ the surface or giving the portafilter a gentle horizontal tap against your palm. If the coffee is piled up on one side before you tamp, the water will find that path of least resistance, and you’ll end up with a watery, underextracted mess on one side and a burnt mess on the other.
Keep Everything Hot to Save the Flavor Profile
You wouldn’t put a sizzling hot steak on a frozen plate, so why would you pull a delicate espresso shot into a cold portafilter? Heat loss is the silent killer of coffee sweetness. A cold metal group head and portafilter will suck the thermal energy right out of your water the moment the pump starts, leading to a sour, ‘thin’ tasting shot that lacks body. I make it a strict habit to lock my portafilter into the machine while it heats up so the metal reaches an equilibrium with the boiler. There is a massive benefit of pre-warming your portafilter head that most beginners overlook in their morning rush. If you don’t have twenty minutes to wait, run a ‘blank’ shot—just hot water through the empty basket—to flash-heat the metal components. It’s a small, thirty-second step that makes the difference between a standard caffeine fix and a café-quality masterpiece. Every degree of temperature stability counts when you’re working with such a small, concentrated volume of liquid.
While most beginners are fighting with grind size, advanced home baristas often fall into a much sneakier trap: the cult of ‘ultra-freshness.’ We’ve been told for years that coffee is a perishable product and that we should use it as close to the roast date as possible. However, if you’re using beans roasted yesterday, you’re likely fighting a losing battle against physics. Freshly roasted beans are packed with CO2, and when that gas meets high-pressure water, it creates a turbulent, fizzy mess inside the basket that prevents even saturation. This is exactly why your freshly roasted beans are making your espresso taste like grass or hay; the water simply can’t get past the gas to extract the sugars.
Why do your shots taste like grass even though the beans were roasted yesterday?
According to research published in the Journal of Agricultural and Food Chemistry, the degassing process is most volatile in the first 48 to 72 hours, but for espresso, the sweet spot often doesn’t arrive until day seven or even day fourteen. If you try to pull a shot too early, the crema will be thick and frothy like dish soap, but the flavor will be thin and acidic. You have to let those beans rest. When you’re choosing the best barista gear for coffee enthusiasts, don’t forget to invest in a few airtight canisters that allow for one-way degassing. It’s the only way to let the beans mature without going stale. Have you ever fallen into this trap of brewing beans that were too ‘fresh’ and wondered why they tasted so vegetal? Let me know in the comments.
The Soupy Puck Myth That’s Driving You Crazy
Another nuance that drives people toward unnecessary upgrades is the ‘wet puck’ obsession. I see so many forum posts where people are panicked because their discarded coffee grounds look like mud rather than a firm brownie. They assume it means their machine is broken or their tamping is wrong. In reality, why your espresso puck is always soupy at the end usually has more to do with the headspace between the coffee and the shower screen than the quality of your extraction. If you use a smaller dose in a larger basket, water will naturally sit on top after the pump stops. It’s an aesthetic issue, not a flavor one. 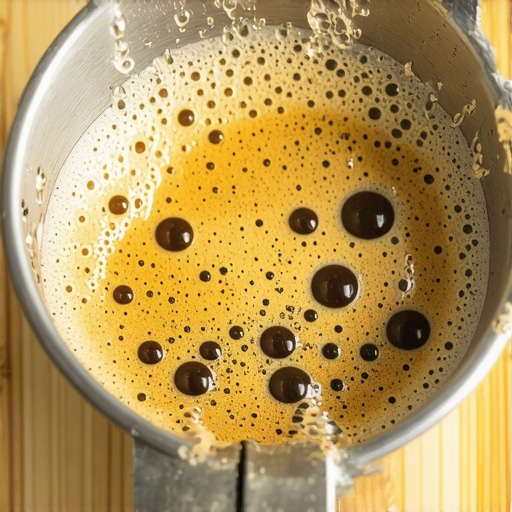 Unless you see that your espresso machine is discharging too much water into the drip tray or leaking from the group head, a wet puck is nothing to lose sleep over. Focus on the taste in the cup, not the mess in the knock box.
Stop Fighting Your Steam Wand
Finally, let’s talk about the frustration of the ‘single-hole’ vs. ‘multi-hole’ steam tips. Many people blame their machine when they can’t get that silky paint-like texture, thinking the reason your steam wand only makes thin hot milk is a lack of power. Often, it’s actually an issue of angle and ‘stretching’ time. On a single-boiler machine, you have a limited window of peak pressure. You have to master the secret to silky microfoam on a single boiler machine by introducing air only in the first few seconds when the milk is still cold. Once the pitcher feels like it’s reaching body temperature, you must transition entirely to the ‘rolling’ phase to break those big bubbles into microscopic silk. If you keep adding air too long, you’ll end up with a ‘stiff’ foam that’s more suited for an old-school cappuccino than a modern flat white.
I’ve learned the hard way that the difference between a machine that lasts five years and one that lasts twenty is a little bit of food-grade grease and a pipe cleaner. If you’ve noticed your lever feels a bit crunchy lately, you’ve probably washed away the factory lubricant during your backflush cycles. It’s a common mistake to ignore this until the metal starts grinding against itself. You really need to learn how to properly lubricate your e61 group head cam to keep that smooth, buttery feel when you engage the pump. Trust me, your ears—and your wallet—will thank you later.
How can I make my home espresso setup last for the long haul?
The answer almost always starts with your water. According to the La Marzocco Home Technical Guide, mineral scaling is responsible for more than 70% of professional repair calls. If you aren’t testing your hardness, you’re playing Russian roulette with your boiler. I make a habit of checking the fix for a clogged water filter in your reservoir every few months because even a slight dip in flow rate can put extra strain on your internal pump. 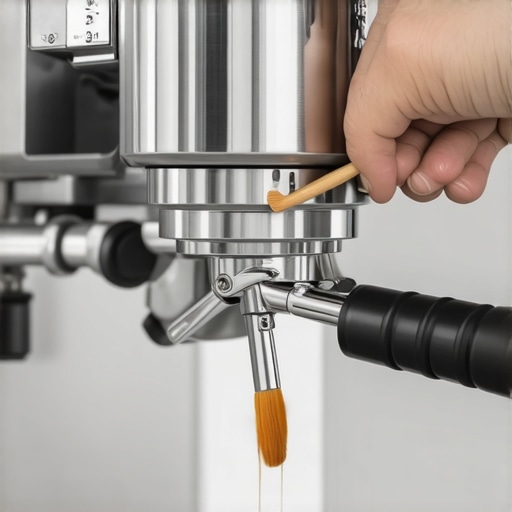 Over time, you might also find the danger of leaving old coffee oils in your portafilter spouts starts to affect the flavor of even your most expensive beans. Those oils go rancid, adding a stale, metallic note that no amount of ‘dialing in’ can fix.
Clean Your Chute to Save Your Motor
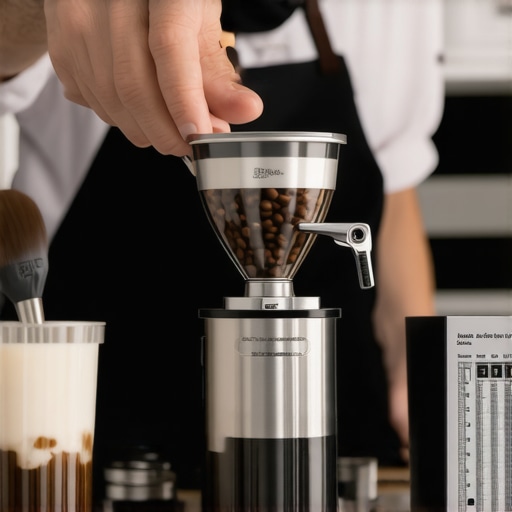
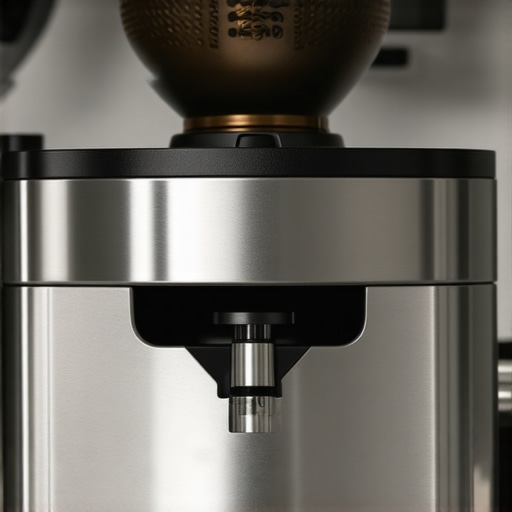
Your grinder is the unsung hero of the kitchen, but it’s also a magnet for static and clumping. When I started seeing my shots vary by 5 or 6 seconds for no reason, I realized my discharge chute was half-clogged with old, compressed grounds. Now, I use a simple pipe cleaner as part of my weekly routine. Learning how to clean your grinders discharge chute with a pipe cleaner takes less than two minutes and ensures that your ‘dose in’ actually matches your ‘dose out.’ It’s the move that saves your grinder from unnecessary wear by preventing backlogs that force the motor to work harder than it needs to. This also applies to your milk setup; if you use an auto-frother, you must learn how to clean the tiny air hole in your automatic milk frother to prevent that dreaded spluttering. I predict that in the next few years, we’ll see top-rated espresso machines for coffee lovers in 2025 coming standard with built-in AI sensors that alert your phone the second your water hardness drifts out of the safe zone. Until then, we have to do the legwork manually. If you’re still choosing the best barista gear for coffee enthusiasts, prioritize tools that are easy to take apart and service yourself. My challenge to you this week: take five minutes to pull your shower screen and give it a deep soak—you’ll be horrified by what’s hiding behind it, but your next shot will be the cleanest you’ve ever tasted.
What I Finally Realized After Pulling a Thousand Bad Shots
After years of tinkering with various espresso machines, I’ve learned that the most important variable isn’t the price tag—it’s your patience. I used to get so frustrated when my shot times varied, but then I realized that even a slight change in room humidity can explain why your shot extraction time changes every single day. Consistency comes from small habits, like purging the steam wand before and after every use. Also, don’t be afraid to waste a few grams of coffee when you change your settings; that ‘buffer’ coffee ensures you’re actually tasting the new grind size, not the leftovers from the old one.
Gear That Actually Earned a Spot on My Counter
If you want to move beyond the beginner phase, I highly recommend looking into high-end milk frothers that transform your coffee experience for better latte art. For physical tools, a high-quality WDT tool is the best investment you’ll ever make to solve the mystery of why your coffee grounds are clumping like little rocks. Lastly, keep a physical notebook by your setup. Writing down your yields and flavor notes is the fastest way to master home espresso.
Don’t Let a Sour Shot Stop Your Progress
The path to the perfect latte is paved with a few ‘sink shots’ and splattered tiles. Every time you figure out how to fix a grinder adjustment ring that won’t budge, you’re becoming a more capable home barista. Your barista gear is there to serve your creativity, not to stress you out. Don’t be afraid to experiment, get messy, and most importantly, enjoy the ritual. Your next adjustment on those coffee grinders might just be the one that produces the best shot of your life. What’s the one ‘beginner mistake’ you’re still struggling to overcome today? Let’s troubleshoot it together in the comments below.