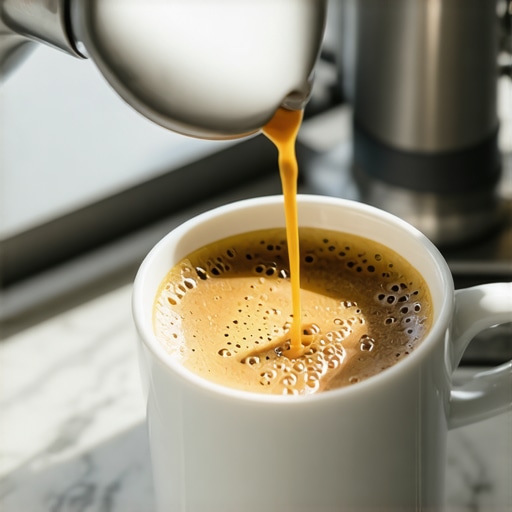
Why the first shot of the day is always a throwaway
I still remember the morning I almost threw my portafilter through the kitchen window. It was a Tuesday, I was running late, and I had just cracked open a bag of expensive, single-origin Ethiopian beans. I dialed everything in, or so I thought. But that first shot of the day? It was a disaster—sour, thin, and lukewarm. I watched my hard-earned money swirl down the drain, literally. If you have ever felt like you are just sacrificing your first dose to the coffee gods, you are not alone. We have all been there, standing over the sink with a grimace, wondering why the second shot always tastes like heaven while the first is a hot mess. It feels like a tax you have to pay just to enjoy your morning, but I promise you, it does not have to be this way.
That First Bitter Sip is a Ritual We Need to Break
For a long time, I just accepted it. I figured the “sink shot” was just the cost of doing business in the world of home espresso. I would grind a few grams, toss them, and then start my “real” shot. But that is such a waste of good beans. The truth is, your gear isn’t trying to spite you. There are very specific, mechanical reasons why that first pull fails, ranging from stale grounds trapped in the chute to a group head that hasn’t reached its true operating temperature. When I first started out, I made the classic mistake of thinking that just because the “ready” light was on, the whole machine was actually hot. Spoiler alert: it wasn’t. Have you ever noticed your first shot running significantly faster than your second? I would love to hear if you have faced this morning struggle too.
Is my machine actually broken?
This is the question I get most often from neighbors who see my elaborate setup. They think they need to send their unit back for repairs. Most of the time, the machine is perfectly fine; it is just physics. According to research from the Specialty Coffee Association, temperature stability is the single most important factor for consistent extraction, and a “ready” light usually only means the water in the boiler is hot, not the metal components the water has to travel through. If you are struggling, it might be time to look at choosing the best barista gear for coffee enthusiasts that helps mitigate these thermal swings and provides better consistency from the very first pull.
The Real Reason Your First Extraction Fails
The primary culprit is usually what we call “retention.” Even the most expensive perfect coffee grinder for your brew keeps a little bit of coffee inside its internal chambers. Those grounds sit there overnight, oxidizing and losing all their delicious oils. When you grind your first dose in the morning, you are getting a mix of fresh beans and yesterday’s stale leftovers. This is why the move that saves your grinder from unnecessary wear also involves purging a small amount of coffee to clear the old dust. Beyond the beans, there is the issue of “cold-soaking” the water. Even if your boiler is at 200 degrees, passing that water through a cold portafilter will drop the temp by 20 degrees instantly. That is why I always advocate for the benefit of pre-warming your portafilter head. It changes the entire profile of that initial shot. Today, we are going to walk through the workflow tweaks that finally ended my morning frustrations and saved my wallet.
Heat the Metal Before the Water Hits the Puck
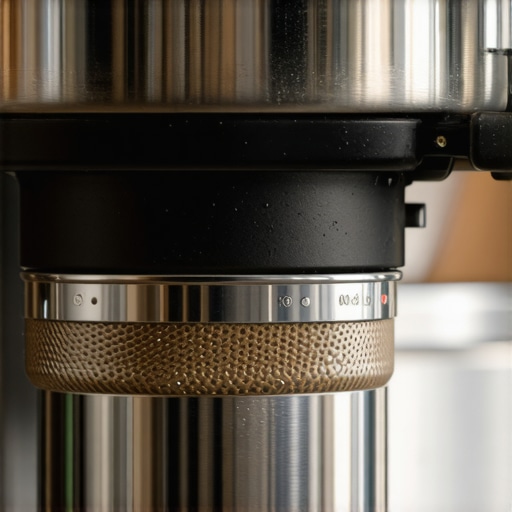
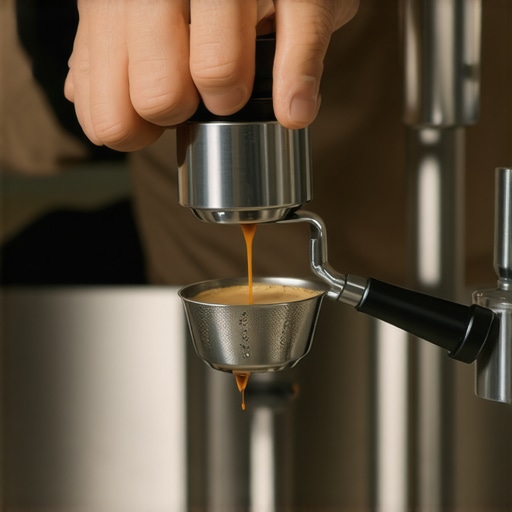
Think of your espresso machine like a high-performance engine. You wouldn’t floor it on a freezing morning before the oil has had a chance to circulate, and your group head is no different. It is a massive piece of brass that acts as a thermal heat sink. If it is cold, it will suck the heat right out of your brew water, regardless of what the PID display says. I once tried to rush a shot on my old E61 machine after only ten minutes of warm-up. The shot was sour and incredibly thin because the water temperature dropped by nearly 15 degrees the moment it hit the cold metal. To combat this, run a “blank” shot—hot water through the empty portafilter—for at least five seconds. This flash-heats the path and ensures that you have how to check if your portafilter gasket is actually sealed against the heat loss and ready for the real deal.
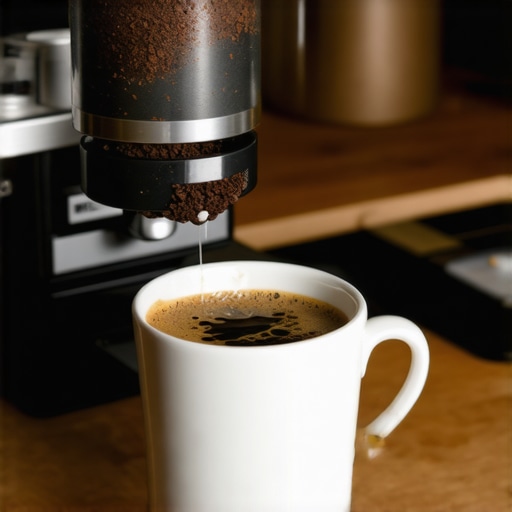
Flush the Group Head Every Time
This isn’t just about heat; it is about cleanliness. Over time, coffee oils build up behind the shower screen. If you don’t clear them, that first shot is essentially being filtered through yesterday’s burnt residue. This is a big part of why your machine needs a backflush every single week to keep those internal pathways clear. A quick three-second flush before you lock in your portafilter removes any stray grounds from the previous session and ensures the screen is saturated. I’ve seen screen buildup turn a sweet Ethiopian bean into something that tastes like a campfire in the worst way possible.
Purge the Old Grounds to Clear the Path
The “first shot” problem is often a grinder problem. Most grinders have a small chamber where a few grams of coffee sit between the burrs and the exit chute. These grounds are the first to hit your basket in the morning, but they have been sitting in the air for hours. They are stale, brittle, and will cause your shot to run way too fast. I used to think I was saving money by not wasting those three grams, but I was actually wasting the entire 18-gram dose because the shot was undrinkable. You need to learn how to clean the grinder chute without taking it apart or simply purge about 2 to 3 grams of fresh beans before you start your real dose. This ensures the burrs are biting into fresh, oily beans rather than dry dust.
Check Your Grinder Health
If purging doesn’t fix the consistency, your hardware might be the issue. Knowing how to tell if your espresso grinder burrs are dull is vital, as dull burrs create more heat and more fines, which leads to those unpredictable morning extractions. If the motor sounds like it is straining or the grounds feel gritty rather than like soft flour, it is time for a maintenance check. While you are at it, make sure you know how to properly lubricate your e61 group head cam so the mechanical lever action remains smooth and doesn’t affect your pressure ramp-up during the shot.
Level the Playing Field With Better Distribution
Once you have fresh grounds and a hot machine, the way you move that coffee around the basket dictates the flow. Air pockets are the enemy of a good first shot. When I first started, I would just shake the portafilter and tamp, leading to massive channeling where the water finds the path of least resistance. Now, I use the move for better espresso distribution without fancy tools—a simple horizontal tap with the palm of my hand to settle the bed before tamping. It sounds minor, but it ensures that the density of the coffee puck is even from the very first drop, preventing those watery streams that ruin your morning latte.
But even with perfect distribution, there is a nuance most home baristas miss: the beans themselves might be too fresh. It sounds like heresy, right? We are told from day one that freshness is king. However, in the world of high-pressure extraction, beans that were roasted yesterday are often your worst enemy. They are packed with CO2 that hasn’t had time to escape. When you pull a shot with ultra-fresh beans, that gas creates a literal barrier, preventing the water from properly saturating the grounds. This is a primary reason why your freshly roasted beans are making your espresso taste like grass or ending up with a thin, bubbly crema that dissipates in seconds. I usually wait at least seven to ten days post-roast before I even think about putting a bag into my hopper.
Stop Chasing the 15-Bar Myth
Everyone says higher pressure is better, but in my experience, chasing those double-digit bars is a recipe for a bitter, over-extracted mess. Many entry-level machines are marketed with ’15-bar pumps,’ yet the industry standard for a true balanced shot is around 9 bars. When you hammer a coffee puck with too much pressure, you actually compress the grounds so tightly that the water creates tiny cracks—channeling—rather than flowing evenly. Professional baristas often prefer lower pressures to increase the sweet spot of the extraction. If you are struggling with harsh flavors, it might not be your beans; it might be your machine’s factory settings. Have you ever fallen into this trap? Let me know in the comments.
Why does my shot time change even when I haven’t touched the grinder dial?
This is the ultimate ‘ghost in the machine’ for home enthusiasts. You dialed it in perfectly yesterday, but today the shot is five seconds faster. The culprit isn’t your equipment; it’s the humidity in your kitchen. Coffee beans are hygroscopic, meaning they soak up moisture from the air. On a humid day, the beans swell and require a coarser grind; on a dry day, they shrink, and your shot will fly through the basket. This explains why your espresso shot volume varies even with the same dose from one day to the next. According to research published in the Journal of Agricultural and Food Chemistry, even minor changes in bean moisture content significantly alter the physical resistance of the coffee bed during extraction.
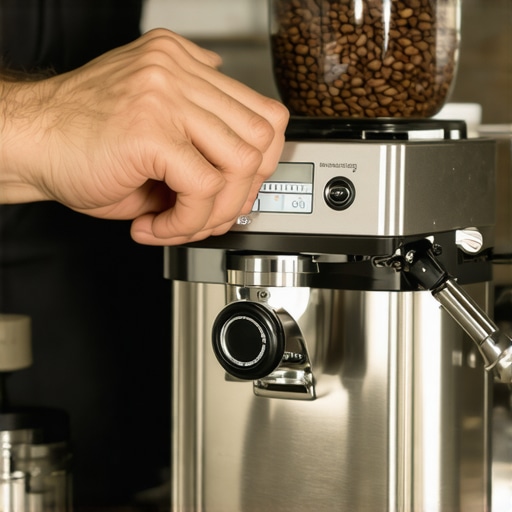
The Steam Wand Trap You Are Likely Falling Into
If your lattes are starting to taste ‘off,’ the problem might be hiding inside your hardware. Most people wipe the outside of their steam wand, but they neglect the internal buildup. Over time, milk is actually sucked back into the wand via a vacuum effect when the steam is turned off. If you aren’t careful, you’re steaming today’s milk with the putrid remains of last week’s froth. This leads to the danger of leaving old coffee oils in your portafilter spouts and steam tips, which can eventually harbor bacteria. Furthermore, if you notice the reason your milk smells like its burning before the temp is right, it is likely because of these internal deposits. I always recommend a deep purge and a dedicated tip cleaning once a month to keep things sanitary and sweet. Mastering the secret to silky microfoam on a single boiler machine starts with a clean, unobstructed steam path.
I used to ignore my water quality entirely. I figured that if it tasted fine to drink, it was fine for my machine. Then, during a routine deep clean, I peeked inside my copper boiler and saw what looked like a limestone cave. It was a wake-up call. Hard water is the silent killer of barista gear, and if you aren’t careful, it will turn your expensive investment into a very heavy paperweight. That is why I now recommend everyone start with the easy way to test your machines water hardness at home before they even worry about the grind size. According to the La Marzocco Water Specification Guide, maintaining total hardness between 70-100 ppm is the sweet spot for preventing both catastrophic scale and the corrosive effects of overly soft water.
Stop Hard Water From Killing Your Boiler
If you have noticed that your why your espresso machine takes longer to heat up recently, you are likely dealing with a thick layer of scale insulated your heating element. This doesn’t just waste energy; it puts immense stress on the metal. I’ve seen too many people panic and perform a haphazard descale, only to have a loose flake of calcium clog a tiny orifice. In those cases, you need to know how to recover from a failed descaling process without making the situation worse. Dealing with the internals can be intimidating, especially if you are learning how to clean an old copper boiler without damaging the finish, but it is the difference between a machine that lasts three years and one that lasts thirty.
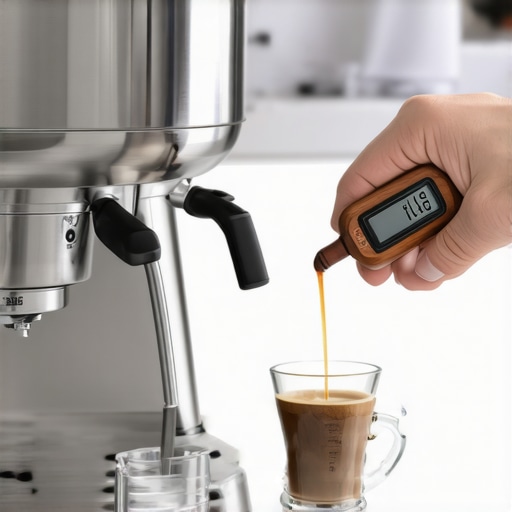
My Toolkit for a Decadelong Machine Life
Beyond the water, I keep a very specific kit of tools in my drawer. I don’t go for the flashy, expensive gadgets; I go for the ones that actually touch the internal components. For example, a simple pipe cleaner is my best friend for how to clean the inside of your steam wand pipe after a particularly heavy weekend of lattes. I also keep a close eye on my waste systems. If you notice the reason your drip tray is filling up faster than normal, it is usually a sign that an expansion valve or a three-way solenoid is starting to weep, and catching that early saves you a massive cleanup later. For those with vintage gear, knowing how to fix a stuck pressure stat in an older machine is a vital skill that keeps the pressure needle exactly where it needs to be.
How can I keep my setup running like new for years?
Consistency in maintenance is the only real answer. I set a calendar reminder for the first Saturday of every month to do a full teardown of the shower screen and a backflush with detergent. It is not just about the machine, either; your accessories need love. Using the best way to clean a wood-handled portafilter ensures that the oils from your hands and the heat from the group head don’t crack the grain over time. Treat your gear like a fine instrument, and it will respond with the same precision every single morning.
Predictive Tech is the Next Frontier
Looking at the top rated espresso machines for coffee lovers in 2025, we are seeing a massive shift toward predictive maintenance. We are moving away from simple timers and toward sensors that can detect the exact mineral buildup in your lines or the wear and tear on your pump before it fails. I believe the next few years will bring machines that adjust their own flow rate based on the age of your burrs. It is an exciting time to be a home barista, as the gap between ‘professional’ results and ‘home’ struggles is finally closing. I want you to go to your kitchen right now and check your water hardness; it is the single most impactful thing you can do for your machine’s longevity.
Hard-Won Secrets From My Messy Kitchen Counter
After years of trial and error, I realized that the “ready” light on my machine was more of a suggestion than a rule. To truly master the craft, you have to look past the electronics and understand the physical state of your equipment. For instance, my consistency improved tenfold once I learned the trick to finding the true zero point on your grinder, which allowed me to make micro-adjustments with actual confidence. I also stopped treating every bag the same; mastering the art of home espresso tips for beginners taught me that patience during the warm-up phase is the best free upgrade you can give your setup. Finally, never force your gear; if you find your settings stuck, knowing how to fix a grinder adjustment ring that wont budge will save you from a very expensive mistake. These habits turn a frustrating chore into a morning sanctuary.
The Tools That Actually Saved My Sanity
I don’t believe in cluttering the counter with gadgets, but a few items are non-negotiable for a high-quality workflow. I always keep a reliable set of milk frothers that transform your coffee experience on hand for guests who prefer lighter, fluffier textures than a standard wand provides. Speaking of wands, have you ever wondered why some steam wands have two holes and others have four? Understanding that geometry helped me realize why my whirlpool was failing on my specific machine. Lastly, I never skip a monthly test using the easy way to test your machines water hardness at home because preventing scale is much easier than fixing a clogged boiler later.
#IMAGE_PLACEHOLDER_E#
Your Best Morning Cup is Only One Flush Away
The journey to the perfect home espresso is paved with a few bad shots, but once you align your temperature, your purge, and your distribution, the rewards are incredible. Don’t let a single sour morning discourage you from the process. Every time you flush the group head or dial in a new bag, you are building the muscle memory of a true barista. Take a breath, let the metal heat up properly, and enjoy the ritual for what it is: a moment of peace before the day begins. Have you ever been tempted to sell your machine after a week of bad shots, or did you find a specific trick that saved your morning? Let me know your biggest struggle in the comments below!