The Best Move for Keeping Your Barista Rags Smelling Fresh
I walked over to my machine, ready to pull a beautiful Ethiopian natural, when I caught a whiff of something that definitely wasn’t blueberries. It was my steam wand cloth. Even though I’d rinsed it out ten minutes prior, it smelled like a locker room in mid-August. I’d made the classic rookie mistake: I left it sitting in a damp, crumpled heap right on the warm drip tray. That little humid microclimate is a playground for the kind of bacteria that make your kitchen smell like a dumpster. I realized then that if I wanted my home espresso game to be top-tier, I had to stop treating my cleaning gear like an afterthought.
Stop the Funk Before it Starts
Look, we spend hundreds, maybe thousands, on top-rated espresso machines, but we often neglect the humble rag. If your cloth smells, your coffee experience is compromised. Period. The “best move” isn’t just about buying better detergent; it’s about a fundamental shift in how you handle moisture and milk protein. Today, I’m going to share the exact routine I use to keep my station smelling like fresh-ground beans instead of a swamp. We’ll look at the rotation system that saved my sanity and why your choice of storage matters more than you think. Have you ever been mid-pour and realized your “clean” rag was actually the source of a funky odor?
Do these bacteria actually affect the taste of my latte?
You might think a little smell is just a nuisance, but it’s a red flag for hygiene. According to researchers at the University of Arizona, about 89 percent of kitchen towels carry coliform bacteria. When you use that same cloth to wipe down your steam wand, you aren’t just cleaning; you’re potentially spreading a biofilm that can harden and harbor even more odors. I used to think I could just stop using a wet cloth on my steam wand and call it a day, but the truth is that milk proteins are incredibly stubborn.
The One Habit That Ends the Sour Milk Smell
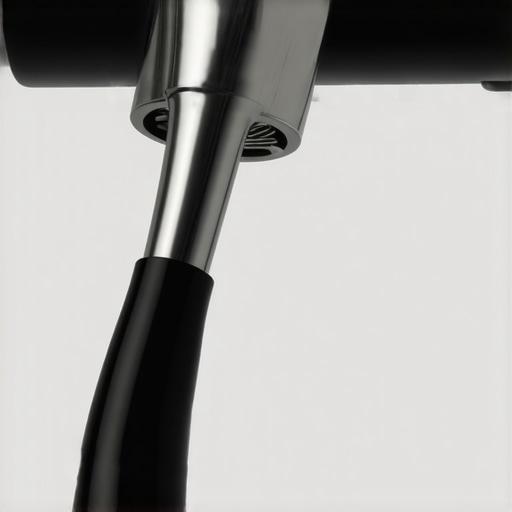
The absolute game-changer for me was the “dry and hang” rule. Early on, I thought I was being tidy by tucking my rag away, but that’s exactly what causes the rot. Now, I make sure every cloth has a dedicated spot where air can circulate. It’s a bit like how you have to pick a coffee mat that doesn’t absorb odors; your rags need a breathable home. If you just toss them on the counter, moisture gets trapped underneath. When you are done with a shot, you should always purge your steam wand and wipe it immediately, but then—and this is the key—you must rinse that rag in cold water and hang it to dry. Cold water helps prevent the milk proteins from “cooking” into the fibers. It’s a small tweak, but it prevents that sour, cheesy scent from developing by noon. This simple habit should be part of every weekend deep clean and daily workflow alike.
Cold Water is Your Secret Weapon Against Milk Protein
The biggest mistake I see home baristas make is using scalding hot water to rinse their cloths. It sounds logical—hot water kills germs, right? But milk is a different beast. Milk proteins are like tiny balls of glue that harden when they hit heat. If you rinse a milk-soaked rag in hot water, you are effectively ‘cooking’ those proteins into the fibers of the cloth. This creates a permanent, invisible layer of organic matter that feeds bacteria. I learned this the hard way during a particularly busy brunch at home. I kept rinsing my rag in the hot water dispenser of my machine, thinking I was being hyper-hygienic. By 2:00 PM, the rag was stiff as a board and emitted a scent that reminded me of a soggy grilled cheese sandwich left in a hot car. Now, I only use ice-cold water for the initial rinse. This flushes the liquid milk out before the proteins have a chance to bind. It’s the same logic as to why the reason your milk smells like its burning before the temp is right—temperature control is everything.
Run a Pro-Level Rotation System
You cannot rely on a single cloth for your entire day. If you are pulling shots in the morning and again in the afternoon, that first cloth is already a petri dish by lunch. I moved to a three-cloth system, which is a staple when choosing the best barista gear for coffee enthusiasts. One cloth is strictly for the steam wand, one for the portafilter and basket, and one for the drip tray. 
Color-Code Your Workflow
Assigning colors isn’t just for aesthetics; it prevents cross-contamination. I use blue for milk, gray for coffee, and white for the machine body. This ensures I’m not wiping coffee oils onto my steam wand, which can cause clogs or even lead to the reason your steam wand is leaking water into your milk if the tip gets obstructed by debris.
Ditch the Countertop for a High-Airflow Rack
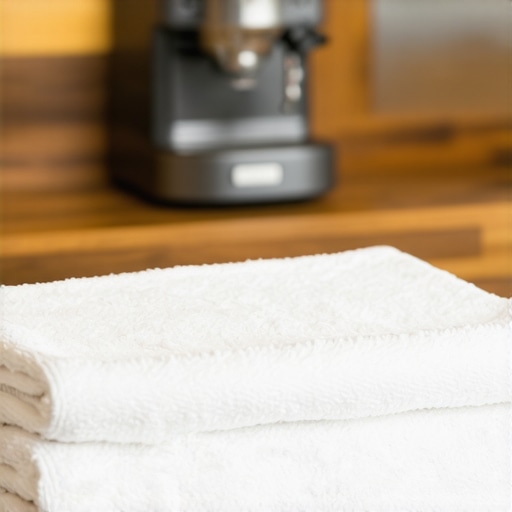
Airflow is the only thing standing between you and a swampy kitchen. Bacteria thrive in the dark, damp crevices of a crumpled rag. I used to just toss mine next to the grinder, but the moisture trapped underneath actually started to warp my wooden counter. Now, I use small magnetic hooks on the side of my machine or a dedicated drying rack. If you are tight on space, you need to think about how to organize your barista tools in a single drawer, but your wet cloths must stay out until they are bone dry.
Nuke the Bacteria with a Weekly Deep Soak
Even with cold rinses and air drying, oils and proteins will eventually build up. Once a week, your cloths need a chemical intervention. I use a bowl of hot water mixed with a small amount of espresso machine detergent (the same stuff you use for backflushing). This specialized cleaner is designed to break down coffee oils and milk solids. Just as why your machine needs a backflush every single week to keep the group head clean, your rags need that same level of attention. I once skipped this for a month, and even after a standard laundry cycle, the rags still had a faint ‘old latte’ musk. The detergent soak is the only way to truly reset the fabric. Incorporating this into the best routine for a weekend deep clean ensures you start every Monday with a neutral-smelling station.
Stop Obsessing Over Backflushing While Ignoring Your Water Tank
While that weekly detergent soak for your cloths is non-negotiable, let’s talk about the cleanliness trap I see even seasoned pros fall into. Everyone knows why your machine needs a backflush every single week, but hardly anyone looks at the source. We focus so much on the group head that we ignore the reservoir. I used to be guilty of this—I’d polish my top-rated espresso machines until they shone, but the water tank was growing a thin, slippery film of algae. You have to realize the risk of leaving your machines water intake tube dirty; it’s a direct line for bacteria into your boiler. I actually found that my shots improved more from scrubbing the tank than they did from upgrading my tamper.
Why does my espresso taste like vinegar even after a deep clean?
This is the ultimate ‘advanced’ frustration. You’ve scrubbed, you’ve descaled, and yet that sharp, acidic tang remains. Often, this isn’t a cleanliness issue—it’s a chemistry issue. People often make the mistake of using distilled water in your boiler because they think ‘pure’ means ‘better.’ However, the Specialty Coffee Association (SCA) notes that water needs specific mineral content, like calcium and magnesium, for proper extraction. Without them, the water becomes aggressive and can actually leach metals from your machine, leading to that ‘vinegar’ or metallic taste. Plus, if you don’t rinse properly, you might be facing why your espresso tastes like vinegar after cleaning due to residual citric acid. It’s a delicate balance that separates the hobbyists from the experts.
Your Grinder is Holding Onto More Than You Think
The biggest myth in home espresso is that a ‘clean’ hopper equals a clean grinder. In reality, the ‘oops’ factor here is retention. Even if you use a brush for the mess-free way to clean a conical burr grinder, there are several grams of old, stale coffee hidden in the chute. This is why the first shot of the day is always a throwaway. Those stale grounds mix with your fresh beans and ruin the clarity. I spent months trying the move for better espresso distribution without fancy tools, only to realize my ‘funky’ flavors were just three-day-old grounds hiding in the burr chamber. 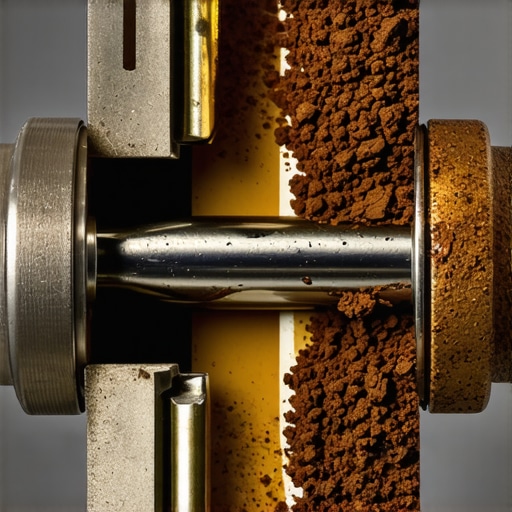
Have you ever fallen into this trap of over-cleaning one part while totally ignoring another? Let me know in the comments. It’s these hidden nuances—the ones that aren’t in the manual—that truly define your journey in mastering the art of home espresso. If you’re serious about your craft, stop looking at the shiny parts and start looking at the dark corners where the ‘funk’ actually lives.
Once you’ve conquered the ‘funk’ and cleaned out the hidden corners of your station, you have to face the mechanical reality: your gear is a collection of moving parts that are slowly wearing down. I used to think that because I bought one of the top-rated espresso machines, it would perform perfectly forever. I was wrong. Maintenance isn’t just about cleaning; it’s about mechanical preservation.
Your Burrs Are Getting Dull and You Probably Don’t Notice
In my experience, the most insidious performance killer is burr wear. It happens so slowly that your palate adjusts to the increasing bitterness. According to James Hoffmann’s technical analysis in The World Atlas of Coffee, the gradual blunting of burr edges results in a significant increase in ‘fines’, which lead to muddy, over-extracted flavors even when your brew time looks correct. You need to know how to tell if your espresso grinder burrs are dull before you start blaming your beans for a bad shot. I now make it a habit to check my burr alignment every six months. Learning the right way to align your flat burrs for better shots was a revelation—it turned my ‘good’ espresso into something that actually tasted like the notes on the bag.
The Group Gasket is Your First Line of Defense
I learned this the hard way when a gasket blew mid-shot, spraying hot water all over my favorite shirt. According to La Marzocco’s technical service bulletins, even a 1mm deviation in a group gasket’s seated height can alter the pre-infusion pressure curve. You shouldn’t wait for a leak to act. When you learn how to replace a group gasket without scratching the chrome, you ensure a perfect seal that keeps your pressure consistent. While you’re at it, you should perform the easy way to test your pump pressure at home. If your pump is struggling, no amount of fancy barista gear will save your extraction.
How do I maintain my grinder’s precision over the years?
Consistency comes down to two things: avoiding heat and preventing ‘dry starts.’ I always practice the move that saves your grinder from unnecessary wear by ensuring the motor is spinning before I drop the beans in. Additionally, you must find the trick to finding the true zero point on your grinder. Over time, as you clean and reassemble your unit, that zero point can shift. If you don’t recalibrate, your ‘setting 5’ today won’t be the same as ‘setting 5’ next year. Finally, remember that your water is the lifeblood of the machine. I’ve stopped believing the truth about using distilled water in your machine is a simple ‘yes’ or ‘no.’ You have to understand how to tell if your water hardness is damaging your boiler if you want your investment to last a decade.
Look into the Crystal Ball of Coffee Tech
The trend is moving toward data. In the next five years, I expect prosumer machines to move away from manual pressure profiling toward real-time optical sensors in the basket that adjust flow based on channel detection. We are entering an era of ‘smart’ home espresso where the machine helps you diagnose your mistakes in real-time. My challenge for you this weekend: don’t just wipe the machine down. Take a flashlight, look up into the group head, and check that gasket. If it feels like hard plastic instead of supple rubber, swap it out. It’s the cheapest way to ‘upgrade’ your machine today.
What Five Years of Burnt Milk Taught Me
I didn’t become a competent home barista overnight; I earned it through hundreds of sub-par lattes and a few very smelly steam wands. Looking back, the most important shift I made wasn’t buying one of the top-rated espresso machines on the market, but rather shifting my focus to the invisible factors. Here are the hard-won lessons that changed everything for me:
- The 10-Second Rule: If you don’t purge and wipe your wand within ten seconds of finishing your milk, the protein bond is already forming. It is much easier to prevent a mess than to scrub it off later.
- Sensory Awareness: If you notice why your espresso shot tastes salty and how to fix it, don’t just change your grind. Check your machine’s cleanliness. Old coffee oils in the group head can mimic the taste of under-extraction.
- Grinder Hygiene is King: You can have the best beans in the world, but if your hopper is coated in rancid oils, the flavor will be flat. I learned how to get the old coffee smell out of your hopper early on, and it salvaged many of my specialty roasts.
The High-Value Gear I Swear By
When you are choosing the best barista gear for coffee enthusiasts, it’s easy to get distracted by shiny accessories. However, I’ve found that true quality lies in the tools that facilitate maintenance. I highly recommend a set of dedicated microfiber cloths for different tasks—one for the wand, one for the machine, and one for the portafilter. If you use automated equipment, don’t forget the cleaning cycles for milk frothers that transform your coffee experience; they require just as much care as a manual wand. Finally, always have a high-quality brush on hand. It’s the simplest tool for how to select the perfect coffee grinder for your brew maintenance and keeping those burrs free of debris.
#IMAGE_PLACE_HOLDER_E#
Your Next Great Shot Starts Now
The journey toward mastering the art of home espresso is never truly finished. There is always a new bean to try, a new technique to hone, or a subtle nuance to discover in your machine’s performance. By taking care of the small details—like your steam wand cloths and your grinder’s zero point—you aren’t just cleaning; you’re showing respect for the craft. This discipline is what separates a morning caffeine fix from a true culinary experience. What’s the one part of your espresso routine that always feels like a chore? Let me know in the comments, and let’s find a way to make it easier for you.