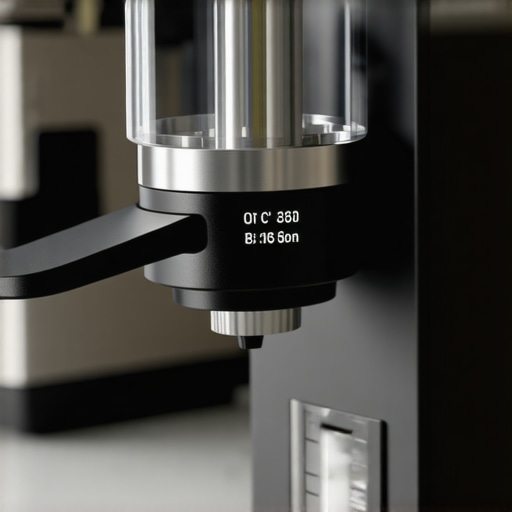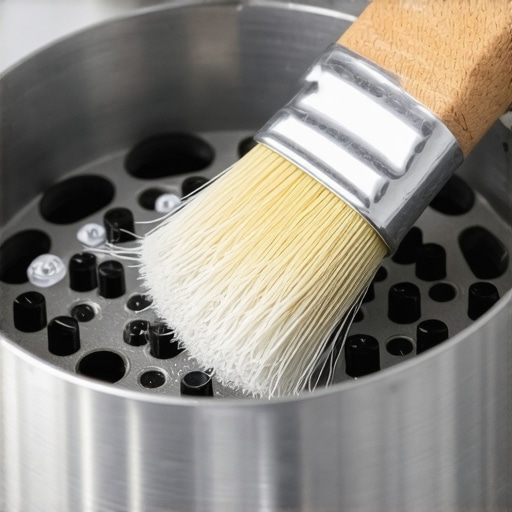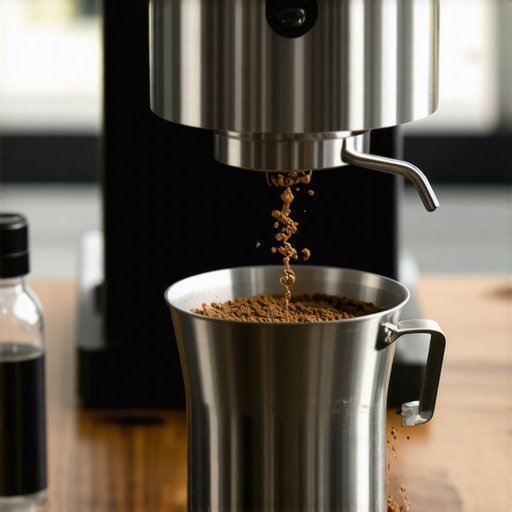
How to Stop Static From Ruining Your Grinding Workflow
I was standing in my kitchen at 6 AM, bleary-eyed and desperate for caffeine, when it happened. I clicked the toggle on my grinder, and instead of a neat pile of grounds falling into the basket, I witnessed a miniature dust storm. Coffee chaff clung to my sleeves, the counter was dusted in brown powder, and half my dose seemed stuck to the side of the catch bin. It is incredibly frustrating, right? You spend good money on choosing the perfect coffee grinder only to have physics treat your morning routine like a failed science experiment. This mess isn’t just an eyesore; it ruins the flow and joy of making a great cup. I have been there, and I promise you, there is a way out of this dusty nightmare. Today, I am going to show you how to ground your workflow—literally.
Static Electricity is the Barista’s Worst Enemy
This isn’t just about the cleaning, although sweeping up grounds three times a day is enough to make anyone lose their mind. It is fundamentally about consistency and precision. When static takes over, your coffee grinder retains more grounds than it should, throwing off your dose and making your shots taste wildly different from one minute to the next. I spent years thinking my tamping technique was flawed before I realized I was just fighting invisible electrons. According to research on the triboelectric charging of coffee, moisture levels and bean roast play a massive role in how much static your beans generate. High-end equipment or entry-level gear, static does not discriminate. It affects everyone. If you have ever felt like throwing your machine out the window after a particularly messy session, please tell me I am not the only one who has had that thought!
Is adding water to my expensive grinder actually safe?
I know what you are thinking because I had the exact same fear. Putting water anywhere near precision steel burrs feels like a recipe for rust and total disaster. In my early days, I actually made a massive mistake by being way too aggressive with a spray bottle—I practically hosed down the beans and ended up with a gummy, rusted mess that took hours to fix. It was a painful lesson in “less is more.” However, there is a middle ground called the Ross Droplet Technique (RDT) that changed everything for me. When done correctly, it is the single most effective way to keep your workspace clean and your dose accurate. We are not talking about soaking the beans; we are talking about a microscopic amount of moisture that neutralizes the charge before it can cause chaos.
The One Simple Trick That Changed My Morning
If you are tired of coffee grounds clumping like little rocks, you need to master this tiny habit. It is not just for the gear nerds on the forums; it is a practical necessity for anyone using top-rated espresso machines. By incorporating a quick spritz or a damp stir, you stop the chaff from flying and ensure every gram you put into the hopper actually makes it into your portafilter. It sounds too simple to be true, but once you see the difference in your workflow, you will never go back to the dry-grind struggle again. Let’s look at how to do it without damaging your precious burrs.
Stop the Chaos with the Ross Droplet Technique
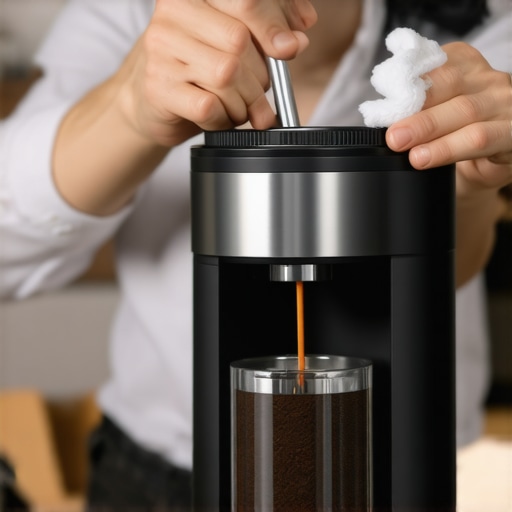
To execute the RDT perfectly, you only need your dose of beans and a tiny bit of moisture. Think of static electricity as a room full of energetic toddlers; the water acts as the teacher that calms everyone down. I remember one Tuesday morning when I was testing a new light roast. Light roasts are like dry autumn leaves—brittle and prone to massive static—while dark roasts behave differently due to their surface oils. I didn’t use the RDT that day, and by the time I finished grinding, my kitchen counter looked like the floor of a woodworking shop. I wasted about two grams of expensive specialty coffee just to the air. Now, I use a dedicated atomizer from my barista gear kit. You simply weigh your beans in a catch cup, give them a single light spritz—just one—and shake them to distribute the moisture. If you don’t have a spray bottle, the ‘damp spoon’ trick works too. Dip the handle of a teaspoon in water, flick off the excess, and stir your beans until they look slightly less matte. It’s a total game changer for anyone mastering the art of home espresso. 
How to Apply the Spritz Without Drowning Your Burrs
The biggest fear for any coffee lover is rust. Putting water in a machine that costs as much as a used car feels like sacrilege, but the volume of water we are talking about is microscopic. You are aiming for a humidity level that makes the particles heavy enough to resist the pull of static but light enough to fly through the burrs without clumping. If you’ve ever wondered why your coffee grinder retains more grounds, static is usually the culprit hiding in plain sight. Adding that tiny amount of moisture makes the grounds fall straight down into your basket instead of sticking to the chute. However, precision is key. I once tried to ‘wing it’ with a dark roast and used a heavy-handed spray; the oil and moisture turned into a cement-like paste that nearly stalled my motor. If you ever face a situation where the machine stops, you will need to know how to fix a grinder that wont turn on before panic sets in. It takes a few tries to find the ‘sweet spot’ for your specific environment. During the winter, when the air in my house is bone-dry, I actually need two spritzes. In the humid summer, I might skip it entirely.
Keep Your Grinder Running Smoothly for Years
One thing you must watch out for is internal buildup. Over time, even with a perfect RDT routine, fine particles and oils can collect. This is why you should regularly check how to clean your grinders discharge chute with a pipe cleaner to maintain that perfect, unobstructed flow. If you notice your grinder adjustment ring feels gritty or stuck, it is a sign that stray moisture and fines have migrated into the threading. Using a rubber mat is another great way to quiet a loud grinder while catching any stray grounds that do escape the dosing cup. This isn’t just about cleanliness; it’s about making sure your espresso shot volume doesn’t vary because of coffee lost to the wind. When you are using top-rated espresso machines, you want the dose you weigh to be exactly what ends up in your portafilter. The RDT ensures that the physics of the grind works for you, not against you.Many enthusiasts believe that if they invest in top-rated espresso machines and a high-end grinder, the laws of physics will simply bend to their will. I used to be one of them. I thought that a four-figure price tag was a shield against messy chutes and inconsistent doses. However, the reality is that precision equipment is often *more* sensitive to environmental shifts. If you have ever wondered why your grinder settings feel like they changed overnight, it isn’t the machine playing tricks on you; it is a complex dance of humidity, temperature, and burr friction.
Expensive Gear Doesn’t Fix Bad Physics
There is a common myth that ‘seasoned’ baristas don’t need to worry about static or RDT once they upgrade to professional-grade barista gear. In my experience, the opposite is true. High-speed, large-diameter burrs generate more heat and friction, which can actually exacerbate static issues if the ambient humidity is low. Furthermore, many people overlook the ‘break-in’ period. You cannot expect out-of-the-box perfection; you must learn how to properly season new steel burrs for better consistency before your shots will truly stabilize. Research from the University of Oregon, specifically a study on the electrical charging of coffee, confirms that the water content within the bean itself—not just the surface—dictates how particles fly. This is why your workflow must adapt to every new bag of beans you open.
Could Humidity Be Secretly Changing Your Grind Size?
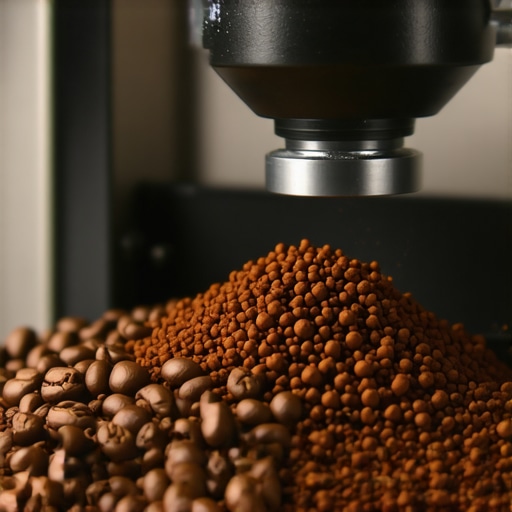
Advanced users often notice that your shot extraction time changes every single day, even when your technique is flawless. This is the nuance of ‘hygroscopy.’ Coffee beans are like little sponges. On a humid day, they absorb moisture, making them more pliable and less prone to shattering into ‘fines.’ On a dry day, they are brittle, creating more dust that slows down your shot. If you aren’t adjusting your RDT spritz based on the weather, you are fighting a losing battle. #IMAGE_PLACE_HOLDER_C#
The Dark Roast Trap You Must Avoid
Here is a warning for the lovers of traditional Italian roasts: the RDT trick can be a double-edged sword. While it works wonders for light, dry roasts, using moisture on oily beans is a recipe for disaster. If you add water to beans that already have surface oils, you create a sticky paste that can lead to your coffee grinder stalling with dark roast beans. I once spent a full afternoon disassembling a friend’s machine because they over-applied the spritz to a French roast, effectively ‘gluing’ the discharge chute shut. If you are mastering the art of home espresso, you have to know when to put the spray bottle down. Beyond the grinder, remember that cleanliness extends to the group head; the danger of leaving old coffee oils in your portafilter spouts is that they go rancid and ruin the flavor of even the most perfectly ground dose. Have you ever fallen into this trap of over-wetting your beans? Let me know in the comments.
Stop Scale Before It Destroys Your Boiler
I have learned the hard way that a clean machine is a consistent machine. It is easy to get caught up in the excitement of choosing the best barista gear, but the real work starts after the unboxing. If you aren’t paying attention to what is happening inside your tubes and boilers, you are essentially driving a sports car and never changing the oil. According to the official service manuals for the La Marzocco Linea series, failing to replace group gaskets and shower screens every six months is the leading cause of preventable pressure loss and thermal instability. I personally set a calendar reminder for this because it is too easy to forget. If you notice a drop in performance, you should how to check your espresso machines group head flow rate immediately. A clogged screen can make even the most expensive coffee taste like muddy water.
How do I keep my gear running like new for years?
Maintenance isn’t just about the big fixes; it is about the daily habits that prevent disaster. For me, that means testing my water every single month. We often talk about the beans, but coffee is 98% water. If your tap water is too hard, you need the easy way to test your machines water hardness at home to avoid a massive repair bill. Once scale takes hold, you will be hunting for the best way to descale a boiler without using harsh vinegar, which can be a stressful process if the buildup is severe. You can usually tell if your machine boiler is accumulating lime scale by a change in the steam wand’s power or a strange rattling noise during the heating cycle. 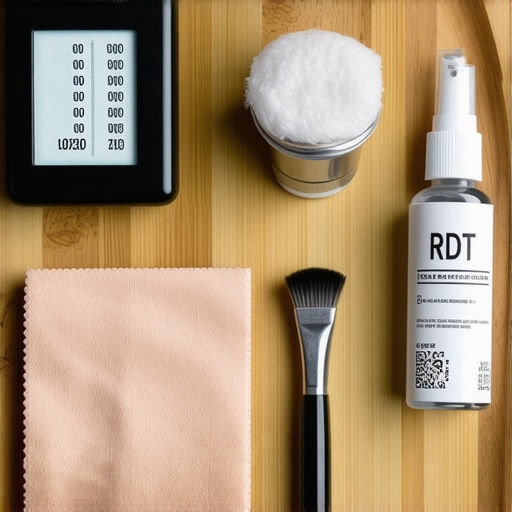
Why Your Milk Frother Needs More Love Than You Think
We spend so much time on the grinder, but the steam system is where the bacteria hide. If you use milk frothers that transform your coffee experience, you have to be vigilant. I’ve made the mistake of a quick wipe-down only to realize later that milk had been sucked back into the wand. You absolutely must learn how to clean the inside of your steam wand pipe to prevent rancid odors. It’s the difference between a sweet, velvety latte and something that smells like a wet dishcloth. When everything is clean, mastering the trick to getting the perfect swirl in your milk pitcher becomes so much more satisfying because you aren’t fighting clogged steam tips. I truly believe the future of home espresso lies in ‘Smart Maintenance.’ I suspect that within the next five years, high-end grinders will feature integrated AI that uses laser diffraction to adjust how to properly season new steel burrs for better consistency automatically based on real-time particle analysis. Until then, we have to do the manual work. My challenge for you: go test your water hardness this weekend. It is the single most important data point you are probably ignoring, and it will save your machine’s life.
The Hard Lessons I Learned While Chasing the God Shot
After years of tweaking my setup, I realized that the biggest breakthroughs often come from the smallest adjustments. First, don’t let the mess discourage you; static is just a sign that you need to engage more with the physics of your beans. I also learned that consistency is a moving target. What worked for a medium roast yesterday might cause a disaster today if the humidity drops. Finally, remember that your equipment is an investment that requires respect. If you ever find yourself in a pinch, knowing how to fix a grinder that wont turn on after cleaning will save you a lot of morning heartbreak.
#IMAGE_PLACEHOLDER_E#
Tools That Actually Earned a Spot on My Counter
If you want to move beyond the basic struggle, I highly recommend building a small kit of essentials. A simple glass atomizer for the RDT is non-negotiable. I also keep a set of pipe cleaners nearby; knowing how to clean your grinders discharge chute with a pipe cleaner can drastically improve your dose accuracy. For the long-term health of your machine, never skip the easy way to test your machines water hardness at home. These aren’t just gadgets; they are the guardians of your coffee’s flavor profile.
Embrace the Ritual of the Perfect Grind
Making coffee is as much about the process as it is about the caffeine. When you take the time to neutralize static and maintain your barista gear, you aren’t just cleaning; you are perfecting a craft. Don’t be afraid to experiment with different levels of moisture or new cleaning routines. Mastering the art of home espresso is a journey of constant refinement, and every messy counter is just a stepping stone to a better shot. The science might be complex, but the joy of a clean, delicious espresso is remarkably simple. Have you ever struggled with coffee grounds sticking to everything but your portafilter? Let me know below.