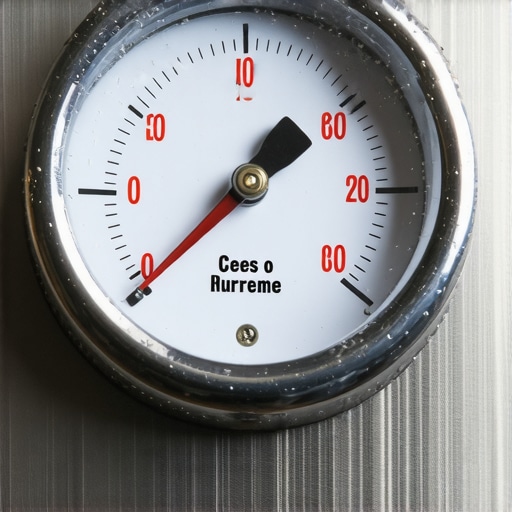
Why Your Espresso Machine Pressure Gauge Stays at Zero
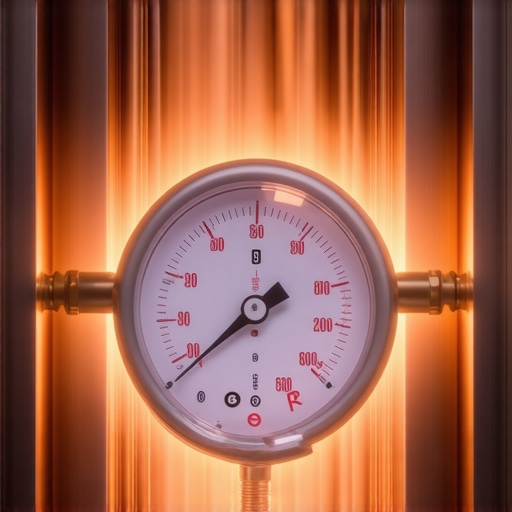
There I was, standing in my kitchen at 6:00 AM, clutching a bag of specialty beans like they were gold dust. I’d spent months researching top-rated espresso machines for coffee lovers in 2025, finally settling on a beauty that looked like it belonged in a Milanese cafe. I hit the brew switch. The pump roared to life. But the little needle on the pressure gauge? It didn’t move. Not a millimeter. It stayed pinned at zero while my coffee dribbled out like sad, brown tea. It’s a gut-wrenching feeling when you’ve invested so much into your setup and the hardware seems to mock you. Today, we are going to demystify exactly why that needle is playing dead and how you can bring it back to life without calling an expensive technician.
The Moment I Thought I Killed My Boiler
I’ve been there. In my early days of mastering the art of home espresso, I assumed a zero reading meant a total pump failure. I was ready to pack the whole thing up. My mistake was simple but common: I hadn’t realized that why your pressure gauge stays at zero during a shot often has more to do with physics and maintenance than a broken motor. I spent three hours frantically searching forums, only to realize I’d let a tiny bit of scale block the capillary tube leading to the gauge. It was a five-minute fix that I turned into a weekend-long drama. It’s often about ensuring you select the perfect coffee grinder for your brew first, because if your grind is completely wrong, the machine can’t even build the resistance needed to move that needle.
Is a dead gauge really worth a professional repair bill?
You might be worried that a flat needle means a $200 shop fee, but that is rarely the case. Most of the time, the issue is internal, like a loose connection or a stubborn airlock in the pump after a long period of disuse. Interestingly, data from specialized repair networks suggests that nearly 40% of gauge issues reported by home baristas are actually related to simple scale blockages or air pockets rather than actual component failure. Have you ever felt that sudden panic when your machine stays silent and still? Drop a comment below; I’d love to hear your ‘broken machine’ horror stories. If you’re struggling with other issues, like why your espresso shot tastes like paper, you know how frustrating it is when the chemistry isn’t right. But before we get to the flavor, we have to get the pressure. Let’s look at the three most common culprits behind that ghosting needle.
Diagnose the Empty Gauge Before You Tear Apart the Boiler
Think of your espresso machine’s pressure gauge like a speedometer in a car. If the car is on jack stands and you hit the gas, the wheels spin, but you aren’t actually going anywhere; the needle won’t climb because there is no resistance. In the world of home espresso, your coffee puck provides that necessary resistance. If the water flows through the coffee too easily, the internal pressure never rises high enough for the gauge to register. This is why you must learn how to select the perfect coffee grinder for your brew before you assume the machine is broken. A common mistake is the error of grinding too fine for a pressurized basket, which can cause its own set of issues, but grinding too coarse is the most frequent culprit for a “dead” needle.
Why Your Grinder is Actually the First Suspect
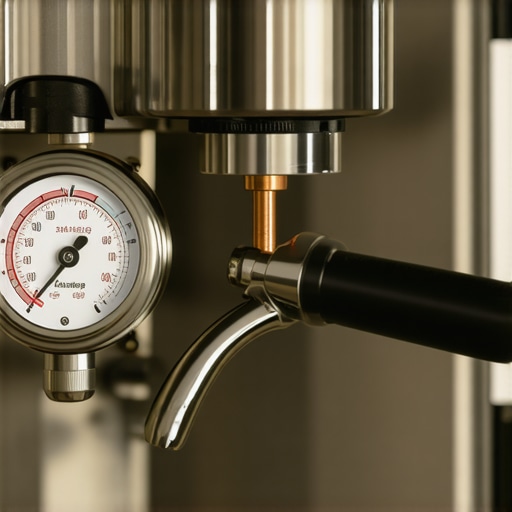
I remember a frantic Tuesday morning when I thought my brand-new machine was a lemon. I had just finished choosing the best barista gear for coffee enthusiasts and was eager to pull that first shot. I used some pre-ground beans that were sitting in my pantry, ground far too coarse for true espresso. I locked the portafilter in, hit the brew switch, and… nothing. The needle didn’t move. I panicked, convinced I’d blown a fuse or a pump seal. It wasn’t until I switched to a fresh bag and dialed my grinder much finer that the needle finally jumped to 9 bars. If your shot is gushing out like a faucet, your gauge isn’t broken; your coffee is just failing to push back against the pump.
Clear the Tiny Lines That Get Clogged with Scale
If you are certain your grind is correct but the needle remains stationary, you’re likely dealing with a physical blockage. Most gauges are connected to the boiler by a tiny copper tube called a capillary. Because these tubes are so thin—often no wider than a sewing needle—a single flake of calcium scale can plug them entirely. This often happens right after a deep clean. If you need to know how to recover from a failed descaling process, this specific scenario is a prime example. Scale gets loosened but not fully flushed out, migrating straight into the smallest orifice it can find: the gauge intake. Carefully disconnecting this tube and blowing it out with compressed air or soaking it in vinegar usually solves the problem instantly.
Kickstart a Stubborn Pump with This Simple Prime Technique
Sometimes the issue is simply an airlock, especially if the machine has sat idle for a long vacation. Vibration pumps, common in most top-rated espresso machines, are excellent at moving water but terrible at moving air. If an air bubble gets trapped in the intake line, the pump will buzz loudly but won’t move water, meaning the gauge stays at zero. To fix this, I use a technique called “force priming.” I take a simple kitchen syringe filled with water and force it into the intake hose while the pump is running. You will hear the tone of the pump change from a high-pitched rattle to a deep, muffled hum. That’s the sound of the pump finally catching water and the needle finally moving back to life. It’s a messy, five-minute job that often prevents a total breakdown of your morning routine.
Now that we’ve covered the basics of mechanical blocks and priming, let’s dig deeper into the nuances that separate a hobbyist from a seasoned home barista. A common trap I see people fall into—and I was guilty of this for years—is chasing the wrong numbers. Most entry-level machines are marketed with ’15 bars of pressure’ as if it’s a badge of honor. In reality, professional-grade shots are pulled at 9 bars. If your gauge is hitting 15, you aren’t making better coffee; you’re likely over-extracting and stressing your machine’s internal seals. Conversely, if your needle stays at zero, it might not be a failure of the machine, but a failure of the puck’s integrity.
Stop Chasing the 15-Bar Marketing Myth
Everyone says higher pressure equals more cream, but in my experience, lower, consistent pressure yields a far sweeter shot. If you’ve spent time choosing the best barista gear for coffee enthusiasts, you know that the industry standard remains 9 bars for a reason. According to the Specialty Coffee Association (SCA), water quality and stable pressure are more vital than raw power. If your machine is trying to push 15 bars through a puck that can only handle 9, you’ll experience ‘channeling,’ where the water blasts a hole through the coffee. When this happens, the resistance disappears instantly, and your pressure gauge will plummet back toward zero mid-shot. It’s a frustrating phenomenon that explains why your shot extraction time changes every single day even when you haven’t touched the grinder dial.
Why does my shot time vary when I haven’t touched the settings?
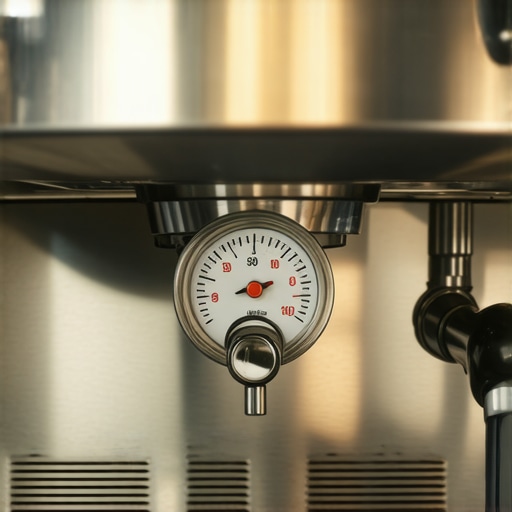
This is the ‘ghost in the machine’ for many. You pull a perfect shot at 9 bars, then ten minutes later, the needle barely moves. The culprit is often ‘stale water’ or temperature instability. If you didn’t pre-warm your portafilter head, the first bit of water hits cold metal, loses its energy, and fails to expand the coffee gases properly. This lack of expansion means no resistance, and no resistance means a dead gauge. I’ve also found that many enthusiasts overlook their water source. You should test your machines water hardness at home because mineral-heavy water doesn’t just cause scale; it actually changes the viscosity of the brew, affecting how the pressure registers on those delicate internal sensors. Have you ever noticed your machine behaving differently after a long weekend away? Let me know in the comments if your first shot of the week always seems to be a ‘zero-pressure’ dud.
The hidden danger of stagnant reservoir water
One of the biggest ‘oops’ factors I see is people leaving their tanks full for days. You should never leave water in your reservoir overnight if you want peak performance. Stagnant water can develop a slight biofilm that, while microscopic, is just enough to gum up the intake filter of a vibration pump. This leads to that dreaded silence when you flip the switch—no pump noise, no needle movement, and no coffee. If you are already mastering the art of home espresso, you need to treat your water as a fresh ingredient, not just a utility. If you ever find yourself in a situation where the gauge is dead and the pump is straining, stop immediately. Continuing to run a dry or blocked pump is the fastest way to ensure your espresso machine starts tripping the breaker due to an electrical short in the motor windings. Take a breath, check your grind, and remember: the gauge is a storyteller, not just a decoration.
Play the Long Game with Better Maintenance Habits
Once you stop panicking about the needle, you realize that longevity is all about the small, boring habits that keep the internals pristine. I used to ignore my grinder for months until it started making a high-pitched whine and struggling with light roasts. Now, I make it a point to clean the grinder chute without taking it apart every two weeks. It’s not just about flavor; it is the move that saves your grinder from unnecessary wear. If you let those oils build up, they turn into a concrete-like substance that forces the motor to work twice as hard, leading to a premature death for your expensive gear.
How do I maintain my espresso machine’s precision over years of use?
The secret isn’t a magic chemical; it’s consistency. I follow a strict ‘clean-as-you-go’ philosophy that I learned the hard way after my first boiler scaled up. Beyond just the reservoir, you need to look at the interface where the water meets the coffee. I have found that replacing a group gasket without scratching the chrome is a skill every home barista should master early. According to the official La Marzocco technical maintenance schedule, neglecting the group gasket for more than six months can lead to permanent ‘pitting’ on the group head surface due to baked-on oils. This causes leaks that no new gasket can fix. While you are in there, remember the trick to removing a stuck shower screen without stripping the screw: use a stubby, wide-bladed screwdriver and apply firm upward pressure before you even think about turning.
Prevent the Steam Wand Power Fade
Another area where I see performance dip is the steam wand. Have you noticed your milk taking longer to swirl lately? It is rarely a pump issue. Usually, it’s because your steam wand tip holes keep getting clogged with microscopic milk solids. I now use a dedicated pin tool to clear those holes weekly. If you use a single-boiler machine, mastering the secret to silky microfoam on a single boiler machine depends entirely on having those unobstructed pathways for the steam flow. If your wand feels gritty when you move it, it is time to learn how to fix a leaking steam wand valve pin before the internal drip causes corrosion on your machine’s frame. I predict that in the next few years, we will see more machines with smart sensors that alert you to these blockages before they affect your brew, but for now, your hands and eyes are the best tools you have.
As you continue mastering the art of home espresso, do not forget the grinder’s heart. I have realized that the right way to align your flat burrs for better shots can make a five-hundred-dollar grinder perform like a two-thousand-dollar one. It takes patience, but the results are undeniable. CTA: I challenge you to pull your shower screen tonight—just once—to see what is hiding behind it. If it is black with old oil, give it a soak in backflush detergent and feel the difference in your next shot’s clarity.
Lessons I Learned While Staring at a Dead Gauge
Over years of mastering the art of home espresso, I have realized that the machine is rarely the enemy. Most of the time, it is just trying to tell you that something in the physics of your brew is off. Here are the lightbulb moments that saved my sanity:
- Resistance is everything: If your coffee isn’t ground fine enough, the pump has nothing to push against. No resistance means no pressure, which is the number one reason why your pressure gauge stays at zero during a shot.
- Maintenance is non-negotiable: A single flake of scale can bridge a capillary tube. I stopped viewing descaling as a chore and started seeing it as life insurance for my boiler.
- The pump isn’t always dead: If the machine is loud but no water moves, it’s usually an airlock. Learning to force prime changed my life and saved me hundreds in repair fees.
Tools Every Enthusiast Should Keep in the Drawer
You do not need a degree in mechanical engineering to keep your setup running, but you do need the right kit. When choosing the best barista gear for coffee enthusiasts, I always recommend these three essentials: First, a high-quality water test kit. You must test your machines water hardness at home because if you don’t know your mineral levels, you are just guessing at your maintenance schedule. Second, a dedicated set of pin tools for your steam wand. And finally, a spare group gasket. Trust me, they always fail on a Sunday morning when the shops are closed.
Don’t Let a Flat Needle Steal Your Joy
It is easy to get discouraged when your hardware doesn’t behave, but every ‘failed’ shot is just more data for your journey. Once you understand how to select the perfect coffee grinder for your brew and keep your internals clean, that needle will become your best friend rather than a source of stress. Keep pulling shots, keep tweaking your grind, and remember that even the best baristas in the world started with a messy kitchen and a dead gauge. Have you ever had a moment where you thought your machine was completely broken, only to find it was a simple fix? Let me know in the comments below!