How to Clean an Automatic Milk Frother Without Taking it Apart
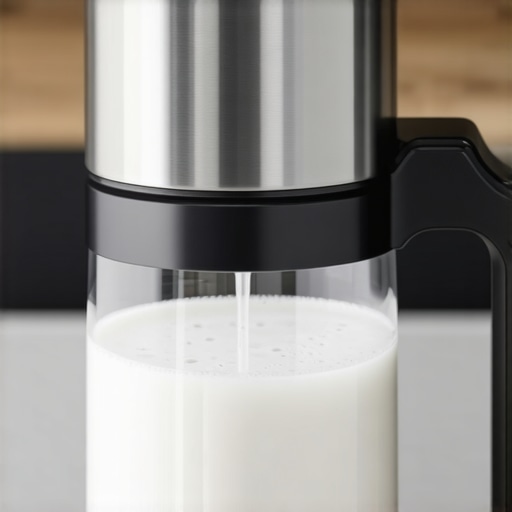
I still remember the Monday morning that ruined my favorite mug of coffee. I’d just picked out one of those milk frothers that transform your coffee experience, and for three weeks, life was bliss. Then, the smell hit me—a sour, cheesy funk that definitely wasn’t my medium roast. I looked at the instruction manual, saw a diagram that looked like a NASA rocket engine, and felt an immediate wave of defeat. I didn’t want to be a mechanic; I just wanted a cappuccino. That’s when I realized that most of us are neglecting the hidden paths where milk hides, and we don’t need a screwdriver to fix it. Today, I’m going to show you how to purge that hidden buildup using nothing but common sense and a few clever cycles. We’re going to get your machine back to factory-fresh status without losing a single tiny screw down the kitchen drain. Have you ever noticed a weird aftertaste in your foam even after a surface wipe? Let me know, because you are definitely not alone.
Keep Your Latte Fresh Without the Toolbox
The biggest mistake I made early on was thinking that a quick rinse of the carafe was enough. It isn’t. Milk is a complex beast, full of fats and proteins that love to bake onto internal surfaces. When you see a clogged steam wand or notice why your milk smells like its burning, it’s often because of a protein film known as milk stone. According to researchers at the University of Guelph, milk proteins can begin to denature and stick to surfaces at temperatures as low as 140°F, creating a stubborn layer that water alone won’t touch. If you leave that film sitting, it becomes a literal magnet for bacteria. I used to ignore this until my frother started sputtering like a tired old tractor, and that is a mistake you don’t have to repeat.
Is a No-Disassembly Clean Actually Effective?
I get the skepticism. We’ve been told that to truly clean something, you have to see every nook and cranny. But here’s the reality: modern automatic frothers are designed with internal flush paths. If you use the right temperature and the right pressure—things your machine already has built-in—you can chemically and thermally break down those residues. I spent months fearing I was drinking dirty coffee until I mastered the heat-and-flush method I’m about to share. It’s about working with the machine’s physics rather than fighting against its plastic housing. It is fast, it is efficient, and it preserves the life of your seals.
Stop the Buildup Before It Hardens
To keep your coffee tasting like coffee and not like an old cheese cellar, you have to treat every frothing session like a mini-operation. The second you pull that pitcher away, the clock starts ticking. I used to think I could wait until I finished my drink to clean up, but by then, the proteins had already bonded to the hot metal. Now, I perform an immediate active purge. This involves blasting steam for three full seconds into a dedicated waste container or a clean cloth. It sounds simple, but it is the difference between a machine that lasts years and one that ends up in the scrap heap. If you are currently wondering why your milk frother creates bubbles instead of foam, there is a high chance your internal paths are already restricted by invisible layers of milk stone.
The Phantom Froth Technique
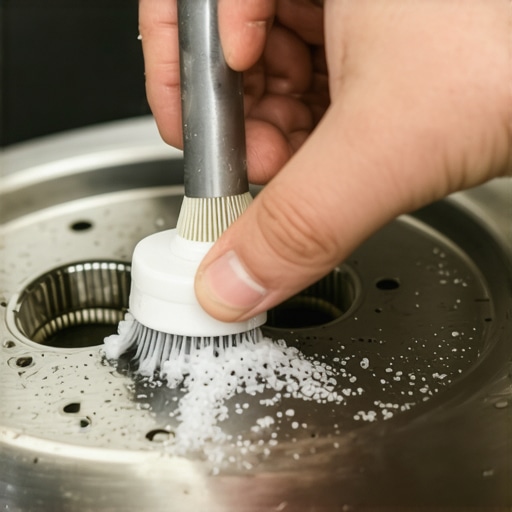
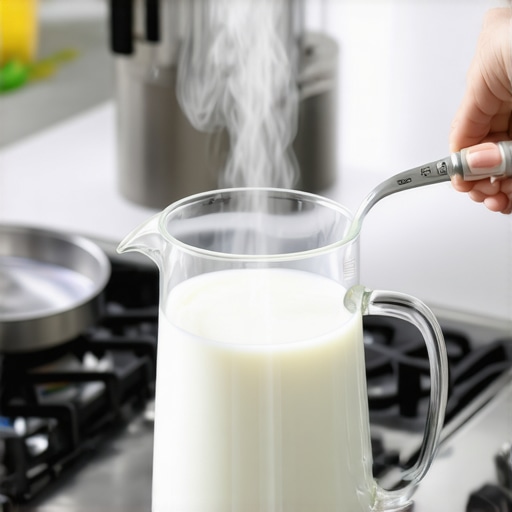
Next, we move to the deep-soak method that does not involve a screwdriver. Use a specialized milk-cleaning solution designed to break down the specific fats and proteins that water ignores. Mix it with hot water in your pitcher and run the frothing cycle without adding actual milk. I call this the phantom froth. I remember the first time I tried this; the water that came out was a murky, yellowish gray. I was horrified to realize I had been drinking that residue for weeks. It was a wake-up call that a simple exterior wipe is purely cosmetic. This phantom cycle is especially crucial for those of us trying to figure out the secret to silky microfoam on a single boiler machine. If the tiny holes at the end of your wand are partially blocked, the air will not incorporate correctly, resulting in soapy bubbles instead of that glossy paint texture we all crave.
Keep Your Steam Wand Vents Clear
If the wand is already acting up, you need to check why your steam wand tip holes keep getting clogged. Use a thin needle or a dedicated cleaning tool to gently clear the paths. I once spent twenty minutes wondering how to fix a steam wand that has lost its power, only to find a single tiny speck of dried almond milk was blocking the main orifice. It is a game of millimeters. Beyond the internal clogs, you must transition away from the damp rag habit. Learn how to stop using a wet cloth on your steam wand by using dry microfibers for the exterior and steam pressure for the interior. Enzymatic cleaners are your best friend here because they eat the proteins that cause that sour smell. I remember a specific Monday when I skipped the cleaner for a week; the smell was so bad I almost threw the whole machine out. Once I used the enzymatic soak, the smell vanished instantly. These cleaners are like a microscopic demolition crew for milk stone. You do not need to scrub; you just need to let the chemistry do the heavy lifting while you enjoy your clean kitchen.
While mastering the basic purge is a huge win, I see many enthusiasts plateau because they fall for common myths circulating in the barista community. For instance, there is a widespread belief that the ‘cleanest’ water—specifically distilled or reverse osmosis water—is the gold standard for your machine. In reality, the truth about using distilled water in your machine is that it can be a recipe for disaster. According to Dr. Christopher Hendon, a computational chemist who specializes in coffee, water needs specific mineral ions like magnesium and calcium to effectively extract flavor. Without them, your espresso tastes flat and ‘hollow,’ and the hungry water can actually leach minerals directly from your boiler’s metal, leading to premature failure. If you are using a high-end setup from the list of top rated espresso machines for coffee lovers in 2025, you owe it to your investment to get your water chemistry right rather than just aiming for zero particles.
Stop Grabbing the Portafilter Like a Lug Nut
Another nuance that most beginners miss involves how they physically interact with the machine. I’ve seen so many people lock their portafilter in with enough force to tighten a truck tire. This is a massive mistake. You need to understand why your portafilter handle should never be tightened too far; doing so compresses the group gasket beyond its limits, leading to cracks and leaks within months. It also changes the distance between the shower screen and the coffee puck, which can lead to why your espresso puck sticks to the shower screen. Instead, aim for a snug fit where the handle is roughly perpendicular to the machine. If it starts to leak, don’t pull harder—it’s time to replace a group gasket without scratching the chrome.
Why Do Your Perfect Settings Suddenly Stop Working?
Have you ever dialed in your grinder perfectly on a Sunday, only to have the shots run like a faucet on Monday? You aren’t losing your mind. This happens because coffee is hygroscopic—it absorbs moisture from the air. When the weather shifts, your grind needs to shift too. This is specifically why your shot extraction time changes every single day. Advanced users know that the ‘set it and forget it’ mentality is the ultimate trap in home espresso. Furthermore, if you are struggling with consistency, remember why the first shot of the day is always a throwaway. Stale grinds sitting in the chute from the night before will always run faster and taste more bitter than the fresh beans you just measured out. To mitigate this without a specialized bellows, you can learn how to stop your grinder from retaining coffee by using a small purge of fresh beans before your first real shot. Have you ever fallen into this trap of chasing the ‘perfect’ setting only for it to disappear overnight? Let me know in the comments. Ensuring the benefit of pre-warming your portafilter head is also a key factor in keeping those variables stable across multiple shots.
Give Your Machine a Weekly Chemical Reset
I’ve learned that a clean machine isn’t just about vanity; it’s a mechanical necessity. Every Sunday, I perform a full chemical backflush using a blind filter. This is the only way to reach the three-way solenoid valve—a part that most beginners don’t even know exists. If you skip this, coffee oils turn into a sticky varnish that will eventually lead to why your machine needs a backflush every single week. I personally use Urnex Cafiza because it is formulated to dissolve the specific polymer chains in coffee oils without corroding the brass and steel internals. According to technical bulletins from La Marzocco Home, failing to clear this path can cause the solenoid to seize, leading to expensive repairs or a situation where how to fix a stuck steam valve on a prosumer machine becomes your new weekend project. Establishing the best routine for a weekend deep clean ensures you aren’t drinking rancid residue from last month’s beans.
How do I keep my gear running smoothly for years?
Maintenance is a marathon, not a sprint. Beyond the water chemistry we discussed, you need to be proactive about the components that move. I recommend keeping a small tube of food-grade Molykote 111 on hand. I use it to lubricate the cam on my E61 group head every three months; otherwise, the lever starts to feel like it’s grinding through sand. If you neglect these mechanical touchpoints, you might find yourself wondering why your espresso machine takes longer to heat up recently or why the seals feel brittle. This proactive approach is part of choosing the best barista gear for coffee enthusiasts—you aren’t just buying a tool; you’re adopting a ritual. I see a future where machines include integrated sensors that alert you to scale buildup before it’s visible, much like how modern cars track oil life. We are moving toward a ‘smart maintenance’ era where guesswork is eliminated.
The Tools That Saved My Sanity
People often ask if they really need more gadgets. My answer is always: only if they provide data. This is why I refuse to pull a shot without a scale that has 0.1g accuracy. Volume is a deceptive metric because crema thickness varies wildly between roasts. If you find your flow is off, why your coffee scale is giving you inconsistent readings might be the culprit—often just a low battery or an unlevel surface. I also swear by a thin-needle WDT tool. I used to get massive channels in my pucks until I realized why your distribution tool might be ruining your extraction—some tools just push coffee around rather than declumping it. By adopting the move for more consistent puck compression, you remove the human error from the equation. If you’re ready to level up, I challenge you to try a ‘salami shot’ this weekend: catch your espresso in three different cups at 10-second intervals. It’s the fastest way to understand how flavor evolves from sour to sweet to bitter.
Hard-Won Truths from My Countertop Espresso Journey
I used to think a shiny machine meant a clean machine. It doesn’t. If you ignore why the first shot of the day is always a throwaway, you’ll never taste the true notes of your beans because of the stale grinds left in the chute. Also, respect your gear’s limits; learn why your portafilter handle should never be tightened too far to save your gaskets from premature wear and leaking. Consistency comes from a solid routine, not just expensive hardware. Don’t be afraid to experiment with the trick to swirling milk without splashing out of the pitcher; mastering the small physical movements makes the cleaning process much less messy in the long run.
The Only Gear You Need to Keep Things Running
Building a reliable setup doesn’t mean buying every gadget available. Start with a high-quality burr grinder, as understanding how to select the perfect coffee grinder for your brew is the foundation of any good shot. I also recommend keeping a dedicated set of dry microfiber cloths specifically for your steam wand to avoid the bacterial trap of wet rags. Finally, refer back to my guide on mastering the art of home espresso tips for beginners whenever you feel overwhelmed by the variables. These resources have saved me countless hours of frustration and wasted coffee beans.
#IMAGE_PLACEHOLDER_E#
Level Up Your Morning Ritual Today
Your journey into better coffee is a marathon, not a sprint. By mastering these simple, no-disassembly maintenance steps, you’re ensuring that your milk frothers that transform your coffee experience stay in peak condition for years to come. Clean coffee is better coffee, and the effort you put in today pays off in every silky latte you pour tomorrow. Take pride in the ritual of maintenance; it is as much a part of the craft as the pull itself. Have you ever noticed a sudden change in your espresso’s flavor or flow after a deep clean? Let me know in the comments below!