The Reason Your Group Head Temperature Drops Mid-Shot
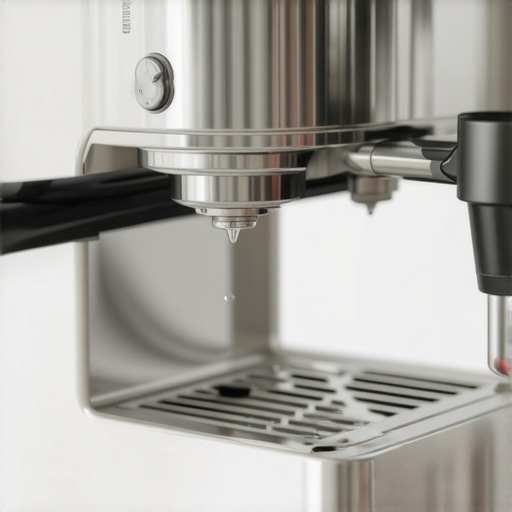
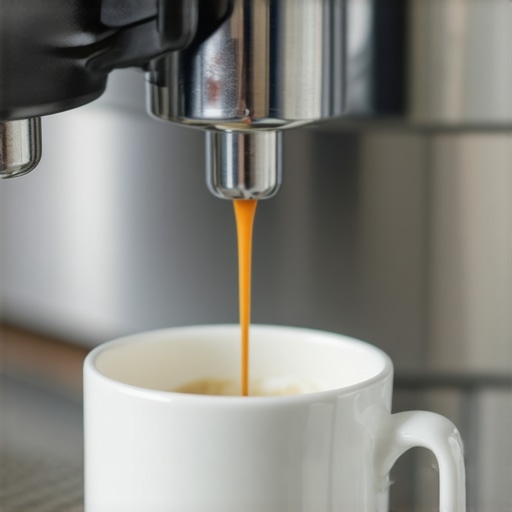
There I was, standing in my kitchen at 7:00 AM, pajamas on, eagerly watching a gorgeous stream of tiger-striped espresso flow from my portafilter. It looked like liquid gold for exactly eight seconds. Then, without warning, the stream turned thin, blond, and watery. I took a sip and nearly choked; it was as sour as a lemon squeezed into a battery. I spent months blaming my beans and adjusting my grinder, convinced I just needed to learn how to select the perfect coffee grinder. I even went down a rabbit hole of descaling, but the truth was much more frustrating: my group head temperature was crashing right in the middle of the extraction. We often focus so much on the start of the shot that we ignore the thermal rollercoaster happening inside the machine while the pump is actually running. Today, I am going to show you exactly why that heat is escaping and how you can stabilize your machine for that sweet, syrupy consistency we all crave.
Stop Chasing the Perfect Shot Without Fixing Thermal Stability
It is a heartbreaking reality for many home baristas. You invest in top-rated espresso machines and spend hours mastering the art of home espresso, only to be betrayed by physics. Early in my journey, I made the classic mistake of thinking a PID controller was a magic wand. I thought if the screen said 200°F, the water hitting my coffee was 200°F. I was wrong. I once spent an entire weekend frustrated because I didn’t realize that my portafilter wasn’t fully heat-soaked, which acted like a giant heat sink, sucking the life out of my water the moment the pump engaged. This temperature instability is the silent killer of flavor. If your water temp drops five degrees mid-shot, you are effectively brewing two different coffees in one cup: a balanced one at the start and an underextracted mess at the end.
Is This Tiny Temperature Shift Actually the Culprit?
You might be thinking that a few degrees shouldn’t make that much of a difference, but the chemistry of coffee says otherwise. According to research on thermodynamic stability in small-home-use boilers, even a 1.5-degree Celsius fluctuation can significantly alter the extraction of volatile aromatic compounds. This is why the move for better temperature stability on entry-level units is such a hot topic right now. If your group head isn’t maintaining its heat, you’re essentially fighting a losing battle against the laws of thermodynamics. Have you ever noticed your shots getting progressively more sour even though you haven’t changed your grind settings?
The Hidden Physics of Why Your Group Head Loses Heat
The reason this happens usually comes down to ‘thermal mass’ and ‘recovery time.’ In many prosumer machines, the cold water entering the boiler to replace what you are using can overwhelm the heating element if the shot runs too long or if the boiler is too small. I remember when I first started, I would see why your espresso machine pressure gauge stays at zero or fluctuates, thinking it was a mechanical failure, when really, I was just out-running my machine’s ability to keep up. We need to look at how we prep the machine before the first drop even hits the cup, including small details like the best way to dry your portafilter quickly so you don’t introduce cold moisture to a hot group. Let’s dive into the practical steps to keep that needle steady and your coffee tasting like it came from a high-end cafe.
Heat the Metal Before the Coffee
Think of your espresso machine like a seasoned cast-iron skillet. You wouldn’t dream of throwing a ribeye onto a cold pan the second you turn on the gas; you wait for that heavy metal to radiate heat. Your machine’s group head and portafilter work the same way. Most people see the green ‘ready’ light and start grinding immediately, but that light only tells you the water inside the boiler is hot, not the three pounds of brass and chrome it has to travel through. This is why why the first shot of the day is always a throwaway if you don’t give the machine at least 25 to 30 minutes to fully heat-soak.
The 30-Minute Rule You Can’t Skip
While it feels like an eternity at 7:00 AM, that thirty-minute window allows the entire internal plumbing to reach an equilibrium. If you pull a shot at the 10-minute mark, the water might leave the boiler at 200°F but arrive at the puck at 180°F because it lost its energy heating up the cold pipes along the way. I used to cheat by running several blank shots through the group head to speed things up, but even then, the internal frame of the machine hadn’t reached a stable state.
Flush the Group Head to Prime the System
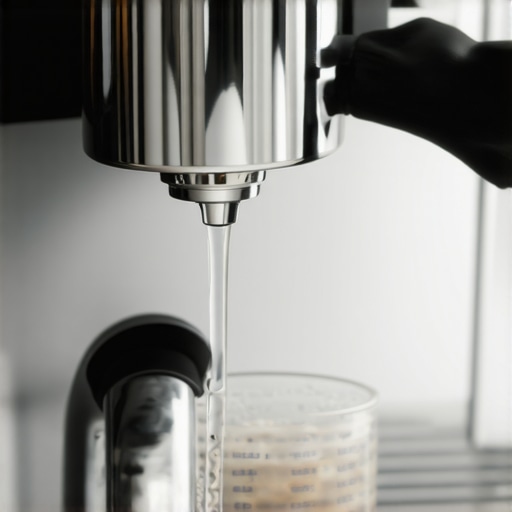
Even after a long warm-up, the water sitting in the very tip of the group head has likely cooled down or, in some machines, become too hot. I use a ‘cooling flush’ or a ‘warming flush’ depending on the machine type. On a heat-exchanger machine, I purge for about five seconds until the ‘hiss and spit’ of flash-boiling water stops. This ensures the water hitting your puck is actually at the target temperature. If you are working with smaller gear, looking into the move for better temperature stability on budget machines can reveal how a simple pre-shot flush can stabilize the entire extraction.
Don’t Let Your Portafilter Steal the Energy
Your portafilter is a massive heat sink. If it has been sitting on your counter while the machine warmed up, it’s basically a block of ice compared to the brewing water. The moment that 200°F water hits a cold portafilter, the temperature drops instantly, leading to that sour, thin taste I mentioned earlier. I make it a habit to always keep the portafilter locked in the group head while the machine is on. When it’s time to prep the puck, you need to work fast. Use the best way to dry your portafilter quickly so you don’t waste precious seconds allowing the metal to cool down. I once made the mistake of rinsing my portafilter with cold tap water to clean it between shots during a busy morning; the resulting espresso was so underextracted it tasted like salted lawn clippings.
Watch the Recovery Time Between Shots
If you are pulling back-to-back shots, you have to respect the boiler. Every time you pull a shot, cold water enters the boiler to refill it. If you don’t wait for the heating element to catch up, each subsequent shot will be colder than the last. I use my timer to ensure at least 60 to 90 seconds of recovery time. While you wait, you can focus on choosing the best barista gear for coffee enthusiasts to streamline your workflow. It’s also a good time to check your equipment; for instance, if your results stay wildly inconsistent, you might need to how to diagnose a faulty espresso machine-thermostat before you blame your technique.
Eliminate External Variables that Kill Heat
Sometimes the problem isn’t the machine but how we interact with it. I’ve seen baristas leave their cups on a cold counter, which instantly chills the espresso as it lands. Always use the cup warmer on top of your machine. Furthermore, be aware of technical glitches that distract you mid-shot. Nothing ruins your focus on temperature more than why your espresso scale turns off right when you start the shot. When your gear is reliable and your metal is hot, the physics finally start working in your favor instead of against you.While thermal stability is the foundation, I see many enthusiasts try to compensate for a cold machine by buying every shiny gadget on the market. Here is the contrarian truth: most high-end distribution tools are actually doing more harm than good. In fact, why your wdt tool is actually causing more channeling is a frequent topic in my workshop. If you aren’t careful, those needles create deep tracks in the dry grounds that turn into high-speed lanes for water, bypassing the coffee entirely. You think you are being precise, but you are just creating a roadmap for a bad shot. Even if you have the top-rated espresso machines, poor distribution technique will override your hardware every time.
The Myth of the Nine-Bar Requirement
We have been told for decades that nine bars is the holy grail of pressure. However, many modern experts and research from platforms like Barista Hustle suggest that lower pressures, around six bars, can actually lead to a more even extraction and a sweeter cup, especially with lighter roasts. When you crank the pump to the max, you increase the likelihood of micro-channeling. If your machine is older, you might be wondering why your pressure gauge stays at zero during a shot, which is often a sign that your puck isn’t providing enough resistance to begin with.
Is Your Tamping Force Actually a Variable Worth Tracking?
People will tell you that you need exactly thirty pounds of pressure to get a decent extraction. Science tells a different story. Studies on puck compression show that once the air is squeezed out of the grounds—usually around 15 to 20 pounds of force—the density of the puck plateaus. Pushing harder doesn’t make the coffee ‘stronger’; it just strains your wrist. This is why the problem with cheap spring-loaded tampers is so prevalent; they sell you a solution to a constant that doesn’t actually vary your flavor. One trap I see constantly is the ‘wet prep.’ You finish a shot, rinse your portafilter, and immediately dose fresh coffee into a damp basket. This leads to the problem with using a wet tamper on dry grounds. The moisture causes the coffee to clump instantly, creating a wall of ‘mud’ that water can’t penetrate. If you’ve already invested in choosing the best barista gear for coffee enthusiasts, you might also notice why your shots taste different on a full hopper compared to an empty one. This ‘weight of the column’ effect changes how the burrs grab the beans. For those looking for the ultimate precision, the right way to align your flat burrs for better shots can reveal a level of clarity you didn’t know your machine was capable of. And don’t get me started on milk. Most people think more bubbles mean more ‘froth,’ but why your milk frother creates bubbles instead of foam usually comes down to the temperature of the milk before you even start the wand. Have you ever fallen into this trap of over-complicating your workflow only to get worse results? Let me know in the comments.The real secret to longevity isn’t just about how you pull the shot; it’s about how you treat the machine when the steam has cleared. If you’ve invested in top-rated espresso machines, you are now the chief engineer of a miniature power plant. The biggest silent threat isn’t a broken pump—it’s the slow, creeping buildup of calcium. I learned this the hard way when my first machine started making a high-pitched whistle. I ignored it until the flow slowed to a drip. Most enthusiasts get confused by the water debate, but you must know how to tell if your water hardness is damaging your boiler before it requires a total teardown. While some suggest extreme measures, the truth about using distilled water in your machine is that it can actually cause more harm by leaching minerals from the metal itself.
Clean the Group Head Before the Oils Turn Rancid
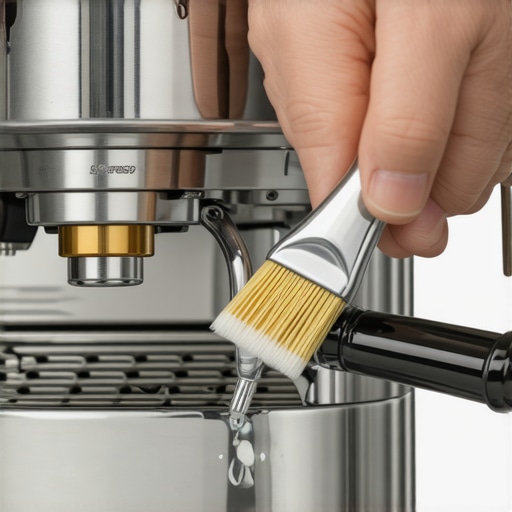
I have a strict rule: if I wouldn’t eat off my portafilter, I won’t brew with it. Coffee oils are delicious when fresh but turn into a bitter, sticky varnish within 48 hours of exposure to air and heat. This is why your machine needs a backflush every single week with a dedicated espresso detergent. If you skip this, that beautiful light roast you just bought will taste like ash. According to the SCA Water Quality Handbook, the chemical balance of your water—specifically the Langelier Saturation Index (LSI)—determines whether you are depositing scale or corroding your copper pipes. I keep a log of my water tests because consistency is the only way to avoid a $500 repair bill.
How do I maintain my grinder’s precision over time?
Your grinder is a mechanical heart, and its burrs are the valves. Over time, fines and oils accumulate in the crevices, leading to ‘retention’ that ruins your next day’s brew. I always recommend learning how to clean the grinder chute without taking it apart for your daily routine. However, every few months, you need a deep dive. I use a vacuum and a stiff brush to clear the threading on the adjustment collar. If you’ve recently upgraded, knowing the best way to season new grinder burrs fast will help you reach that ‘sweet spot’ where your grind size finally stabilizes.
A Glimpse into the Future of Home Espresso Tech
I predict that within the next five years, we will see a massive shift toward ‘active’ maintenance sensors in prosumer gear. Instead of guessing when to descale, machines will likely use conductivity probes to alert you the moment scale reaches a critical thickness. We are already seeing this in high-end commercial gear, and the tech is trickling down. For now, we have to rely on our senses. If your shots are suddenly sour or the reason your double ristretto tastes like vinegar isn’t the beans, it’s time to check your boiler temp. I want you to try this advanced tip tomorrow morning: before you brew, smell your empty portafilter basket. If it has any scent of ‘old coffee,’ scrub it with a scotch-brite pad and hot water. You’ll be shocked at how much clarity you gain by simply removing that invisible layer of oxidized oil.
Why I Stopped Blaming My Grinder for Sour Coffee
Over the years, I have realized that the flashy gadgets mean nothing if the basics of physics aren’t respected. One major lightbulb moment was discovering that thermal stability is more about the machine’s environment and preparation than its price tag. If you notice why your espresso shot is extracting faster on the left side, it is often a sign of uneven heating or an unlevel machine rather than just a poor tamp. Another hard-won lesson: water quality is the silent partner in every shot. I spent years ignoring mineral content until I learned how to tell if your water hardness is damaging your boiler, which saved me from an expensive professional descaling. Lastly, remember that your equipment is a mechanical heart that needs care; establishing the best routine for a weekend deep clean will do more for your flavor profile than any expensive distribution tool ever could.
My Go-To Resources for Perfect Extractions
Building a setup that lasts requires choosing items that solve specific problems. When you are looking at how to select the perfect coffee grinder for your brew, focus on consistency and ease of cleaning rather than just the number of settings. I personally trust precision scales that don’t cut out mid-shot and high-quality microfiber cloths to keep my steam wand pristine. For those seeking to sharpen their technique, I highly recommend checking out the SCA (Specialty Coffee Association) guidelines for water standards and the Barista Hustle blog for deep dives into extraction science. These sources helped me understand the move for more consistent puck compression so I could stop guessing and start measuring with confidence.
#IMAGE_PLACEHOLDER_E#
Take the Leap and Refine Your Craft
The journey to the perfect cup is rarely a straight line. It is paved with sour shots, messy pucks, and early mornings. However, once you master the nuances of temperature and maintenance, the reward is a ritual that brings cafe-quality joy into your own kitchen. Don’t be afraid to experiment with your top-rated espresso machines and find the flow that works for your unique palate. Every mistake is just data helping you toward that syrupy, gold-standard shot. Have you ever struggled with a shot that looked perfect but tasted completely off? Let me know in the comments below!