How to Stop Your Knock Box from Making a Huge Mess
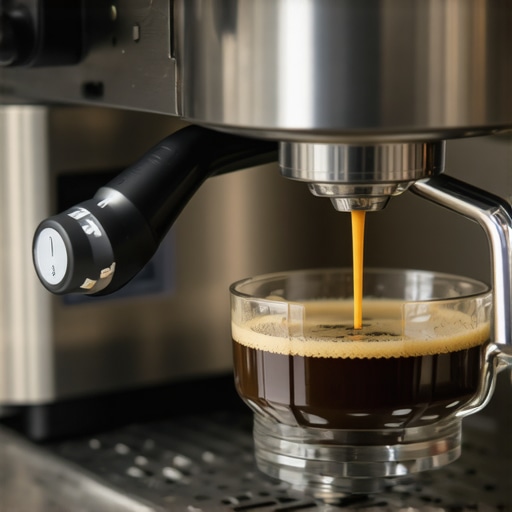
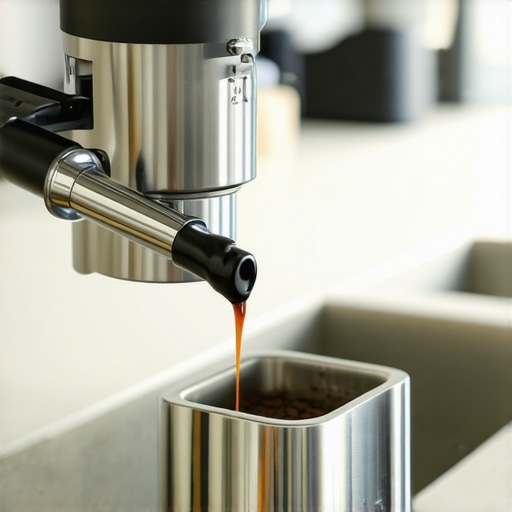
I will never forget the morning I finally dialed in a perfect shot on my new top-rated espresso machine. I felt like a seasoned pro. Then, I turned to my knock box. One over-enthusiastic strike later, and my pristine white kitchen backsplash was speckled with brown grit like a Jackson Pollock painting. It was a disaster. If you have ever spent more time wiping down the counter than actually sipping your latte, you know exactly how frustrating that caffeinated explosion can be. We invest so much into mastering the art of home espresso, yet we often ignore the messiest part of the ritual until the grounds are stuck in the grout. Today, I am going to share how I tamed the spray and turned my coffee station back into a sanctuary instead of a splash zone.
Stop Chasing Grounds Around Your Kitchen
I used to think that the harder I hit the bar, the cleaner the puck would fall out. I was wrong. In my early days, I actually cracked a cheap plastic drawer because I was treatng it like a percussion instrument. That aggression is exactly what sends fine, wet particles flying everywhere. When you are working with high-end barista gear, precision beats power every single time. The secret isn’t more force; it is about the angle and the dampening. Have you ever noticed how some people just seem to have a spotless station while yours looks like a construction site? It usually comes down to where that box is sitting and how you’ve set the stage. I eventually learned to secure your knock box so it doesn’t slide around, which was a total game changer for my morning workflow.
Is a Dedicated Knock Box Actually Worth the Hype?
A lot of my friends ask if they can just use the trash can or a Tupperware container. You can, but you shouldn’t. Beyond the mess, there is a hygiene factor at play. According to research published in the Journal of Food Protection, organic waste in kitchen environments can quickly harbor pathogens if moisture isn’t managed properly. A good knock box allows for airflow so your pucks don’t just sit in a stagnant pool of old coffee water. Plus, hitting your portafilter against a hard plastic trash rim is a fast track to denting your equipment. If you are worried about odors or the look, you might want to how to pick a coffee mat that doesn’t absorb odors to place underneath your setup. This provides a secondary layer of defense against the inevitable stray grain. Have you ever had a puck explode on impact, or do yours usually come out in one clean piece? Let me know, because that’s the first sign we need to look at your tamping technique or your grind size. In the next section, we are going to dive into the specific ‘wrist flick’ technique that keeps the mess inside the bin where it belongs.
Master the Motion to Keep Your Countertop Clean
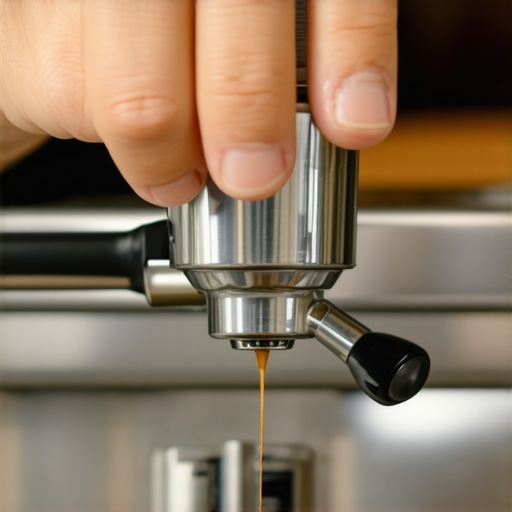
The biggest mistake I see beginners make is treating the knock box bar like a nail they are trying to drive into a 2×4. I remember one Tuesday morning, pre-caffeine, when I hammered my portafilter so hard against the bar that the basket literally flew out, bounced off the rim, and landed in the bottom of the bin. It was gross, and I had to learn how to remove a stuck basket from your portafilter without getting grounds under my fingernails. Since then, I have adopted the ‘Soft Tap’ method. Think of it like cracking an egg: you do not smash it; you use a decisive, controlled flick of the wrist. Aim for the center of the basket to hit the bar, not the edge of the portafilter. This creates a vacuum-breaking vibration that lets the puck slide out as a single unit rather than a shower of sparks.
The ‘Soft Tap’ Technique That Saves Your Gaskets
When you use excessive force, you are not just making a mess; you are actually rattling the internal components of your handle. Precision is better than power. By hitting the rubber-coated bar with a short, sharp snap, the inertia does the work for you. If you are still seeing grounds cling to the sides, it might be an issue with your dose size rather than your strength. I found that when I started mastering the art of home espresso tips for beginners, I was overfilling my basket, which made the puck swell and stick to the walls. A clean exit is a sign of a well-distributed and properly tamped puck.
Why Your Grinder’s Position Dictates the Mess
Workflow is not just about speed; it is about containment. If your grinder is across the counter from your machine, you are essentially carrying a ‘bomb’ of loose grounds through the air. I used to keep mine on a separate island, and I would leave a trail of brown dust like Hansel and Gretel. Now, I make sure to how to position your grinder to minimize countertop vibration, keeping it flush against the machine’s side. This minimizes the distance the portafilter travels while full of loose coffee. When you how to select the perfect coffee grinder for your brew, look for one with a high-quality chute, as this prevents the static that causes grounds to ‘snow’ all over your drip tray. If things do get dusty, knowing the mess-free way to clean a conical burr grinder will keep that fine silt from migrating into your machine’s internals.
Keep the Basket Dry Between Shots
A wet basket is the enemy of a clean knock. If there is moisture trapped between the puck and the metal wall, the coffee will stick, requiring more force to dislodge—which leads right back to the kitchen backsplash disaster. After I dump a puck, I immediately use a dedicated microfiber cloth. I have found the best way to dry your portafilter quickly is a 360-degree twist of the cloth inside the basket. This ensures the next dose from your top-rated espresso machine lands on a bone-dry surface. It is a small detail, but it is the difference between a puck that falls out like a dream and one that requires surgery. When you are choosing the best barista gear for coffee enthusiasts, never underestimate the power of a high-quality, absorbent towel.
The Reality of Bottomless Portafilters
We all love the look of a perfect extraction, but we have to talk about the spray. If your puck prep isn’t 100% dialed in, a bottomless portafilter will punish your kitchen. I have had ‘spurters’ that reached the ceiling. If you find why your bottomless portafilter is making a huge mess, it is usually a sign of channeling. You have to treat every gram of coffee with respect before you even lock that handle into the group head. By refining these physical habits—the wrist flick, the drying, and the positioning—you move from being a messy hobbyist to a pro who creates a masterpiece without the cleanup tax.
While we are on the subject of precision, let’s talk about the ‘God Shot’ myth. Most enthusiasts think that if they follow the recipe exactly, every shot will be identical. But have you noticed that the first pull is always… off? Even on top-rated espresso machines, you are fighting thermal physics. I finally realized why the first shot of the day is always a throwaway—it’s about the temperature of the internal group head versus the water path. If you aren’t purging, you’re drinking lukewarm disappointment.
Stop using ‘pure’ water in your high-end boiler
A common trap I see is owners using distilled or reverse osmosis water to ‘protect’ their investment. It sounds logical: no minerals, no scale, right? Wrong. Pure water is ‘hungry’; it lacks the ions necessary for flavor extraction and can actually leach metals from your boiler. A study published in the Journal of Agricultural and Food Chemistry highlights that the balance of magnesium and calcium ions is crucial for extracting the delicate flavor compounds we crave. Furthermore, your machine’s sensors often rely on the electrical conductivity of minerals to detect water levels. I have seen people think they need to how to diagnose a faulty espresso machine thermostat when in reality, the water was just too pure for the probe to read. The truth about using distilled water in your machine is that it ruins the coffee and potentially the hardware. This is one of the biggest the mistake of using distilled water in your boiler scenarios that leads to costly repairs.
Your milk frother is lying to you about texture
Many people believe that more bubbles mean better foam, especially when starting out. This is a massive misconception. High-quality microfoam shouldn’t look like bubbles at all; it should look like wet paint. If you find that why your milk frother creates bubbles instead of foam, it is usually because you are introducing air too late in the process. The ‘stretch’ should happen while the milk is still cold. Once it hits body temperature, the proteins begin to denature, and any air you force in will just create unstable, soapy bubbles that collapse in your cup. It is a common ‘oops’ moment for those milk frothers that transform your coffee experience; they work best when you understand the chemistry of the proteins you are heating. And don’t get me started on the grinder ‘timer’ trap. Most people rely on the digital display to dose their coffee, but why your grinder’s timer is never accurate comes down to the simple fact that as your beans age and lose moisture, they grind at a different rate. Five seconds of grinding on Monday might give you 18 grams, but by Friday, that same five seconds could be 17.2 grams. For anyone choosing the best barista gear for coffee enthusiasts, a scale is non-negotiable.
Why does your distribution tool leave you with channeling anyway?
You bought the fancy needles and the spinning levelers, yet you still see those dreaded bald spots in your flow. Research into fluid dynamics in porous media—often cited in barista championships—suggests that over-manipulating the top layer can actually compress the bottom layer unevenly. I discovered why your wdt tool is actually causing more channeling: if your needles are too thick, you are drawing ‘tracks’ for the water rather than breaking up clumps. This is the hidden nuance of mastering the art of home espresso tips for beginners. You think you’re helping, but you’re creating micro-tunnels. Have you ever fallen into this trap of over-gearing your workflow? Let me know in the comments.
It’s easy to get lost in the romance of the perfect pour, but the unsexy reality is that a high-end setup is only as good as its last cleaning. I’ve seen beautiful, top-rated espresso machines reduced to glorified paperweights because the owner thought a quick wipe-down was enough. When you are choosing the best barista gear for coffee enthusiasts, you are essentially adopting a high-maintenance pet. If you don’t keep up with the internal hygiene, those delicate brass and copper components will begin to fail, leading to bitter shots and eventual mechanical breakdown.
Keep Your High-End Gear from Turning Into a Paperweight
The single most important habit I’ve developed is the weekly chemical backflush. I use a specific oxygen-based cleaner because it cuts through the rancid coffee oils that accumulate behind the shower screen. If you skip this, that old oil carbonizes and taints every single shot you pull. This is exactly why your machine needs a backflush every single week. I’ve noticed that people who treat this as optional usually end up with a machine that struggles to maintain pressure. Furthermore, you need to keep an eye on your rubber components. Heat and pressure are brutal on seals, and ignoring the reason your portafilter gasket is getting brittle will lead to leaks that can short out your internal electronics.
How do I keep my gear running like new for years?
Consistency in maintenance is the secret. I personally follow a strict ‘dry tank’ policy. It might seem tedious, but why you should never leave water in your reservoir overnight comes down to preventing biofilm and mineral settlement. According to the SCA Water Quality Standard, maintaining a specific level of total alkalinity is vital to prevent the scale that eventually chokes your boiler’s heating element. Every Sunday, I perform what I call the best routine for a weekend deep clean, which includes scrubbing the grinder chute and checking for scale. If you are still using the same water for days, you are inviting microbial growth that no amount of heat can fully mask in terms of flavor.
Smart Sensors Are the Future of the Perfect Pull
Looking ahead, I predict the next big shift in home espresso won’t be about bigger boilers, but about smarter telemetry. We are already seeing high-end machines integrate sensors that track flow rate and mineral density in real-time. This is crucial because it helps you identify issues like why your machines boiler pressure is pulsing before it becomes a total failure. In the future, your machine might even lock itself out if it detects your water is too hard, saving you from a $500 repair bill. Until then, you have to be the sensor. When you how to select the perfect coffee grinder for your brew, focus on models that allow easy access to the burrs for manual cleaning. Tools are getting smarter, but they still require a human touch to stay calibrated. This weekend, I want you to perform a full chemical backflush and replace your group gasket—it is the one thing that will immediately improve your shot consistency and hardware longevity.
The Hard Truth About My Failed Morning Pucks
After years of trial and error, I’ve realized that the most expensive beans in the world won’t save you from a poorly maintained setup. One major epiphany was discovering why your distribution tool might be ruining your extraction; sometimes less is more when it comes to grooming the puck. I also stopped obsessing over the perfect extraction time and started listening to the machine’s rhythm—learning the move for better temperature stability on budget machines completely changed the flavor profile of my medium roasts. Finally, I learned that if your brew tastes off, it’s often a hygiene issue, which is usually the reason your double ristretto tastes like vinegar or overly bitter. It is about the small wins that accumulate over time.
My Go-To Kit for a Flawless Caffeine Ritual
Building a reliable station doesn’t require a commercial budget, but it does require the right barista gear. I always recommend starting with one of the top-rated espresso machines available today because thermal stability is king. To keep the maintenance from becoming a chore, use the trick for getting ground coffee out of tight corners with a simple soft-bristle brush. And for those mornings when you want a velvety latte, investing in high-quality milk frothers that transform your coffee experience will save you from the frustration of soapy, unstable foam that collapses before you even take a sip.
Your Daily Coffee Break Deserves the Best
Transitioning from a messy kitchen to a professional-feeling workflow is a journey of small habits and intentional movements. Whether you are just mastering the art of home espresso or you’ve been pulling shots for a decade, remember that the ritual should be as enjoyable as the drink itself. Take the time to dial in your equipment, keep your workspace clean, and enjoy the process of becoming your own favorite barista. What’s the biggest ‘espresso disaster’ you’ve ever had to clean up before your first sip? Let me know below.