The Truth About Plastic vs Metal Coffee Tamping Stands
I remember the morning I nearly sent my portafilter through the kitchen counter. I was using one of those cheap, hollow plastic tamping stands that came free with a generic starter kit. I pushed down with about thirty pounds of pressure, the plastic flexed like a diving board, and *crack*—the stand skidded across the granite while my knuckles took the brunt of the impact. It was the moment I realized that your barista gear isn’t just about aesthetics; it’s about physics.
Stop Blaming Your Beans for Uneven Extractions
If you are struggling with shots that spray everywhere, you might be looking in the wrong place. We often obsess over the latest espresso machines, but we ignore the physical foundation of the shot itself. When I first started, I made the classic mistake of thinking a tamping stand was just a glorified coaster. I spent weeks trying to figure out why my shots were pulling faster on one side, only to realize my plastic stand was bowing under pressure, creating a slanted puck. Today, I want to clear the air about whether you actually need to drop fifty bucks on a slab of stainless steel or if that plastic mold is truly good enough to get the job done.
Is a Heavy Metal Stand Really Just Overpriced Eye Candy?
Some skeptics argue that as long as you have a flat surface, the material doesn’t matter. But here is the truth: plastic lacks the density to absorb the downward force required for consistent puck compression. In fact, research frequently cited by the Specialty Coffee Association (SCA) suggests that a level surface is the single most important factor for preventing channeling. If your stand flexes even a millimeter, you’ve already lost the battle. This is similar to why a plastic tamper can make your espresso sour; if the tool doesn’t provide a rigid, level interface, the water will find the path of least resistance every single time. Have you ever felt your stand shift right as you were leaning into a tamp? It’s a frustrating feeling that ruins the routine before the pump even starts. We are going to dive into how to fix the wobble in your coffee portafilter once and for all by choosing a support system that actually holds its ground.
Set Up a Foundation That Doesn’t Budge
Before you even touch your tamper, you need to look at what your stand is sitting on. I learned this the hard way back in my first apartment, where I tried tamping on a rickety IKEA rolling cart. Every time I applied pressure, the whole cart leaned three degrees to the left, and my shots tasted like salty battery acid because of the resulting channel. You have to treat your tamping station like the literal anchor of your workflow. This means you should position your grinder to minimize countertop vibration so the surface remains dead-level during the prep phase. If your counter is cluttered or uneven, even the most expensive stainless steel stand will effectively become a see-saw. I now use a dedicated corner of a heavy butcher block, ensuring that when I lean in, 100% of my energy goes into the puck rather than fighting a wobbly table.
Lock the Portafilter into the Stand’s Grip
The most common error I see home baristas make is failing to seat the portafilter ears properly into the stand’s cutout. If your portafilter isn’t sitting flush, your tamping angle is already compromised by a few degrees before you even begin. Think of it like a puzzle piece; if it doesn’t click into place, it isn’t ready for pressure. This mechanical alignment is just as specific as why your dosing cup doesn’t fit your portafilter perfectly—every millimeter of gap creates an opportunity for a slanted puck. 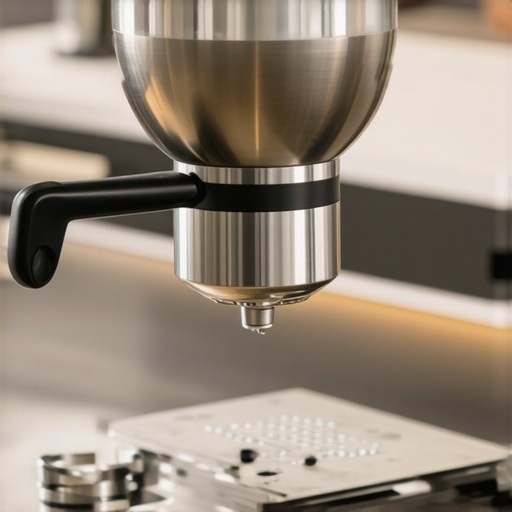
Avoid the Infamous Portafilter Tilt
When you place the handle in the cradle, give it a small wiggle. If it rocks back and forth, you need to adjust the height of the stand’s support peg (if it has one) or find a shim. A stable portafilter allows you to achieve consistent puck compression because the basket stays parallel to the floor. I once spent an entire Saturday trying to diagnose a ‘left-side fast flow’ only to realize a stray coffee bean was stuck under the left ear of my portafilter, tilting the whole assembly just enough to ruin the shot.
Push Straight Down or Don’t Push at All
Once the portafilter is locked in, your arm becomes the piston. Use your tamping stand as a guide for your forearm alignment. Your elbow should be directly over the center of the basket, forming a 90-degree angle. This is where mastering the art of home espresso moves from theory to muscle memory. If you find yourself pushing at an angle, you might be tempted to compensate with gear, but the problem with cheap spring-loaded tampers is that they can mask poor form rather than fixing it. The stand is there to provide the resistance; your job is to ensure that resistance is met with a perfectly vertical strike.
Keep Your Gear Dry to Avoid the Sticky Slant
Finally, never underestimate the power of friction. If the base of your portafilter or the top of your tamping stand is wet, the metal will slide just as you apply the most force. I remember a particularly messy morning where a single drop of water on my stand caused the portafilter to kick out like a bar of soap. This is why you must understand the problem with using a wet tamper on dry grounds—moisture is the enemy of stability. Always wipe your stand and portafilter bottom with a dry microfiber cloth between every single shot. To keep everything from migrating across your counter, you should pick a coffee mat that doesn’t absorb odors and place it under the stand to act as a high-friction anchor. This simple hygiene step ensures that the wobble in your coffee portafilter remains a thing of the past.
While a solid tamping stand provides the physical foundation, the real nuance of home espresso lies in the invisible variables that most beginners overlook. Many enthusiasts assume that as long as they buy the best barista gear, the results will be automatic. However, I’ve found that even the most expensive kit can’t save a shot if you fall for the ‘over-manipulation’ trap. Many baristas now swear by intensive WDT (Weiss Distribution Technique), but here is a contrarian take: your WDT tool might be causing more channeling if you’re over-stirring. Research cited by members of the Specialty Coffee Association (SCA) suggests that excessive agitation can actually cause ‘fines migration,’ where the smallest coffee particles settle at the bottom of the basket, creating an impermeable layer that forces water to burst through the sides of the puck.
Why Does Your First Shot Always Taste Like a Different Coffee?
If you have ever dialed in your beans perfectly on a Sunday, only to find Monday’s first shot tastes like bitter ash, you aren’t alone. This is the infamous ‘retention trap.’ Most top-tier coffee grinders retain between 0.5 and 2 grams of stale coffee in the chute. This is why the first shot of the day is always a throwaway. If you don’t purge a few grams of fresh beans through the system, you are essentially mixing yesterday’s oxidized dust with today’s fresh roast. It’s a subtle error that makes mastering the art of home espresso feel like a moving target. Have you ever fallen into this trap? Let me know in the comments.
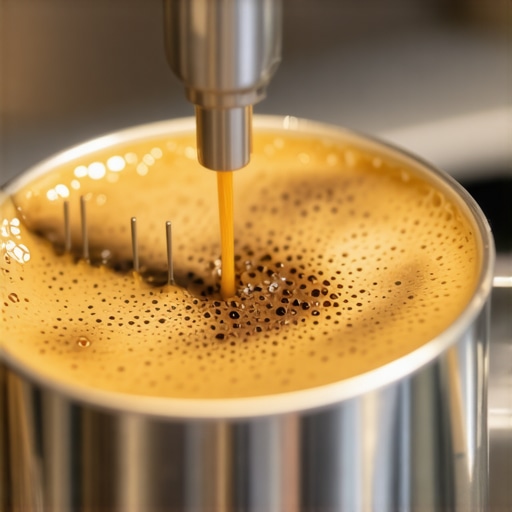
Another nuance involves the temperature stability of your machine. People often obsess over the pressure gauge, but ignore the group head temperature. On many modern espresso machines, the internal thermostat might say it’s ready, but the heavy brass of the portafilter is still cold. This cold metal acts as a heat sink, instantly dropping the brewing temperature by 10 degrees as the water hits the puck. This is often the real reason your double ristretto tastes like vinegar; it’s under-extracted because of a cold environment, not necessarily a bad grind. To avoid this, always pull a ‘blank’ shot with the portafilter locked in to pre-heat the metal components before you even think about grinding.
Stop Trusting the Timer on Your Grinder
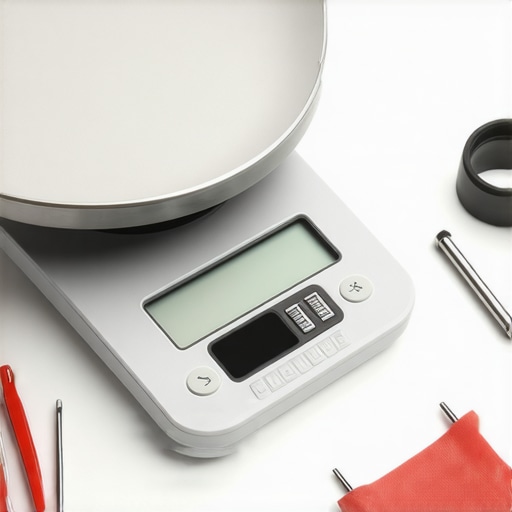
One of the biggest mistakes you can make is relying on the digital timer on your grinder to measure your dose. Even high-end units suffer from consistency issues because your grinder’s timer is never accurate when the hopper weight changes. As the hopper empties, there is less downward pressure (the ‘popcorning’ effect), which changes the speed of the burrs. This is why your shots taste different on a full hopper compared to an nearly empty one. If you want consistent puck compression and extraction, you must weigh your dose with a scale every single time. It takes an extra ten seconds, but it’s the difference between a god-shot and a sink-drainer. Finally, if you notice your milk texture is off, don’t just blame your technique. Check your equipment; your milk frother might be creating bubbles instead of foam because of a tiny clog in the steam tip. Just like the tamping stand we discussed earlier, every piece of your setup needs to be a stable, clean, and calibrated variable.
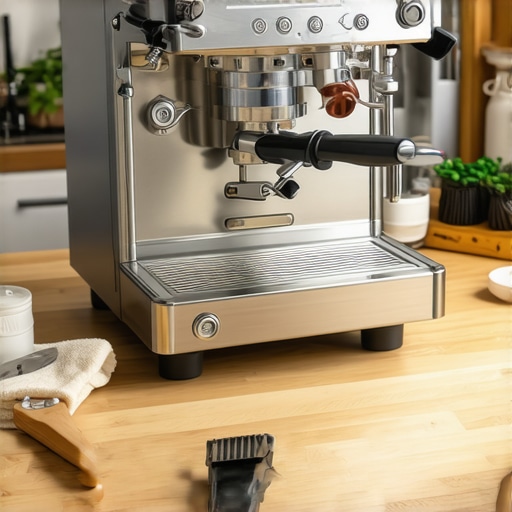
I used to think my espresso machine was indestructible until I saw the inside of a boiler that hadn’t been descaled in three years. It looked like a limestone cavern. We focus so much on the flavor profile of the beans that we forget the mechanical soul of the machine needs a heartbeat check too. If you want your barista gear to last a decade instead of a season, you have to move beyond just wiping the drip tray. I’ve found that the most satisfying shots come from equipment that is surgically clean and technically sound.
Don’t Let Rancid Oils Kill Your Flavor
Grinder burrs are the most neglected part of the home setup. Over time, coffee oils oxidize and turn rancid, coating the internal chambers of your grinder. This is why you need to master the mess-free way to clean a conical burr grinder at least once a month. I remember helping a friend troubleshoot a ‘burnt’ taste in his coffee; we spent hours on temperature and pressure before realizing his chute was packed with six-month-old grounds. Learning how to clean the grinder chute without taking it apart saved his morning routine and instantly brightened the acidity in his cups. If you hear a high-pitched whine, pay attention, because your grinder screeches only when grinding fine for a reason—usually metal-on-metal contact or a jam that needs immediate clearing.
How do I maintain my machine’s internals over time?
The technical engineers at La Marzocco emphasize that a failing group gasket is the leading cause of internal moisture damage to the electronic brain of prosumer machines. Their technical documentation suggests that neglecting a $10 rubber ring can lead to a $500 motherboard replacement. You should make it a habit to perform the best routine for a weekend deep clean, which includes backflushing with a specialized detergent. This keeps the three-way solenoid valve from sticking. If you neglect this, you might notice your machine’s drip tray is full after two shots because the valve is stuck in the open position, wasting water and pressure.
The Silent Battle Inside Your Boiler
Water is the most complex ingredient in your coffee, and it is also the most destructive. Many people make the mistake of using distilled water in your boiler, which can actually cause the metal to leach and the sensors to fail because pure water doesn’t conduct electricity well enough for the probes to read. However, tap water is often too hard. You must learn how to tell if your water hardness is damaging your boiler before the scale becomes permanent. I now use a BWT filter jug for every drop, and the difference in my steam power is night and day. Speaking of steam, if you notice a drop in pressure, it’s usually the fast way to unclog your steam wand tip that will get you back to silky microfoam.
Smart Sensors are the Next Big Thing
Looking ahead, I predict the next five years will see a massive shift toward AI-integrated sensors in top-rated espresso machines. We are already seeing ‘grind-by-weight’ technology move from commercial units into the home, and soon, we will have sensors that detect puck resistance in real-time and adjust the pump pressure mid-shot. This takes mastering the art of home espresso from a game of guesswork to a high-precision science. To keep your workflow efficient until then, I highly recommend learning how to organize your barista tools in a single drawer to prevent the ‘clutter creep’ that ruins the zen of a morning brew. Before your next session, I challenge you to pull your shower screen off—you might be surprised by what’s hiding behind it.
Small Shifts That Changed My Coffee Game Forever
Reflecting on a decade spent behind the steam wand, the most significant breakthroughs didn’t come from a flashier machine, but from changing how I respected the mechanical precision of the process. One of the hardest lessons was realizing that gear is a partner, not a savior. If you aren’t performing the best routine for a weekend deep clean, even a five-figure setup will eventually produce lackluster results. I also learned to stop chasing every social media trend and instead focus on the variables that actually move the needle, such as water chemistry and thermal stability. Consistency beats a one-off ‘god-shot’ every single time, and that consistency is born from the stability of your setup.
- Your ears are as important as your eyes; learn the sound of a healthy pump.
- A clean machine is a predictable machine—rancid oils are flavor killers.
- Focus on the transition between grinding and tamping to minimize air exposure.
Gear That Actually Earns Its Keep
When you are choosing the best barista gear, look for utility over flash. I always recommend starting with a high-quality, non-absorbent surface. You should pick a coffee mat that doesn’t absorb odors to protect both your counters and your portafilter ears from micro-scratches. Beyond the basics, keep a copy of the SCA Barista Handbook nearby; it remains the gold standard for understanding the physics of extraction. Also, never compromise on your measurements—if you find that your coffee scale is giving you inconsistent readings, troubleshoot it immediately, because guessing is the enemy of a balanced cup.
#IMAGE_PLACE_HOLDER_E#
Your Morning Ritual Is Worth the Effort
The journey toward mastering the art of home espresso is often paved with sour shots and messy counters, but that first sip of a perfectly textured latte makes every frustration disappear. You are not just making a caffeine delivery vehicle; you are crafting a sensory experience. Don’t be afraid to experiment with your flow, get your hands a little dirty, and push the boundaries of what your equipment can do. Whether you are using one of the top-rated espresso machines for 2025 or a refurbished classic, the soul of the coffee is ultimately in your hands and your attention to detail. Have you ever had a single piece of gear, like a new tamping stand, completely change your extraction results? Let me know in the comments below!